Dinner rolls are a beloved staple that can elevate any meal with their soft, warm texture and inviting aroma. These small, round breads have a rich history dating back centuries, evolving from ancient Egyptian flatbreads to the fluffy, yeasted rolls we enjoy today. You'll find them gracing tables at holiday feasts, Sunday dinners, and special occasions. Making your own dinner rolls is a rewarding experience that fills your home with an irresistible scent. With just a few key ingredients like flour, yeast, and butter, you can create these delectable treats. The process involves mixing, kneading, rising, and shaping before baking to golden perfection. Discover the secrets to crafting the perfect dinner roll and impress your family and guests. If you want to add a seasonal twist to your dinner rolls, consider incorporating pumpkin into the dough for a festive flavor. To learn how to make pumpkin roll, simply blend pureed pumpkin and warm spices into the dough before shaping it into individual rolls. The aromatic pumpkin will infuse the rolls with a warm, earthy taste that perfectly complements any fall or winter meal.
Key Takeaways
- Dinner rolls are small, soft bread rolls typically served as a side dish with meals.
- Key ingredients include flour, yeast, water, butter, and salt, with variations adding milk or eggs.
- The dough is kneaded, allowed to rise, shaped into small balls, and baked until golden brown.
- Homemade dinner rolls can be prepared in advance and refrigerated overnight before baking.
- Properly baked rolls should have a golden-brown exterior, soft interior, and sound hollow when tapped.
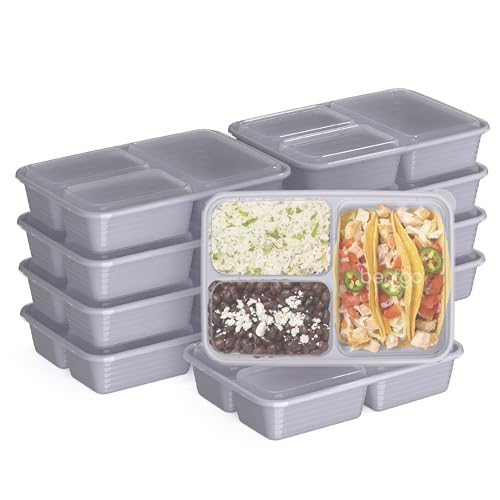
Bentgo Prep 3-Compartment Meal Prep Containers with Lids, 20 Piece Set
- Top Brand for Meal Prep: Lightweight 20-piece set with lids
- Ideal for Portion Control: 4-cup capacity with embossed measurements
- Keeps Food Fresh: Stackable lids for freshness and organization
As an affiliate, we earn on qualifying purchases.
History
Throughout history, dinner rolls have been a beloved staple at meals around the world. You might be surprised to learn that these soft, pillowy breads have a rich heritage dating back centuries.
In ancient Egypt, you'd have found flatbreads similar to modern rolls, while in medieval Europe, you'd have encountered small, round loaves called "manchets" at noble tables.
As you explore the history of dinner rolls, you'll discover that they've evolved significantly over time. In the 18th century, you'd have seen the rise of yeasted breads, leading to fluffier, more tender rolls.
By the 19th century, you'd have noticed dinner rolls becoming a common sight in American households, often served alongside hearty meals.
Today, you'll find countless variations of dinner rolls across cultures:
- Parker House rolls: Invented in Boston in the 1870s
- Kaiser rolls: Originating in Austria, featuring a star-shaped top
- Brioche: A rich, buttery French roll
As you enjoy your next dinner roll, remember that you're partaking in a culinary tradition that's been cherished for generations.
Recipe
Dinner rolls are a classic accompaniment to any meal, offering a soft, warm, and comforting addition to the table. These homemade rolls are surprisingly easy to make and far superior to store-bought varieties, with their golden-brown crust and pillowy interior.
This recipe yields about 12 medium-sized rolls, perfect for a family dinner or small gathering. The dough can be prepared in advance and refrigerated overnight for a convenient make-ahead option. The aroma of freshly baked rolls wafting through your home is an added bonus that will surely entice everyone to the dinner table.
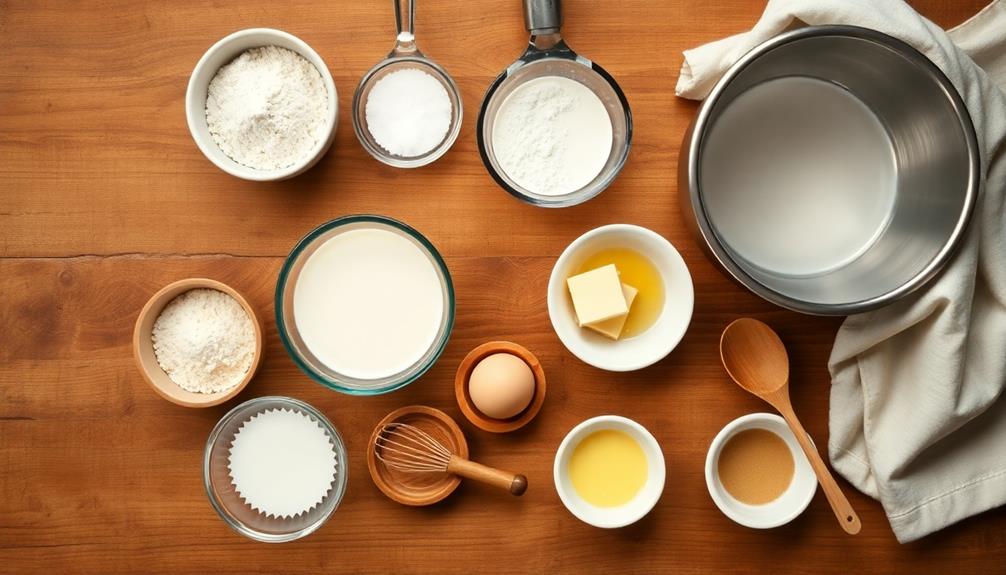
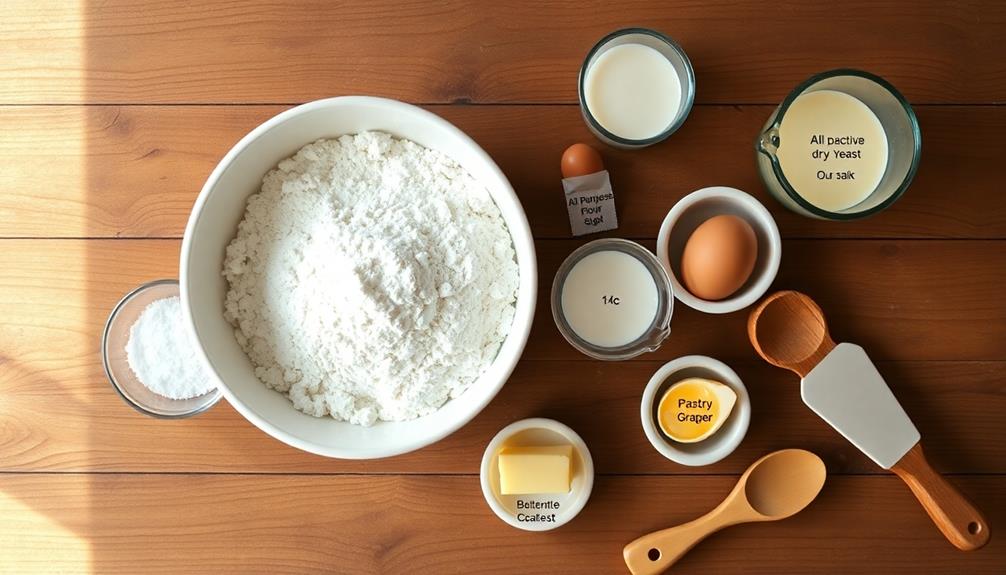
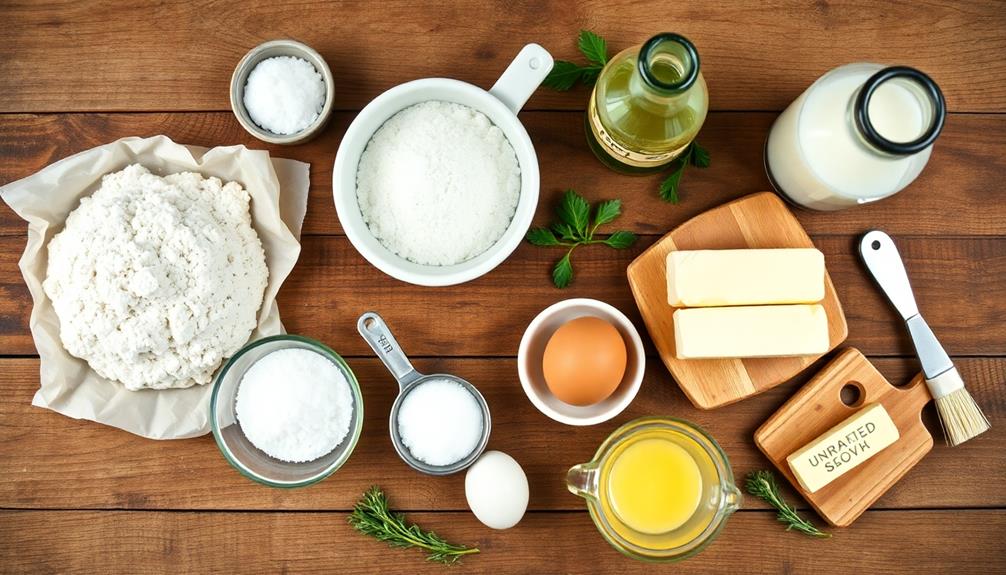
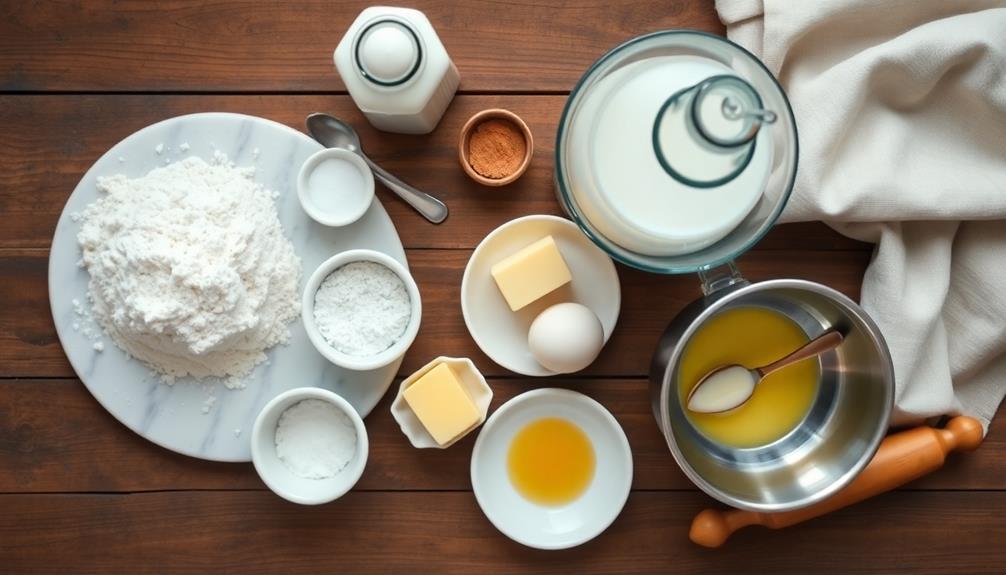
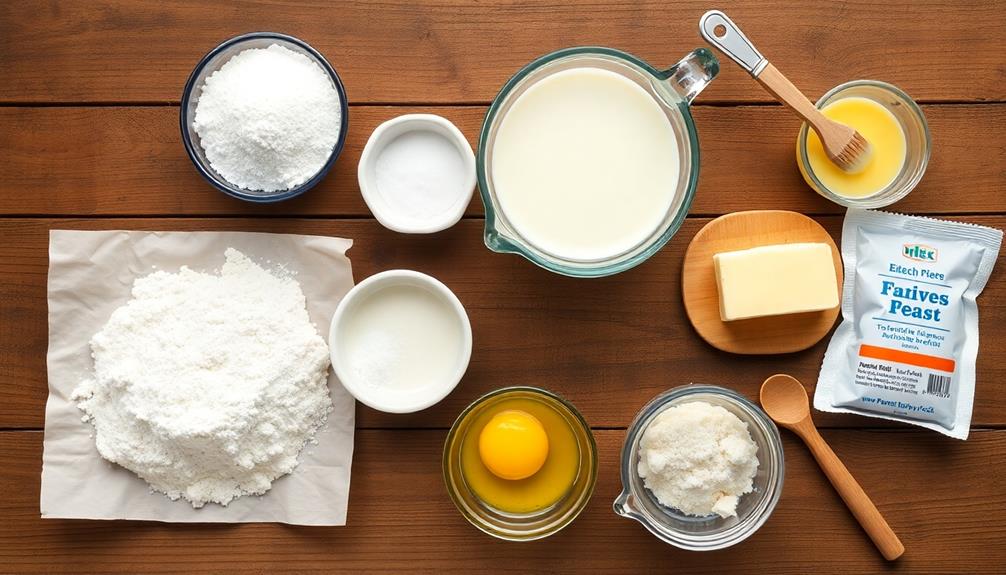
- 3 cups all-purpose flour
- 1 packet (2 1/4 teaspoons) active dry yeast
- 1/4 cup granulated sugar
- 1 teaspoon salt
- 1 cup warm milk
- 1/4 cup unsalted butter, softened
- 1 large egg
- 2 tablespoons melted butter (for brushing)
In a large mixing bowl, combine the flour, yeast, sugar, and salt. In a separate bowl, whisk together the warm milk, softened butter, and egg. Gradually add the wet ingredients to the dry ingredients, mixing until a soft dough forms.
Knead the dough on a floured surface for about 5 minutes until smooth and elastic. Place the dough in a greased bowl, cover with a damp cloth, and let it rise in a warm place for about 1 hour or until doubled in size.
Punch down the dough, divide it into 12 equal portions, and shape each into a ball. Place the rolls in a greased baking dish, cover, and let rise for another 30 minutes. Preheat the oven to 375°F (190°C).
Brush the tops of the rolls with melted butter and bake for 15-20 minutes until golden brown.
For the best results, ensure that your yeast is fresh and active. If the dough isn't rising properly, place the bowl in a slightly warm oven (turned off) to create an ideal environment for proofing.
To achieve a softer crust, brush the rolls with melted butter immediately after removing them from the oven. These rolls can be stored in an airtight container at room temperature for up to 3 days or frozen for up to a month. To reheat, simply warm them in the oven for a few minutes before serving.
Cooking Steps
To create delicious dinner rolls, you'll start by mixing yeast with warm water to activate it.
Next, you'll add flour and knead the dough until it's smooth and elastic, then let it rise in a warm place until doubled in size.
Once the dough has risen, you'll shape it into individual rolls and bake them in a preheated oven until they're golden brown and irresistibly fragrant.
Step 1. Mix Yeast With Warm Water
Every successful batch of dinner rolls begins with properly activating the yeast. To start, you'll need to mix the yeast with warm water, which is a crucial step in the bread-making process. Here's how to do it:
- Use water that's between 105°F and 115°F (40°C to 46°C). If it's too hot, you'll kill the yeast; too cold, and it won't activate properly.
- Pour the warm water into a large mixing bowl.
- Sprinkle the yeast over the water's surface.
- Add a pinch of sugar to feed the yeast.
- Let the mixture sit for about 5-10 minutes.
You'll know the yeast is active when you see a foamy layer on top of the water. This frothy appearance is a sign that the yeast is alive and ready to work its magic in your dough.
If you don't see any activity after 10 minutes, your yeast might be old or the water temperature was off. In this case, it's best to start over with fresh yeast to ensure your dinner rolls rise properly.
Step 2. Add Flour and Knead Dough
Once your yeast is activated, it's time to transform the mixture into dough. Gradually add flour to your yeast mixture, stirring as you go. You'll need about 3 to 4 cups of all-purpose flour, but the exact amount may vary depending on humidity and other factors. Mix until a shaggy dough forms.
Turn the dough out onto a lightly floured surface and begin kneading. Here's what you need to know about kneading:
- Push the dough away from you with the heel of your hand
- Fold it back over itself
- Give it a quarter turn
- Repeat for 8-10 minutes
As you knead, the dough will become smoother and more elastic. You'll know it's ready when it springs back when lightly pressed. If it's too sticky, add a bit more flour; if it's too dry, wet your hands slightly.
Properly kneaded dough is crucial for developing gluten, which gives your rolls their structure and texture.
Don't rush this step – it's the foundation for perfectly fluffy dinner rolls that'll have everyone asking for seconds!
Step 3. Let Dough Rise
The next crucial step in making perfect dinner rolls is letting the dough rise. This process, also known as proofing, allows the yeast to ferment and produce carbon dioxide, which creates those delightful air pockets in your rolls.
Here's what you need to do:
- Place the kneaded dough in a lightly oiled bowl.
- Cover the bowl with a damp cloth or plastic wrap.
- Find a warm, draft-free spot in your kitchen.
Let the dough rise for about 1 to 1.5 hours, or until it's doubled in size. The ideal temperature for proofing is between 75°F and 85°F.
If your kitchen's cool, you can create a warm environment by:
- Placing the bowl in a turned-off oven with the light on
- Setting it near a warm appliance
- Using a proofing box, if you have one
Don't rush this step! Proper rising is crucial for achieving that light, fluffy texture you're after.
Once the dough has doubled, you'll punch it down and shape it into rolls for a second rise before baking. This patience will pay off with perfectly tender, flavorful dinner rolls.
Step 4. Shape Dough Into Rolls
After your dough has doubled in size, it's time to shape it into individual rolls. Gently punch down the dough to release the air, then turn it out onto a lightly floured surface. Using a sharp knife or bench scraper, divide the dough into 12 equal portions.
To shape each roll:
- Take a portion of dough and fold the edges towards the center
- Flip it over so the smooth side is up
- Cup your hand over the dough and move it in a circular motion
- This creates surface tension, resulting in a perfectly round shape
Place the shaped rolls on a greased baking sheet, leaving about 2 inches of space between each one. They'll need room to rise and expand. If you prefer softer sides, you can place them closer together in a baking dish.
Once all the rolls are shaped, cover them with a clean kitchen towel or plastic wrap. Let them rise again for about 30-45 minutes, or until they've nearly doubled in size.
This second rise, known as proofing, is crucial for achieving light and fluffy dinner rolls.
Step 5. Bake Until Golden Brown
Preheat your oven to 375°F (190°C) while the rolls are completing their final rise.
Once the oven's ready and your rolls have doubled in size, it's time to bake them to perfection. Place the baking sheet with your rolls on the center rack of the oven. This position ensures even heat distribution, helping your rolls achieve that coveted golden-brown color.
Bake the rolls for about 15-20 minutes, but keep a close eye on them. You'll know they're done when:
- The tops are a rich golden-brown color
- The bottoms are lightly browned
- They sound hollow when tapped
If you're unsure, use an instant-read thermometer. The internal temperature should reach 190°F (88°C).
Once baked, remove the rolls from the oven and brush them with melted butter for extra flavor and shine. Let them cool on the baking sheet for a few minutes before transferring to a wire rack.
This brief cooling period allows the rolls to set, making them easier to handle. Serve warm and enjoy your freshly baked, golden-brown dinner rolls!
Final Thoughts
Reflecting on the process, you'll find that making dinner rolls from scratch is a rewarding experience. It's not just about the delicious end result, but also the satisfaction of creating something with your own hands.
As you've learned, the key steps include:
- Mixing the dough carefully
- Allowing proper time for rising
- Shaping the rolls with care
- Baking until perfectly golden brown
Remember, practice makes perfect. Don't be discouraged if your first batch isn't picture-perfect. Each time you make these rolls, you'll improve your technique and develop a better feel for the dough.
You can also experiment with different flavors by adding herbs, cheese, or even a touch of sweetness.
These homemade dinner rolls are sure to impress your family and guests. They're perfect for holiday meals, Sunday dinners, or anytime you want to elevate your dining experience.
Plus, the aroma of freshly baked bread filling your home is an added bonus that can't be beaten.
Frequently Asked Questions
Can Dinner Rolls Be Frozen for Later Use?
Yes, you can freeze dinner rolls for later use! It's a great way to save time and have fresh rolls on hand.
Here's what you need to know:
- Cool the rolls completely before freezing
- Wrap them tightly in plastic wrap or aluminum foil
- Place in a freezer bag, removing as much air as possible
- Label with the date and freeze for up to 3 months
When you're ready to eat, thaw at room temperature and reheat in the oven for that fresh-baked taste.
How Long Do Homemade Dinner Rolls Stay Fresh?
Your homemade dinner rolls will stay fresh for about 2-3 days at room temperature when stored properly.
To keep them at their best, you'll want to:
- Cool them completely before storing
- Place them in an airtight container or resealable plastic bag
- Keep them away from direct sunlight and heat
If you need them to last longer, you can refrigerate them for up to a week or freeze them for up to 3 months.
Just remember to reheat them before serving for that fresh-baked taste!
What Are Some Creative Ways to Serve Dinner Rolls?
You can elevate your dinner roll presentation with these creative serving ideas:
- Slice and fill with savory spreads or meats for mini sandwiches
- Cut into cubes and serve as croutons for salads or soups
- Use as a base for sliders or individual bread bowls
- Arrange in a wreath shape for a festive table centerpiece
- Slice and toast for crostini appetizers
- Create a pull-apart bread by arranging rolls in a decorative pattern
- Serve warm in a cloth-lined basket for a rustic touch
Are There Gluten-Free Alternatives for Making Dinner Rolls?
Yes, there are several gluten-free alternatives for making dinner rolls.
You can use a blend of gluten-free flours like rice flour, almond flour, or tapioca starch. Many recipes also incorporate xanthan gum to mimic gluten's binding properties.
You'll find options using ingredients like psyllium husk, flaxseed meal, or chia seeds for added texture.
Don't forget to experiment with yeast-free versions using baking powder.
With practice, you can create delicious, fluffy gluten-free rolls that rival traditional ones.
Can I Use a Bread Machine to Make Dinner Roll Dough?
Yes, you can absolutely use a bread machine to make dinner roll dough!
It's a convenient way to mix, knead, and proof your dough. Simply add your ingredients to the machine in the order specified by your recipe or manual.
Once the dough cycle is complete, remove it, shape your rolls, and let them rise before baking.
This method saves time and effort, giving you perfectly mixed and kneaded dough without the manual labor.