
You don't need dairy to achieve luscious, creamy soups! Clever dairy-free techniques like blending cashews and purée-ing potatoes can deliver velvety textures and bold flavors. Build your soup's base by sautéing aromatic veggies, then stir in plant-based broth for depth. Blending in creamy cashews creates a rich, nutty foundation, while the starch from potatoes thickens things up naturally. Simmering allows the flavors to meld, and you'll be rewarded with nourishing, dairy-free soups suitable for all dietary needs. Keep reading to discover more tips for crafting creamy, guilt-free comfort in a bowl.
Key Takeaways
- Utilize blended cashews or pureed potatoes to create a rich, creamy texture in dairy-free soups without the need for heavy cream or cheese.
- Enhance flavor and depth by sautéing aromatic ingredients like onions and garlic, and simmering the soup to allow flavors to develop.
- Incorporate vegetable stock to balance the richness and add complexity to the soup's flavor profile.
- Experiment with cooking methods and techniques, such as blending and gradual thickening, to achieve the desired consistency and texture.
- Dairy-free soups can offer health benefits, cater to various dietary preferences, and promote inclusivity for those reducing or avoiding dairy intake.
Top picks for "creamy without cream"
Open Amazon search results for this keyword.
As an affiliate, we earn on qualifying purchases.
History
Dairy-free soups have a long and varied history, dating back centuries. Ancient civilizations like the Chinese and Greeks relied on plant-based broths and purées as staple foods. Over time, clever cooks discovered ways to create creamy textures without dairy, using ingredients like nuts, seeds, and starchy vegetables.
As cultures began to embrace the health benefits of various plant ingredients, the popularity of herbal infusions and flower teas also emerged, showcasing the culinary potential of nature's offerings.
In the Middle Ages, European monasteries became hubs of culinary innovation, experimenting with almond milk and other dairy alternatives. As global trade expanded, new plant-based ingredients like coconut milk and soy entered the culinary scene, further diversifying dairy-free soup options.
Today, the rise of plant-based diets has sparked a renewed interest in dairy-free soup techniques. Home cooks and professional chefs alike are rediscovering the versatility and deliciousness of creamy, dairy-free soups.
From silky smooth purées to hearty chowders, the possibilities for dairy-free soup making are endless, limited only by one's creativity and culinary imagination.
Recipe
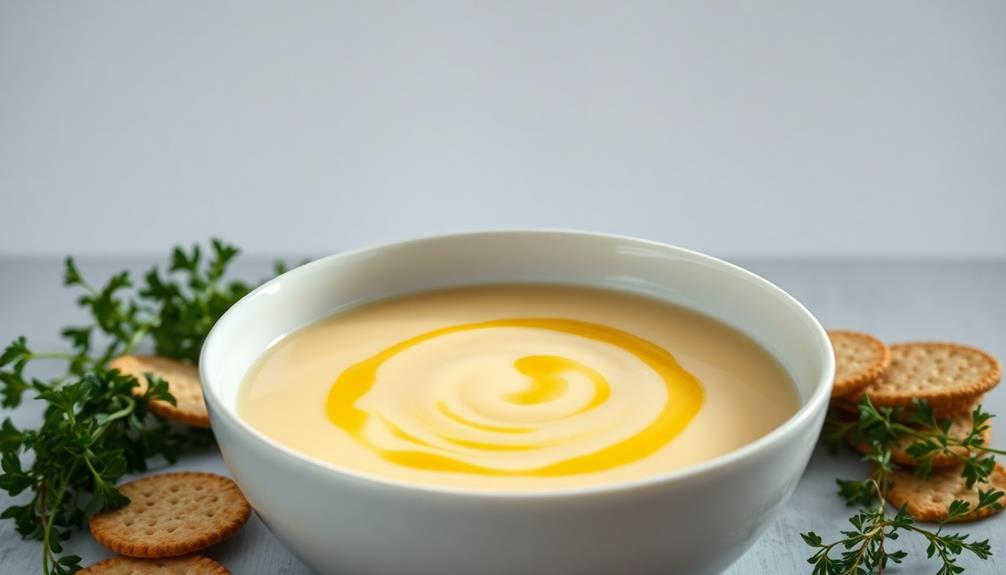
Dairy-free soups offer a delightful alternative for those who prefer to avoid dairy products. By thoughtfully selecting ingredients and utilizing specific techniques, you can create nourishing and flavorful soups that cater to a wide range of dietary preferences.
These soups can also be enriched with health benefits from mushrooms, which can enhance their nutritional value. One of the key advantages of dairy-free soups is their versatility. They can be enjoyed as a light and refreshing starter, or they can be transformed into a more substantial meal by incorporating hearty ingredients.
Additionally, dairy-free soups often boast a creamy texture without the addition of heavy cream or cheese, making them a healthier option.
Ingredients:
- 2 tablespoons olive oil
- 1 onion, diced
- 3 cloves garlic, minced
- 1 cup diced carrots
- 1 cup diced celery
- 4 cups vegetable or chicken broth
- 1 (15 oz) can diced tomatoes
- 1 (15 oz) can white beans, drained and rinsed
- 1 cup cooked quinoa
- 1 teaspoon dried thyme
- Salt and pepper to taste
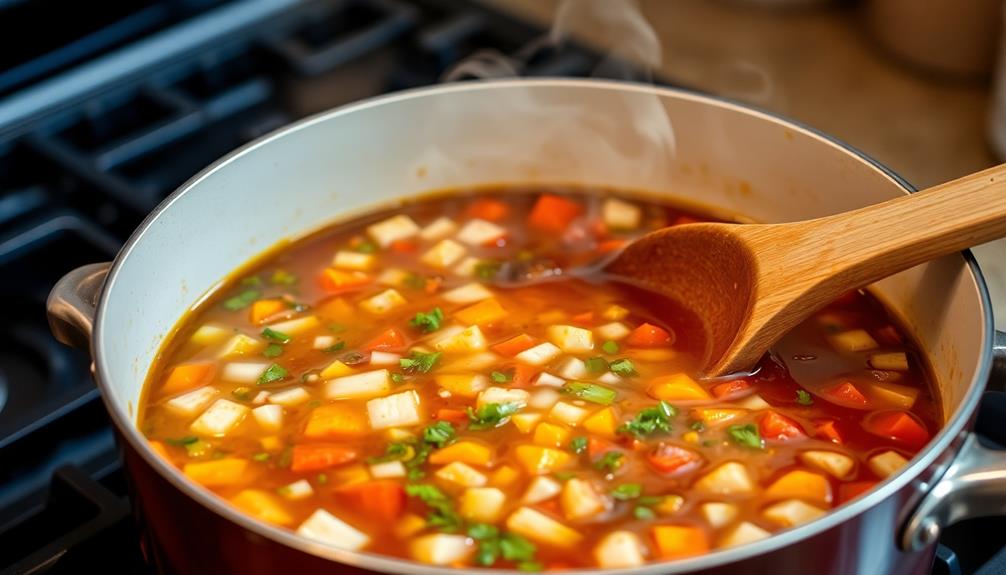
In a large pot, heat the olive oil over medium heat. Add the onion and garlic, and sauté until softened, about 5 minutes. Stir in the carrots and celery, and continue cooking for an additional 5 minutes.
Pour in the broth, diced tomatoes, white beans, quinoa, and thyme. Bring the mixture to a simmer and let it cook for 15-20 minutes, or until the vegetables are tender. Season with salt and pepper to taste.
To enhance the creaminess of the dairy-free soup, you can blend a portion of the soup using an immersion blender or transfer it to a regular blender. This technique will create a silky and smooth texture without the need for dairy products.
Additionally, you can experiment with different vegetable or nut-based milks to achieve the desired consistency and flavor profile.
Cooking Steps
Start by sautéing your aromatic ingredients in a bit of olive oil.
Incorporating chia seeds into your diet can enhance digestion, making your soup not just creamy but also gut-friendly.
Next, add the blended cashews to thicken the soup.
Now, pour in the vegetable stock and stir in the puréed potatoes, then let the soup simmer until it reaches your desired consistency.
Step 1. Sauté Aromatics in Olive Oil
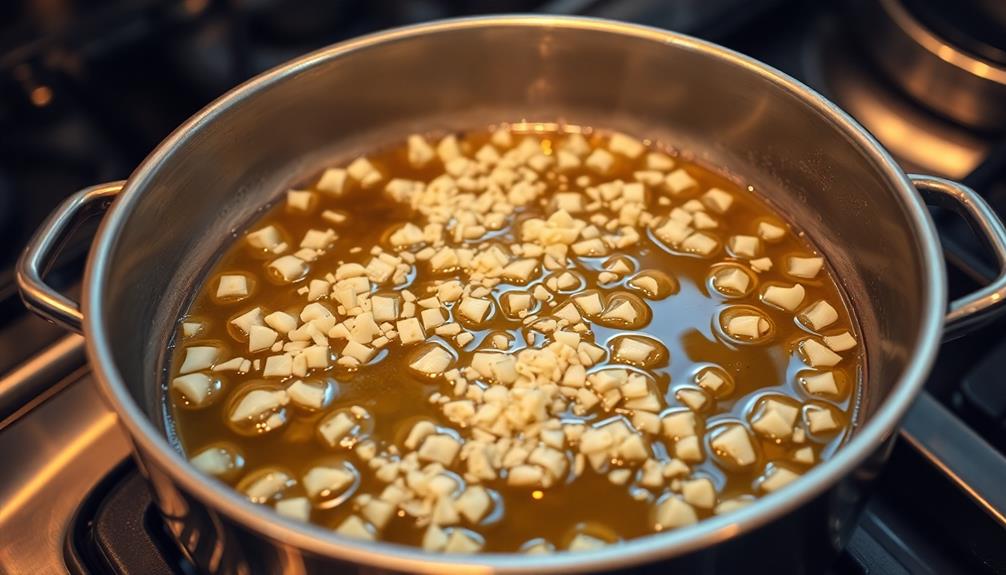
Next, sauté the aromatics in olive oil. This step lays the flavor foundation for your dairy-free soup.
Start by chopping onions, garlic, and any other aromatic veggies you're using, like celery or carrots. Heat a few tablespoons of olive oil in a large pot over medium heat.
Once the oil is shimmering, add the chopped aromatics. Sauté, stirring occasionally, until the onions are translucent and the garlic is fragrant, about 5-7 minutes.
Be careful not to let the garlic burn, as that can make it taste bitter. The sautéed aromatics will infuse your soup with a savory, aromatic base.
This step may seem simple, but it's crucial for building complex, delicious flavors in your dairy-free soup.
Once the aromatics are perfectly sautéed, you're ready to move on to the next step in crafting your creamy, vegan masterpiece.
Step 2. Add Blended Cashews
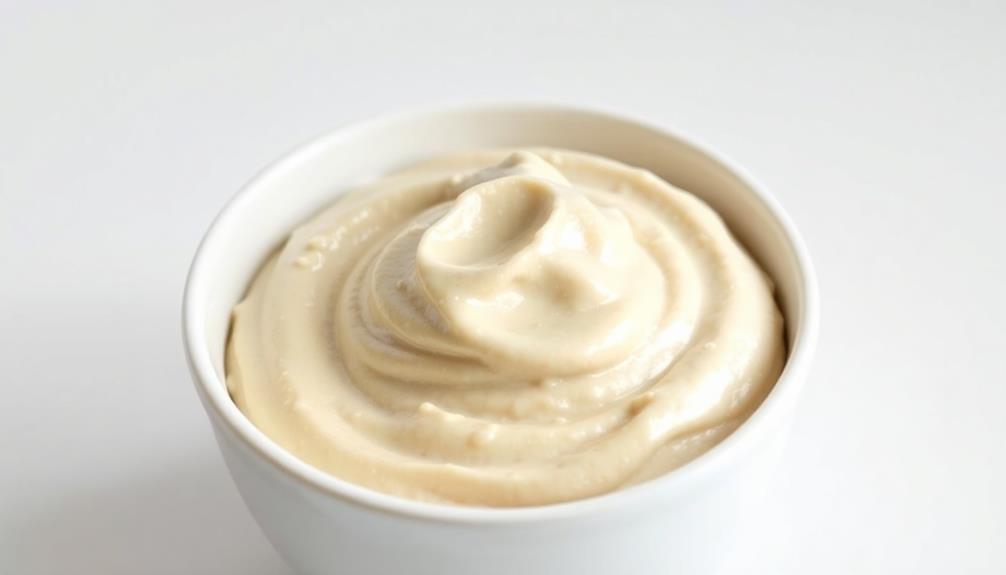
Once the aromatics are perfectly sautéed, you'll want to add blended cashews to your dairy-free soup. This creamy, nutty ingredient will help create a rich, velvety texture without any dairy.
Start by soaking raw cashews in hot water for at least 30 minutes to soften them. Drain the cashews, then blend them with a bit of the soup broth until you have a smooth, creamy paste.
Stir this cashew cream into your simmering soup and let it heat through. The cashews will thicken the broth and lend a subtle, buttery flavor.
Don't be afraid to experiment with the ratio – add a bit more or less cashew cream depending on how thick you want your soup to be. The key is to start small and gradually incorporate the cashew puree until you achieve your desired consistency.
With this simple technique, you can enjoy a comforting, dairy-free soup that's just as satisfying as the traditional version.
Step 3. Stir in Vegetable Stock
After blending the cashews, you'll want to stir in the vegetable stock. This crucial step helps create a creamy, dreamy texture without any dairy.
The veggie stock adds savory depth and balances out the richness of the cashews. Just pour it in slowly, whisking as you go, until the soup reaches your desired consistency.
Don't be afraid to add a bit more stock if it's looking too thick. The key is to achieve a smooth, velvety texture that coats your spoon.
This dairy-free method gives you all the creaminess you crave, without any heavy cream or milk. Plus, the veggie stock infuses your soup with extra flavor.
Keep stirring and tasting until it's just right. With this technique, you'll be sipping on a luscious, plant-based bowl of goodness in no time.
Step 4. Blend in Pureed Potatoes
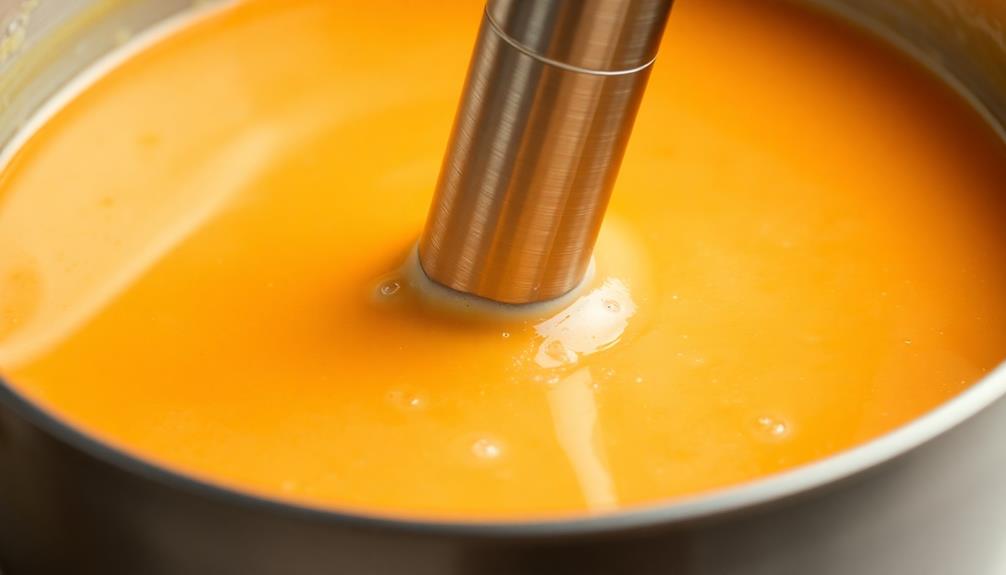
Potatoes are a versatile ingredient that can lend a creamy, velvety texture to dairy-free soups. To incorporate this secret weapon, simply peel and cube a few potatoes, then boil them until they're fork-tender.
Drain the potatoes, reserving the cooking liquid, and mash them until they're smooth and lump-free. Now, gradually stir the mashed potatoes into your soup, adding a bit of the cooking liquid as needed to achieve the desired consistency.
The starches in the potatoes will thicken the soup, creating a rich, silky base without any dairy. You can even go a step further and purée the entire soup to ensure a uniform, creamy texture throughout.
Adjust the seasoning as needed, and you'll have a delightfully dairy-free soup that's as indulgent as the real thing. Give this simple technique a try, and you'll be amazed at how potatoes can transform your soups.
Step 5. Simmer Until Desired Consistency

With the potatoes mashed and incorporated, the next step is to simmer the soup until it reaches your desired consistency.
The slow simmering process allows the flavors to meld and the soup to thicken up beautifully. Keep a close eye on the pot, stirring occasionally, as you let the mixture gently bubble away.
Depending on how thick you want the final soup, you may need to simmer for 10-20 minutes. The longer you let it go, the more the liquid will reduce and the creamier the texture will become.
Don't be afraid to experiment until you land on your perfect consistency – whether you prefer a more broth-like soup or an ultra-velvety puree.
Just be patient and allow the soup to gradually reach the ideal thickness. Once it's ready, you'll be rewarded with a lusciously creamy dairy-free soup, no cream required!
Final Thoughts
As we come to the end of our exploration of dairy-free soup techniques, it's important to keep in mind the versatility and simplicity of these methods.
You don't need heavy cream or milk to achieve a creamy, satisfying soup – all it takes is a little creativity and the right ingredients.
Whether you're lactose-intolerant, vegan, or simply looking to cut back on dairy, these techniques offer a world of possibilities. By exploring alternatives such as almond, soy, or oat milk, you can still enjoy your favorite dairy-based foods without compromising your dietary restrictions. Additionally, experimenting with dairy-free recipes and incorporating more plant-based ingredients into your meals can open up a whole new culinary adventure. If you enjoy traveling, you can also find dairy-free options in many restaurants and grocery stores, making it easier than ever to maintain your lifestyle while on the go. These traveling tips can help ensure that you stay on track with your dairy-free diet no matter where your adventures take you. If you’re following a lowfodmap eating tips, it’s important to be mindful of ingredients that may trigger symptoms. Luckily, there are plenty of resources available to help you navigate dining out and grocery shopping while adhering to your dietary needs. By planning ahead and staying informed about low-fodmap eating tips, you can continue to enjoy delicious and satisfying meals without compromising your health goals.
Blending pureed vegetables, nuts, or seeds can provide a rich, velvety texture without the heaviness of traditional dairy products.
Simmering and reducing the soup can also help intensify flavors and achieve your desired consistency.
Frequently Asked Questions
Can I Use Canned Coconut Milk Instead of Dairy-Free Milk?
Absolutely! You can use canned coconut milk instead of dairy-free milk in your recipes. Coconut milk provides a rich, creamy texture that's perfect for dairy-free soups and sauces. Give it a try – the results will be delicious!
Do I Need to Soak the Nuts Before Blending?
You don't necessarily need to soak the nuts before blending, but it can help create a smoother, creamier texture in your dairy-free soup. Soaking the nuts for a few hours or overnight can soften them, making them easier to blend into a creamy base.
Can I Substitute Pureed Vegetables for the Nut-Based Cream?
You can absolutely substitute pureed vegetables for the nut-based cream. Vegetables like potatoes, cauliflower, or cashews can create a creamy, dairy-free base for your soup. Just blend them up until smooth and add to your recipe.
How Long Will the Dairy-Free Soup Last in the Fridge?
Your dairy-free soup should last 3-5 days in the refrigerator. Just be sure to store it in an airtight container. Enjoy your tasty, creamy soup without the dairy!
Can I Freeze the Dairy-Free Soup for Later Use?
Yes, you can freeze the dairy-free soup for later use. It'll keep in the freezer for up to 3 months. Just make sure to store it in an airtight container to prevent freezer burn.