
You'll love the Paleo diet if you're looking to eat like our ancestors! It's all about enjoying fresh, whole foods just like people did thousands of years ago – think juicy fruits, crunchy veggies, and lean meats. Plus, you'll get lots of fiber to keep your tummy happy. Cooking Paleo meals is easy too – just gather up those unprocessed ingredients, cook them up with some herbs, and enjoy every bite. It's a delicious way to nourish your body and connect with the past. And there's more to discover about the Paleo lifestyle that might surprise you!
Key Takeaways
- The Paleo diet is inspired by the eating patterns of hunter-gatherers from the Paleolithic era, emphasizing whole, unprocessed foods for better health.
- Benefits of the Paleo diet include improved digestive health, weight management, and overall wellbeing by reducing refined sugars and grains.
- Chia seeds, a Paleo-friendly ingredient, are rich in fiber, essential minerals, and omega-3 fatty acids, contributing to the nutritional value of Paleo meals.
- Preparing Paleo meals involves using fresh, unprocessed ingredients, cooking thoroughly, seasoning with herbs, and serving the meal immediately for optimal nutrient retention.
- The Paleo lifestyle encourages mindful eating, self-compassion, and a positive attitude towards food, fostering a sense of community among practitioners.
Top picks for "paleo diet stone"
As an affiliate, we earn on qualifying purchases.
History
Although the concept of the Paleo diet has been around for decades, it gained significant popularity in the 2010s. Back then, people started to realize that our modern diets packed with processed foods just weren't healthy.
That's when the Paleo diet came into the spotlight as a way to eat like our ancestors – with natural, whole foods that our bodies are designed to digest.
The Paleo diet is inspired by the eating patterns of our hunter-gatherer forefathers from the Paleolithic era, which lasted from about 2.5 million to 10,000 years ago.
These early humans relied on finding and hunting their food, like juicy berries, crunchy nuts, and lean meats. They didn't have access to the sugary, salty, and fatty snacks that fill our grocery stores today.
Recipe
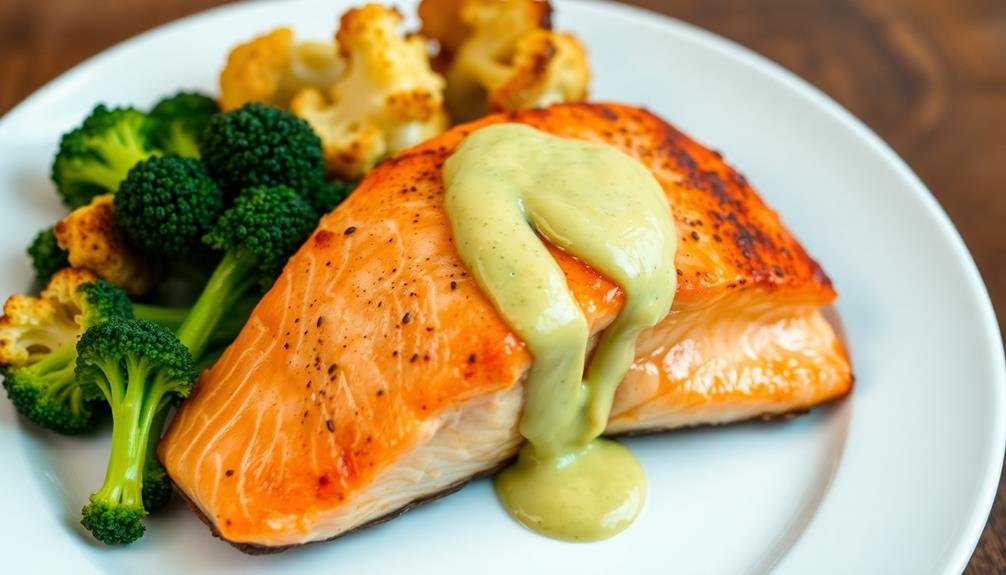
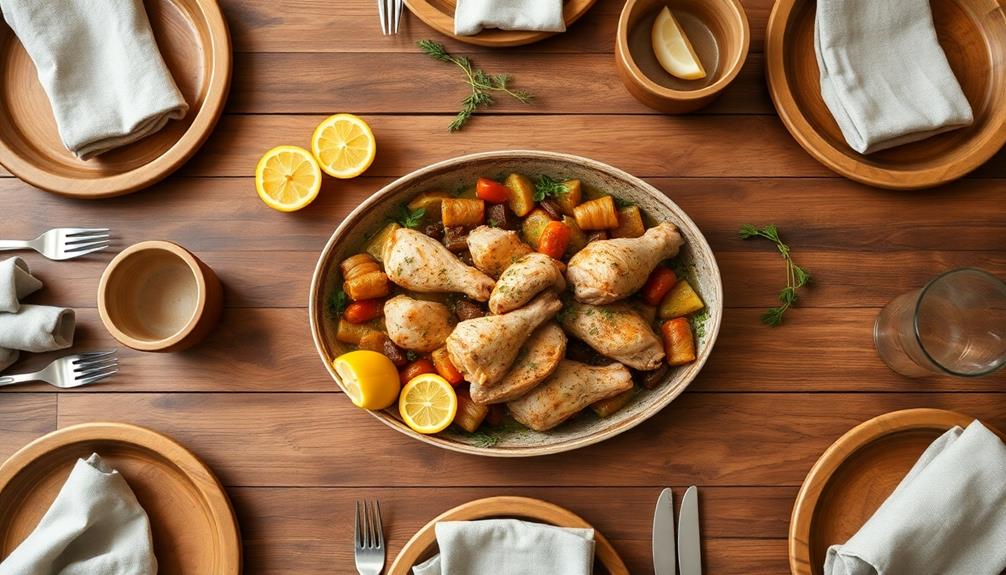
The Paleo diet, also known as the Caveman diet, has gained immense popularity in recent years. It emphasizes the consumption of whole, unprocessed foods that our hunter-gatherer ancestors would have eaten. This recipe for a delicious Paleo-friendly dish is sure to satisfy your cravings while keeping you on track with your dietary goals.
This particular recipe showcases the versatility of the Paleo diet by featuring a hearty and flavorful meal that's both nutritious and satisfying. The combination of fresh ingredients and simple preparation methods makes this dish an excellent choice for a quick and easy weeknight dinner or a weekend gathering with friends and family.
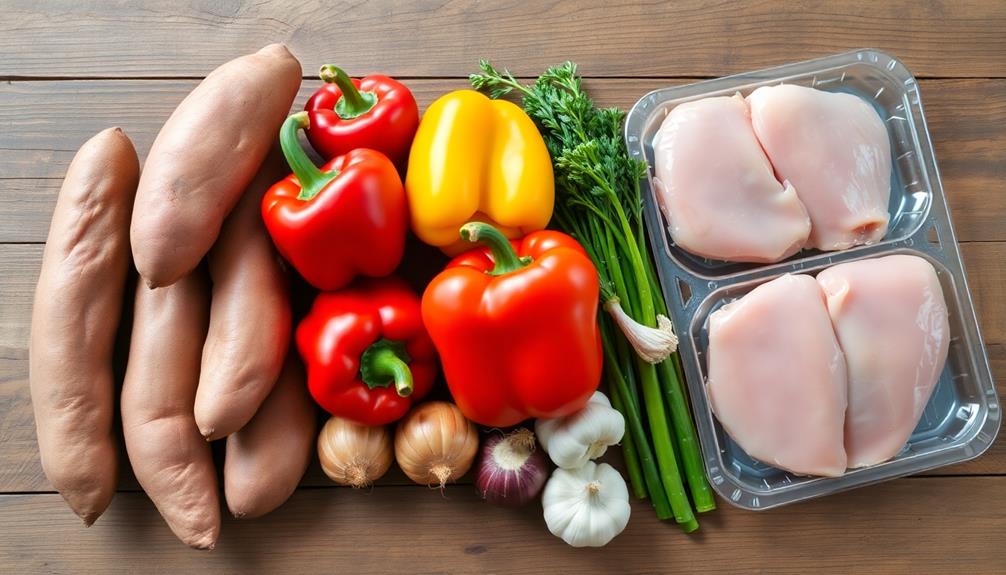
Ingredients:
- 1 lb. boneless, skinless chicken breasts
- 2 cups diced sweet potatoes
- 1 cup diced bell peppers (any color)
- 1 onion, diced
- 2 cloves garlic, minced
- 2 tablespoons olive oil
- 1 teaspoon paprika
- 1 teaspoon dried oregano
- 1/2 teaspoon salt
- 1/4 teaspoon black pepper
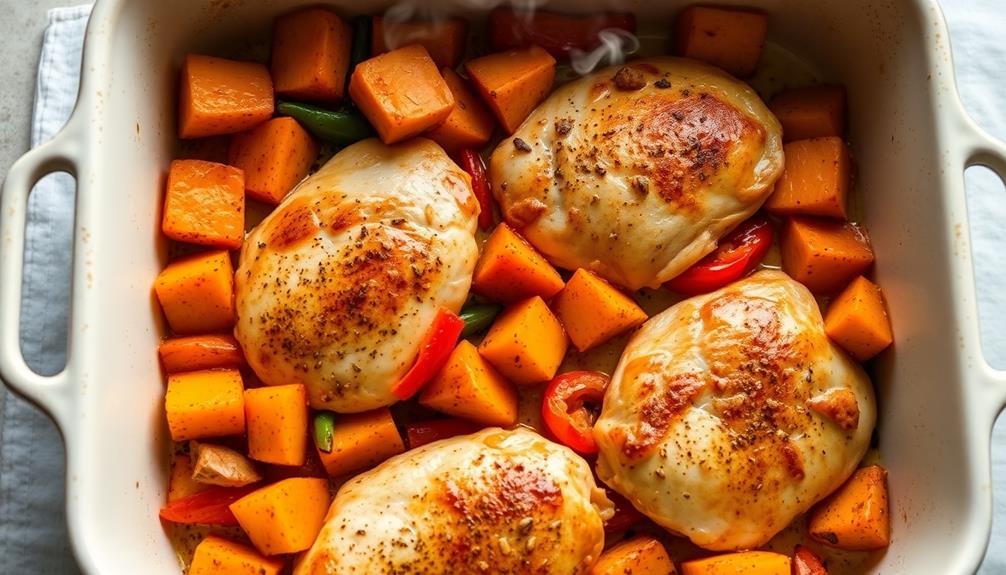
Instructions:
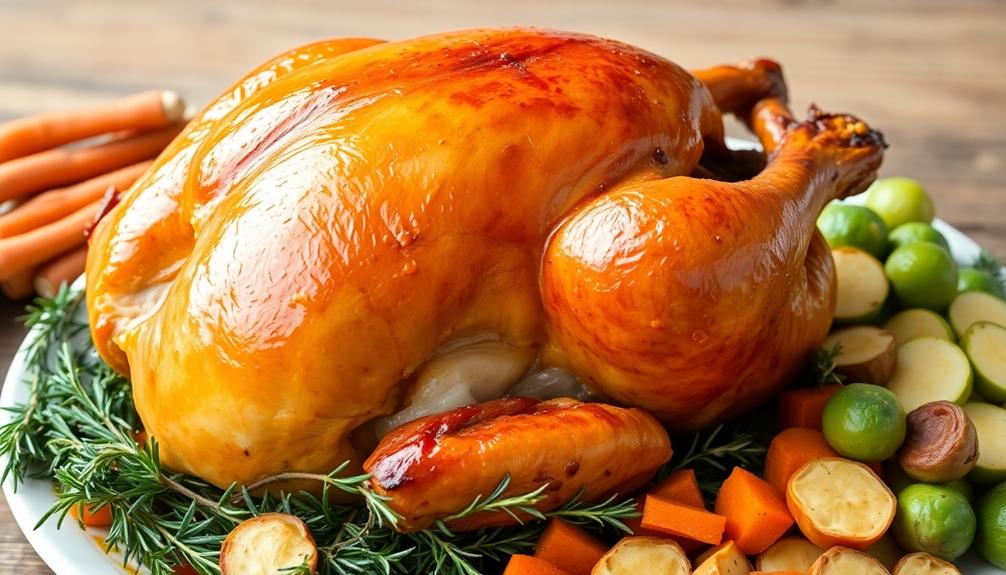
Preheat your oven to 400°F (200°C). In a large baking dish, combine the diced sweet potatoes, bell peppers, onion, and garlic. Drizzle with olive oil and season with paprika, oregano, salt, and black pepper. Toss to evenly coat the vegetables.
Nestle the chicken breasts into the vegetable mixture. Bake for 25-30 minutes, or until the chicken is cooked through and the vegetables are tender.
When cooking this Paleo-friendly dish, be sure to use fresh, high-quality ingredients for the best flavor. You can also experiment with different seasoning blends or swap out the vegetables based on your personal preferences. For added variety, consider incorporating different proteins such as beef or chicken, depending on what you have on hand. Many people also enjoy experimenting with global flavors to enhance their dish’s uniqueness. If you’re curious about how to make duruchigi, a popular Korean stir-fry dish, you can explore it as a flavorful variation featuring thinly sliced pork and a savory-spicy sauce.
This recipe is a great way to introduce more Paleo-approved meals into your weekly rotation, and you can serve it alongside a side salad or a simple cauliflower rice for a complete and satisfying Paleo-friendly dinner.
Cooking Steps
Gather fresh, unprocessed ingredients for your Paleo meal.
Cook the ingredients thoroughly and season them with delicious herbs.
Serve the meal immediately and enjoy it with your family or friends.
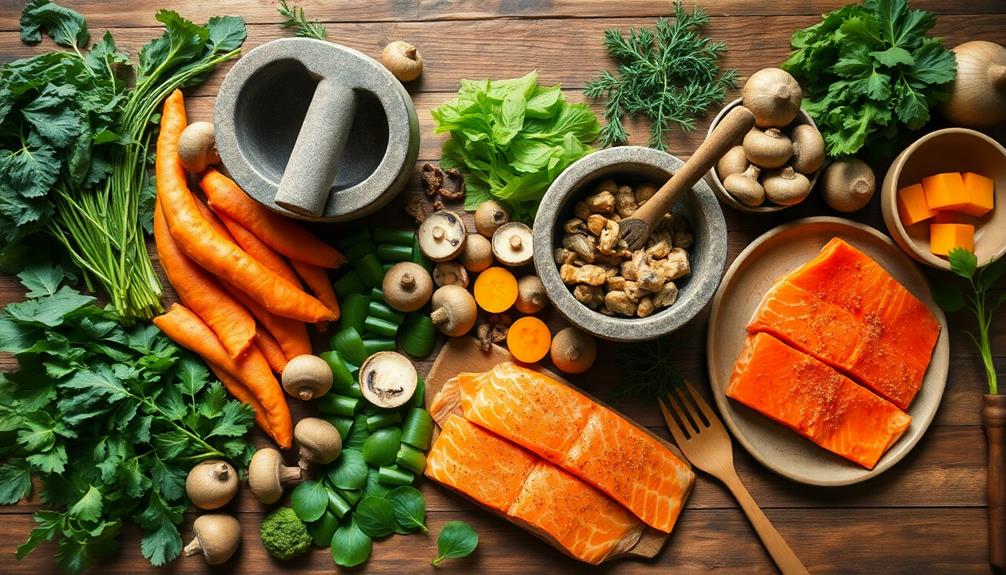
Step 1. Gather Fresh, Unprocessed Ingredients
Selecting fresh, unprocessed ingredients is the cornerstone of the Paleo diet.
You'll want to visit your local farmer's market or grocery store and fill your basket with an array of vibrant produce. Grab some juicy tomatoes, crisp lettuce, and fragrant herbs.
Don't forget to pick up grass-fed meats, wild-caught fish, and farm-fresh eggs. These whole, natural foods are the stars of the Paleo show!
Avoid anything that comes in a box, bag, or can – those processed items are off-limits. Instead, choose ingredients that are as close to their natural state as possible.
Imagine plucking a ripe apple straight from the tree or digging up earthy root vegetables from the soil. Doesn't that sound delightful?
By sticking to unprocessed, nutrient-dense foods, you'll be fueling your body with the nourishment it craves.
Get ready to enjoy the fresh flavors and satisfying textures of a true Paleo feast!
Step 2. Cook Ingredients Thoroughly
With your fresh, unprocessed ingredients ready, it's time to start cooking! The key to a delicious Paleo meal is to cook your ingredients thoroughly. This helps to break down any tough fibers and release all the amazing flavors.
Begin by heating a pan or pot over medium heat. Once it's nice and hot, add a bit of healthy fat like coconut oil or olive oil. Toss in your veggies and meats, stirring frequently to prevent burning. The sizzling and savory aromas will make your mouth water!
Cook everything until it's tender and cooked through. For meat, use a food thermometer to ensure it reaches a safe internal temperature. Leafy greens should be wilted, and root veggies should be fork-tender. Adjust the heat as needed to get that perfect texture.
When everything is ready, remove the pan from the heat. Get ready to enjoy a delicious, nutrient-packed Paleo meal that will fuel your body and delight your taste buds!
Step 3. Season With Herbs
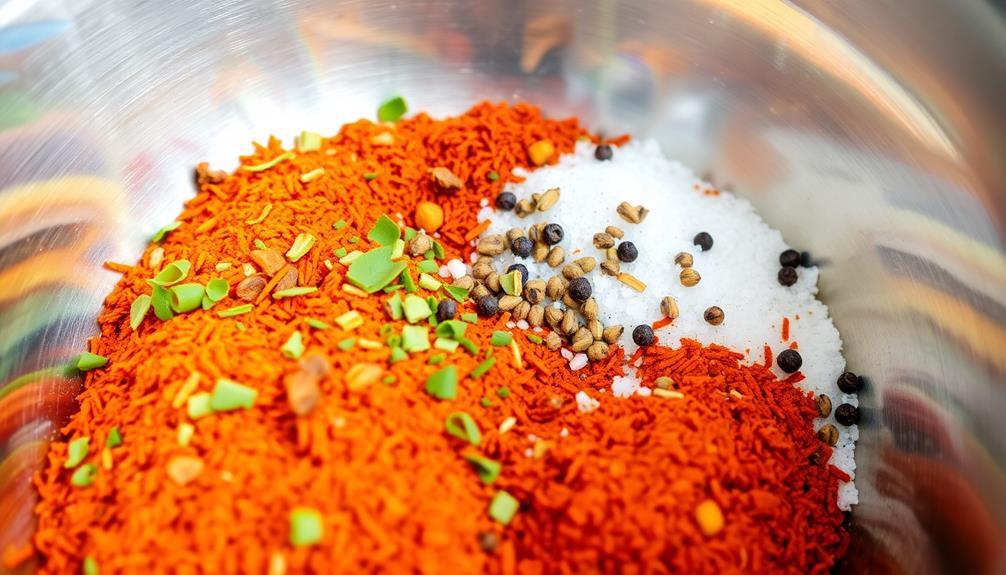
Once your ingredients are cooked through, it's time to season them with a variety of fresh herbs. Herbs are the secret to unlocking the true flavors of your Paleo dishes!
Imagine the aroma of fragrant rosemary, the zest of lemon thyme, and the earthy warmth of sage – these wonderful herbs can transform your meal into a culinary delight. Incorporating nutrient-rich ingredients like celery juice powder can also enhance the flavor profile while providing added health benefits.
Start by chopping up a handful of your favorite herbs. Tender leaves like basil and parsley work great, as do the heartier varieties like oregano and marjoram.
Gently sprinkle the herbs over your cooked ingredients, letting their flavors infuse every bite. Don't be afraid to get creative – mixing and matching different herbs can create truly unique and delicious combinations.
Step 4. Serve Meal Immediately
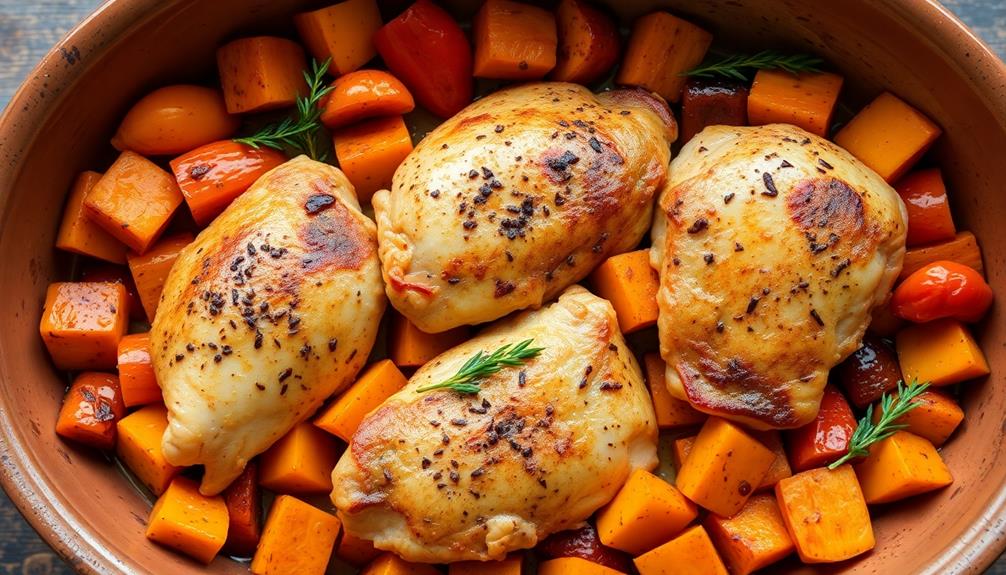
Serve your flavorful Paleo dish right away for the best experience. The fresh, vibrant flavors are at their peak when the meal is hot and ready to enjoy.
Don't let your hard work in the kitchen go to waste – dig in as soon as possible! When the aroma of sizzling meat, roasted veggies, and aromatic herbs fills the air, your taste buds will be tingling with anticipation.
The tender, juicy bites and crisp textures are simply divine when everything is piping hot. Savor each mouthful and relish in the satisfying Paleo goodness.
Serving immediately also helps retain the optimal nutrition. Certain vitamins and minerals can diminish over time, so you'll get the full health benefits by eating your Paleo creation right away.
Plus, the meal will be at its most visually appealing, making it even more appetizing. So gather your family or friends and enjoy this delicious Paleo feast together while it's fresh and fabulous!
Step 5. Enjoy With Family or Friends
Frequently, invite your loved ones to savor the Paleo feast together. Whether it's your family or closest friends, gather around the table and relish in the nourishing flavors of your Paleo meal.
The aroma of freshly grilled meat and sautéed vegetables will surely whet their appetites. As you all serve generous portions onto your plates, engage in lively discussions about the day's events or plan future adventures.
Chew mindfully, savoring each bite and appreciating the simple, wholesome ingredients. Between bites, share stories, laughter, and warm smiles.
This communal experience nourishes not only your bodies, but also your relationships. Savor the togetherness, for these moments create cherished memories that will last long after the meal has been enjoyed.
When the plates are clean, linger a while longer, sipping herbal tea or water. Relish in the satisfaction of a nutritious Paleo feast shared with those you hold dear.
Final Thoughts
The Paleo diet has become a subject of considerable debate and intrigue among health enthusiasts and nutritionists alike. While some swear by its benefits, others remain skeptical.
But at the end of the day, the Paleo lifestyle is all about enjoying delicious, wholesome foods that nourish your body and soul. Incorporating nutrient-dense seeds like chia can further enhance your meals, offering benefits such as high fiber content and essential minerals for overall health (Nutritional Power of Chia Seeds).
Whether you're dining solo or sharing a meal with loved ones, the Paleo way encourages you to slow down, savor each bite, and truly appreciate the flavors and textures of your food.
Imagine the satisfying crunch of fresh vegetables, the juicy burst of ripe berries, or the creamy richness of a perfectly cooked steak. Paleo eating is an opportunity to reconnect with the simple pleasures of nourishing your body.
As you continue on your Paleo journey, remember to be kind to yourself. Progress isn't always linear, and the most important thing is that you're making choices that align with your health and wellness goals.
Embrace the Paleo lifestyle with an open mind and a grateful heart, and enjoy the journey ahead!
Frequently Asked Questions
What Is the Scientific Evidence Behind the Paleo Diet?
The scientific evidence for the paleo diet is mixed. While it emphasizes whole, unprocessed foods, its restrictive nature and lack of long-term studies make it difficult to conclusively determine its health benefits or superiority over other dietary approaches.
Can the Paleo Diet Be Followed by Vegetarians or Vegans?
Yes, you can follow a vegetarian or vegan paleo diet. Just focus on plant-based whole foods like fruits, vegetables, nuts, seeds, and healthy oils, and avoid processed foods, grains, and dairy.
Is the Paleo Diet Suitable for People With Certain Medical Conditions?
The suitability of the paleo diet for those with medical conditions depends on the individual's specific needs and restrictions. It's best to consult a healthcare professional before starting any new dietary regimen.
How Does the Paleo Diet Compare to Other Popular Diets?
The paleo diet emphasizes whole, unprocessed foods like fruits, vegetables, and lean proteins. Compared to other diets, it may provide more nutrients but can be more restrictive and challenging to follow long-term.
Are There Any Potential Long-Term Health Risks Associated With the Paleo Diet?
While the paleo diet can provide short-term benefits, there may be potential long-term health risks such as nutrient deficiencies, difficulty maintaining the diet, and increased risk of heart disease if not balanced properly.