Cherry pie – a beloved American classic that'll transport you on a delicious journey through history! It all started with Native Americans using wild cherries, then European settlers blending those local ingredients with their baking know-how. Over time, cherry pie became a staple at festivals and family gatherings, with regional variations popping up using different cherry types, crusts, and spices. Today, you can enjoy the tart Montmorency or juicy Bing cherries that have enriched America's culinary landscape. Wanna learn the steps to bake your own mouthwatering cherry pie? Keep reading to discover the secrets behind this timeless dessert!
Key Takeaways
- Cherry pie has its origins in Native American culinary traditions, with wild cherries being the primary ingredient.
- European settlers in America adopted local ingredients and baking techniques, leading to the widespread popularity of cherry pie.
- Cherry pie can feature a variety of regional variations, including different types of cherries, crusts, and spices.
- The baking process for cherry pie involves preparing a homemade pie crust, combining the cherry filling ingredients, and baking the pie until golden brown.
- Cherry pie has become a beloved American staple, often served at festivals and family gatherings, and enjoyed with a scoop of vanilla ice cream.
History
The origins of the humble cherry pie can be traced back centuries, with its roots firmly planted in the diverse culinary traditions of North America. Native Americans were the first to discover the sweet and tangy flavors of wild cherries, often incorporating them into their own unique dishes.
As European settlers arrived, they quickly adopted these local ingredients, blending them with their own baking techniques to create the beloved cherry pie we know and love today.
The pie's popularity only grew over time, becoming a staple at festivals, social gatherings, and family celebrations. Each region put its own spin on the recipe, using different types of cherries, crusts, and spices to create a truly diverse range of flavors.
From the tart Montmorency cherries of the Midwest to the plump, juicy Bing cherries of the Pacific Northwest, the cherry pie has become a beloved part of the American culinary landscape.
Cooking Steps
Preheat your oven to 425°F. You're one step closer to enjoying the delicious homemade cherry pie you've been craving! Now, let's dive into the cooking steps.
First, unroll your pie crust and press it into a 9-inch pie dish. Crimp the edges to create a decorative border.
In a large bowl, combine the pitted and halved cherries, sugar, cornstarch, and a pinch of salt. Mix everything together until the cherries are evenly coated.
Pour the cherry mixture into the prepared pie crust. Top with the second pie crust, either in a lattice pattern or as a full crust. Be sure to cut slits in the top crust to allow steam to escape. Brush the top with a beaten egg and sprinkle with a little sugar.
Bake the pie for 25 minutes, then reduce the temperature to 350°F and continue baking for 30-35 minutes, until the crust is golden brown and the filling is bubbly.
Allow the pie to cool completely before slicing and serving. Enjoy the sweet, juicy goodness of your homemade cherry pie!
Step 1. Make Pie Dough
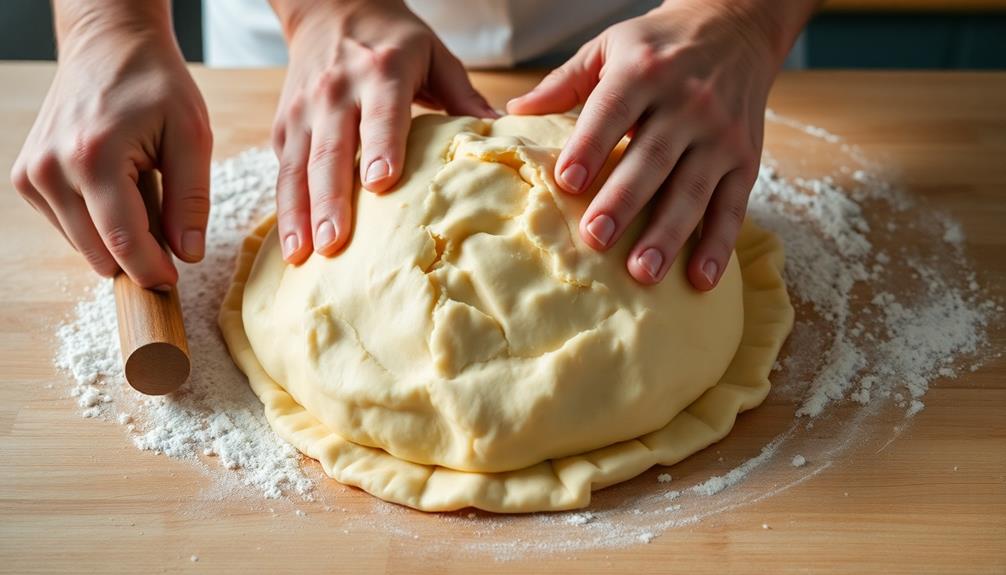
Making the pie dough is the foundation for this delectable cherry pie. Grab a large mixing bowl and let's get started!
First, combine the all-purpose flour, sugar, and a pinch of salt. Use a fork to mix it all together.
Then, add in cubes of cold butter and use your fingertips to gently work the butter into the flour mixture. You want it to resemble coarse crumbs with some pea-sized pieces of butter remaining.
Next, slowly drizzle in ice-cold water, a tablespoon at a time, while gently mixing with a fork. Be careful not to overmix – you want the dough to just barely hold together.
Once it does, shape the dough into a disc, wrap it in plastic, and let it chill in the fridge for at least 30 minutes. This resting time is crucial for the gluten to relax, making the dough easier to roll out later.
Now you're ready to assemble your cherry pie!
Step 2. Roll Out Dough
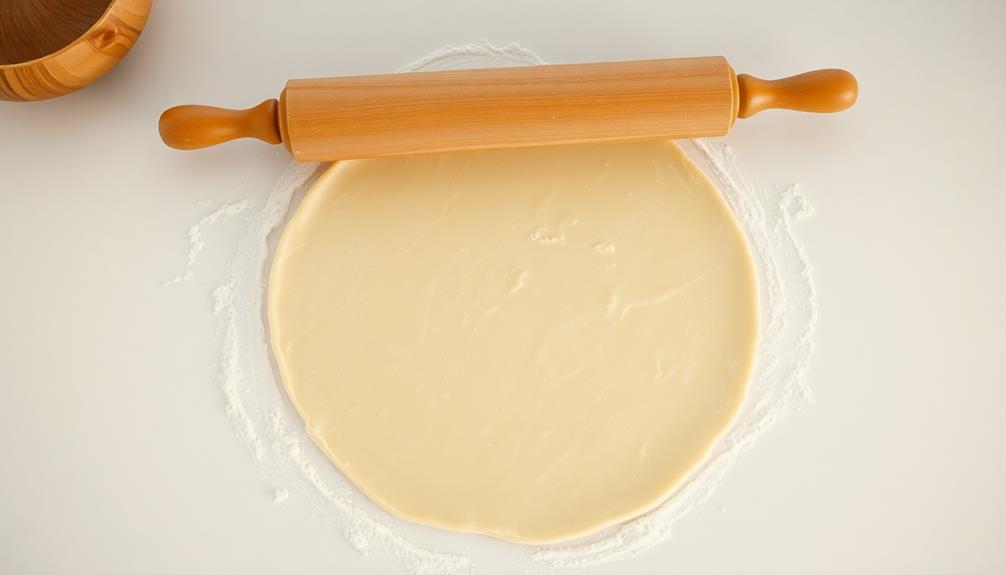
Once the pie dough has chilled, it's time to roll it out. Grab your rolling pin and lightly flour your work surface.
Gently place the dough on the floured surface and begin rolling, starting from the center and working your way out. Apply gentle pressure and roll the dough into a circular shape, about 1/8 inch thick. Don't be afraid to flip the dough and re-flour the surface as needed to prevent sticking.
Once the dough is the right size, carefully transfer it to your pie dish. Gently press the dough into the bottom and up the sides of the dish, making sure there are no air bubbles.
Trim any excess dough from the edges, leaving about an inch overhang. Now you're ready to add your delicious cherry filling and top it with the second layer of dough. Get ready for a homemade masterpiece!
Step 3. Fill Pie Shell
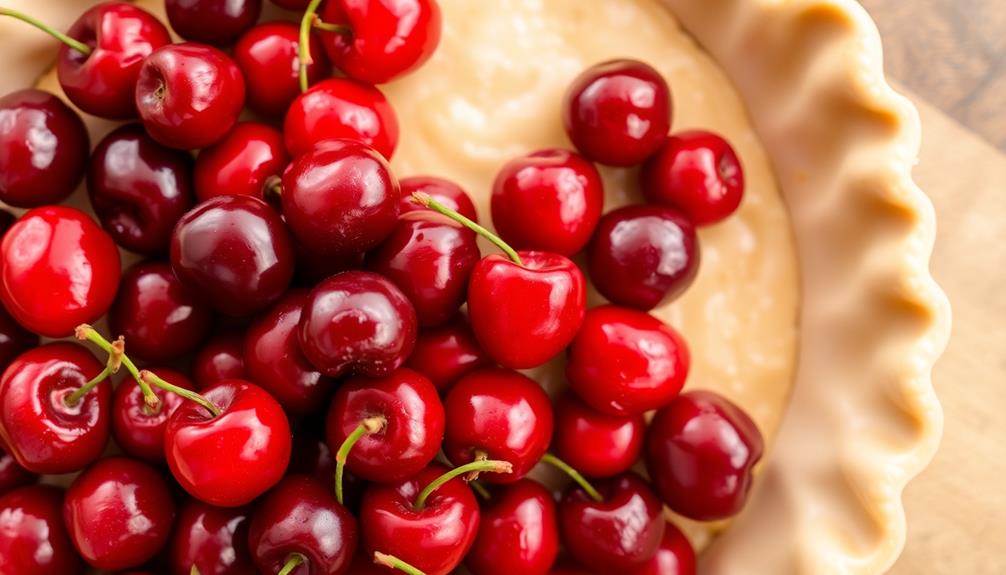
With the pie dough perfectly fitted into the dish, it's time to prepare the cherry filling. First, grab a large bowl and add in those juicy, ripe cherries. Make sure to remove the pits – you don't want any surprises while enjoying your delicious pie!
Next, sprinkle in some sugar, a pinch of salt, and a touch of cornstarch. This will help thicken the filling and bring out the natural sweetness of the cherries. Give everything a good stir until it's evenly combined.
Carefully pour the cherry mixture into the prepared pie shell, spreading it out evenly. Don't be afraid to really pack it in there – you want that filling to reach every corner!
Now, it's time to finish up the pie by adding the top crust. Gently lay it over the filling, crimp the edges, and cut a few slits in the top to allow steam to escape. Your cherry pie is almost ready to bake!
Step 4. Lattice the Top Crust
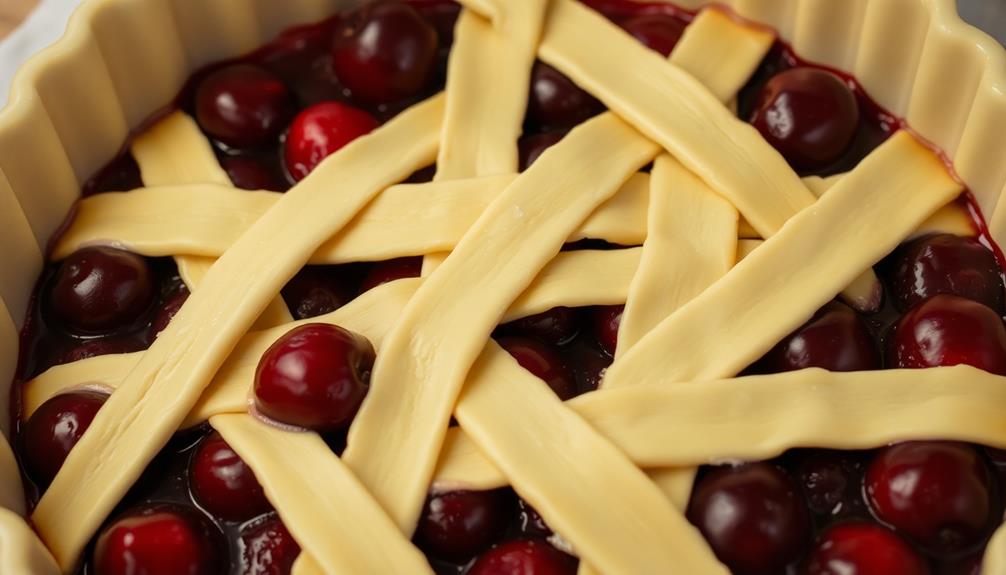
To create a beautiful lattice top for your cherry pie, begin by rolling out the remaining dough into a thin sheet. Use a sharp knife or a pizza cutter to slice the dough into long, thin strips, about 1/2 inch wide.
Gently transfer the strips onto the filled pie shell, arranging them in a criss-cross pattern. Make sure to leave a bit of space between each strip so the filling can peek through.
Once the lattice is in place, use your fingers to gently crimp and seal the edges of the dough where the strips meet the pie shell. This will help the lattice hold its shape as the pie bakes.
Step 5. Bake Until Golden Brown

Preheat your oven to 425°F. It's time to get that cherry pie in the oven!
Once your oven is nice and hot, carefully transfer the assembled pie into the oven. Make sure to place it on the middle rack so the heat can circulate evenly around the pie.
Now, let's set a timer for 20-25 minutes. You'll know the pie is done when the crust turns a beautiful golden brown color.
Keep an eye on it, though, to make sure the edges don't burn. If the top seems to be browning too quickly, you can loosely cover it with a piece of aluminum foil.
When the timer goes off, use oven mitts to gently remove the pie from the oven.
Allow it to cool for at least 30 minutes before slicing. This gives the filling a chance to set up nicely.
Serve your delicious cherry pie warm, with a scoop of vanilla ice cream on top if you'd like. Enjoy! If you’re not a fan of cherry pie, we also offer a delicious chocolate cream pie that is sure to satisfy your sweet tooth. The creamy, rich filling and flaky crust make it the perfect dessert for any occasion. Whether you choose the cherry pie or the chocolate cream pie, you’re in for a delectable treat that will leave you wanting more.
Final Thoughts
Though you may have now perfected the art of baking a delicious cherry pie, don't forget that the journey of discovery is never truly over.
As you continue to explore the world of baking, remember that there's always room for improvement and experimentation.
Why not try adding a touch of cinnamon or a sprinkle of nutmeg to your filling?
Or, for a twist, how about swapping out the cherries for a different fruit, like apples or blueberries?
The possibilities are endless, and each new creation will be a chance to showcase your growing skills and creativity.
Don't be afraid to step out of your comfort zone.
Embracing new challenges and techniques is the best way to keep your passion for baking alive.
Who knows, your next culinary adventure might just lead you to the perfect cherry pie variation that becomes a family favorite.
Frequently Asked Questions
What Is the Best Type of Cherry to Use in Cherry Pie?
When it comes to baking the perfect cherry pie, you'll want to use sour cherries like Montmorency or Morello.
These tangy little fruits have just the right balance of sweetness and acidity to create a mouthwatering filling. Their firm texture also holds up well during the baking process, so you'll end up with a delicious, gooey filling encased in a flaky, golden crust.
Get ready to wow your friends and family with a slice of homemade cherry pie perfection!
How Long Does It Take to Make a Cherry Pie From Scratch?
Making a cherry pie from scratch takes some time, but it's a fun and rewarding process!
Expect to spend around 2-3 hours start to finish, including preparing the crust, pitting the cherries, mixing the filling, and baking the pie.
Don't worry, though – the end result is absolutely worth it!
With a little patience and some elbow grease, you'll have a mouthwatering homemade cherry pie to enjoy.
Can I Use Canned Cherry Pie Filling Instead of Fresh Cherries?
Absolutely! Using canned cherry pie filling can save you a lot of time and effort.
It's a great shortcut that still delivers a delicious homemade taste. The canned filling is pre-sweetened and thickened, so you won't need to do all that extra prep work.
Just pop it into your pie crust, and you're good to go! It's a super easy way to whip up a tasty treat with minimal fuss.
How Do I Prevent the Cherry Pie From Becoming Too Runny?
To prevent your pie from becoming too runny, there are a few tricks you can try.
First, make sure to thicken the filling with cornstarch or flour. You can also use a little less liquid in the recipe.
Additionally, be careful not to overfill the pie crust, as that can lead to excess juice.
Finally, let the pie cool completely before slicing, as this will help the filling set up.
With these tips, you'll have a perfectly delicious and not-too-runny pie!
Can I Freeze Leftover Cherry Pie for Later Consumption?
Absolutely! Freezing leftover pie is a great way to enjoy it later.
Just let the pie cool completely, then wrap it tightly in aluminum foil or plastic wrap.
Pop it in the freezer, and when you're ready for a slice, simply thaw it overnight in the fridge.
Frozen pie can last up to 3 months, so you can savor that delicious flavor anytime.
It's an easy and convenient way to make the most of your leftovers.