You'll love sữa chua – Vietnam's irresistible yogurt that's been delighting families for centuries! This creamy, sweet-and-tangy delight blends French and Vietnamese culinary traditions, with each recipe showcasing a unique family twist. Whether you enjoy the thick, luscious versions or the lighter, refreshing styles, sữa chua is a beloved treat found in homes, markets, and specialty shops across Vietnam. Often associated with celebrations, this versatile yogurt captivates all ages. Serve it chilled with fresh fruit for a delightful snack or dessert. The charm of sữa chua makes it a true gem worth exploring further.
Key Takeaways
- Sữa chua, or traditional Vietnamese yogurt, dates back to the 8th century AD and blends French and Vietnamese culinary traditions.
- The unique flavor profile of sữa chua combines sweetness and tanginess, often enjoyed as a snack or light dessert.
- Preparation involves heating milk, adding sugar and yogurt culture, and fermenting the mixture for 6 to 12 hours.
- Sữa chua is a source of probiotics, calcium, and protein, making it a nutritious and low-calorie option.
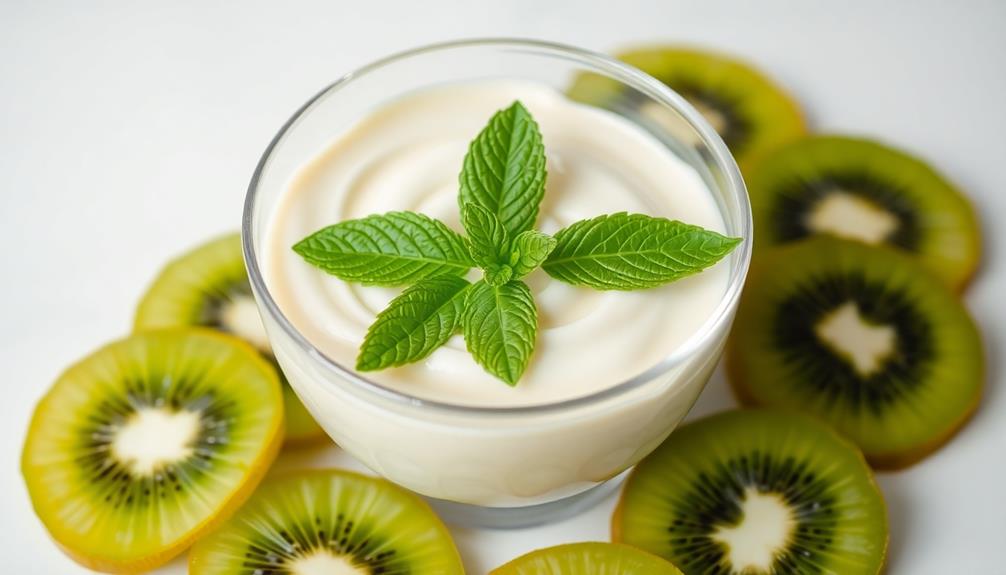
- Served chilled, sữa chua is typically topped with fresh fruit, offering a refreshing and delightful culinary experience.
Top picks for "chua vietnamese yogurt"
Open Amazon search results for this keyword.
As an affiliate, we earn on qualifying purchases.
History

The history of Vietnamese yogurt dates back centuries, with records indicating its consumption as early as the 8th century AD. This tangy and sweet treat has been a beloved part of Vietnamese culture for generations.
Over time, the recipe has been passed down, each family adding their own unique twist. Some prefer a thicker, creamier texture, while others enjoy a lighter, more refreshing version.
No matter the style, Vietnamese yogurt has always been a source of comfort and joy.
Today, you'll find it served in homes, street markets, and specialty shops across the country. It's a true reflection of Vietnam's rich culinary heritage, blending traditional techniques with modern innovations.
Whether enjoyed on its own or paired with fresh fruit, Vietnamese yogurt is a delightful way to savor the flavors of this vibrant nation.
Recipe
Vietnamese Yogurt
Recipe
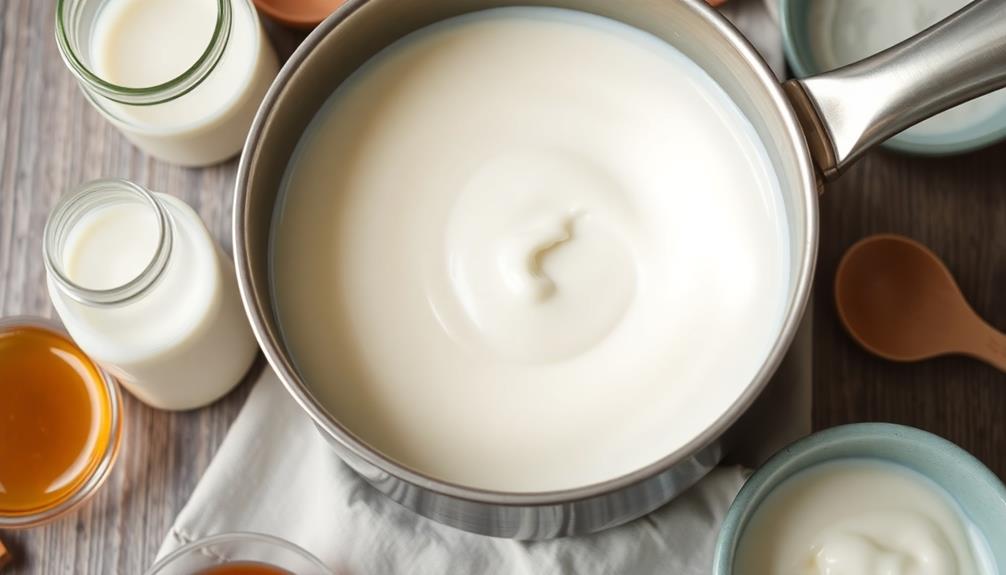
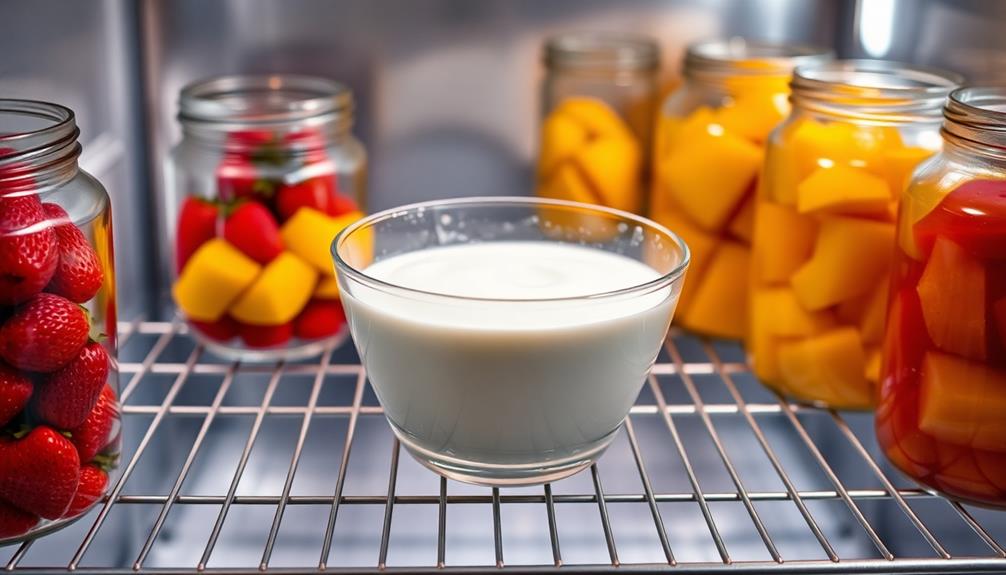
Yogurt is a staple in Vietnamese cuisine, often enjoyed as a refreshing and healthy snack. The traditional Vietnamese-style yogurt is thicker and creamier than its Western counterparts, with a slightly tangy flavor that pairs beautifully with fresh fruit or a drizzle of honey.
To make authentic Vietnamese yogurt at home, you'll need just a few simple ingredients and a bit of patience. The key is to allow the yogurt to culture for an extended period, resulting in that signature thick and creamy texture.
- Whole milk
- Yogurt starter culture or plain yogurt with active cultures
- Sweetener (optional)
- Fresh fruit (optional)
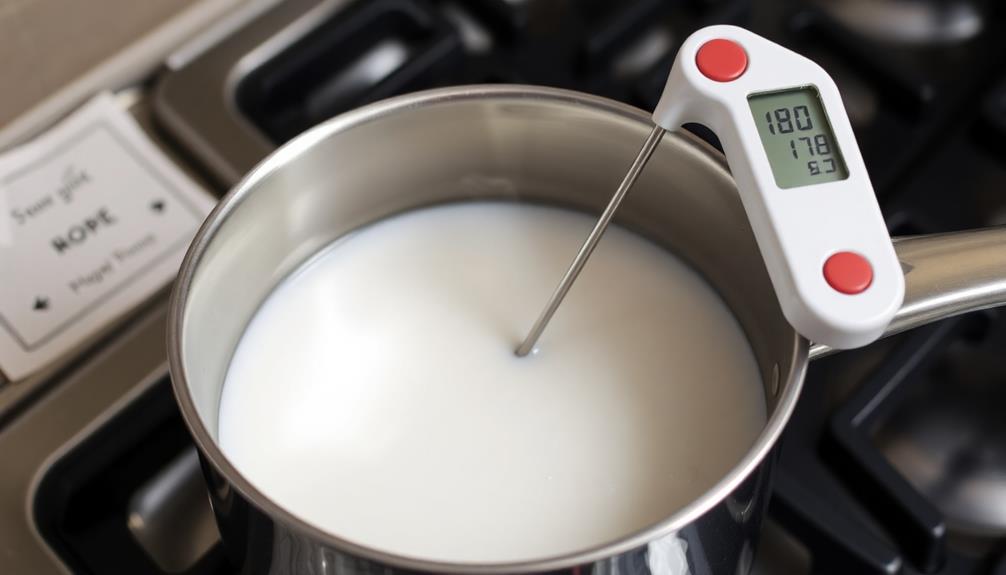
To begin, heat the milk in a saucepan over medium heat, stirring frequently, until it reaches a temperature of 180°F.
Remove the milk from the heat and let it cool to 110-115°F. Once the milk has cooled, stir in the yogurt starter or plain yogurt, making sure to incorporate it thoroughly.
Transfer the mixture to a clean container, cover, and place in a warm spot (such as an oven with the light on) for 6-8 hours, or until the yogurt has thickened to your desired consistency.
Once the yogurt has finished culturing, you can stir in a sweetener, such as honey or condensed milk, if desired.
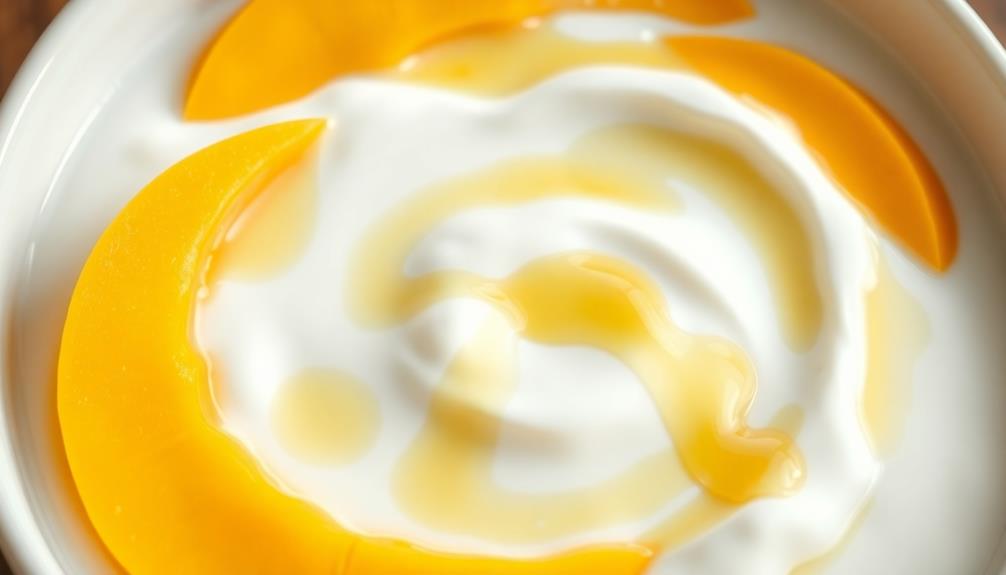
Serve the Vietnamese yogurt chilled, topped with fresh fruit for a refreshing and delightful treat. Enjoy! Serve the Vietnamese yogurt chilled, topped with fresh fruit for a refreshing and delightful treat. Enjoy! Pair this creamy dessert with a savory dish like Vietnamese lemongrass chili chicken to create a perfect balance of flavors. The tangy yogurt and vibrant fruit offer a cool contrast to the spicy and aromatic chicken, making your meal both satisfying and memorable.
Cooking Steps
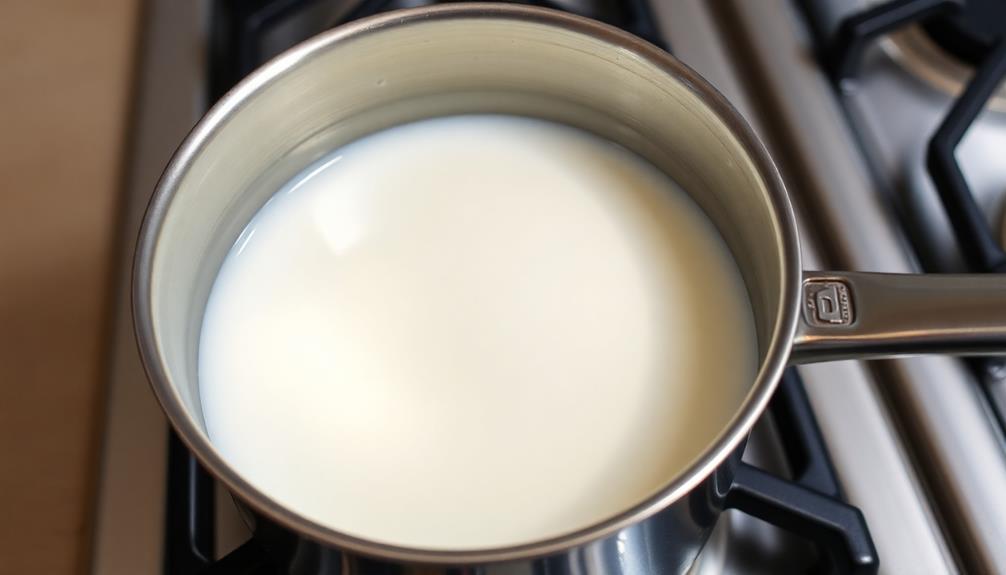
First, you'll need to bring the milk to a simmer.
Then, simply stir in the starter culture and let the mixture sit at room temperature until it thickens.
Step 1. Boil Milk Until Simmering
Next, you'll want to boil the milk until it's simmering. This step is crucial for getting the perfect texture and flavor for your Vietnamese yogurt.
Grab a large pot and pour in the fresh milk. Turn the stove to medium-high heat and keep a close eye on the pot. As the milk starts to heat up, you'll see small bubbles forming around the edges. That's your cue that it's time to reduce the heat.
Gently lower the temperature to medium-low, and let the milk simmer. You'll know it's simmering when you see tiny bubbles steadily breaking the surface.
Be patient and let the milk simmer for about 10-15 minutes. This helps intensify the natural sweetness and rich creaminess of the milk. Stir the pot occasionally to prevent any scorching.
Once the milk is simmering nicely, you're ready for the next step! Get excited, because your homemade Vietnamese yogurt is really starting to take shape.
Step 2. Add Starter Culture

Now, you'll want to add the starter culture to the simmering milk. This is where the magic happens! You'll need to carefully measure out the right amount of starter culture – just a small spoonful will do. Gently stir it into the milk until it's fully incorporated. Don't worry, it'll dissolve right in.
Next, you'll cover the pot and let the milk and starter culture sit for a few hours. During this time, the beneficial bacteria in the starter will start to work their magic, transforming the milk into delicious, tangy yogurt.
You might even see the mixture start to thicken up a bit as it does its thing.
Once the yogurt has reached the perfect consistency, you can transfer it to a clean container and pop it in the fridge to chill. The cooling process will help set the yogurt even more, resulting in a thick, creamy treat.
Get ready for a burst of Vietnamese flavor in every spoonful!
Step 3. Incubate Mixture at Room Temperature
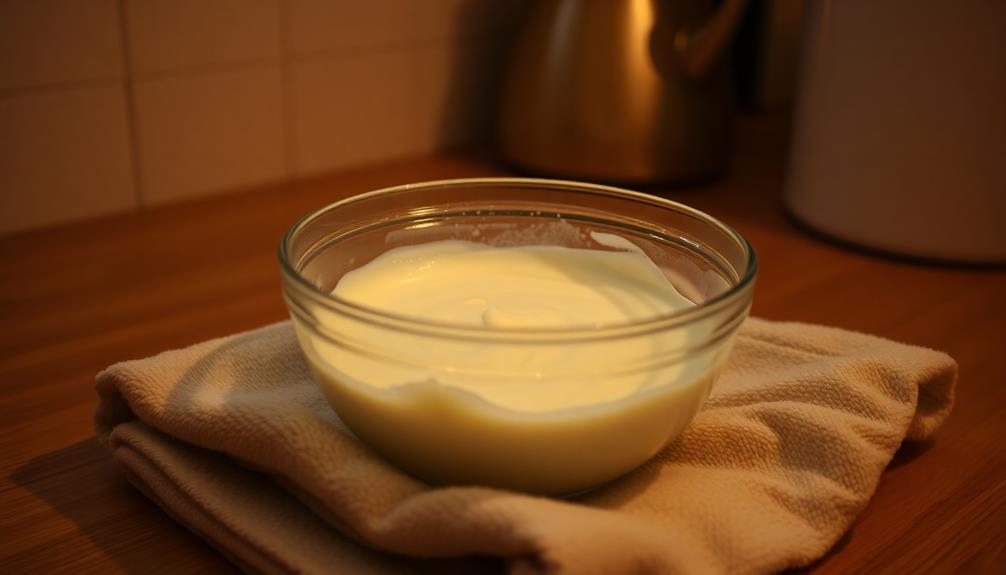
After adding the starter culture, it's time to let the mixture incubate at room temperature. Yay! This is where the magic happens.
Find a cozy spot in your kitchen and set the bowl aside. Over the next 6-8 hours, the good bacteria will work their wonders, transforming the milk into delicious, creamy Vietnamese yogurt.
As the mixture sits, you'll notice it thickening up and developing that signature tangy flavor. Don't worry, this is exactly what you want!
Keep an eye on it, but resist the urge to peek too often. Disturbing the mixture can affect the culturing process.
Once the yogurt has reached your desired consistency, it's time to chill it in the fridge. Cooling the yogurt helps stop the fermentation and sets the tangy flavor.
In just a few hours, your homemade Vietnamese yogurt will be ready to enjoy! Get excited – the best part is yet to come.
Step 4. Chill Yogurt Mixture in Refrigerator
Once the yogurt has reached your desired consistency, chill it in the fridge. This step helps the yogurt set and develop its signature thick, creamy texture.
Simply pour the incubated mixture into your serving containers and pop them in the refrigerator for at least 2 hours, or until the yogurt is nice and chilled.
You'll know it's ready when the yogurt has a smooth, velvety appearance and a spoon can easily stand up in it. Don't worry if it seems a bit thin at first – the cooling process will help it thicken up nicely.
Once chilled, your homemade Vietnamese yogurt is perfect for enjoying as a refreshing snack or dessert. Top it with fresh fruit, a drizzle of honey, or your other favorite toppings.
Serve it up and get ready for the oohs and aahs from your family and friends! This creamy delight is sure to be a hit.
Step 5. Strain Yogurt Through Cheesecloth
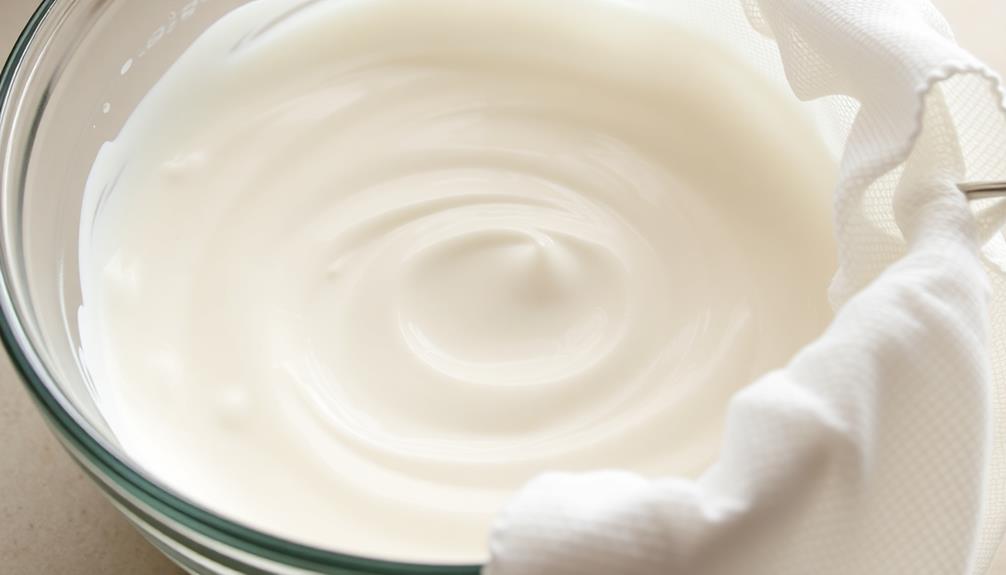
To achieve the signature thick, creamy texture of Vietnamese yogurt, you'll need to strain the incubated mixture through cheesecloth. This simple step removes any excess whey, creating the beloved silky consistency.
First, line a fine-mesh strainer or colander with a clean piece of cheesecloth. Gently pour the yogurt into the prepared strainer, allowing the whey to drain away.
Be patient – this may take 15-20 minutes. Resist the urge to press or squeeze the yogurt, as that can make it grainy.
Once the yogurt has thickened to your desired consistency, carefully lift the cheesecloth and transfer the strained yogurt to a serving bowl or storage container. Discard the drained whey.
Your Vietnamese yogurt is now ready to enjoy! Top it with fresh fruit, a drizzle of honey, or your other favorite toppings. The possibilities are endless for this versatile, tangy treat.
Final Thoughts
Vietnamese yogurt is a delightful and unique culinary experience that deserves recognition. From its creamy texture to its sweet and tangy flavors, this traditional dish offers a refreshing twist on a beloved dairy product.
The process of straining the yogurt through cheesecloth is a time-honored method that allows the yogurt to develop its signature thick and luscious consistency.
You'll be delighted by the way the subtle notes of sweetness dance on your tongue, balanced perfectly by a gentle tang.
Whether enjoyed on its own or as a versatile ingredient in various recipes, Vietnamese yogurt is a true gem worth exploring. Its simple yet captivating charm is sure to leave a lasting impression, making it a cherished part of any culinary adventure.
Frequently Asked Questions
Where Can I Purchase SữA Chua in the United States?
You can find sữa chua, a Vietnamese-style yogurt, in many Asian grocery stores across the United States. Check your local specialty markets or search online for vendors that ship this unique and flavorful dairy product directly to your door.
Is SữA Chua Suitable for Vegans or Those With Lactose Intolerance?
No, sữa chua is not suitable for vegans or those with lactose intolerance. It's a dairy-based product, made from cow's milk, so it contains lactose. Vegans and lactose-intolerant individuals should avoid sữa chua.
How Long Does SữA Chua Typically Last in the Refrigerator?
Typically, your sữa chua will last 5-7 days in the refrigerator if stored properly in an airtight container. The lactic acid helps preserve it, but keep an eye on it and discard if it shows signs of spoilage.
Can I Use SữA Chua in Baking or Cooking Other Dishes?
You can absolutely use sữa chua in baking and cooking other dishes. Its tangy flavor and thick consistency make it a versatile ingredient that can add depth and richness to a variety of recipes.
Are There Any Health Benefits Associated With Consuming SữA Chua?
Sure, there are several health benefits associated with consuming sữa chua. It's a probiotic-rich food that can aid digestion, boost immunity, and provide essential nutrients like protein, calcium, and vitamin B12. Incorporating sữa chua into your diet can be a healthy choice.