Oyster stuffing is a cherished Thanksgiving tradition that's been gracing holiday tables for centuries. This classic dish combines tender oysters, savory bread, and aromatic herbs for a flavor-packed experience. You'll start by sautéing the oysters in butter, then blend in breadcrumbs and seasonings to create the perfect stuffing. Bake it to golden-brown perfection, and you've got a dish that's sure to impress. Whether you serve it as a standalone side or alongside your main course, oyster stuffing offers a unique twist on traditional holiday fare. And if you're curious to learn more, keep reading to discover the rich history and cooking tips that make this dish a true culinary treasure.
Key Takeaways
- Oyster stuffing is a classic holiday dish that originated in colonial America, featuring briny oysters, savory bread, and aromatic herbs.
- The recipe has evolved over time, with the addition of ingredients like breadcrumbs, onions, and celery, and has become a Thanksgiving tradition.
- Preparation involves sautéing the oysters, combining them with breadcrumbs and seasonings, and baking the stuffing in a greased dish.
- Key tips for making oyster stuffing include increasing the quantity of oysters, adding reserved oyster liquor, and using high-quality breadcrumbs.
- Oyster stuffing represents a celebration of flavors and textures, with a rich and savory taste profile that complements various main courses.
Top picks for "oyster stuff"
Open Amazon search results for this keyword.
As an affiliate, we earn on qualifying purchases.
History
Oyster stuffing has long been a cherished tradition, with its roots tracing back to colonial America. During this time, coastal communities relied heavily on the bountiful oyster harvests from nearby waters, incorporating them into a variety of dishes, including the iconic Thanksgiving stuffing.
As the American palate evolved, so too did the recipe for oyster stuffing. Early iterations featured simple seasonings like salt, pepper, and perhaps a hint of herbs. Over time, home cooks experimented with additions like breadcrumbs, onions, and celery, creating the savory, flavorful stuffing we know and love today.
The popularity of oyster stuffing continued to grow, becoming a staple on holiday tables across the Northeast and beyond.
Today, it remains a beloved part of many families' Thanksgiving traditions, offering a delicious and nostalgic taste of America's culinary heritage.
Recipe
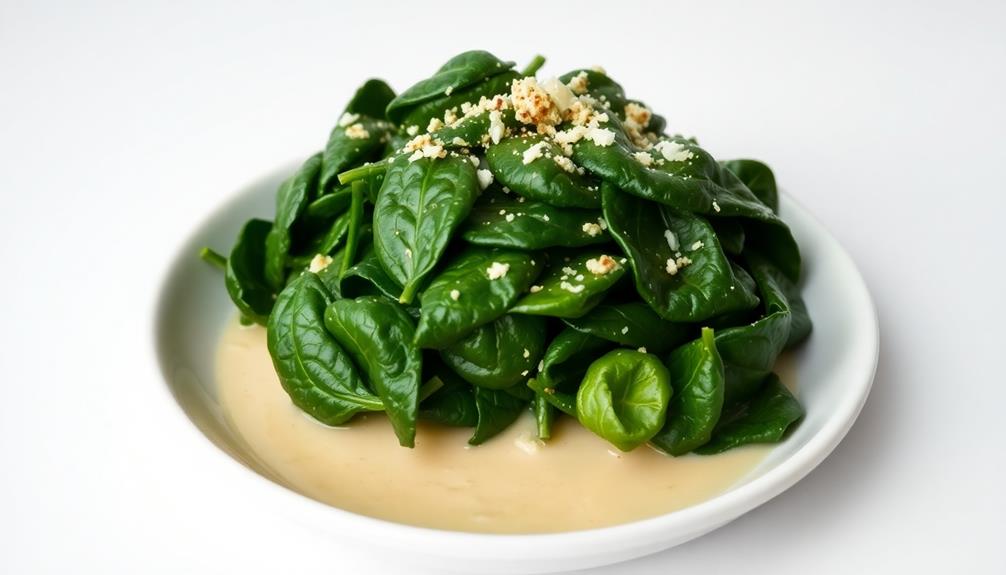
Oyster Stuffing is a classic holiday dish that adds a delightful briny and creamy flavor to your Thanksgiving table. The combination of tender oysters, savory bread, and aromatic herbs creates a rich and satisfying side dish that pairs perfectly with roasted turkey. This recipe is a perfect way to showcase the fresh, local flavors of the season.
Preparing the oyster stuffing is a straightforward process that can be done in advance, allowing you to focus on the main course on the big day. The key is to balance the flavors and textures to create a well-rounded dish that complements the other components of your Thanksgiving feast.
Ingredients:
- 2 cups cubed day-old bread
- 1 cup diced onion
- 1 cup diced celery
- 2 tablespoons unsalted butter
- 1 teaspoon dried thyme
- 1 teaspoon dried sage
- 1/2 teaspoon salt
- 1/4 teaspoon black pepper
- 1 pint shucked oysters, with their liquor
Instructions:
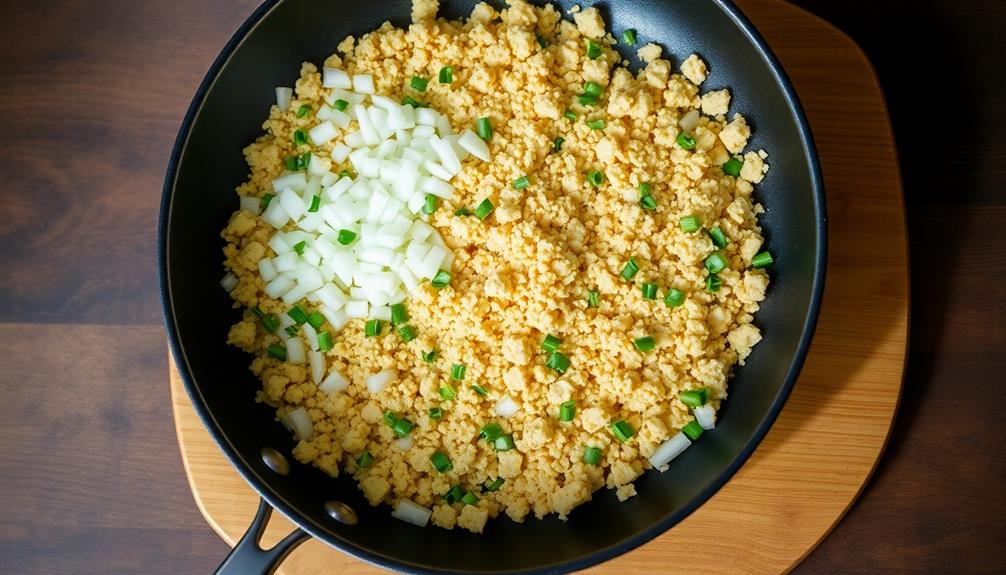
In a large skillet, melt the butter over medium heat. Add the onion and celery, and sauté until softened, about 5-7 minutes. Stir in the dried thyme, sage, salt, and pepper, and cook for an additional minute.
Remove the skillet from the heat and stir in the cubed bread and oysters, including the liquor. Mix well to combine. Transfer the oyster stuffing to a baking dish and bake at 375°F for 30-35 minutes, or until golden brown on top.
Tips:
- For a more pronounced oyster flavor, use a larger quantity of oysters.
- If the stuffing seems too dry, add a splash of the reserved oyster liquor or chicken broth.
- Leftovers can be reheated and served as a side dish for the following days.
Cooking Steps
Melt the butter in a skillet over medium heat.
Carefully add the oysters and let them cook for a few minutes.
Toss in the breadcrumbs and your desired seasonings, then transfer the mixture to a baking dish.
Step 1. Melt Butter in a Skillet
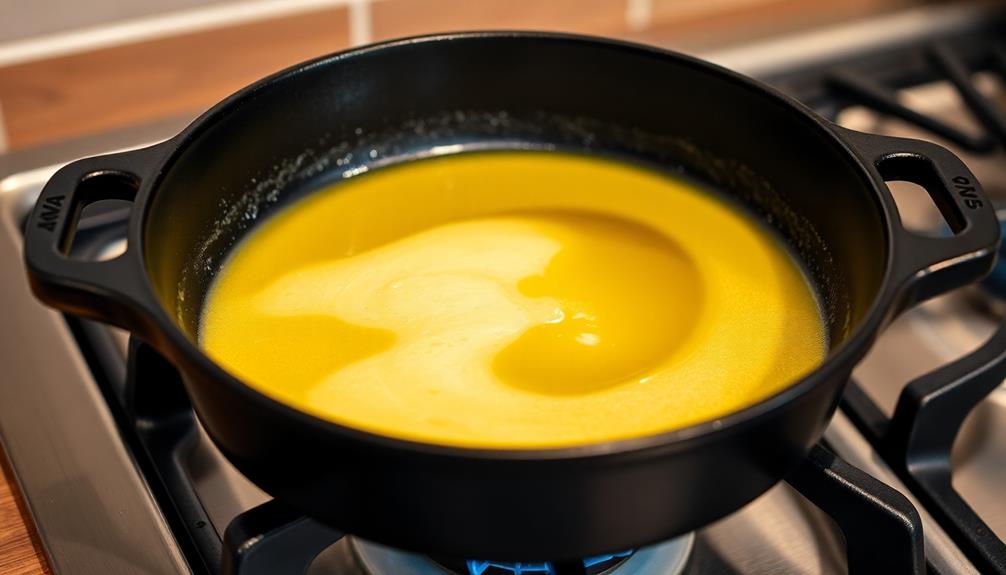
To start, you'll want to take a skillet and melt the butter over medium heat. This is a crucial first step in preparing the oyster stuffing, as the melted butter will serve as the base for sautéing the other ingredients.
Be sure to use a skillet or pan that's large enough to accommodate all the components of the stuffing, as you'll need ample room to mix everything together effectively.
Once the butter has fully melted, you can begin adding the remaining ingredients. This will likely include items such as chopped onions, celery, and possibly even some minced garlic, all of which will need to be sautéed in the butter until they become fragrant and tender.
The butter serves to coat and soften these vegetables, helping to develop their flavors and prepare them for the next steps in the recipe. Remember to stir the mixture frequently to prevent burning or sticking.
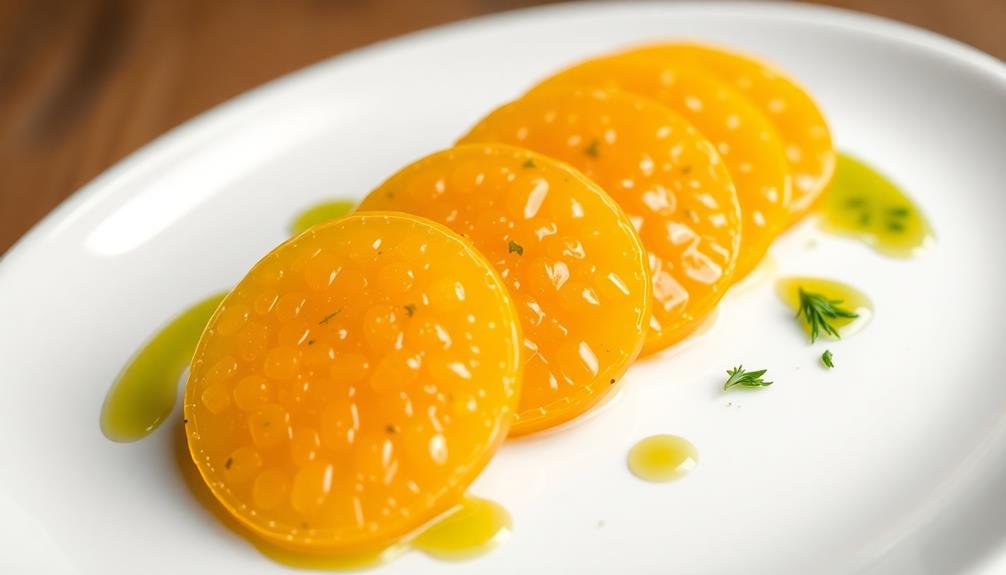
Step 2. Add Oysters
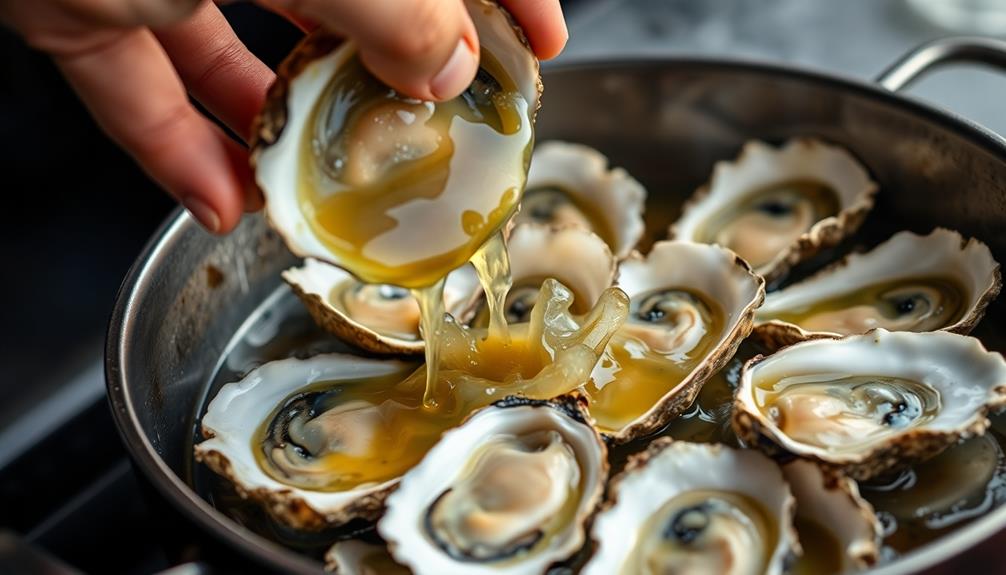
With the vegetables nicely sautéed in the melted butter, you can now add the star of the show – the oysters.
Gently pour the oysters, along with their juices, into the skillet. Be sure to add them slowly, allowing them to settle in and mingle with the aromatic vegetables.
As the oysters hit the heat, they'll begin to plump up and release their briny essence, infusing the entire dish with their signature flavor.
Stir the mixture occasionally, ensuring the oysters cook evenly and blend seamlessly with the other ingredients.
Depending on the size of your oysters, they may only need a minute or two to heat through.
You'll know they're ready when they've curled at the edges and lost their raw, translucent appearance.
At this point, the stuffing is well on its way to achieving the perfect balance of flavors and textures. After cooking the vegetables until they are soft and translucent, it’s time to add the sausage to the mix. This particular sausage stuffing recipe calls for a combination of sweet and spicy Italian sausage, which infuses the dish with a robust and savory flavor. Once the sausage is browned and crumbled, it gets mixed in with the vegetables, creating a delicious and hearty base for the stuffing.
Step 3. Add Breadcrumbs and Seasonings
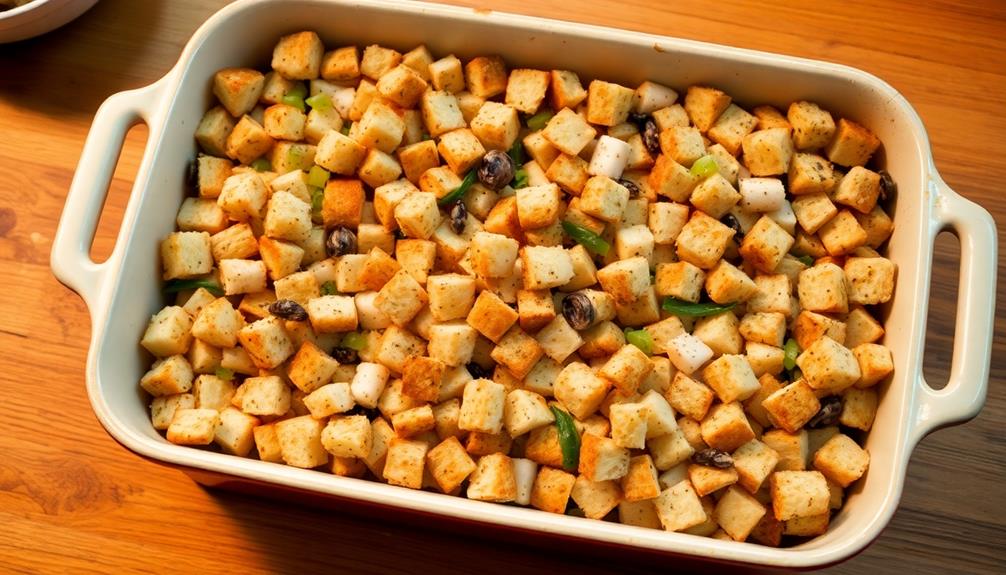
Next, incorporate the breadcrumbs. These will help bind the stuffing together and provide a delightful texture. Opt for fresh, high-quality breadcrumbs, either homemade or store-bought. Gently fold them into the oyster mixture until evenly distributed.
Now, it's time to season the stuffing. Start by adding a pinch of salt and black pepper to taste. These classic seasonings will enhance the natural flavors. You can also incorporate dried herbs, such as thyme, sage, or rosemary, for an aromatic boost. Finely chop the herbs and mix them in, ensuring the seasoning is well-distributed.
For an extra layer of flavor, consider including a small amount of melted butter or broth. This will help the breadcrumbs and seasonings meld together seamlessly. Stir the mixture gently, taking care not to overmix and make the texture too dense.
Once the breadcrumbs and seasonings are incorporated, your oyster stuffing is ready to be used in your preferred recipe or baked as a side dish.
Step 4. Transfer to Baking Dish
Preheat your oven to the desired temperature.
Once your breadcrumb and seasoning mixture is ready, it's time to transfer the oyster stuffing to a baking dish. Grease a 9×13 inch baking dish with butter or nonstick cooking spray to prevent sticking.
Gently spoon the oyster stuffing into the prepared dish, being careful not to compact it too tightly. Spread the stuffing out in an even layer, leaving a little room around the edges for even cooking.
If you'd like, you can top the stuffing with a few extra pats of butter or a light drizzle of melted butter to help it brown nicely in the oven. This adds a lovely golden crust on top.
When the oven is preheated, place the baking dish on the middle rack and bake the oyster stuffing for 30-40 minutes, or until the top is lightly golden brown and crispy.
Allow it to cool for 5-10 minutes before serving.
Step 5. Bake in Preheated Oven
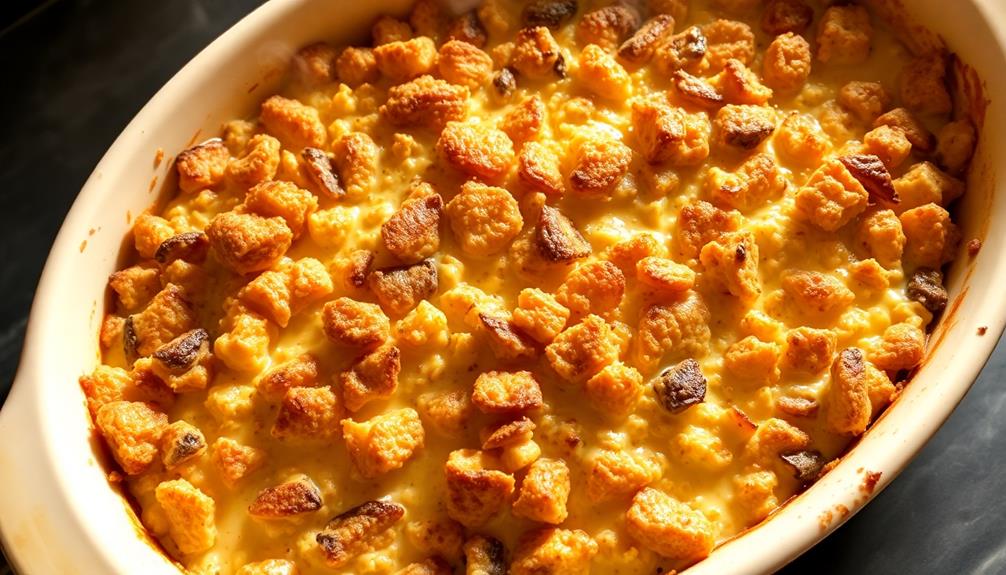
Once the oyster stuffing is transferred to the prepared baking dish, you'll want to pop it in the preheated oven. Set your oven to 375°F and allow it to fully heat up before inserting the dish. This will ensure the stuffing bakes evenly and develops a delightful golden-brown crust on top.
Bake the stuffing for 30-40 minutes, keeping a close eye on it. The exact time may vary depending on your oven, so be sure to check it periodically. You'll know it's ready when the center is hot and the edges have crisped up nicely.
For an extra touch of flavor, you can brush the top with a bit of melted butter or olive oil about halfway through the baking time.
Once the timer goes off, carefully remove the baking dish from the oven using oven mitts. Allow the oyster stuffing to rest for 5-10 minutes before serving. This resting period will help the flavors meld and the texture to firm up slightly.
Enjoy this savory and satisfying side dish!
Final Thoughts
As you prepare to serve this delectable oyster stuffing, savor the rich flavors and the care that has gone into its creation. This dish is a true labor of love, blending the briny essence of the oysters with the aromatics and seasonings that infuse each bite.
The result is a side dish that elevates any meal, whether it's the centerpiece of a Thanksgiving feast or a flavorful accompaniment to a weeknight dinner. The texture is a perfect balance of crisp edges and a moist, velvety interior, making it a delight for the senses.
When serving, be sure to scoop up generous portions, allowing your guests to fully experience the depth of flavors. And don't be surprised if they request seconds – this oyster stuffing is simply that good.
Savor every mouthful, and know that your culinary efforts have produced a dish worthy of celebration.
Frequently Asked Questions
How Does Oyster Stuffing Differ From Traditional Bread Stuffing?
Compared to traditional bread stuffing, oyster stuffing has a distinct briny flavor and a more delicate texture. It replaces breadcrumbs with fresh or canned oysters, creating a unique and savory Thanksgiving side dish.
Can Oyster Stuffing Be Made Ahead of Time and Reheated?
You can make oyster stuffing ahead of time and reheat it when needed. The key is to cook the stuffing thoroughly before storing it, then reheat it gently to prevent the oysters from becoming rubbery or the dish from drying out.
What Are the Best Types of Oysters to Use for Stuffing?
When making oyster stuffing, opt for fresh, plump oysters. Avoid small or canned varieties, as they'll get lost in the dish. Go for medium-sized, briny oysters to ensure they shine through the other flavors.
Can Oyster Stuffing Be Frozen for Later Use?
You can absolutely freeze oyster stuffing for later use. Simply store it in an airtight container or freezer bag, and it'll keep for several months. When ready to use, just thaw it in the fridge and reheat it.
How Can the Texture of Oyster Stuffing Be Adjusted?
To adjust the texture of your stuffing, you can add more or less liquid ingredients like broth or milk. More liquid will make it softer, while less will result in a firmer, denser texture. Experiment to find your preferred consistency.