
Snowball cookies are a classic holiday treat that'll fill your kitchen with the most wonderful aroma! These tender, buttery cookies are rolled into adorable balls and coated in a fluffy layer of powdered sugar, making them look just like little snowballs. The dough is a breeze to mix up, and you'll love popping these bite-sized delights into your mouth for a melt-in-your-mouth experience. Snowball cookies have been enjoyed for generations, with roots tracing back to the Middle East. You can find lots of fun variations, like adding nuts or even a hint of chocolate – the possibilities are endless! But if you want to discover more about the history and how to make these festive favorites, read on.
Key Takeaways
- Snowball cookies, also known as Russian tea cakes or Mexican wedding cookies, are a classic holiday treat with a delicate, buttery texture and a powdered sugar coating.
- The cookies originated in the Middle East and have spread through trade and exploration, leading to local variations like "kourabiedes" in Greece and "polvorones" in Spain.
- The recipe features simple ingredients like butter, sugar, vanilla, flour, and optional nuts, and the baking process is straightforward and quick.
- Snowball cookies are ideal for holiday cookie platters, offering a crumbly, sweet experience that appeals to a wide range of taste preferences.
- Key tips for success include ensuring the butter is at room temperature, using finely chopped nuts, avoiding overbaking, and experimenting with flavor additions like vanilla extract or spices.
History
According to historical records, snowball cookies have been enjoyed for centuries across various cultures. These delightful, round treats were first mentioned in recipes from the Middle East, where they were often served during festive occasions.
As traders and explorers traveled to different parts of the world, the recipe for snowball cookies spread, inspiring local variations and becoming a beloved dessert in many countries.
In Europe, snowball cookies were particularly popular in the Mediterranean region, where they were known by names like "kourabiedes" in Greece and "polvorones" in Spain. These buttery, nutty cookies were a staple during the holiday season, bringing joy and sweetness to celebrations.
Over time, the recipe made its way to North America, where it became a cherished part of many families' holiday traditions.
Today, snowball cookies continue to delight people of all ages, with their unique texture and delightful flavor. Whether enjoyed as a special treat or a comforting indulgence, these timeless cookies have a rich history that spans cultures and generations.
Recipe
Snowball cookies, also known as Russian tea cakes or Mexican wedding cookies, are a classic holiday treat. These delicate, buttery cookies are coated in a dusting of powdered sugar, creating a snowy, festive appearance.
They're a beloved addition to any holiday cookie platter, offering a delightful combination of crumbly texture and sweetness. For many, the sight of homemade Christmas fudge brings back fond memories of festive gatherings and joyous celebrations. Whether it’s a classic chocolate fudge or a creative twist with added nuts or flavored extracts, this sweet treat is always a crowd-pleaser. The rich and decadent flavor of homemade Christmas fudge is the perfect indulgence during the holiday season.
These cookies are easy to prepare and require just a few simple ingredients. The dough comes together quickly, and the baking process is straightforward.
Once the cookies have cooled, they're rolled in powdered sugar, giving them their signature snowy look.
Ingredients:
- 1 cup (2 sticks) unsalted butter, softened
- 1/2 cup granulated sugar
- 1 teaspoon vanilla extract
- 1/4 teaspoon salt
- 2 cups all-purpose flour
- 1 cup chopped pecans or walnuts (optional)
- 1 cup powdered sugar for coating
Instructions:
Preheat the oven to 350°F (175°C). Line a baking sheet with parchment paper.
In a large mixing bowl, cream the softened butter and granulated sugar until light and fluffy. Stir in the vanilla extract and salt. Gradually add the all-purpose flour and mix until a dough forms.
If using, fold in the chopped nuts. Scoop the dough by the tablespoonful and roll into balls. Arrange the balls on the prepared baking sheet, spacing them about 1 inch apart.
Bake for 12 to 15 minutes, or until the cookies are lightly golden on the bottom. Allow the cookies to cool on the baking sheet for 5 minutes before transferring them to a wire rack to cool completely.
Once the cookies have cooled, place the powdered sugar in a shallow bowl or plate. Gently roll the cookies in the powdered sugar, ensuring they're evenly coated.
Store the snowball cookies in an airtight container for up to 1 week. For optimal texture and flavor, enjoy the cookies within a few days of baking.
Cooking Steps
Preheat your oven to 375°F – it's time to make some delicious snowball cookies!
First, you'll mix all the ingredients together until the dough is ready.
Then, roll that dough into little balls and pop them in the oven for 12-15 minutes.
Step 1. Preheat Oven to 375°F
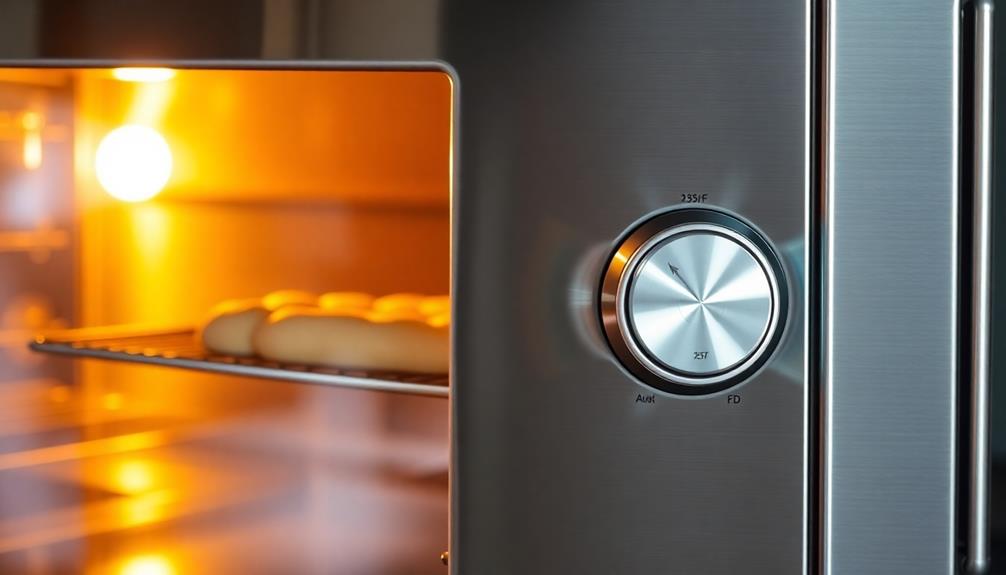
To begin with the baking process, preheat your oven to a toasty 375°F. This warm temperature is just right for baking those delightful Snowball Cookies to golden perfection.
You'll want to make sure your oven is nice and hot before popping those cookie dough balls in, so they come out with a wonderful, crispy outside and a soft, melt-in-your-mouth inside. The pleasant aroma of buttery goodness will soon fill your kitchen, making your mouth water in anticipation.
Once the oven is ready, you can confidently place your cookie tray on the middle rack and let the baking begin. Keep an eye on them, though – you don't want those Snowball Cookies to over-bake!
In just 12 to 15 minutes, they'll be ready to come out, turning a lovely light golden brown. Now you're one step closer to enjoying these sweet, powdery treats.
Step 2. Mix Ingredients

First, gather your ingredients: unsalted butter, powdered sugar, vanilla extract, and all-purpose flour.
In a large bowl, cut the cold, unsalted butter into small chunks using a fork or pastry cutter. Sprinkle the powdered sugar over the butter and use your fingers to gently rub the sugar into the butter until the mixture resembles coarse crumbs.
Next, add a teaspoon of vanilla extract and mix everything together until a soft dough forms. Be careful not to overmix!
Once the dough comes together, use your hands to gently shape it into small, round balls, about 1 inch in size. Place the cookie balls on a baking sheet lined with parchment paper, leaving a little space between each one.
Now, it's time to bake! Slide the tray into the preheated oven and let the cookies bake for 12 to 15 minutes, or until they're lightly golden around the edges. Careful, they'll be hot!
Once cooled, you can roll the snowball cookies in extra powdered sugar for a festive finish.
Step 3. Roll Dough Into Balls
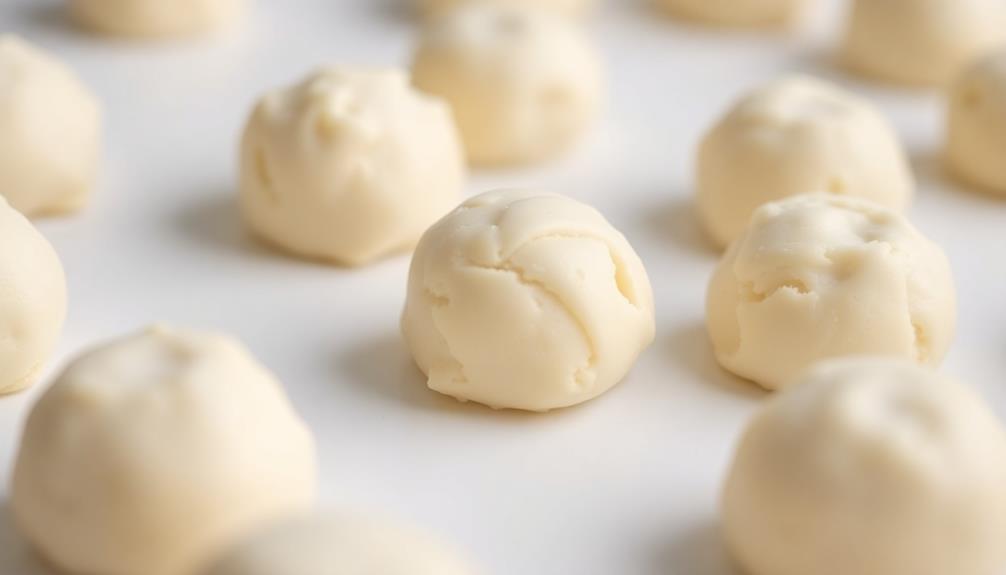
With your soft dough formed, gently shape it into small, round balls, about 1 inch in size.
Roll each one between your palms, creating a smooth, even surface. As you work, place the dough balls onto a parchment-lined baking sheet, spacing them out so they've room to bake without sticking together.
Once your tray is filled, pop it into the oven and let the cookies bake until they're lightly golden around the edges.
The sweet, buttery aroma will fill your kitchen, making your mouth water in anticipation. When the timer dings, carefully remove the tray and let the cookies cool for a few minutes.
They should hold their shape nicely, ready for the final snowy dusting of powdered sugar.
Get ready to enjoy these delightful snowball treats – their soft, melt-in-your-mouth texture is simply irresistible!
Step 4. Bake Cookies for 12-15 Minutes
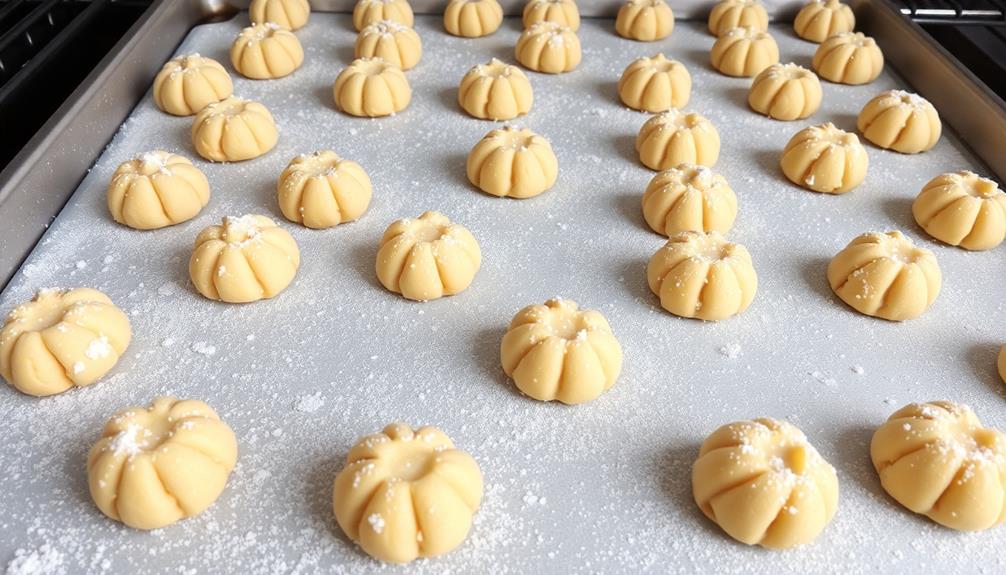
Once the dough balls are evenly spaced on the baking sheet, pop it into the preheated oven.
Now, set a timer for 12 to 15 minutes and get ready for the delicious aroma of freshly baked cookies to fill the air! As the cookies bake, you'll notice they start to expand and turn a lovely golden brown.
Keep an eye on them to make sure they don't overbake. You want them to be crisp on the outside but still soft and tender inside.
When the timer goes off, carefully remove the baking sheet from the oven. The cookies should be lightly browned and slightly cracked on top.
Let them cool on the baking sheet for a few minutes before transferring them to a wire rack. This will help them keep their perfect snowball shape.
Once they're completely cooled, you can enjoy these buttery, melt-in-your-mouth treats. Don't be surprised if they disappear quickly – snowball cookies are simply irresistible!
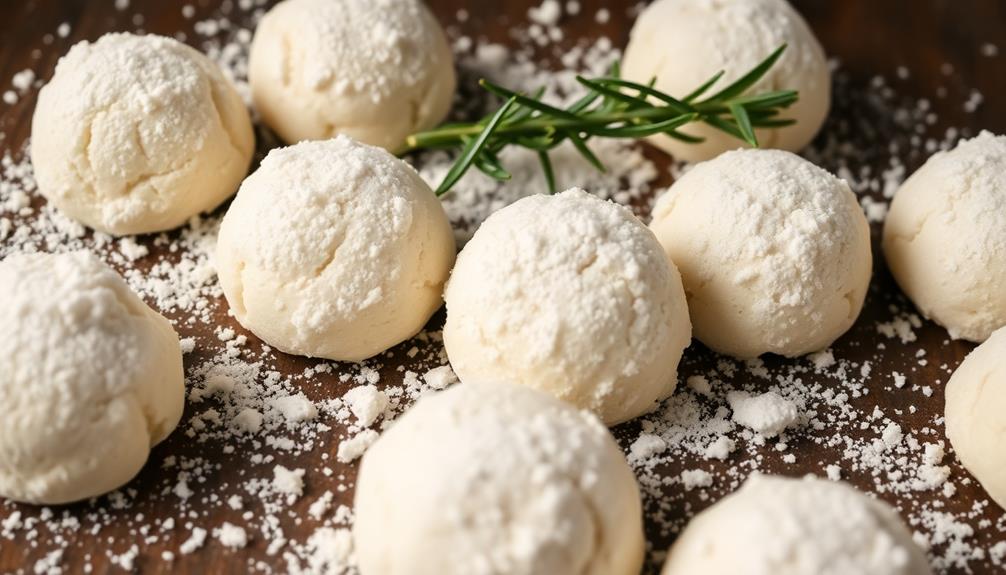
Step 5. Roll Balls in Powdered Sugar
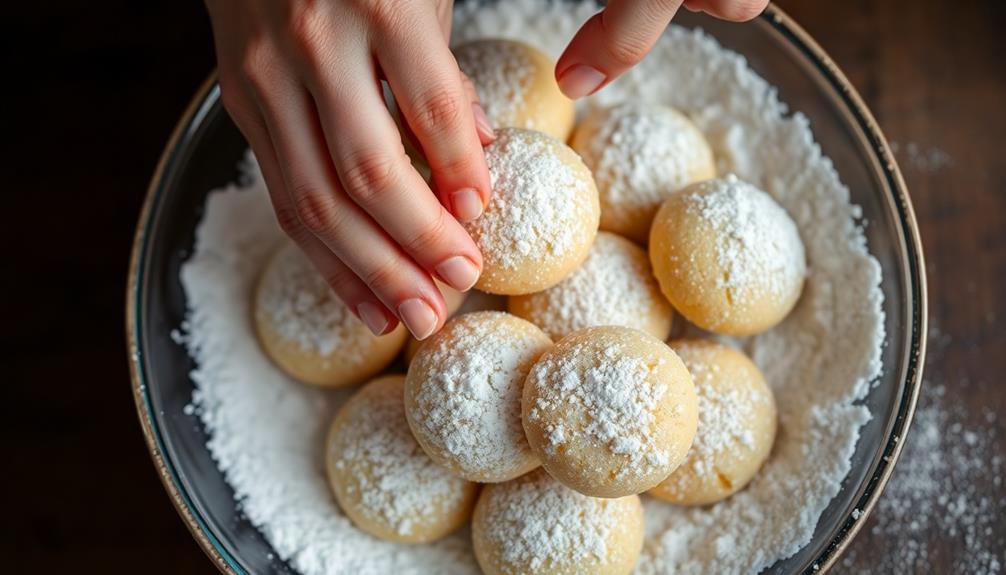
After the cookies have cooled completely on the wire rack, it's time to roll them in powdered sugar. This is the most fun part!
Get a big bowl and fill it with a nice, fluffy layer of powdered sugar. Gently pick up one of the round cookie balls and drop it into the bowl. Use your hands to roll and coat the cookie, making sure every inch is covered in the sweet, snowy powder.
When it's fully encased, lift it out and give it a little shake to remove any excess sugar. Place the coated cookie onto a clean plate or baking sheet.
Repeat this process with all the cookies until they've all been transformed into little powdery snowballs. The outside will be perfectly white, while the inside remains a delightfully soft and buttery treat.
Get ready for smiles all around when you serve up these adorable Snowball Cookies!
Final Thoughts
Snowball cookies make for an excellent holiday treat. The process of rolling the dough into bite-sized balls and coating them in powdered sugar is a fun activity the whole family can enjoy.
The soft, buttery cookies practically melt in your mouth, while the snowy white exterior adds a delightful touch of festivity.
Once you've mastered the technique, you'll be whipping up batches of these delectable cookies in no time. They're perfect for sharing at parties, leaving out for Santa, or simply indulging in on a cozy winter night.
The combination of rich, nutty flavors and the sweet dusting of sugar is sure to delight your taste buds.
Frequently Asked Questions
Are Snowball Cookies Gluten-Free?
Snowball cookies aren't typically gluten-free, as they're often made with wheat flour. However, you can find gluten-free versions that substitute the wheat flour with gluten-free alternatives like almond flour or oat flour. Be sure to check the ingredients carefully.
Can I Use Powdered Sugar Instead of Granulated Sugar?
You can use powdered sugar instead of granulated sugar, but the texture and flavor may be slightly different. The powdered sugar will give the cookies a softer, more delicate texture compared to granulated sugar.
How Long Do Snowball Cookies Last?
Properly stored, snowball cookies can last up to two weeks. They'll remain fresh and delicious if you keep them in an airtight container at room temperature. With careful handling, you'll be able to enjoy these cookies for days after baking.
Can I Freeze the Dough for Later Use?
Yes, you can freeze the dough for later use. Simply shape the dough into balls, place them on a baking sheet, and freeze until firm. Once frozen, transfer the dough balls to an airtight container or bag and store in the freezer for up to 3 months.
Can I Use Different Types of Nuts in the Recipe?
You can absolutely use different types of nuts in the recipe. Feel free to experiment with almonds, pecans, walnuts, or even a combination to find the flavor profile that best suits your taste preferences.