
Drożdżówka, the beloved Polish sweet yeast buns, offer a delightful taste of tradition and cultural heritage. These soft, pillowy treats captivate the senses with their subtly sweet and tangy flavor. Tracing back to 17th century Poland, recipes have evolved over time, remaining an integral part of Polish culinary customs. Baking these buns connects individuals to cherished family traditions, whether enjoyed as a breakfast treat or festive indulgence. The golden-brown exterior, yeasty aroma, and comforting texture invite you to savor the essence of Polish indulgence. Explore the rich history and baking process of these beloved pastries to uncover their enduring appeal.
Key Takeaways
- Drożdżówka is a traditional Polish sweet yeast bun with origins dating back to the 17th century, representing the country's rich culinary heritage.
- The buns are characterized by a soft, pillowy texture and a sweet, slightly tangy flavor, often enjoyed as a breakfast treat or afternoon snack.
- The baking process involves proofing the yeast, kneading the dough, and shaping and baking the buns to achieve the desired golden brown color and fragrant aroma.
- Home baking of Drożdżówka fosters a personal connection to Polish traditions and creates a sensory experience that can be shared with family and friends.
- Drożdżówka is a beloved pastry across generations, representing the essence of Polish indulgence and encouraging appreciation for traditional baking methods.

OXO Good Grips Non-Stick Pro Ceramic Coated Metal Bakeware 3-Piece Sheet Pan Set – Storm Blue
- High-Quality Bakeware: Durable, attractive, easy to clean
- Ceramic Coated Metal: Heavy-gauge aluminized steel with non-stick coating
- Easy Food Release: Prevents sticking and simplifies cleaning
As an affiliate, we earn on qualifying purchases.
History
Drożdżówka, the sweet yeast buns, have a rich history rooted in Polish culinary traditions. These beloved pastries have been delighting taste buds for generations, with recipes passed down through families and communities.
The origins of Drożdżówka can be traced back to the 17th century, when Polish bakers began experimenting with the use of yeast in sweet breads. As the dough rose and baked, it developed a light, fluffy texture and a delicate sweetness that quickly captured the hearts and palates of the people.
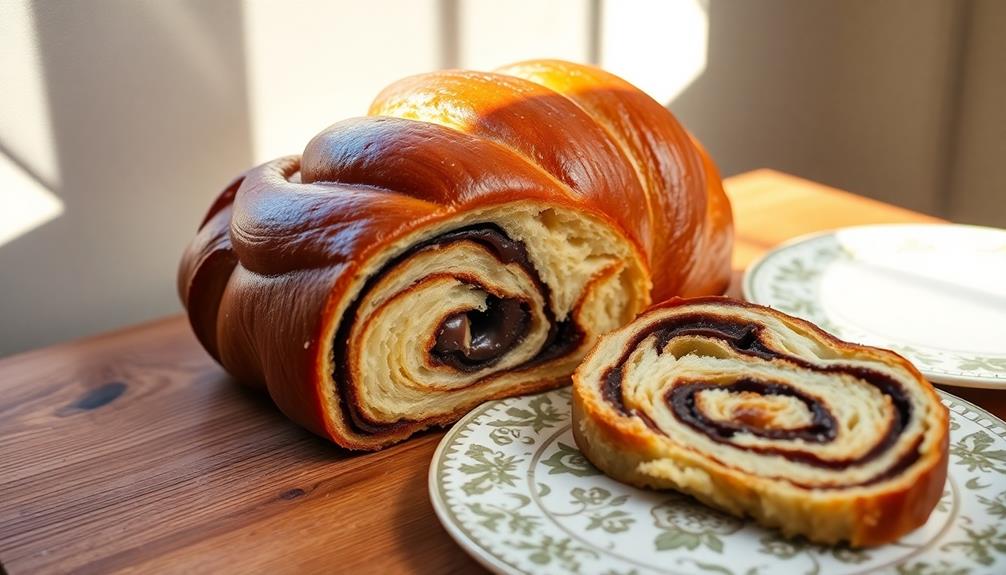
Over time, the recipe evolved, with different regions and households adding their own unique twists, such as fillings or toppings, creating a delightful diversity of Drożdżówka varieties.
Today, these cherished buns remain an integral part of Polish culture, gracing the tables of celebrations, family gatherings, and everyday indulgences. The aroma of freshly baked Drożdżówka is a comforting reminder of the rich culinary heritage that continues to be celebrated and enjoyed.
Recipe
Drożdżówka, or sweet yeast buns, are a traditional Polish pastry that's light, fluffy, and delightfully sweet. These buns are typically served as a breakfast treat or an afternoon snack, and are a beloved part of Polish cuisine.
The preparation of drożdżówka requires time and patience, as the yeast dough needs to be allowed to rise and develop its flavor. However, the end result is well worth the effort, with the soft, pillowy texture and the sweet, slightly tangy flavor.
Ingredients:
- 4 cups (500g) all-purpose flour
- 1/2 cup (100g) granulated sugar
- 1 teaspoon salt
- 1 packet (7g) active dry yeast
- 1 cup (240ml) warm milk
- 1/2 cup (115g) unsalted butter, softened
- 2 eggs
- 1 teaspoon vanilla extract
Instructions:
In a large mixing bowl, combine the flour, sugar, and salt. In a separate bowl, dissolve the yeast in the warm milk.
Add the dissolved yeast mixture, softened butter, eggs, and vanilla extract to the dry ingredients, and mix until a shaggy dough forms. Knead the dough on a lightly floured surface for about 10 minutes, until it becomes smooth and elastic.
Place the dough in a lightly greased bowl, cover, and let rise for 1 to 1.5 hours, or until doubled in size.
Punch down the dough to release any air bubbles, and divide it into 12 equal pieces. Roll each piece into a ball and place them on a parchment-lined baking sheet, allowing space between them for expansion.
Cover the buns and let them rise for an additional 30 minutes.
Preheat your oven to 375°F (190°C). Bake the drożdżówka for 18-20 minutes, or until they're golden brown.
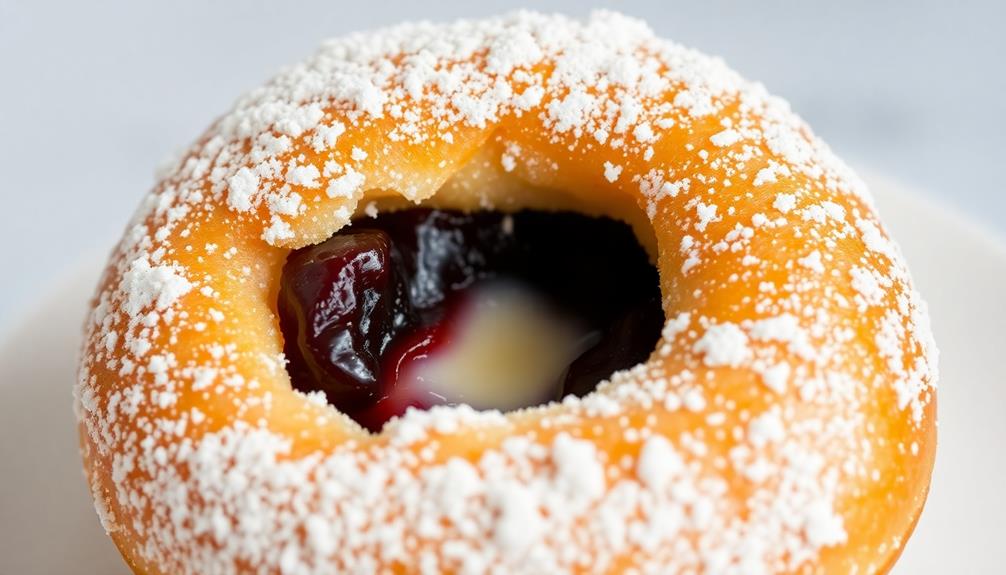
Serve warm, with a dusting of powdered sugar or your favorite jam or honey.
Cooking Steps
First, you'll want to proof the yeast in some warm water.
Once that's bubbly, knead the dough until it's smooth and elastic – that'll take a few minutes.
Then, let the dough rise for an hour before punching it down and shaping it.
Step 1. Proof Yeast in Warm Water
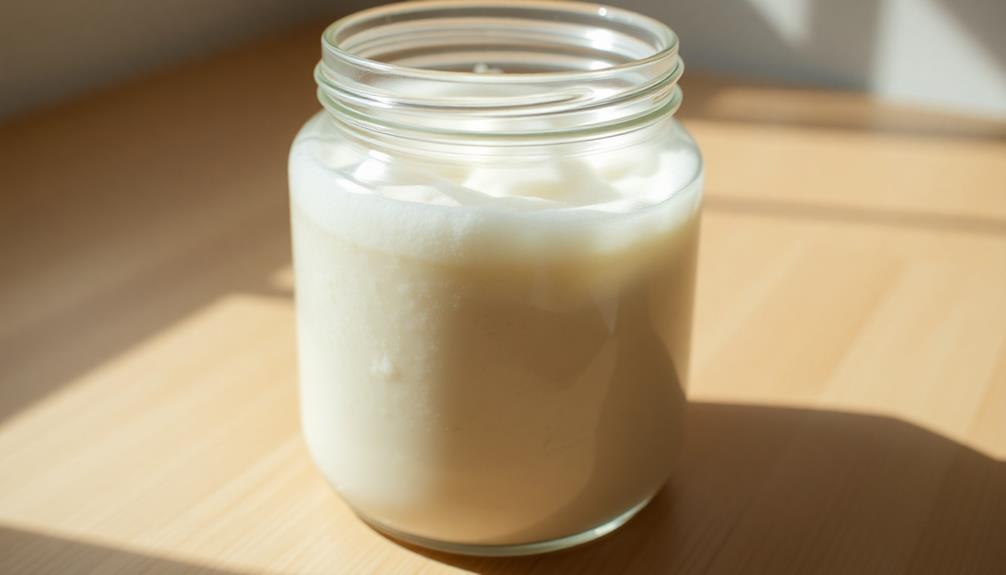
To begin the proofing process, you'll need to activate the yeast. Start by warming a small bowl of water to around 110°F (43°C) – it should feel comfortably warm to the touch, but not hot.
Sprinkle the yeast over the surface of the water and let it sit for about 5-10 minutes. You'll see the yeast start to bubble and foam as it comes alive, indicating it's ready to do its magic in the dough.
Once the yeast is proofed, it's time to mix the rest of the ingredients. In a large bowl, combine the flour, sugar, and salt.
Create a well in the center and pour in the proofed yeast mixture, along with the milk, egg, and melted butter. Using a wooden spoon or your hands, gradually incorporate the dry ingredients into the wet until a shaggy dough forms.
Turn the dough out onto a lightly floured surface and knead for about 5-7 minutes, until it becomes smooth and elastic.
Step 2. Knead Dough Until Smooth and Elastic
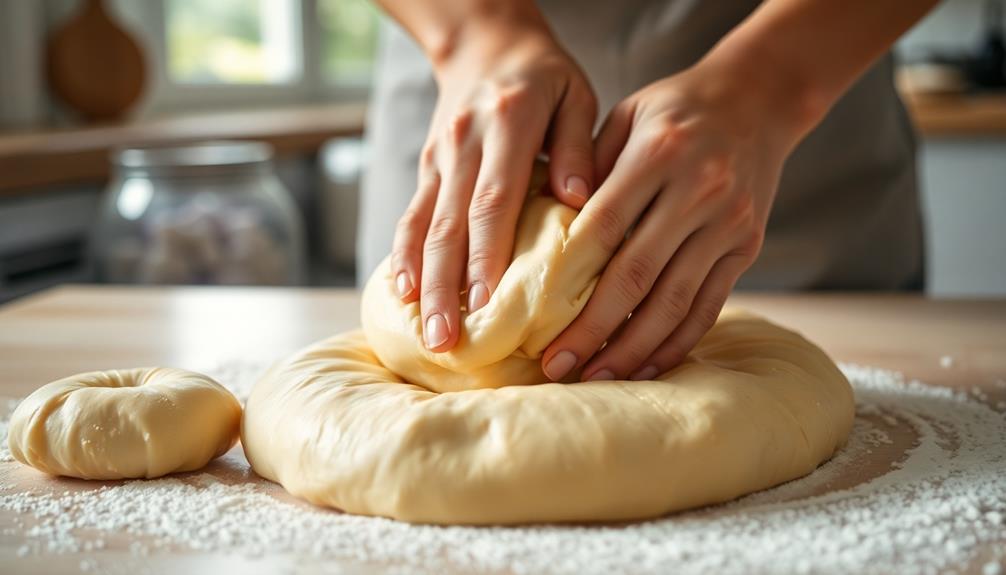
Knead the dough for about 5-7 minutes on a lightly floured surface until it becomes smooth and elastic. Use the heel of your hand to push the dough away from you, then fold it back towards you.
Repeat this motion, rotating the dough as you go. The dough should spring back when poked, indicating it's ready.
As you knead, you'll notice the dough transform from a sticky, shaggy mass into a soft, supple ball. This kneading action develops the gluten, creating a sturdy structure that can hold the air pockets formed by the yeast.
Enjoy the satisfying feeling of the dough beneath your palms, kneading away any stress or tension.
Once the dough is smooth and elastic, you're ready for the next step. Gently shape it into a ball, place it in a lightly greased bowl, and cover it to let it rise.
Get ready to watch your dough double in size, bringing you one step closer to those delectable sweet yeast buns.
Step 3. Proof Dough for 1 Hour

After kneading the dough to perfection, let it proof for an hour.
Find a warm, cozy spot in your kitchen and place the dough in a lightly greased bowl, covered with a damp towel. As the yeast activates, the dough will begin to rise, doubling in size. You'll know it's ready when you gently poke the dough, and the indent remains.
During this resting period, the gluten strands relax, allowing the dough to become more pliable and airy.
Resist the temptation to peek too often, as opening the bowl lets out valuable heat and humidity, slowing the proofing process. Instead, use this time to prepare the baking sheet or gather any additional ingredients you'll need for the next steps.
Once the hour is up, your dough should be light and pillowy.
Gently punch it down to release any large air pockets, then you'll be ready to shape the buns. Get excited – the best part is yet to come!
Step 4. Punch Down and Shape Dough
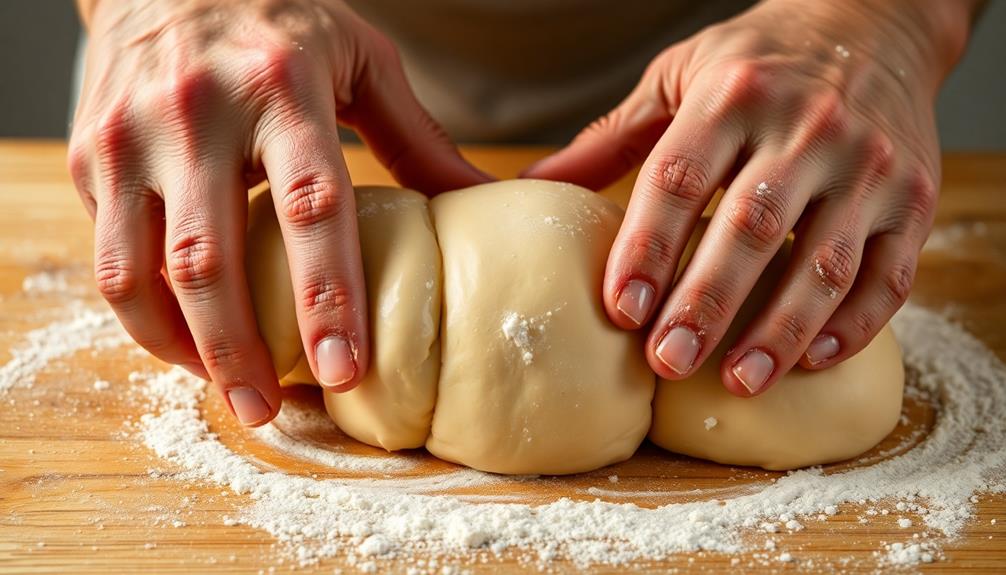
Once the dough has finished proofing, it's time to move on to shaping the buns. First, gently punch down the dough to release any trapped air bubbles. This will help the buns bake up light and fluffy.
For an added touch of comfort in your kitchen, consider using a premium quality throw pillow insert to make your cooking space more inviting.
Next, divide the dough into equal pieces. Estimate about 12-15 pieces for nicely sized buns. Take each piece and use your hands to gently shape it into a smooth, round ball.
Place the shaped dough balls onto a parchment-lined baking sheet, spacing them a few inches apart.
Cover the buns with a clean kitchen towel and let them rise for an additional 30 minutes. This final proof will help them develop an irresistible golden crust.
While the buns are proofing, preheat your oven to 350°F (175°C). Once the time is up, the buns should have puffed up nicely.
Brush the tops with a beaten egg wash for an extra shiny finish. Then, bake for 18-22 minutes until golden brown.
Step 5. Bake at 375°F for 20 Minutes
The aroma of freshly baked bread wafts through the kitchen as you slide the tray of drożdżówka into the preheated 375°F oven. You can't wait to see the dough rise and turn a beautiful golden brown.
Set a timer for 20 minutes, and keep a close eye on the buns. The high heat will work its magic, transforming the soft, pillowy dough into perfectly baked treats.
As the timer counts down, the kitchen fills with the comforting scent of yeast and sugar. You peek through the oven window, watching the drożdżówka puff up and develop a crisp, shiny crust.
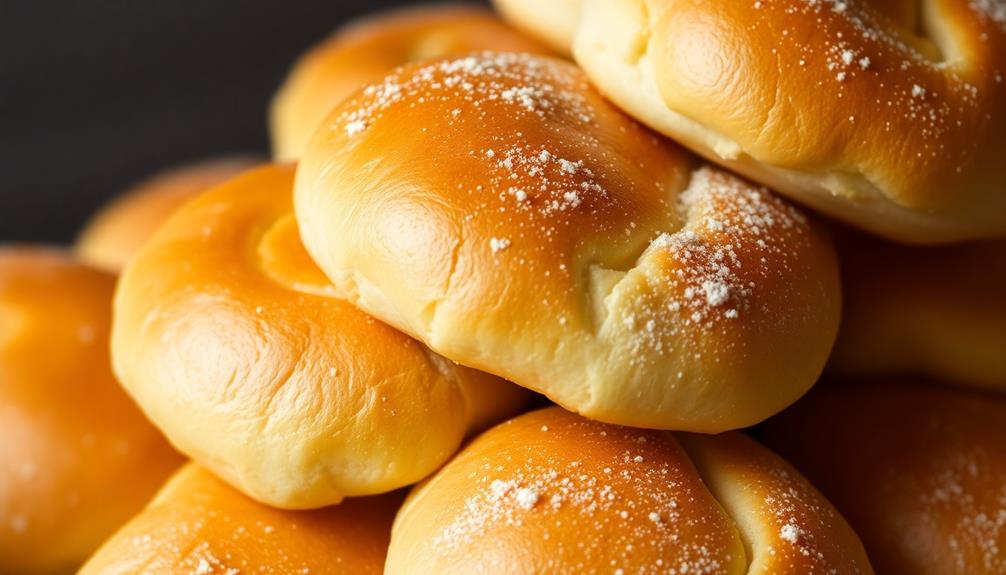
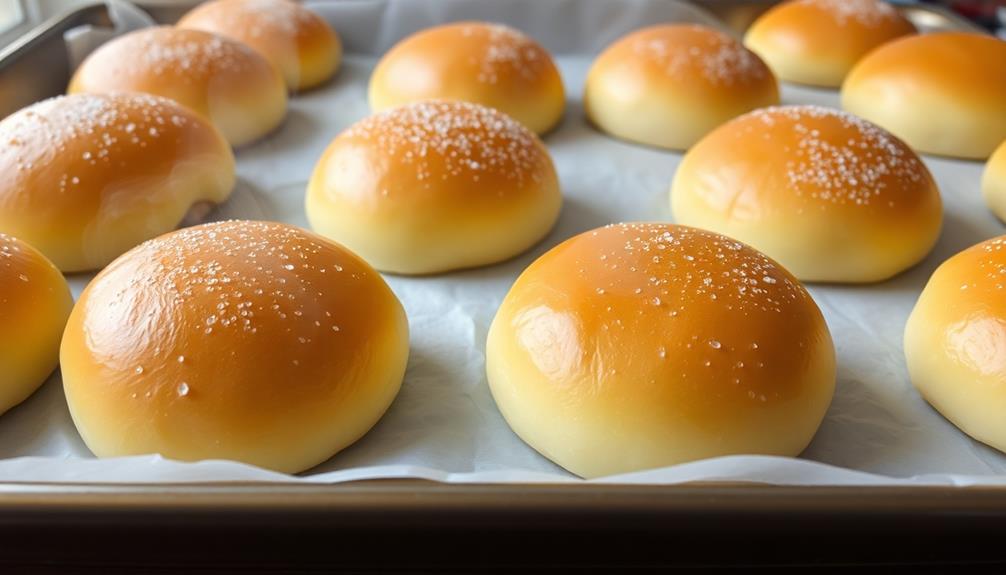
When the timer beeps, use oven mitts to carefully remove the tray. The buns should be a lovely golden-brown color.
Allow them to cool for a few minutes before serving warm, with a touch of butter or your favorite topping. These sweet yeast buns are sure to delight everyone who tries them.
Final Thoughts
Ultimately, these sweet yeast buns, or drożdżówka, offer a delightful and time-honored Polish treat. Their pillowy soft texture and subtly sweet flavor make them a beloved indulgence. You can practically smell the yeasty aroma wafting from the oven as they bake to golden perfection.
Imagine sinking your teeth into one, the tender crumb giving way to reveal the lightly sweetened interior. It's a sensory experience that transports you to a cozy bakery in the heart of Poland.
These buns are more than just a pastry – they're a piece of cultural heritage. Passed down through generations, the recipes and techniques used to craft drożdżówka have become an integral part of Polish culinary traditions.
Baking them at home allows you to connect with that rich history, while sharing a beloved treat with family and friends.
Whether enjoyed for breakfast, an afternoon snack, or a special occasion, these sweet yeast buns are sure to delight. Indulge in the comforting flavors and textures, and savor the joy of this authentic Polish delicacy.
Frequently Asked Questions
Can I Substitute Any Other Type of Flour?
You can definitely try substituting different types of flour in this recipe!
The key is to experiment and find a flour that works well with the yeast. You could try using whole wheat flour, rye flour, or even a gluten-free blend.
Just keep in mind that the texture and flavor of your buns might change a bit.
Don't be afraid to get creative – baking is all about having fun and finding what works best for your tastes!
How Long Can the Buns Be Stored?
How long can you store your fresh-baked buns? Well, that depends!
If you keep them in an airtight container at room temperature, they'll stay soft and delicious for 2-3 days.
For longer storage, pop them in the fridge – they'll last 4-5 days that way.
You can even freeze them for up to 3 months! Just be sure to thaw them at room temperature before serving.
Enjoy those yummy buns while they're at their best!
Can I Freeze the Dough for Later Use?
You bet! Freezing the dough is a fantastic way to enjoy homemade baked goods anytime.
Just prepare the dough as usual, then pop it in the freezer. When you're ready to bake, simply thaw it in the fridge overnight and you're good to go.
The frozen dough will keep for 2-3 months, so you can have fresh, delicious buns whenever the craving strikes.
Isn't that convenient? Give it a try – your future self will thank you!
Do I Need a Specific Type of Yeast?
Absolutely! The type of yeast you use is important for the best results.
Active dry yeast or instant yeast will work great for freezing the dough. These yeast varieties are hardy and can withstand the cold temperatures, so your dough will still rise beautifully when you're ready to bake.
Just be sure to follow the package instructions for properly proofing the yeast before mixing it into your dough.
With the right yeast, you can easily freeze your dough and enjoy freshly baked treats later on!
Can I Add Any Additional Fillings or Toppings?
Absolutely! You can get creative with all sorts of tasty fillings and toppings for your yeast buns.
Try adding a spoonful of your favorite jam, a sprinkle of cinnamon and sugar, or even some chopped nuts or chocolate chips.
The possibilities are endless! Just be sure not to overload the buns, so they can still bake up light and fluffy.
Have fun experimenting and finding your perfect flavor combination.