Ready to unlock the secrets of fermentation and craft your own authentic Korean kimchi? Kimchi's origins trace back centuries in Korea, where it started as a delicious way to preserve veggies during harsh winters. Today, this vibrant, tangy dish is a beloved staple, bringing good luck and health to special occasions. Making homemade kimchi is easy – all you need are a few simple ingredients like cabbage, garlic, and ginger. The fermentation process lends a satisfying crunch and gut-healthy probiotics. Once you get the hang of it, you can start experimenting with different veggies and spices to create your own signature kimchi flavors. Sound tasty? Keep reading to master the art of fermentation!
Key Takeaways
- Ferment napa cabbage, gochugaru, garlic, and ginger at 65-75°F for 3-7 days to create flavorful, crunchy, and probiotic-rich kimchi.
- Customize kimchi by experimenting with different vegetables, spices, and fermentation durations to develop unique flavor profiles.
- Observe bubbles and rising brine levels during fermentation to monitor the active fermentation process.
- Refrigeration slows down fermentation, preserving the kimchi's flavor and texture for several weeks.
- Fermentation is both a science and an art, allowing for creative expression and exploration of diverse fermented foods beyond kimchi.
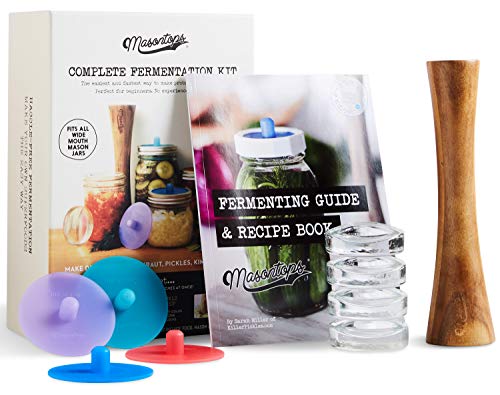
Masontops Complete Mason Jar Fermentation Kit – Pickle Kit, Sauerkraut Making Kit Kimchi Container – Fermentation Airlock Lids Wide Mouth Mason Jars
MASONTOPS COMPLETE MASON JAR FERMENTATION KIT: Includes all the tools needed to turn your ordinary wide mouth mason…
As an affiliate, we earn on qualifying purchases.
As an affiliate, we earn on qualifying purchases.
History
Kimchi has a rich history that stretches back centuries. This beloved Korean dish has been a staple in households for generations, passed down from one family to the next. The fermented cabbage and radish concoction was originally created as a way to preserve vegetables during the long, harsh winters.
Over time, creative cooks began adding an array of spices and seasonings, developing the distinct flavors we know and love today.
Kimchi wasn't just a practical food, but also held cultural significance. It was believed to bring good luck and health, and was often served at special occasions and celebrations.
Today, kimchi remains an integral part of Korean cuisine, with countless regional variations and family recipes. Whether you're trying it for the first time or rediscovering an old favorite, making your own kimchi is a fun and flavorful way to connect with this time-honored tradition.

Fermentation Crock 1/2 Gallon – Sauerkraut Crock with Lid, Weights & Pounder – Ceramic Fermenting Crock Kit for Pickling Cabbage Kimchi Vegetables – 2 Liter Fermentation Jar – Stoneware Pickle Pot
MAKE YOUR OWN SAUERKRAUT, KIMCHI, AND PICKLES – The Kenley fermentation crock is a natural and easy way…
As an affiliate, we earn on qualifying purchases.
As an affiliate, we earn on qualifying purchases.
Recipe
Kimchi is a beloved fermented vegetable dish that originated in Korea and has gained popularity worldwide. Making your own kimchi at home is a rewarding experience that allows you to customize the flavors to your liking. This recipe will guide you through the process of creating a delicious batch of homemade kimchi.
The process of fermenting kimchi may seem daunting, but with a few simple steps, you can easily create this flavorful condiment in your own kitchen. The fermentation process not only enhances the taste but also provides a wealth of probiotics, making kimchi a nutritious addition to your diet.
Ingredients:
- 1 medium napa cabbage, cut into 1-inch pieces
- 1/4 cup kosher salt
- 1 cup water
- 3 tablespoons gochugaru (Korean red pepper flakes)
- 3 cloves garlic, minced
- 1 tablespoon freshly grated ginger
- 2 green onions, thinly sliced
- 1 tablespoon fish sauce (optional)
Instructions:
In a large bowl, mix the cabbage and salt. Add the water and massage the cabbage until it starts to release water. Cover the bowl and let it sit for 1-2 hours, occasionally massaging the cabbage.
Drain the cabbage, reserving the liquid. In a separate bowl, combine the gochugaru, garlic, ginger, and green onions. Add the drained cabbage and toss to coat.
Pack the mixture into a clean, wide-mouth jar, pressing down to remove air pockets. Pour the reserved liquid over the mixture, ensuring the cabbage is submerged. Cover the jar with a lid, leaving it slightly ajar to allow gases to escape during fermentation.
Let the kimchi ferment at room temperature for 3-7 days, depending on your desired level of sourness. Once fermented, transfer the jar to the refrigerator, where it can be stored for several months.
Tip: The duration of fermentation can be adjusted to suit your taste preferences. Longer fermentation will result in a more sour and pungent kimchi, while shorter fermentation will yield a milder flavor.
Additionally, you can experiment with different vegetables, such as radish, carrot, or onion, to create your own unique kimchi variations.

Kimchi Making Kit By OurHands – Fermentation Kit to Make Your Own Vegan Kimchi With Seaweed, Korean Pepper Flakes and Recipes
MAKE YOUR OWN KIMCHI: Create deliciously sour and spicy kimchi at home with our kit. Ideal for adding…
As an affiliate, we earn on qualifying purchases.
As an affiliate, we earn on qualifying purchases.
Cooking Steps
First, chop up that Napa cabbage into bite-sized pieces.
Make sure to rinse it thoroughly to get rid of any dirt or grime.
Next, mix the chopped cabbage with all the delicious seasonings – that's where the magic happens!
Finally, let the mixture sit and ferment for a while, then transfer it to a jar.
Can't wait to see how your homemade kimchi turns out!
Step 1. Chop the Napa Cabbage
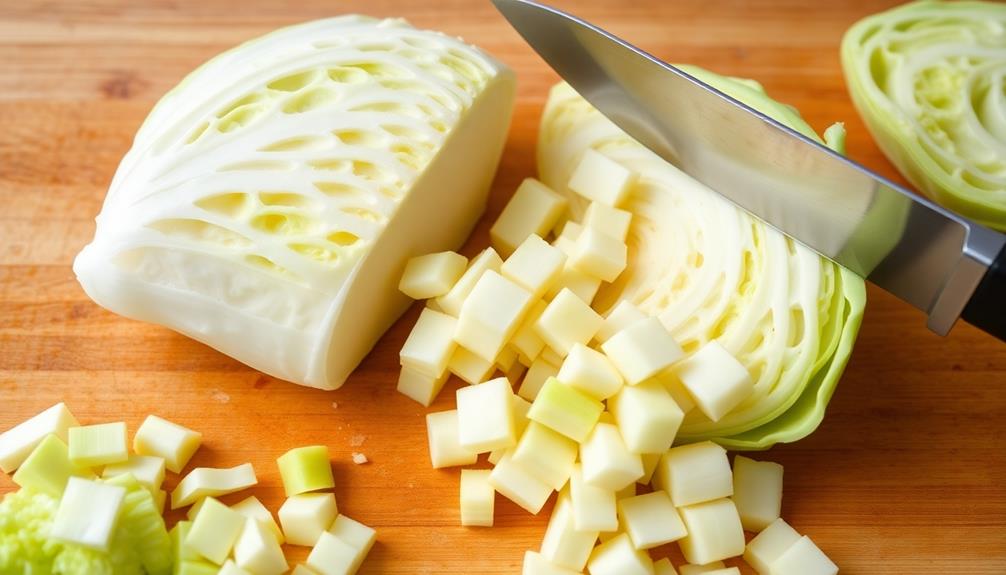
Begin by cutting the Napa cabbage into manageable pieces.
You'll want to slice it into bite-sized chunks, about 1-2 inches long. This will make it easier to work with later on.
Don't worry if the pieces aren't perfectly uniform – the important thing is to get them small enough to fit comfortably in your hands.
Next, rinse the chopped cabbage under cool running water.
This helps remove any dirt or debris.
Gently pat the cabbage dry with a clean kitchen towel or paper towels.
You want to make sure it's not dripping wet, as that can affect the fermentation process.
Now, you're ready to start seasoning your cabbage!
In the next step, you'll mix in the spices and other ingredients that give kimchi its signature flavor.
Get excited – this is where the magic really begins to happen!
Step 2. Rinse the Cabbage Thoroughly

After chopping the Napa cabbage into bite-sized pieces, it's time to rinse them thoroughly under cool running water.
Don't be afraid to really get in there and give the cabbage a good scrub! You want to make sure all the dirt and debris are washed away, leaving you with nice, clean leaves.
As the water runs over the cabbage, you might even notice a few loose outer layers starting to peel off. That's okay – just let those delicate leaves fall away and discard them.
Keep rinsing until the water runs clear, and you can see that your cabbage is sparkling clean.
Now, give it a gentle pat dry with some paper towels or a clean kitchen towel. You're almost ready to move on to the next step in making your delicious homemade kimchi!
Step 3. Mix With Seasoning
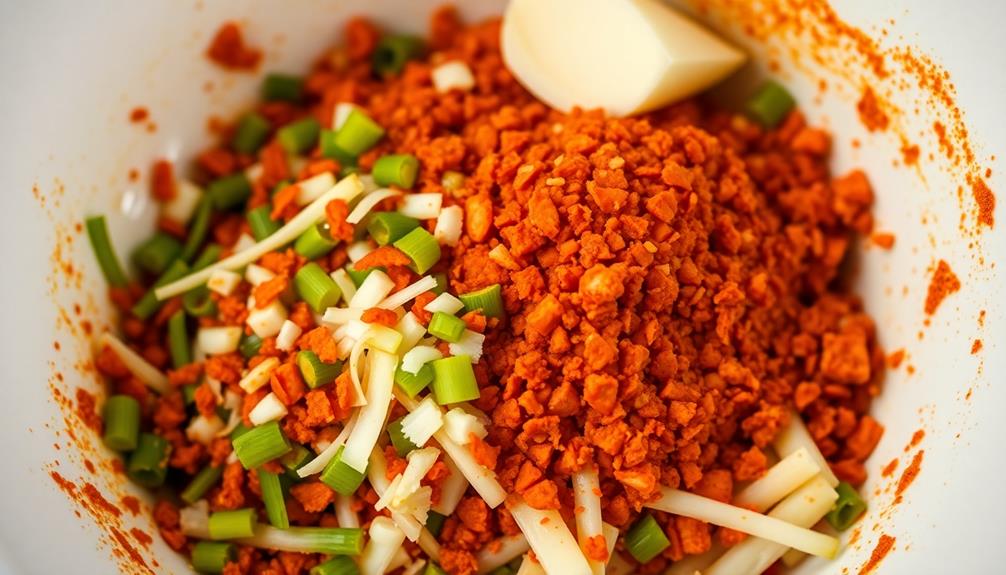
Now that your cabbage is clean and dry, it's time to mix in the seasoning. In a large bowl, combine the julienned cabbage, green onions, garlic, ginger, red pepper flakes, and salt.
Get ready to use your hands – this is the fun part! Dig in and start massaging the mixture, making sure all the ingredients are evenly distributed and coated.
As you knead the mixture, you'll notice the cabbage starting to release its juices. That's exactly what you want! The salt helps draw out the moisture, creating a brine that will help the fermentation process.
Keep kneading until the cabbage is nice and soft, about 5-7 minutes.
Once everything is well-combined, it's time to pack the kimchi into your jar. Firmly press down the mixture, getting rid of any air pockets.
Top it off with the remaining brine. You're almost ready to let the fermentation begin!
Step 4. Let the Mixture Ferment
Once you've packed the kimchi into the jar, it's time to let the fermentation process begin! First, make sure to leave about 1-2 inches of headspace at the top of the jar. This gives the kimchi room to expand as it ferments.
Next, seal the lid on tightly. You'll want to "burp" the jar every day or two by quickly opening and closing the lid. This releases the built-up gas inside.
Now, find a spot in your kitchen to let the kimchi ferment. The ideal temperature is around 65-75°F. Any warmer and the fermentation might happen too quickly, while cooler temps will slow things down.
Over the next 3-7 days, you'll start to see bubbles forming and the brine level rising. Give the jar a gentle swirl each time you check on it.
Once the flavor reaches your desired tanginess, pop the jar in the fridge to slow down the fermentation. In just a couple weeks, your homemade kimchi will be ready to enjoy!
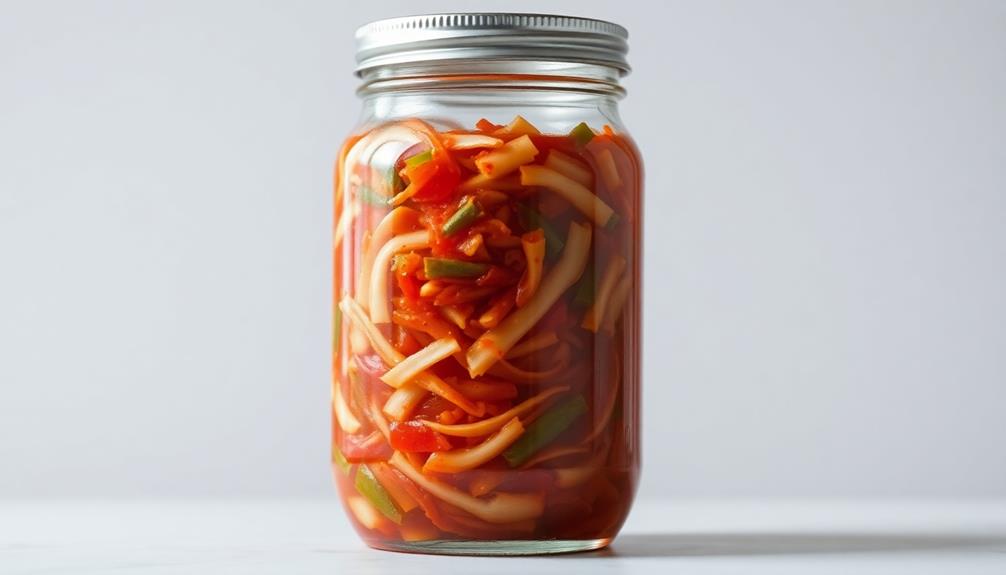
Step 5. Transfer to Jar
Once you've finely chopped all the ingredients, it's time to transfer the kimchi mixture to a clean, airtight jar. Gently pack the mixture into the jar, pressing it down to remove any air pockets. This will help the veggies stay submerged in the flavorful brine as they ferment.
The process of fermentation can be enhanced by maintaining a positive environment, similar to how aromatherapy can create a calming atmosphere that benefits emotional well-being.
Be sure to leave a few inches of headspace at the top of the jar to allow for expansion. Secure the lid tightly, but don't crank it down too hard – you want to be able to open it easily later.
Now, place the jar in a cool, dark spot like a pantry or cupboard. The ideal temperature for fermenting kimchi is between 60-75°F. As the days go by, you'll start to see bubbles forming, which means the fermentation process is underway!
Give the jar a gentle swirl or turn it upside down every few days to keep the ingredients evenly distributed. In about 3-7 days, your homemade kimchi will be ready to enjoy!

Korean Gochugaru Red Pepper Flakes, 1 LB – Sun-Dried Coarse Chili Powder for Kimchi, Jjigae, Korean BBQ & Stir-Fry – 100% Pure, No Additives, Mild-to-Medium Heat (4,500–10,000 SHU) – Resealable Pouch
100% PURE KOREAN STYLE GOCHUGARU — NO ADDITIVES, NO FILLERS, NO MSG: Made from a single ingredient: sun-dried…
As an affiliate, we earn on qualifying purchases.
As an affiliate, we earn on qualifying purchases.
Final Thoughts
Embarking on your kimchi-making journey, you've uncovered the nuances of fermentation and crafted a batch that reflects your personal tastes.
Now, as you gaze at your finished product, you can't help but feel a sense of pride and accomplishment. The vibrant colors, the tantalizing aroma, and the satisfying crunch all come together to create a culinary masterpiece that you can truly call your own.
As you savor your homemade kimchi, remember that the process of fermentation is a delicate dance between science and art.
Every batch will be slightly different, influenced by the unique combination of ingredients, temperatures, and fermentation times. Embrace these variations and celebrate the diversity of flavors that can emerge from your kitchen.
Beyond the realm of kimchi, the world of fermentation is vast and fascinating.
Consider exploring other fermented foods, each with its own unique character and health benefits. Who knows, you may uncover a new favorite or even discover a new passion for the art of fermentation.
Frequently Asked Questions
How Long Does Homemade Kimchi Last in the Refrigerator?
Your homemade kimchi can last up to 6 months in the refrigerator if you store it properly. The fermentation process preserves the kimchi, and proper refrigeration will keep it fresh and flavorful for an extended period.
Can I Use Different Vegetables Besides Napa Cabbage?
You can absolutely use different vegetables besides napa cabbage when making kimchi. Try using bok choy, radish, or carrots – they'll all work well and provide a unique flavor profile.
Is Kimchi a Probiotic Food?
Absolutely, kimchi is a probiotic food! The fermentation process helps cultivate beneficial bacteria that can improve gut health and digestion. Enjoy the tangy, spicy flavors of kimchi while reaping its probiotic benefits.
Do I Need Special Equipment to Make Kimchi?
You don't need any special equipment to make kimchi at home. All you need are some basic kitchen tools like a mixing bowl, knife, and jar or container for fermenting. With a few simple ingredients, you can whip up a batch of homemade kimchi.
Can I Freeze Homemade Kimchi for Later Use?
You can absolutely freeze your homemade kimchi for later use. Simply pack it into airtight containers, leaving a bit of headspace, and store it in the freezer for up to 6 months. Enjoy your kimchi whenever the craving strikes!