Ah, the timeless delight of Victorian high tea! Picture yourself indulging in warm, flaky scones, their golden crust giving way to a soft, pillowy interior. As you take your first bite, the luxurious clotted cream melts on your tongue, its velvety texture and rich flavor elevating the experience. This cherished ritual transports you to a bygone era of refined elegance, where the beauty of hospitality and the pleasures of connection are celebrated. Savoring each morsel, you're swept away by the wondrous aromas and the sense of timelessness that high tea so uniquely evokes. And if you thought this was captivating, just wait until you discover the full story behind this enchanting tradition.
Key Takeaways
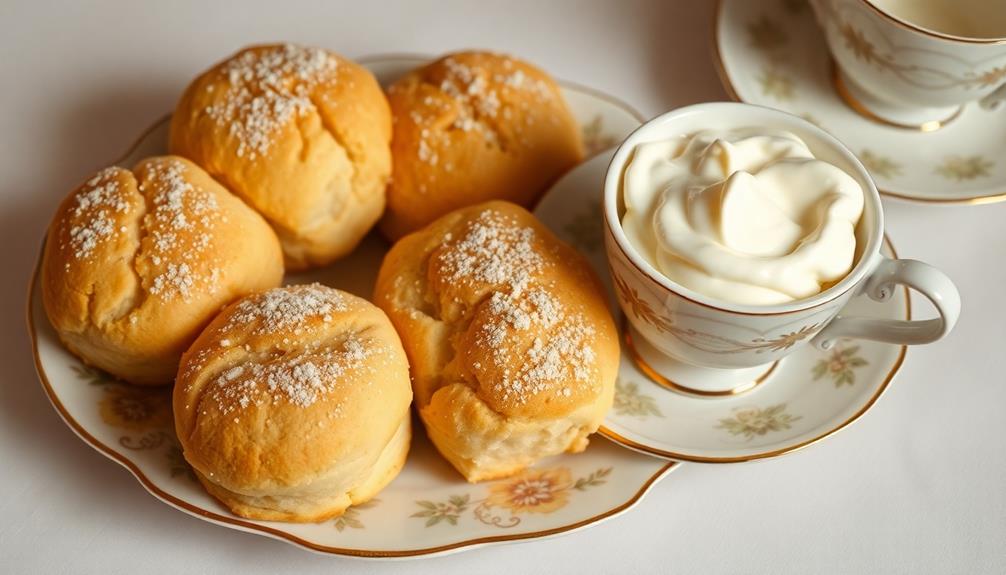
- Scones are a staple component of Victorian high tea, often served warm and paired with clotted cream for enhanced flavor and texture.
- The preparation of scones involves sifting flour and baking powder, incorporating cold butter, and gently kneading the dough for a flaky result.
- High tea emphasizes the beauty of hospitality and social interaction, with scones and finger sandwiches complementing the serving of fragrant teas in delicate porcelain cups.
- The Victorian high tea experience encourages guests to dress in their finest attire and savor each morsel, creating a refined and elegant atmosphere.
- High tea serves as a platform for celebrating special occasions, fostering social connections and reinforcing the cultural heritage and refinement of the Victorian era.
Top picks for "victorian high scon"
Open Amazon search results for this keyword.
As an affiliate, we earn on qualifying purchases.
History
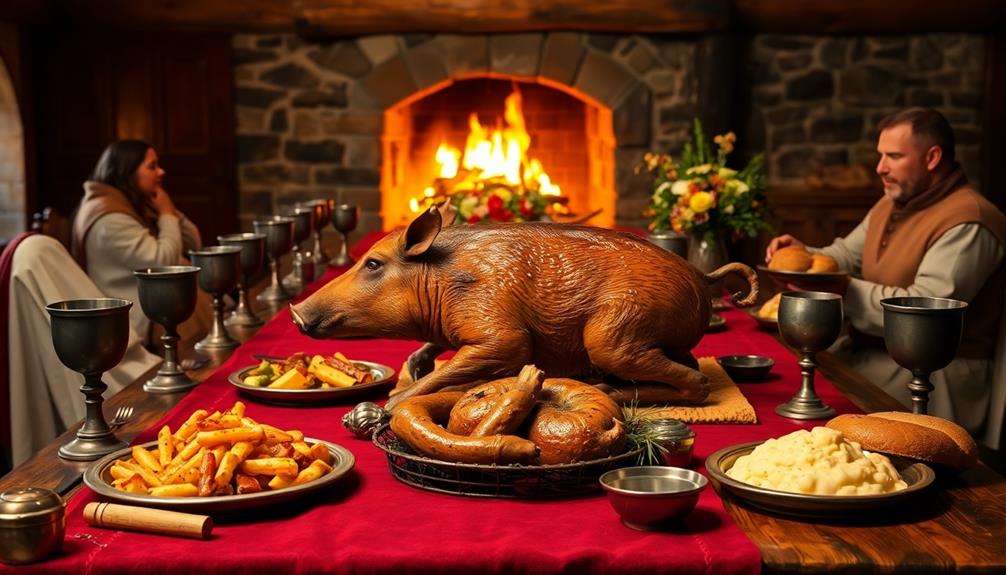
Although high tea has its origins in 19th-century England, the Victorian era saw it become a popular social ritual among the upper and middle classes.
Back then, it was a chance for ladies and gentlemen to gather, sip fragrant teas, and indulge in delectable finger foods like crustless sandwiches, freshly baked scones, and rich clotted cream.
People looked forward to this cozy afternoon tradition, which often took place in elegant drawing rooms or sun-dappled gardens.
The ritual of high tea allowed Victorians to take a break from their busy lives and enjoy each other's company over a leisurely repast.
It was a time to catch up on the latest news, discuss current events, and simply savor the simple pleasures of good food and good conversation.
This beloved custom quickly became a hallmark of Victorian high society, cementing its place in the social fabric of the era.
Recipe
Victorian High Tea: Recipe
High tea, also known as "meat tea," was a light meal served in the late afternoon or early evening during the Victorian era. It typically consisted of savory and sweet dishes, often accompanied by tea. This recipe aims to capture the essence of a traditional Victorian high tea, showcasing a selection of delectable treats.
To complement your delightful setting, consider enhancing the atmosphere with the perfect home cinema setup, where you can enjoy classic films that reflect the elegance of the Victorian era while indulging in your treats. Top projectors for home cinema can elevate your viewing experience, making it even more memorable.
Preparing a Victorian high tea is a delightful way to transport yourself and your guests back to the elegance and refinement of the Victorian era. With its diverse array of flavors and textures, this high tea menu is sure to impress and delight.
Ingredients:
- Finger sandwiches (e.g., cucumber, egg salad, smoked salmon)
- Scones with clotted cream and jam
- Assorted bite-sized cakes (e.g., Victoria sponge, lemon drizzle, chocolate éclair)
- Assorted tea biscuits (e.g., shortbread, digestives, Viennese whirls)
- Selection of teas (e.g., English breakfast, Earl Grey, Darjeeling)
To prepare the Victorian high tea, begin by preparing the finger sandwiches, ensuring the fillings are chilled and the bread is thinly sliced. Bake the scones according to your preferred recipe, and prepare the clotted cream and jam.
Assemble the assorted cakes and tea biscuits on a tiered serving stand or platter, arranging them in a visually appealing manner. Brew a selection of high-quality teas, and serve them hot in teapots along with the accompanying tea accoutrements, such as sugar cubes, lemon slices, and milk.
When hosting a Victorian high tea, attention to detail is key. Encourage your guests to dress in their finest attire, and consider playing classical music or string quartets in the background to enhance the ambiance.
Encourage your guests to savor each delectable morsel and sip their tea with pinkies raised, immersing themselves in the refined and elegant experience of a Victorian high tea.
Cooking Steps
Preheat your oven to a toasty 425°F and start sifting the flour and baking powder together.
Next, add the butter to the flour mixture and use your fingers to blend it all in.
Step 1. Preheat Oven to 425°F
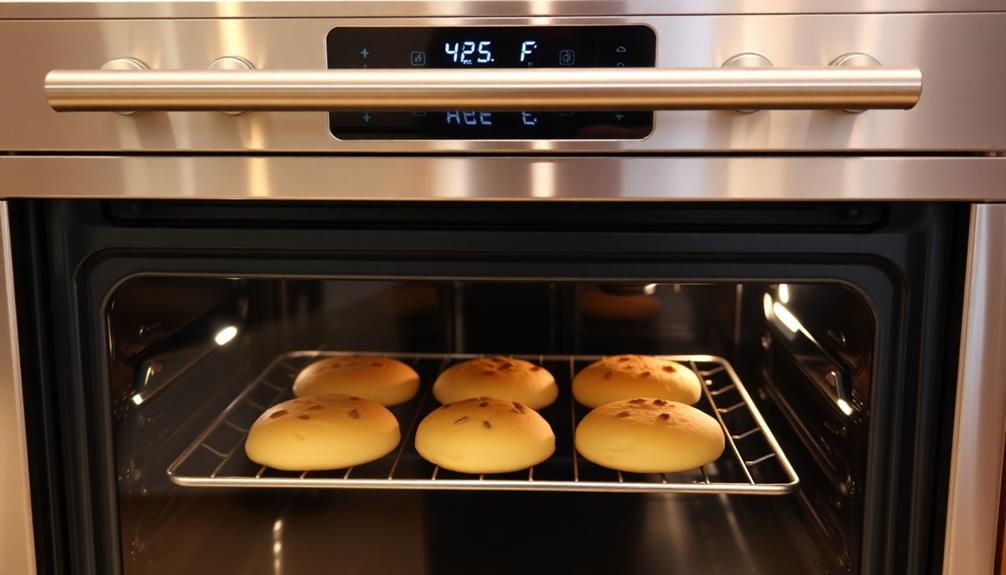
To prepare for the baking portion of your Victorian High Tea, go ahead and preheat your oven to 425°F. This nice, toasty temperature is perfect for getting your scones and other treats baked up just right.
You'll want to make sure your oven is fully heated before popping in your creations, so give it a few minutes to reach the ideal temperature. Once it's ready, you can slide in your trays and get those baked goods rising and browning beautifully.
The aroma of freshly baked scones is going to fill your kitchen and have everyone's taste buds tingling with anticipation. Just imagine the light, flaky texture and how amazing they'll taste with a generous helping of clotted cream and jam. Mmm, can't you almost smell it?
With the oven preheated, you're one step closer to serving up an authentic Victorian High Tea that your guests will truly savor.
Step 2. Sift Flour and Baking Powder

Grab a large mixing bowl and sift together the all-purpose flour and baking powder. Give the bowl a gentle shake to help the ingredients blend. This step is crucial, as sifting allows the flour and baking powder to be evenly distributed throughout the dough. You don't want any pesky clumps!
Next, use your fingertips to lightly rub in the butter until the mixture resembles coarse breadcrumbs. Be careful not to overmix – you want to keep the dough light and flaky.
Now, create a well in the center of the flour mixture and pour in the cold milk. Use a fork to gently bring the dough together, taking care not to overwork it. The dough should be slightly sticky but still hold its shape.
Wonderful! You've completed the sifting step. Up next, you'll need to roll out the dough and cut out those delightful scones. Get ready for the delicious aromas to fill your kitchen!
Step 3. Add Butter to Flour Mixture
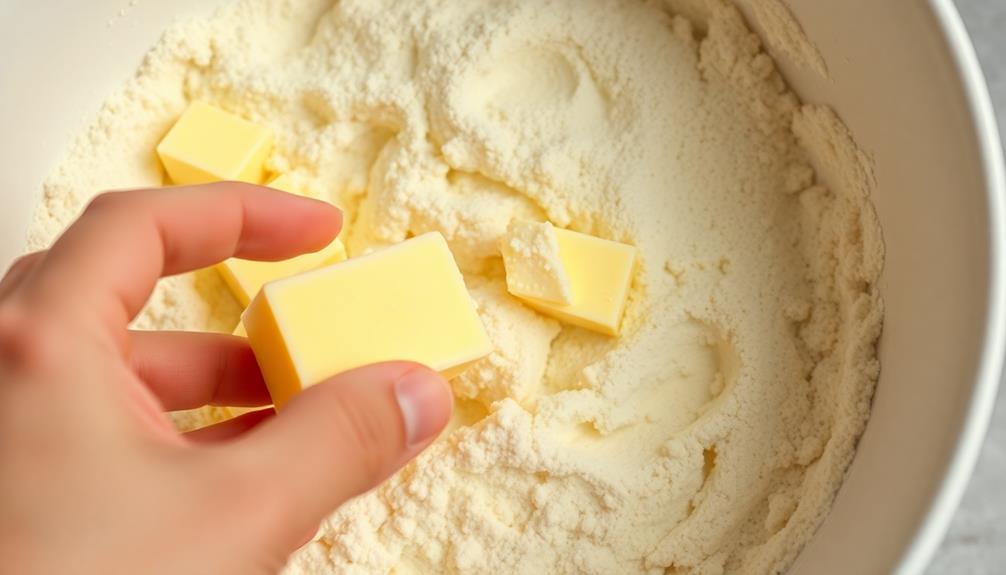
Next, use your fingertips to lightly rub the cold butter into the flour mixture until it resembles coarse breadcrumbs. This step is crucial for creating the perfect scone texture.
Gently work the butter into the flour, taking care not to overwork the dough. You want the mixture to have a few pea-sized pieces of butter remaining. This will help the scones rise beautifully and develop a flaky, tender interior.
Once the butter is fully incorporated, your flour mixture will take on a slightly crumbly appearance. This is exactly what you're looking for!
The butter coats the flour, preventing the gluten from developing too much. This creates a light, delicate scone that practically melts in your mouth.
With the butter blended in, your dough is now ready for the next step. Just wait until you see how deliciously flaky and buttery these scones turn out!
Step 4. Add Buttermilk and Knead Gently
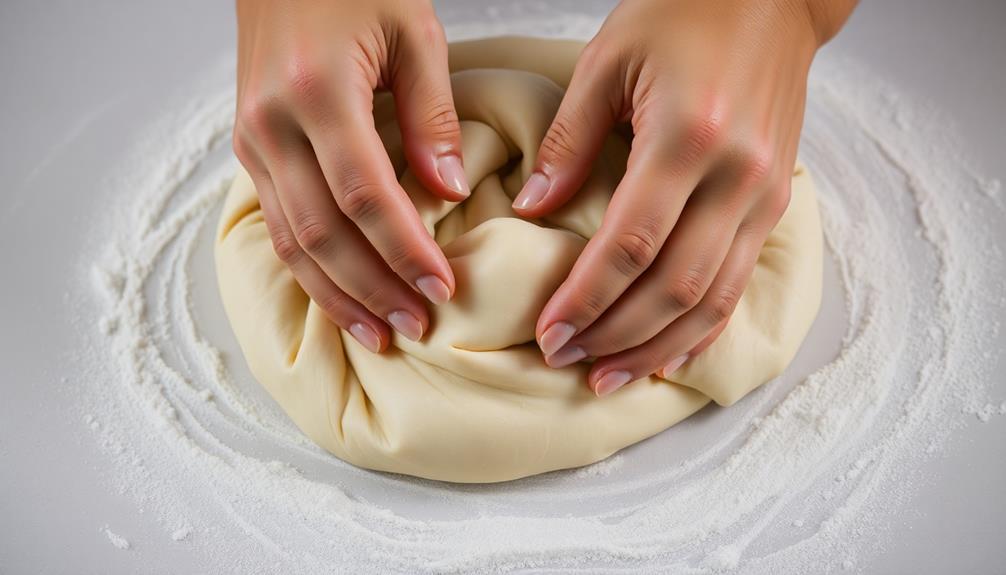
Now that the butter is evenly incorporated, add the buttermilk to the flour mixture. Pour it in and use your hands to gently combine everything together.
Don't overmix – you want the dough to be lightly kneaded, not tough and dense. As you work the dough, you'll feel it start to come together into a soft, pliable ball. That's just what you're aiming for!
Once it reaches this stage, you can turn it out onto a lightly floured surface and knead it a few more times. Be careful not to overwork it, or your scones will end up dry and crumbly. Knead just until the dough is smooth and uniform.
Now you're ready to pat it out and cut those delightful scone shapes! This step is all about handling the dough gently to achieve the perfect flaky, tender texture. Take your time and enjoy the process – your efforts will make for wonderfully tasty results.
Step 5. Cut Dough and Bake
After kneading the dough, gently roll or pat it out on a lightly floured surface until it's about 3/4-inch thick.
Now, use a sharp biscuit cutter or the rim of a glass to cut out round scone shapes, being careful not to twist the cutter as you press down. Gather up the scraps, gently re-roll, and cut out more scones until you've used up all the dough.
Next, place the scones on a baking sheet lined with parchment paper, making sure to space them apart so they've room to rise.
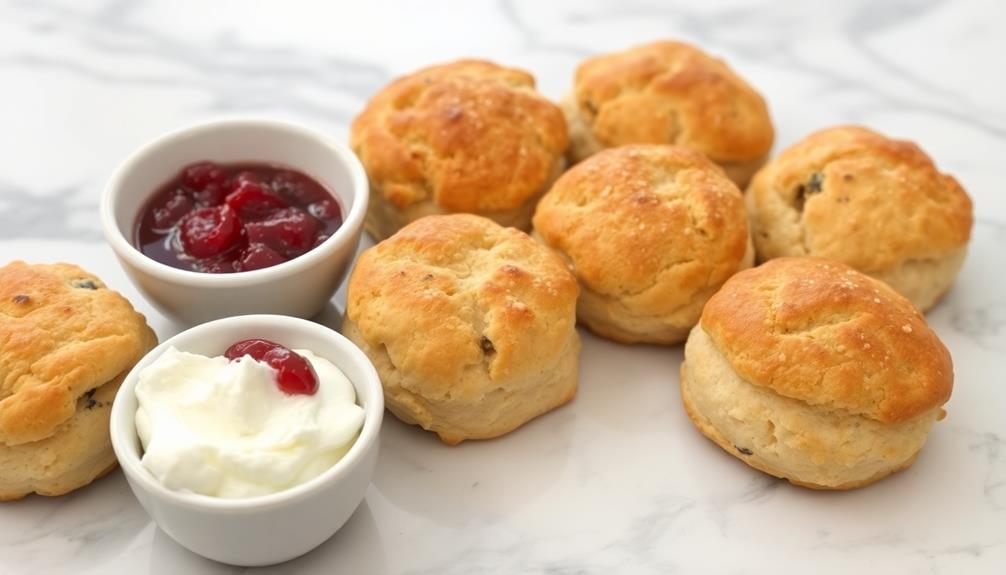
Pop them into a preheated oven and bake for 12-15 minutes, until the tops are lightly golden. Mmm, can you already smell the buttery, flaky goodness?
Once they're done, let the scones cool for a bit before serving with spoonfuls of sweet clotted cream and your favorite jam.
Time to enjoy the fruits of your labor – or should I say, the scones of your labor!
Final Thoughts
As you reflect on the Victorian High Tea experience, consider the timeless allure of this cherished tradition. Sipping fragrant tea from delicate porcelain cups, savoring tender scones with clotted cream, and indulging in delectable finger sandwiches – these are the simple pleasures that have captivated generations.
The ritual of high tea is a testament to the beauty of slowing down, connecting with loved ones, and honoring the gentle art of hospitality.
While the recipes and presentation may have evolved over time, the essence of high tea remains unchanged. It's a chance to step back from the hurried pace of modern life and immerse yourself in the timeless elegance of a bygone era.
Whether you're hosting a formal gathering or enjoying an intimate moment with friends, the Victorian High Tea experience is sure to leave you feeling refreshed, nourished, and inspired.
Embrace the magic, savor each delightful bite, and cherish the memories that will linger long after the final crumb has been savored.
Frequently Asked Questions
How Do I Store Leftover Scones?
To store leftover scones, wrap them tightly in plastic or place them in an airtight container. You can also freeze them for up to 3 months. Reheat before serving to restore their fresh-baked texture.
Can I Use Regular Cream Instead of Clotted Cream?
You can use regular cream instead of clotted cream, but it won't have the same rich, creamy texture. Clotted cream is the traditional topping for scones, but regular cream will still taste great if that's all you have on hand.
What Are Some Variations on the Traditional Scone Recipe?
You can try different variations on the classic scone recipe, like adding dried fruit, nuts, or herbs. You can also experiment with different flours, sweeteners, and baking techniques to create unique scones.
How Long Do Scones Stay Fresh?
Scones typically stay fresh for 2-3 days when stored at room temperature in an airtight container. For maximum freshness, you can freeze scones for up to 3 months and reheat them as needed.
Can I Make the Scones Ahead of Time?
Absolutely, you can make scones ahead of time. They'll stay fresh for 2-3 days when stored in an airtight container at room temperature. Just be sure to reheat them before serving for the best texture.