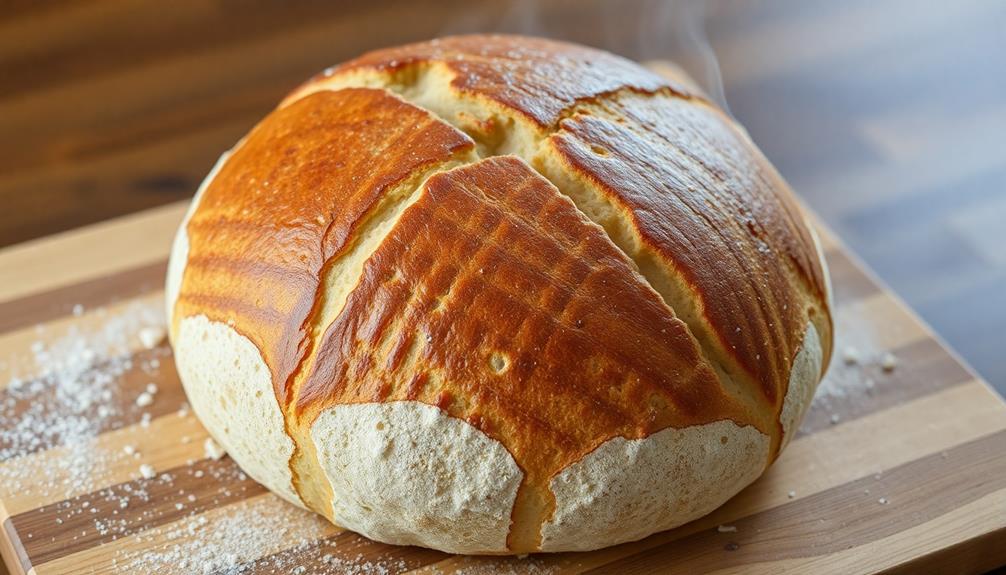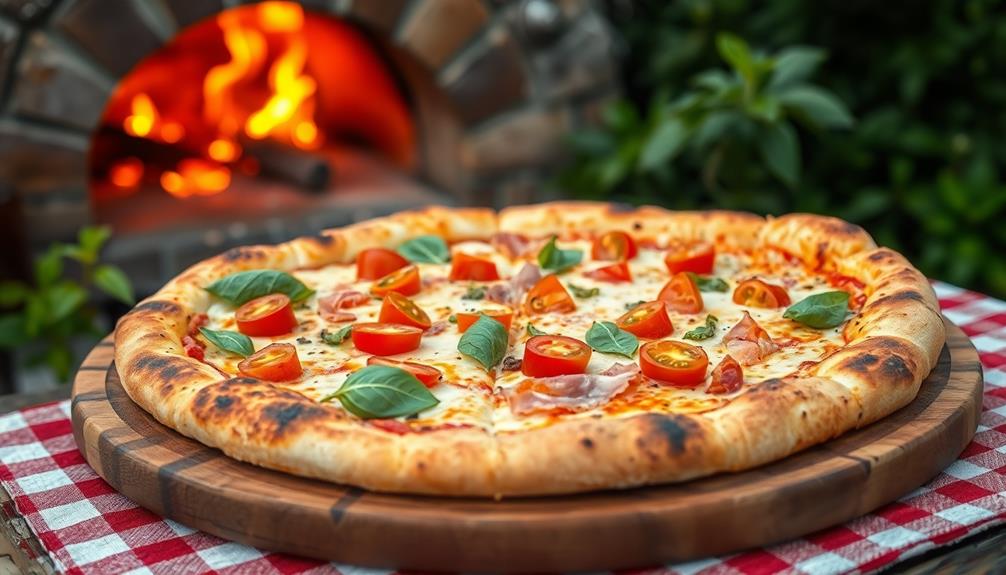
Wood-fired pizza with local toppings offers a delicious blend of tradition and regional flavor. You'll start with a classic Neapolitan-style dough, cooked in a blazing hot wood-fired oven. The intense heat creates a perfectly crispy crust with those coveted char spots. For toppings, visit your local farmer's market to find seasonal vegetables and herbs. In spring, try asparagus and artichokes; summer calls for juicy tomatoes and zucchini. Fall brings roasted squash and mushrooms, while winter's perfect for caramelized onions and root veggies. Remember to slice your toppings thinly and toss them with olive oil and salt before adding. The combination of wood-fired technique and fresh local ingredients will take your pizza game to the next level.
Key Takeaways
- Wood-fired pizza offers superior flavor and texture due to high-temperature cooking and subtle smokiness.
- Source fresh, seasonal ingredients from local farmers' markets for unique and flavorful toppings.
- Prepare local toppings by slicing thinly and tossing with olive oil and salt before adding to pizza.
- Cook wood-fired pizza at around 900°F (482°C) for 60-90 seconds, rotating halfway through for even browning.
- Experiment with seasonal options like asparagus in spring, tomatoes in summer, squash in fall, and root vegetables in winter.
Top picks for "wood pizza local"
Open Amazon search results for this keyword.
As an affiliate, we earn on qualifying purchases.
History
Although wood-fired pizza as we know it today is a relatively modern invention, its roots can be traced back to ancient civilizations. You might be surprised to learn that people have been cooking flatbreads in wood-fired ovens for thousands of years. In ancient Rome, you'd find similar dishes being enjoyed by people from all walks of life.
The pizza we're familiar with today started taking shape in Naples, Italy, in the late 18th century. You'd see poor workers grabbing quick, affordable meals from street vendors. These early pizzas were simple, often topped with just tomatoes, cheese, and herbs.
It wasn't until the late 19th century that pizza began to spread beyond Naples.
When Italian immigrants moved to America in the early 20th century, they brought their love for pizza with them. You'd soon find pizza shops popping up in cities like New York and Chicago.
As the dish grew in popularity, people started experimenting with different toppings and cooking methods. Today, you can enjoy wood-fired pizza with all sorts of delicious local toppings, combining tradition with modern flavors.
Recipe
Wood-fired pizza is a culinary delight that brings together the perfect combination of crispy crust, melted cheese, and savory toppings. This traditional Italian dish gets its unique flavor and texture from being cooked in a wood-fired oven, which reaches extremely high temperatures and imparts a subtle smoky essence to the pizza.
To recreate the authentic wood-fired pizza experience at home, you'll need a pizza stone or steel to achieve that crispy crust. While a conventional oven can't reach the same temperatures as a wood-fired oven, preheating your pizza stone at the highest temperature setting will help you get as close as possible to that coveted wood-fired texture and taste.
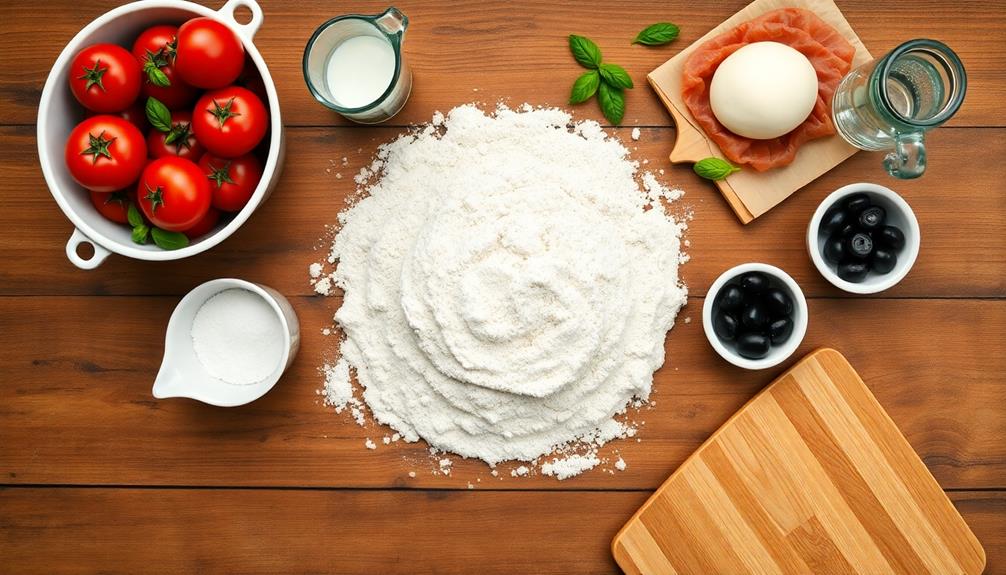
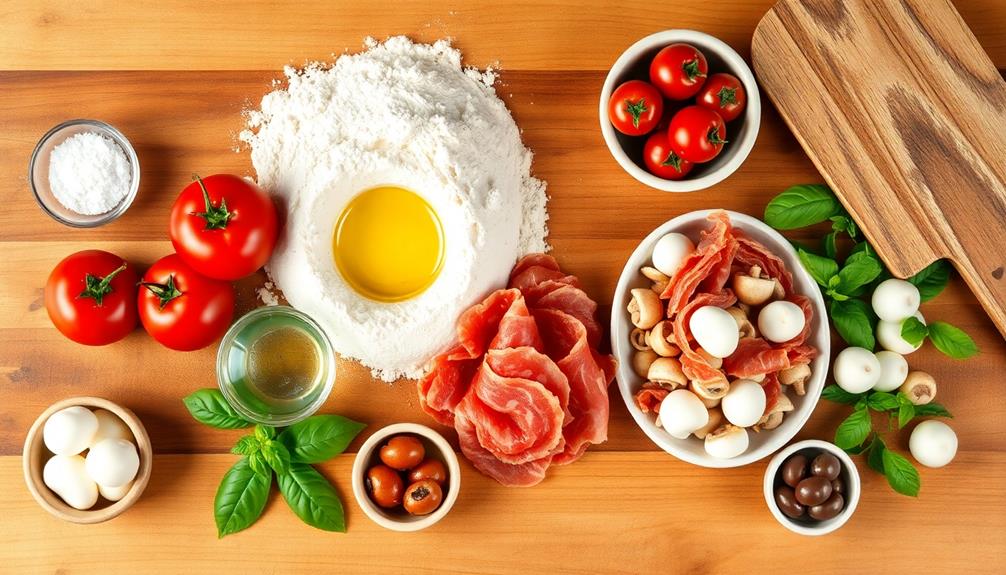
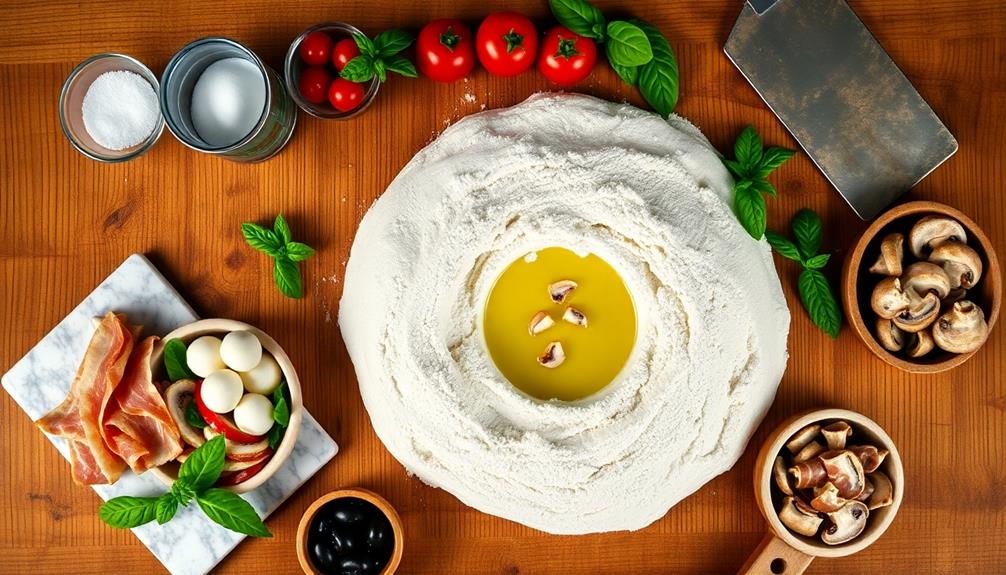
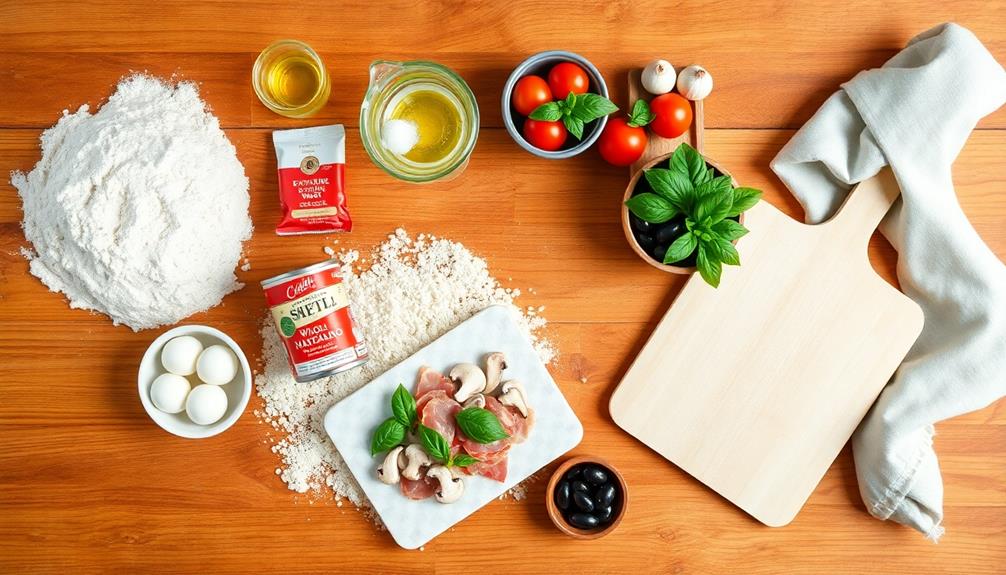
- 500g strong bread flour
- 7g fast-action dried yeast
- 10g salt
- 350ml warm water
- 2 tbsp olive oil
- 400g San Marzano tomatoes
- 250g fresh mozzarella
- Fresh basil leaves
- Toppings of your choice (e.g., prosciutto, mushrooms, olives)
Mix the flour, yeast, and salt in a large bowl. Make a well in the center and add the water and olive oil. Knead the dough for 10 minutes until smooth and elastic. Let it rise for 1-2 hours.
Preheat your oven to its highest setting with the pizza stone inside. Divide the dough into 4 portions and stretch each into a thin circle. Spread crushed tomatoes, add torn mozzarella and your chosen toppings. Slide the pizza onto the hot stone and bake for 8-10 minutes until the crust is golden and the cheese is bubbling. Garnish with fresh basil before serving.
For the best results, keep your toppings light to prevent the crust from becoming soggy. If you don't have a pizza stone, you can use an inverted baking sheet. Always let your dough come to room temperature before stretching to ensure it's pliable and easy to work with.
Experiment with different wood-fired flavor profiles by adding a drop of liquid smoke to your tomato sauce or using smoked cheese as a topping.
Cooking Steps
To make your wood-fired pizza, you'll need to follow a series of key steps.
First, you'll prepare the wood-fired oven and get your pizza dough ready.
Then, you'll add your favorite local, seasonal toppings before cooking the pizza in the hot oven and serving it up to enjoy.
Step 1. Prepare Wood-Fired Pizza Oven
Firing up your wood-fired pizza oven is a crucial step in creating the perfect pizza. Start by gathering dry hardwood, like oak or maple, and some smaller kindling.
Place the kindling in the center of your oven and light it. As it catches, add larger pieces of wood gradually. You'll want to build the fire towards the back of the oven, leaving space in front for cooking.
Keep an eye on the temperature. Use an infrared thermometer to check the oven floor, aiming for around 750°F (400°C). This process can take 1-2 hours, so be patient.
As the fire burns, you'll notice the oven dome turning from black to white. This means it's heating up nicely.
Once you've reached the right temperature, push the embers to the sides and back of the oven. Use a metal brush to sweep the cooking area clean.
Now, let the oven "settle" for about 15 minutes. This allows the heat to distribute evenly. You're now ready to start cooking your delicious wood-fired pizzas!
Step 2. Prepare Pizza Dough
How do you create the perfect pizza dough for your wood-fired masterpiece? Start by gathering your ingredients: flour, yeast, salt, water, and a bit of olive oil.
In a large bowl, mix the dry ingredients first. Then, slowly add warm water and oil, stirring until the dough forms. Don't worry if it's a bit sticky at first!
Next, knead the dough on a floured surface for about 10 minutes. This will develop the gluten, giving your pizza that perfect chewy texture.
Once it's smooth and elastic, place it in an oiled bowl and cover with a damp cloth. Let it rise in a warm spot for an hour or until it doubles in size.
After the dough has risen, punch it down and divide it into portions. Shape each portion into a ball and let them rest for another 15 minutes. This resting period will make the dough easier to stretch.
When you're ready to make your pizza, gently stretch the dough into a circle, being careful not to tear it. Now you're all set to add your favorite toppings!
Step 3. Add Local Seasonal Toppings

With your pizza dough ready, it's time to explore the world of local seasonal toppings. Start by visiting your farmer's market or local grocery store to see what's fresh and in season. You'll find a variety of vegetables, herbs, and sometimes even fruits that can make your pizza unique and delicious.
Consider incorporating toppings that aren't only flavorful but also packed with nutrients, such as seasonal greens that can provide essential vitamins rich in vitamins A, C, and K beneficial for overall health.
For spring, try asparagus, artichokes, and fresh peas. Summer offers juicy tomatoes, zucchini, and bell peppers. In fall, experiment with roasted squash, mushrooms, and kale. Winter brings hearty options like caramelized onions and root vegetables.
Don't forget about local cheeses and meats. A creamy goat cheese or sharp cheddar can add great flavor. If you eat meat, look for locally sourced sausage or prosciutto.
To prepare your toppings, slice vegetables thinly so they'll cook evenly. Toss them with a little olive oil and salt before adding to your pizza.
Step 4. Cook Pizza in Oven
The cooking process for wood-fired pizza involves three essential steps.
First, you'll need to preheat your oven to its highest temperature, usually around 900°F (482°C). This extreme heat is crucial for achieving that perfect crispy crust. While the oven's heating up, prepare your pizza peel by dusting it with flour or cornmeal to prevent sticking.
Next, carefully slide your prepared pizza onto the hot oven floor. You'll want to use quick, confident movements to transfer the pizza without losing toppings. Once it's in, keep a close eye on it. Wood-fired pizzas cook fast, often in just 60-90 seconds!
Lastly, it's time to rotate your pizza. About halfway through cooking, use your peel to turn the pizza 180 degrees. This ensures even cooking and a perfectly charred crust all around.
When the cheese is bubbling and the crust is golden brown with a few dark spots, your pizza's ready. Carefully remove it from the oven, let it cool for a minute, then slice and enjoy your delicious wood-fired creation!
Step 5. Serve and Enjoy Pizza
Once your wood-fired pizza emerges from the oven, it's time to serve and savor your creation.
Let the pizza cool for a minute or two on a wire rack to prevent a soggy bottom. Use a sharp pizza cutter or wheel to slice it into even pieces. For a traditional approach, cut it into eight triangular slices, or try squares for a fun twist.
Transfer the slices to warm plates using a wide spatula. This keeps the pizza hot and makes it easier to handle.
Don't forget to add any final touches, like a drizzle of olive oil, fresh basil leaves, or a sprinkle of grated Parmesan cheese. These little extras can really enhance the flavors.
Serve your pizza right away while it's still piping hot. Gather your friends and family around the table and enjoy the fruits of your labor together.
The crispy crust, melted cheese, and aromatic toppings are best experienced fresh from the oven. Pair your wood-fired pizza with a crisp salad and your favorite beverage for a complete meal.
Remember to savor each bite and appreciate the unique flavors that come from cooking with wood.
Final Thoughts
Savoring wood-fired pizza isn't just about the taste; it's an experience that engages all your senses. The crackling sound of the fire, the aroma of fresh ingredients, and the sight of the bubbling cheese create a memorable moment.
As you've learned, making wood-fired pizza at home is a rewarding process that brings friends and family together.
Remember, practice makes perfect. Don't be discouraged if your first attempts aren't flawless. Each time you make pizza, you'll improve your technique and discover new flavor combinations. Experiment with different local ingredients to create unique pizzas that reflect your tastes and region.
Maintain your wood-fired oven properly to ensure it lasts for years. Clean it regularly and protect it from the elements when not in use. With care, your oven will become a cherished part of your outdoor cooking setup.
Lastly, share your pizza-making skills with others. Host gatherings, teach friends, and spread the joy of wood-fired pizza. It's a wonderful way to create lasting memories and delicious meals that everyone will love.
Frequently Asked Questions
What's the Best Wood to Use for Wood-Fired Pizza?
You'll want to use hardwoods for wood-fired pizza. Oak, hickory, and maple are excellent choices. They burn hot and long, imparting a subtle smokiness. Avoid softwoods like pine, which can give off unpleasant flavors and harmful chemicals.
How Long Does It Take to Heat a Wood-Fired Pizza Oven?
It'll take you about 1-2 hours to heat a wood-fired pizza oven. You'll need to start the fire and gradually build it up. Keep an eye on the temperature; when it reaches 700-900°F, you're ready to cook.
Can You Use a Regular Outdoor Grill for Wood-Fired Pizza?
You can't truly replicate wood-fired pizza on a regular grill, but you can achieve similar results. Use a pizza stone, preheat it well, and add wood chips for smoky flavor. It's a decent alternative in a pinch.
Are There Any Health Benefits to Eating Wood-Fired Pizza?
You'll find some health benefits in wood-fired pizza. It's cooked quickly, preserving nutrients in toppings. The high heat reduces oil absorption, making it potentially lower in calories. However, it's still pizza, so enjoy in moderation.
How Do You Maintain and Clean a Wood-Fired Pizza Oven?
You'll need to regularly sweep out ash and debris. Let the oven cool completely, then scrub with a wire brush. Don't use water or chemicals. Reseason occasionally with oil. Always follow the manufacturer's specific maintenance instructions.