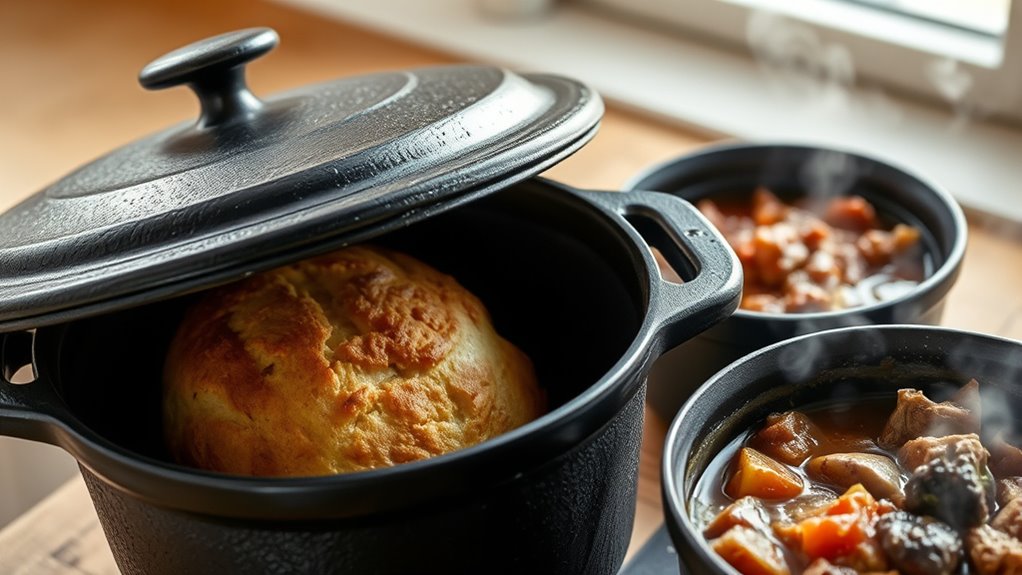
To use your Dutch oven for bread, stews, and more, start by seasoning it well to build a natural non-stick surface. For bread, shape your dough and place it inside, then bake with the lid on at the right temperature until crispy. For stews and other dishes, simply add ingredients, cover with the lid to seal in moisture, and cook slowly. Proper lid handling and maintenance will help you get the best results every time—learn more to master your Dutch oven skills.
Key Takeaways
- Preheat the Dutch oven to ensure even cooking and optimal heat retention for bread and stews.
- Use a properly seasoned, dry surface to prevent sticking and enhance non-stick properties.
- For bread, bake with the lid on to trap moisture, then remove to crisp the crust.
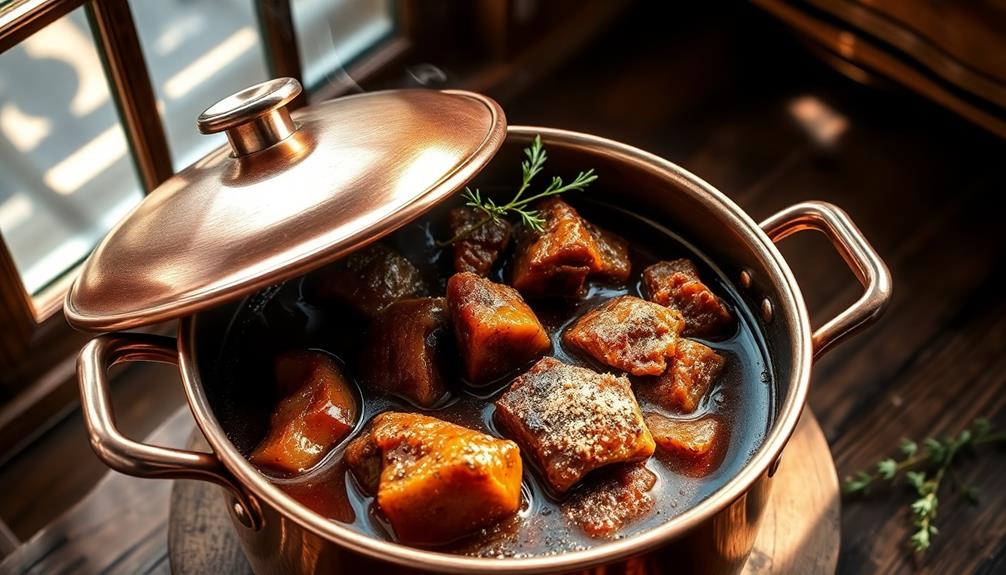
- When cooking stews, layer ingredients, and cook with the lid on for a rich, flavorful result.
- Clean and dry the Dutch oven thoroughly after use, applying oil before storage to maintain seasoning.
A Dutch oven is a versatile and durable piece of cookware that can handle a wide range of recipes, from hearty stews to baked bread. To get the most out of your Dutch oven, it’s vital to understand proper seasoning tips and lid handling. Seasoning your Dutch oven creates a natural non-stick surface and helps prevent rust. If your oven is new, you’ll want to start by washing it with warm, soapy water, then drying it thoroughly. Apply a thin layer of vegetable oil or shortening all over the interior and exterior, then bake it upside down in the oven at 400°F for about an hour. Repeat this process a few times to build up a good seasoning layer. Over time, your Dutch oven will develop a seasoned patina that improves with use, making it easier to cook without sticking.
When handling the lid, remember it’s an important part of your Dutch oven’s functionality. The lid traps moisture and heat, creating a self-basting environment perfect for baking bread or slow-cooking stews. Always lift the lid carefully to avoid splashing hot steam, which can cause burns. Use oven mitts or heat-resistant gloves, and lift the lid away from your face and body to prevent steam burns. When you’re ready to check on your food, do so quickly to preserve the heat and moisture inside. After cooking, set the lid down on a heat-resistant surface rather than dropping it on the countertop, which can cause damage or chips over time. Proper lid handling also means cleaning it carefully; avoid soaking the lid in water for long periods, especially if it has a seasoned interior, as excess moisture can lead to rust.
In terms of seasoning tips, regularly maintaining your Dutch oven’s seasoning is key. After each use, rinse with warm water—avoid soap if your oven is well-seasoned, since soap can strip away the seasoning layer. Instead, scrub away stuck-on food with a stiff brush or non-abrasive scrubber, then dry thoroughly and apply a light coat of oil before storing. Proper lid handling extends the lifespan of your Dutch oven and maintains its ability to create a tight seal. With these practices, your Dutch oven will become more non-stick and resilient, allowing you to cook everything from crusty bread to tender stews with ease. Over time, you’ll notice your Dutch oven improves in performance, making every cooking experience more enjoyable and efficient.
Frequently Asked Questions
Can I Use a Dutch Oven on an Induction Cooktop?
Yes, you can use a Dutch oven on an induction cooktop if it’s induction compatible. Check the bottom for an induction-compatible symbol or test with a magnet; if it sticks, you’re good to go. Induction cooktops offer even heat distribution, so your Dutch oven heats efficiently. Just verify the lid and handles are suitable for stovetop use, and you’ll enjoy consistent, reliable cooking results.
How Do I Clean and Maintain a Dutch Oven?
To clean and maintain your Dutch oven, avoid soap if it’s cast iron; instead, scrub with a brush and warm water. Dry thoroughly to prevent rust, then apply a light coating of oil using seasoning techniques to keep it seasoned. For storage tips, keep the lid slightly ajar or in a dry place to prevent moisture buildup. Regularly maintaining and seasoning your Dutch oven guarantees it stays non-stick and durable over time.
What Are the Best Types of Bread for Dutch Oven Baking?
You should try baking artisan loaves and crusty baguettes in your Dutch oven. These breads benefit from the high heat and steam, creating a crispy crust and tender crumb. Opt for doughs with higher hydration levels and long fermentation times for the best results. The Dutch oven traps moisture, helping your bread develop that professional bakery look and texture you’re after. Enjoy your perfectly crusty, flavorful bread!
Can I Use a Dutch Oven for Frying?
Yes, you can use a Dutch oven for frying, and it’s a great choice since it retains heat evenly. Did you know that a Dutch oven can reach temperatures of 400°F or higher? When frying, use the right frying techniques and select an oil with a high smoke point, like vegetable or peanut oil. Just make sure to keep the lid nearby for safety, and don’t overcrowd the pot.
How Do I Prevent Rust on a Cast Iron Dutch Oven?
To prevent rust on your cast iron Dutch oven, you should regularly season it using proper seasoning techniques like applying a thin layer of oil and baking it. Always dry it thoroughly after cleaning, especially before storing. Store it in a dry place, and consider placing a paper towel or cloth inside to absorb moisture. Proper seasoning and storage tips keep your Dutch oven rust-free and in excellent condition for years.
Conclusion
Using a Dutch oven unseals endless culinary possibilities, from baking crusty bread to hearty stews. Its heavy lid and even heat distribution create professional results at home. Some believe that preheating your Dutch oven enhances baking, but recent studies suggest that starting with a cold oven yields equally good bread. So, don’t stress too much—trust your instincts and experiment to find what works best for you. Happy cooking!