
Starting to bake bread at home is a rewarding way to develop new skills this year. Focus on shaping your dough properly, which creates surface tension and guarantees your loaves rise beautifully. Cultivating and maintaining a sourdough starter gives your bread unique flavor and structure. With practice, you’ll improve your handling, shaping, and fermentation techniques, leading to bakery-quality results. Keep exploring these methods, and you’ll gain confidence to craft delicious bread every time.
Key Takeaways
- Begin cultivating a sourdough starter to develop natural leavening for homemade bread.
- Practice proper shaping techniques like boule or batard to improve loaf appearance and structure.
- Focus on gentle handling and gluten development for better dough elasticity and crumb texture.
- Maintain consistent feeding and care of your starter for reliable, flavorful bread results.
- Embrace patience and regular practice to refine skills and achieve bakery-quality loaves at home.
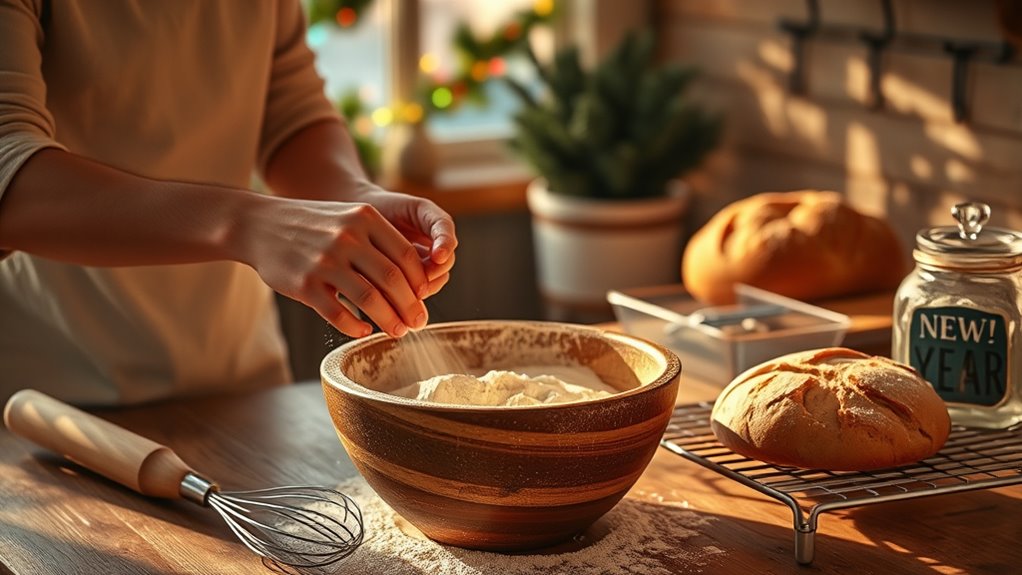
Baking bread at home might seem intimidating at first, but with a few simple steps, you can create delicious, fresh loaves anytime. The key is understanding the basics of bread shaping and cultivating a healthy sourdough culture. Once you get comfortable with these foundational skills, you’ll find baking bread becomes an enjoyable and rewarding process.
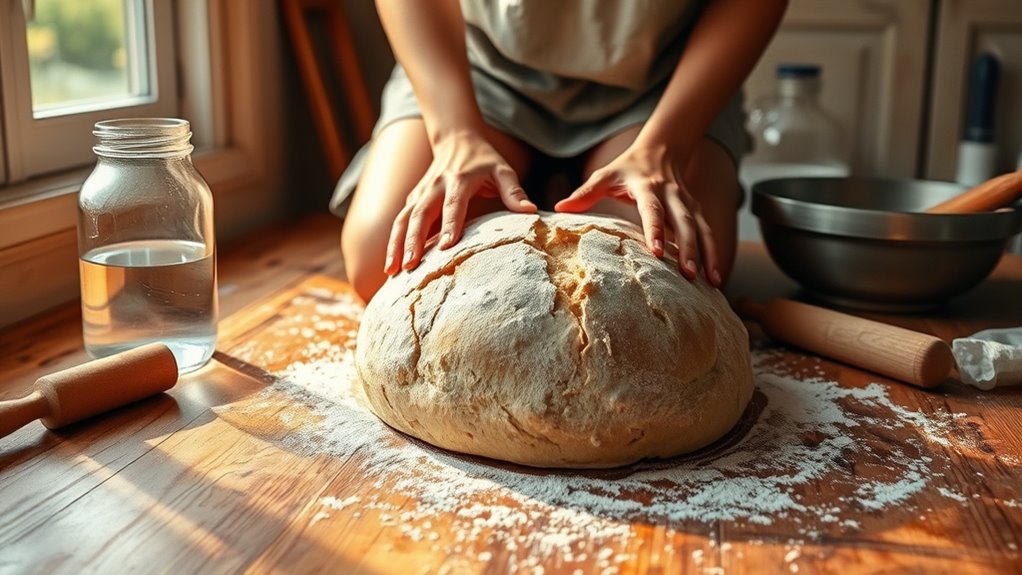
Bread shaping is an essential skill that allows you to give your loaves a professional look and improve their texture. After you’ve mixed your dough and let it rise, shaping transforms your bulk fermentation into a beautiful, cohesive loaf. You’ll want to gently degas the dough, then fold and stretch it into a tight, smooth ball or elongated shape, depending on the type of bread you’re making. Proper shaping creates surface tension, which helps the bread rise evenly and develop a nice crust. As you practice, you’ll discover different techniques for shaping, such as the boule, batard, or baguette, each suited for specific bread styles. The more you work with your dough, the better you’ll understand how to handle it without tearing or deflating the air bubbles that give your bread its airy crumb.
A healthy sourdough culture is the backbone of many home-baked breads, especially if you’re aiming for that distinctive tang and chewy texture. Cultivating your own sourdough starter isn’t complicated, but it does require patience and regular feeding. You start by mixing flour and water, allowing natural yeasts and bacteria from the environment to develop over several days. Once your culture is active and bubbly, you can use it to leaven your bread instead of commercial yeast. Maintaining your sourdough culture involves daily feedings with fresh flour and water, which keeps it lively and capable of producing consistent, flavorful loaves. Over time, you’ll notice your starter developing a complex aroma and a bubbly, active consistency—signs it’s ready for baking.
When you combine proper bread shaping with a strong sourdough culture, you set the stage for baking bread that’s not only delicious but also visually appealing. Each loaf becomes a reflection of your growing skill and personal touch. Remember, the process requires practice, but every attempt teaches you something new—whether it’s how to handle sticky dough, how to develop gluten, or how to nurture your starter. With patience and persistence, you’ll soon be creating bakery-quality bread right in your own kitchen, turning this new skill into a satisfying and tasty habit for the New Year.
Frequently Asked Questions
What Are Common Mistakes First-Time Bakers Make?
You might overproof the dough, causing it to lose structure and deflate, or improperly knead it, resulting in uneven gluten development. These mistakes can lead to dense or flat bread. To avoid this, watch the dough’s rise and don’t rush the kneading process—make sure you develop a smooth, elastic texture. Pay attention to these details, and you’ll improve your bread baking skills quickly.
How Do I Store Homemade Bread for Freshness?
Storing your homemade bread is like keeping a treasure safe. To preserve freshness, place it in an airtight storage container or wrap it tightly with plastic wrap or foil. Keep it at room temperature if you’ll eat it within a couple of days. For longer storage, consider freezing it in a resealable bag. Proper bread preservation guarantees each slice stays soft and delicious, just like it was fresh out of the oven.
What Tools Are Essential for Beginner Bread Baking?
You’ll need a few essential tools to start baking bread at home. Grab bread flour, which is vital for good gluten development. A dough scraper helps you handle and shape the dough easily. You might also want a mixing bowl, a proofing basket, and a sharp knife or razor blade for scoring. These tools make the process smoother and help you achieve better results in your homemade bread journey.
Can I Bake Bread Without Traditional Yeast?
Yes, you can bake bread without traditional yeast by using natural leavening or yeast alternatives. Natural leavening involves fermenting flour and water over time, creating a sourdough starter that acts as a natural leaven. Yeast alternatives like baking soda or baking powder can also work for quick bread recipes. These methods require patience and some experimentation, but they’re great ways to enjoy homemade bread without relying on commercial yeast.
How Long Does It Typically Take to Master Bread Baking?
You might find that mastering bread baking takes anywhere from a few months to a year, depending on how often you practice. Coincidentally, as you refine your skills in bread shaping and perfect sourdough fermentation, you’ll notice rapid improvements. Patience is key; with consistent effort, you’ll develop an intuitive sense of dough consistency and fermentation timing, ultimately making your homemade bread truly exceptional.
Conclusion
Now, as you knead the dough, feel the warmth and resilience beneath your fingertips. Watch the bread rise, golden and inviting, filling your kitchen with a comforting aroma. With each bake, you’re not just creating food—you’re crafting a moment of peace and achievement. So, embrace the process, let your confidence grow with every loaf, and enjoy the simple joy of turning raw ingredients into a delicious, fragrant masterpiece.