If you've ever dreamed of baking your own tangy, chewy sourdough bread, you're in luck! Sourdough has a fascinating history, dating back thousands of years to ancient Egypt. The key is creating and maintaining a sourdough starter – a lively, bubbly mix of wild yeasts and bacteria. It's easy to get started with just a few simple ingredients. Over the next several days, you'll feed and nurture your starter, watching it transform into a bread-baking superstar. Soon, you'll be kneading, shaping, and baking your very own loaves, filling your kitchen with the irresistible aroma of freshly-baked sourdough. And that's just the beginning of your sourdough adventure.
Key Takeaways
- Sourdough starters are microbial communities essential for developing the unique flavor and texture of sourdough bread.
- Creating a starter involves an initial mixture of flour, water, and active starter, followed by daily feedings for 5-7 days.
- A healthy starter is active, bubbly, and passes the "float test" in water, indicating it is ready for use in baking.
- Maintaining a starter requires consistent feeding, observation, and proper storage to ensure continued viability and flavor development.
- Patience and attention to detail are crucial in the sourdough baking process, as each step contributes to the final product's quality.

Stainless Steel Flat Beater for KitchenAid 4.5-5 Qt Tilt-Head Stand Mixers, Fits Classic, Classic Plus, Artisan Series, Heavy Duty Replacement for K45SS, KSM75, KSM150, Dishwasher Safe
- Heavy-Duty Durability: Built for tough mixing tasks
- Perfect Fit & Compatibility: Fits KitchenAid 4.5-5 Qt mixers
- No Coating or Paint Chips: Made of solid stainless steel
As an affiliate, we earn on qualifying purchases.
History
Sourdough bread has a rich history, dating back thousands of years. Ancient Egyptians were the first known bakers to use natural yeast to make their bread rise. They discovered that by saving a bit of dough from their last batch, they could add it to the new dough, creating a delicious, tangy flavor.
Over time, sourdough baking spread to other parts of the world. In the 1800s, gold miners in California used sourdough starters to make their bread. The starters were so important that the miners would often keep them warm by sleeping with them at night!
Today, sourdough is enjoyed by people all over the globe, from San Francisco to Scotland. Its unique taste and texture make it a beloved classic.
Whether you're a seasoned baker or just starting out, creating your own sourdough starter is a fun and rewarding experience. With a little patience and care, you can enjoy the rich history and delicious flavors of this timeless bread.
Recipe
Sourdough bread is a delectable and time-honored culinary tradition that has captivated the hearts and palates of many. At the heart of this artisanal bread lies the sourdough starter, a living and ever-evolving microbial community that serves as the foundation for the bread's unique flavor and texture.
Crafting a thriving sourdough starter is a labor of love, a journey filled with patience, observation, and a deep appreciation for the natural fermentation process. This recipe will guide you through the steps to create and maintain a robust sourdough starter, laying the groundwork for baking exceptional loaves of sourdough bread.
Ingredients:
- 50g all-purpose flour
- 50g whole wheat flour
- 100g water
- 1 tablespoon active sourdough starter (if starting from scratch, use a small amount of commercial yeast)
Instructions:
In a clean jar or container, combine the all-purpose flour, whole wheat flour, and water. Stir until well incorporated, forming a thick batter-like consistency. Cover the container loosely and let it rest at room temperature for 24 hours.
After the initial 24-hour period, discard half of the mixture and add 50g of all-purpose flour and 50g of water. Stir well to combine. Repeat this process of discarding and feeding the starter every 24 hours for the next 5-7 days, or until the starter becomes active and bubbly.
Tips:
- Maintain a consistent feeding schedule to keep the starter healthy and active.
- Observe the starter's behavior, taking note of its rise and fall, as well as any changes in aroma or texture.
- Experiment with different flour combinations to find the one that works best for your preferences and local environment.
- Store the starter in a clean, airtight container in the refrigerator when not in use, feeding it once a week to keep it alive.
Cooking Steps
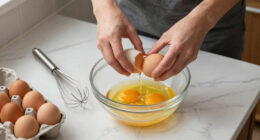
Acquire some whole-wheat flour and water in a bowl to start your sourdough bread starter.
Next, feed the starter and let it ferment overnight.
Finally, knead the dough vigorously before baking it in a preheated oven.
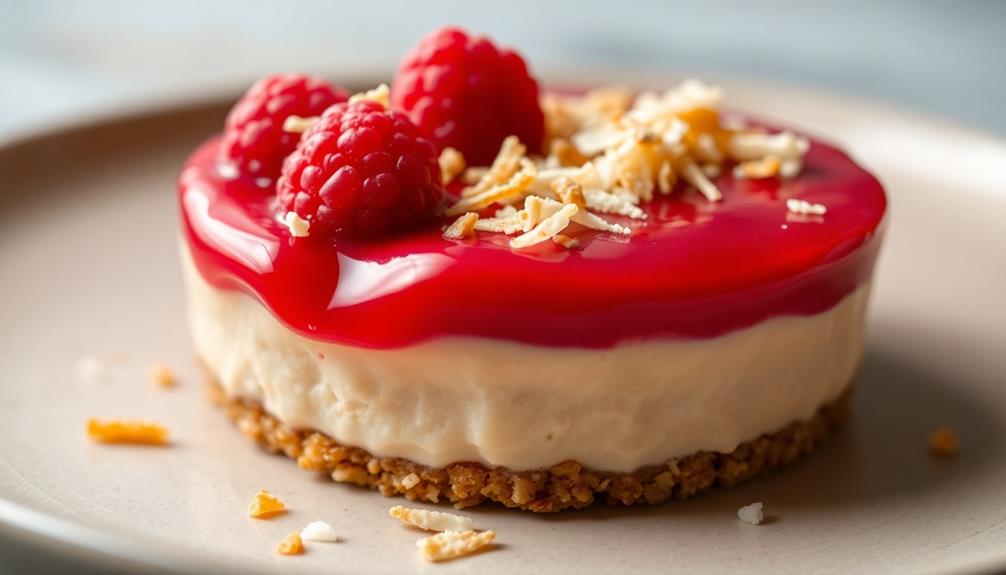
Yum! Get ready to enjoy the delicious aroma and taste of homemade sourdough bread.
Step 1. Acquire Whole-Wheat Flour, Water in Bowl

With a large mixing bowl at the ready, gather your whole-wheat flour and water.
You'll want to use a ratio of about 1 part whole-wheat flour to 1 part water. Start by adding a cup of whole-wheat flour to the bowl.
Next, slowly pour in a cup of cool water, stirring gently as you go. The mixture should have a thick, batter-like consistency.
Don't worry if it looks a little lumpy – that's perfectly normal!
Now, it's time to get your hands dirty. Use a wooden spoon or your fingers to really mix the flour and water together until everything is well combined.
You'll start to see the mixture come together into a smooth, slightly sticky dough.
Resist the urge to add more flour – this starter needs to stay on the wet side.
Once your starter is looking good, cover the bowl with a clean towel and let it sit at room temperature for about 24 hours.
This will give the wild yeast and bacteria a chance to start working their magic.
Check back tomorrow to see how your starter is doing!
Step 2. Feed Starter

After letting your starter sit for 24 hours, it's time to feed it! Grab your trusty spoon and give your starter a good stir. You'll notice it's probably bubbly and alive, a sure sign it's ready for its next meal.
Now, take about a quarter cup of that whole-wheat flour you have and add it right into the bowl with the starter. Give it another good stir to incorporate the flour.
Next, pour in an equal amount of water – about a quarter cup should do the trick. Stir it up until everything is nicely combined.
Your starter will be nice and happy and ready to grow even bigger! Set it aside for another 24 hours, then repeat the feeding process.
Keep doing this daily, and soon you'll have a strong, healthy sourdough starter perfect for baking delicious homemade bread. Isn't this exciting? Get ready for some yummy sourdough adventures!
Step 3. Let Starter Ferment Overnight

Once you've fed your sourdough starter, let it ferment overnight on the counter.
You'll see the starter rise and become nice and bubbly as the yeast does its magic. This fermentation process is crucial for developing the unique flavor of sourdough bread.
As the starter sits, the yeast will feast on the sugars you added when you fed it, producing carbon dioxide and alcohol. The bubbles you see are a sign that the starter is healthy and active.
In the morning, your starter should have doubled in size, or maybe even tripled! This is exactly what you want to see.
Give it a gentle stir, then you're ready to use it in your sourdough recipe. The fermentation allows the yeasts and bacteria to really get going, creating that signature tangy sourdough taste.
All you have to do now is mix up your dough and let the baking begin!
Step 4. Knead the Dough Vigorously
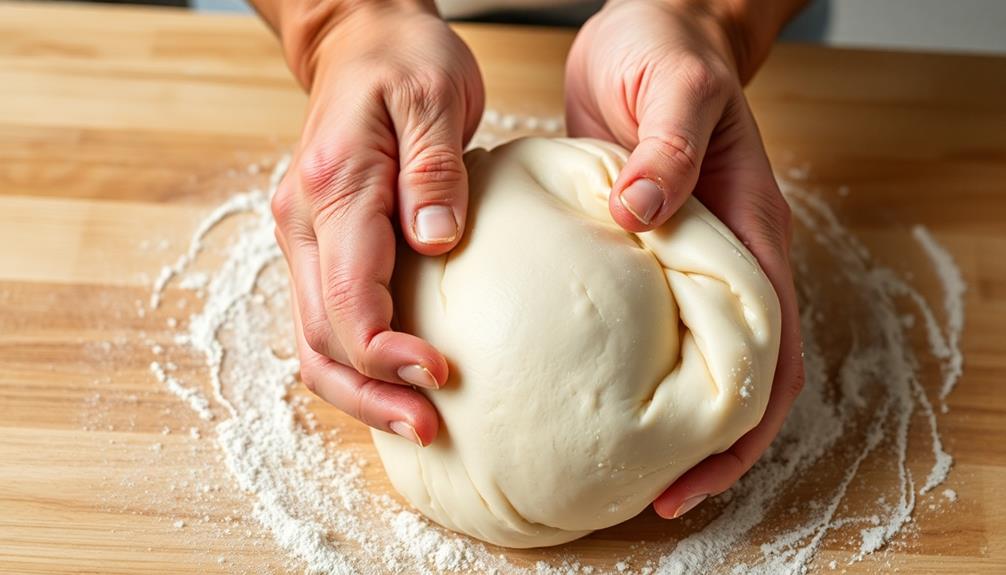
Next, knead the dough vigorously for about 10 minutes. Get those arms moving and put some elbow grease into it!
You want to really work the dough, stretching and folding it over itself again and again. This helps develop the gluten, which gives the bread its chewy, satisfying texture.
As you knead, you'll feel the dough become smoother and more elastic. It may even start to stick to the counter a bit less. That's a good sign your hard work is paying off!
Don't be afraid to put some muscle into it – the dough can handle it. Kneading builds up the strength of the gluten strands, creating that lovely, airy interior.
Plus, it's great exercise for your arms and shoulders. Just keep at it until the dough feels silky and smooth. Then you'll know it's ready for the next step.
Get ready to watch your dough rise to the occasion!
Step 5. Bake in Preheated Oven
Preheat your oven to 450°F (230°C). This high heat is perfect for giving your sourdough loaf a beautiful, golden-brown crust.
While the oven heats up, grab your proofed dough and gently transfer it to a lightly floured baking sheet or Dutch oven. Use a sharp knife or lame to score the top of the dough, creating those lovely slashes that will help it expand as it bakes.
Slide the dough into the preheated oven and bake for 20-25 minutes. You'll know it's ready when the crust is a deep, rich brown and the internal temperature reaches 205-210°F (96-99°C).
The aroma wafting through your kitchen will be heavenly – warm, yeasty, and absolutely irresistible.
Once the baking time is up, carefully remove your freshly baked sourdough from the oven. Let it cool on a wire rack for at least 30 minutes before slicing into it.
This allows the crumb to set and the flavors to develop. Grab a pat of butter and enjoy your homemade masterpiece!
Final Thoughts
Sourdough bread baking is a rewarding and enriching journey, one that requires patience, attention, and a touch of artistry.
You've come so far, from creating your very own starter to shaping and baking those delectable loaves. Now, as you savor the final product, take a moment to appreciate all the hard work and care you've poured into this process. The satisfaction of enjoying freshly baked bread made with your own hands is unparalleled. Reflect on the journey you’ve taken and the skills you’ve developed along the way. Embrace the beauty of artisan bread baking at home, and savor every moment of the process.
Remember, the joy of sourdough isn't just in the end result, but in the journey itself. Each step, from feeding your starter to kneading the dough, is an opportunity to connect with the timeless art of bread making.
Consider keeping a journal to document your progress and favorite recipes – you'll be amazed at how much you'll learn and how your skills will grow over time.
Whether you're baking for your family or sharing your creations with friends, the true reward of sourdough is the sense of accomplishment and the satisfaction of creating something truly special with your own two hands.
Embrace this passion, and let it nourish both your body and your soul.
Frequently Asked Questions
How Often Should I Feed My Sourdough Starter?
You should feed your sourdough starter at least once a day, or twice a day if it's very active. The frequency depends on how quickly it consumes the previous feeding.
Can I Use My Starter if It Has Mold on Top?
No, you shouldn't use your starter if it has mold on top. Mold can be harmful and can contaminate your bread. Discard the moldy portion and feed your starter with fresh flour and water to revive it before using it again.
Is It Possible to Revive a Neglected Sourdough Starter?
Yes, you can revive a neglected sourdough starter. Feed it regularly with flour and water, and it'll regain its strength. Just discard any mold or discolored parts before feeding it.
How Long Can I Store My Sourdough Starter in the Fridge?
You can store your sourdough starter in the fridge for up to a month, but it'll need to be fed every 1-2 weeks to keep it active and healthy. If you neglect it for longer, you may need to revive it.
What Should I Do if My Starter Is Not Rising?
If your starter's not rising, don't worry. First, check if it's been fed recently. Then, try warming it up and giving it more feedings. With some TLC, your sluggish starter should perk back up.