

Vietnamese yogurt, or "sữa chua," is an amazing treat you'll love! Its tangy flavor and creamy texture make it so special. It all started in Vietnam, influenced by French cuisine, and now, it's enjoyed by everyone. You can easily make it at home with just whole milk, plain yogurt, and a bit of sugar! The best part is, after you mix everything and let it sit for a while, you can add your favorite fruits or toppings. It's a delicious snack or dessert that brings people together. Stick around to discover tips for perfecting your homemade yogurt!
Key Takeaways
- Vietnamese yogurt, known as "sữa chua," features a tangy and creamy texture, enhanced by local flavors like sweetened condensed milk.
- It is traditionally served in charming clay pots, making it a delightful and culturally significant treat.
- The yogurt is rich in probiotics, calcium, and protein, promoting gut health and overall well-being.
- Customizable with fruits, honey, or nuts, it offers endless flavor variations to suit individual tastes.
- Easy to prepare at home, Vietnamese yogurt makes for a refreshing snack or dessert, perfect for sharing and entertaining.

Coolinario L Reuteri Yogurt Starter (10-Pack, 1.5g Sachets) Yogurt Starter Culture with Lactobacillus Reuteri Probiotics | Creamy & Delicious | Non-GMO, No Preservatives, Gluten Free
Effortless to Make at Home: Making yogurt at home is simple and rewarding. Heat 2 liters of your…
As an affiliate, we earn on qualifying purchases.
As an affiliate, we earn on qualifying purchases.
History
Vietnamese yogurt, often enjoyed as a refreshing dessert, has roots that trace back to French colonial influence in Vietnam during the late 19th century. When the French came, they brought with them the concept of yogurt, introducing it to the local culture. This creamy treat quickly gained popularity, blending perfectly with traditional Vietnamese flavors.
As time went on, local chefs began experimenting with this new ingredient. They added sweetened condensed milk, making the yogurt taste even better. You might find it served in charming clay pots, making it feel extra special. The yogurt became a beloved part of Vietnamese cuisine, enjoyed by people of all ages.
Today, you can find Vietnamese yogurt in homes, street food stalls, and restaurants all over Vietnam. It's often eaten as a dessert or snack, sometimes topped with fruits or sweet syrup.
The unique tangy flavor and creamy texture make it a delightful treat that you'll love. So, whether you're in the bustling streets of Hanoi or at home, Vietnamese yogurt is a delicious reminder of how cultures can blend together, creating something truly special and tasty!

Ultimate Yogurt Jars – Make More Delicious Yogurt! 8 Count Small Glass Yogurt Cups With Lids – 100% BPA Free, Airtight & Dishwasher Safe! Perfect Containers for Yoghurt, Oatmeal, Pudding, or Jello
𝗣𝗘𝗥𝗙𝗘𝗖𝗧 𝗦𝗡𝗔𝗖𝗞 𝗦𝗜𝗭𝗘 𝗙𝗢𝗥 𝗔𝗧 𝗛𝗢𝗠𝗘 𝗢𝗥 𝗧𝗢 𝗚𝗢 – Ultimate Yogurt Jars are 6 ounces and come…
As an affiliate, we earn on qualifying purchases.
As an affiliate, we earn on qualifying purchases.
Cooking Steps
To make delicious Vietnamese yogurt, you'll want to start by gathering your ingredients and equipment. You'll need sweetened condensed milk, plain yogurt, and warm water. Don't forget a mixing bowl, whisk, and some small jars for storage!
First, pour one can of sweetened condensed milk into your mixing bowl. Add two cups of warm water and stir until it's well blended.
Now, add one cup of plain yogurt into the mixture. This yogurt will act as your starter culture, so mix it gently until everything's combined.
Next, divide the mixture evenly into your small jars. Make sure to leave a little space at the top. Then, cover each jar with a lid or plastic wrap.
It's time to let the magic happen! Place the jars in a warm spot for about 6 to 8 hours. You can wrap them in a towel to keep them cozy.
Once the yogurt has thickened, move it to the fridge to chill for a few hours.
And there you have it! Your homemade Vietnamese yogurt is ready to enjoy. Serve it plain or with fruit for a tasty treat!
Step 1. Gather Yogurt-Making Ingredients
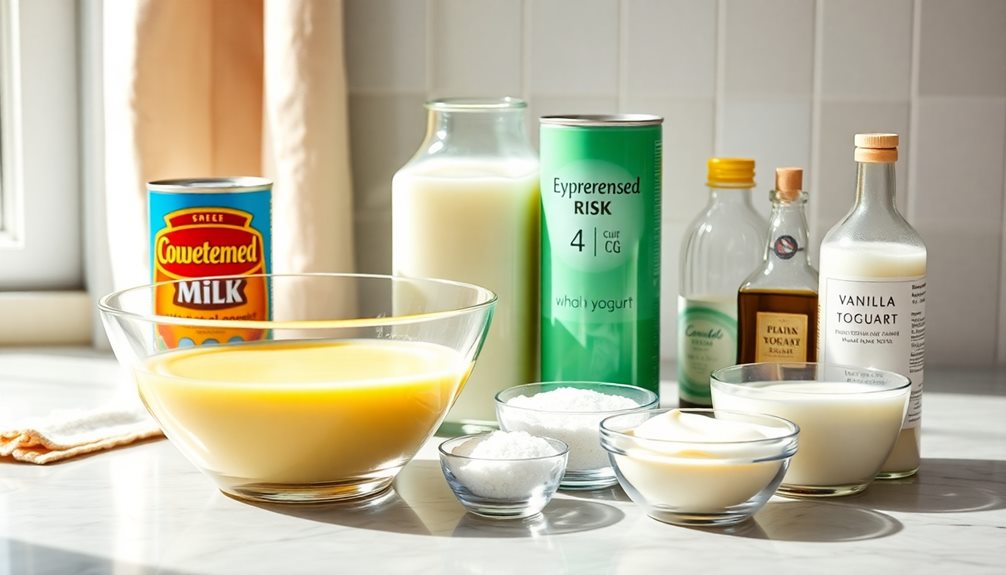
Have you gathered all the essentials for making your own delicious yogurt? Let's make sure you have everything you need.
First, you'll need some whole milk, as it creates that rich, creamy texture we all love. You can use about four cups of milk, but feel free to adjust if you want more yogurt.
Next, grab a small container of plain yogurt. This will be your starter culture, so pick one that has live active cultures. You only need a couple of tablespoons, but it's important to choose a good quality yogurt for the best flavor.
Now, let's not forget the sugar! You'll want about half a cup, but you can adjust this according to your taste. If you love it sweeter, add more!
And finally, consider some flavorings like vanilla extract or fresh fruit to make your yogurt even more delicious.
Once you've gathered all these ingredients, you're ready to start your yogurt-making adventure. It's going to be fun and rewarding, and soon you'll have a tasty treat that's perfect for breakfast or a snack. Enjoy the process!
Step 2. Warm Milk to 110°F

Warming the milk to 110°F is a crucial step in the yogurt-making process. This temperature is just right for the good bacteria to thrive and turn your milk into delicious yogurt.
To get started, pour your milk into a large pot and place it on the stove over medium heat. Stir the milk gently as it heats up to prevent it from sticking to the bottom of the pot.
You'll want to keep an eye on it because milk can boil over quickly! Use a food thermometer to check the temperature. When it reaches around 110°F, take it off the heat immediately.
If you don't have a thermometer, you can test it with your finger; it should feel warm but not hot.
Once it's at the right temperature, let it sit for a moment to cool down if necessary. This part is super important because if it's too hot, it can kill the good bacteria you'll add later.
Step 3. Add Yogurt Starter Culture
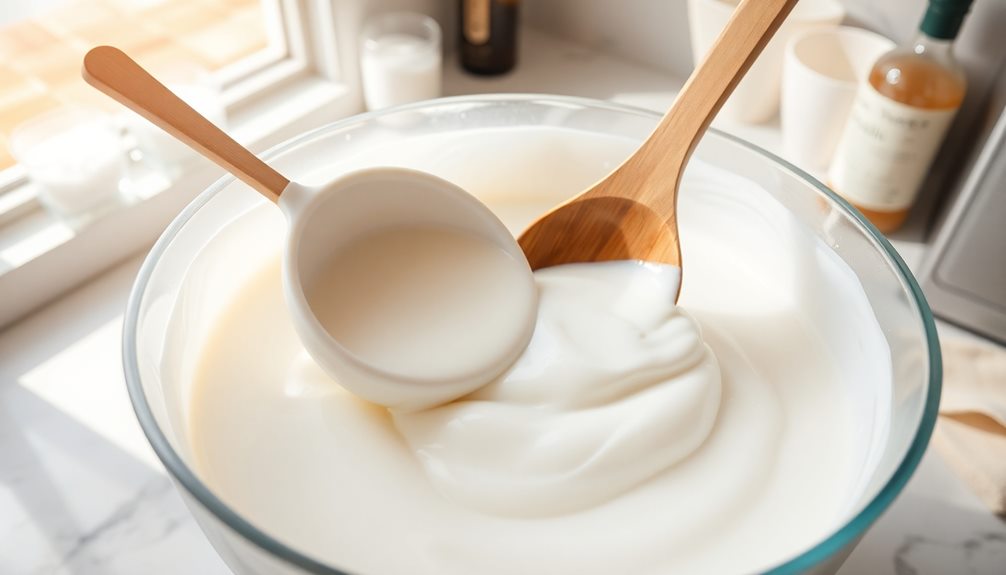
Now that your milk is at the perfect temperature, it's time to add the yogurt starter culture. This is where the magic begins!
Take a small bowl and scoop out about two tablespoons of your favorite plain yogurt. Make sure it has live active cultures; that'll help your yogurt become creamy and delicious.
Next, gently mix the yogurt with a little bit of the warm milk in the bowl. This helps to create a smoother mixture.
Once it's well combined, pour this yogurt mixture back into your pot of warm milk. Give it a gentle stir, but don't overdo it. You want to keep those cultures intact!
After you've added the starter culture, it's important to keep the mixture warm. This helps the cultures grow and turn your milk into yogurt.
You're almost there!
Step 4. Incubate Mixture for Eight Hours

After adding the yogurt starter culture, it's time to let the mixture work its magic. You'll want to find a warm spot in your kitchen, as the right temperature helps the yogurt to ferment.
Pour the mixture into clean jars or a container and cover it with a lid or a clean cloth. This keeps everything cozy and safe.
Now, you'll need to let it incubate for about eight hours. That might sound like a long wait, but it's super important! During this time, the starter culture will do its job, turning the milk into creamy yogurt.
You can even check on it occasionally, but try not to disturb it too much. If you want to play a little game, see if you can guess how thick and tangy it'll be when you finally take a peek!
After the eight hours are up, you'll discover a delicious, homemade treat waiting for you. Just remember, the longer you let it sit, the tangier it'll be, so keep that in mind for your next batch.
Your patience will definitely pay off with a delightful yogurt that's perfect for snacking!
Step 5. Chill Yogurt Before Serving
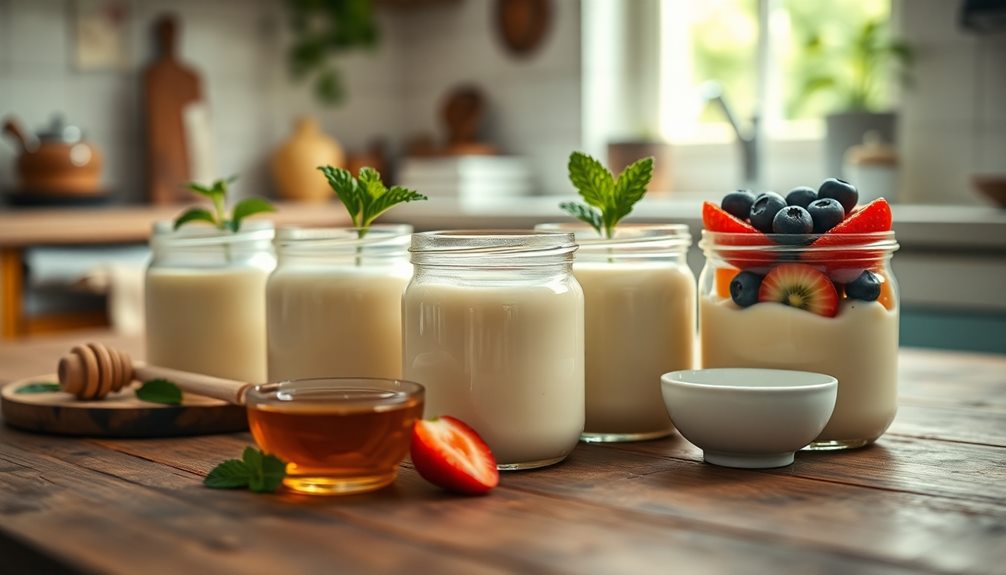
Once the eight-hour incubation is complete and your yogurt has thickened to perfection, it's crucial to chill it before serving. This step helps enhance its creamy texture and tangy flavor, making each spoonful even more delicious!
Start by transferring your yogurt jars to the refrigerator. Let them chill for at least two hours. This cooling time is essential because it allows the yogurt to set up nicely, giving it that lovely, smooth consistency you want.
Plus, the cold yogurt feels refreshing, especially on a warm day!
While you wait, you can think about how you'll serve it. Will you add fresh fruits, sweetened condensed milk, or maybe a sprinkle of nuts? The possibilities are endless, and you'll want to be ready to impress your family or friends!
Once the yogurt is nice and cold, it's time to dig in. Scoop some into a bowl, add your favorite toppings, and enjoy the yummy flavors of your homemade Vietnamese yogurt.
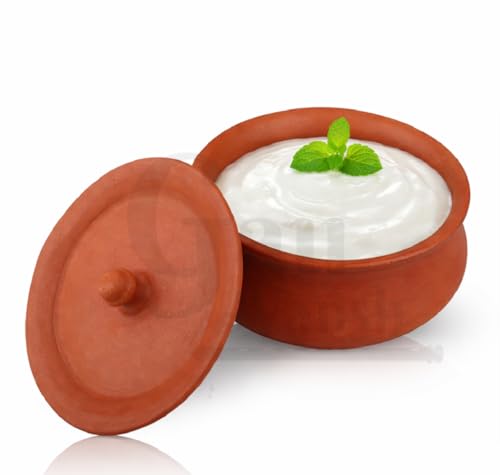
GAU VANSH Handmade Clay Curd Pot with Lid | Earthen Terracotta Dahi Handi | Mud Yogurt Pot | Mitti Serving Bowl for Kitchen & Dining (550 ml)
Natural & Eco-Friendly Material Crafted from 100% natural clay, this handmade mitti handi is an eco-conscious choice for…
As an affiliate, we earn on qualifying purchases.
As an affiliate, we earn on qualifying purchases.
Final Thoughts
Vietnamese yogurt stands out as a delightful treat that combines creaminess with a hint of tang, leaving a lasting impression on anyone who tries it.
It's not just a dessert; it's an experience that can brighten your day. You'll love how easy it's to make at home, and the best part is, you can customize it just the way you like. Whether you prefer it sweetened with honey, topped with fresh fruits, or enjoyed plain, there's a version for everyone.
Sharing this yogurt with friends and family can turn any ordinary gathering into a special occasion. Imagine everyone sitting together, enjoying the tasty flavors, and sharing stories. It's a simple way to create lasting memories. Plus, you'll impress your loved ones with your cooking skills!
Next time you want a snack that's both delicious and unique, reach for Vietnamese yogurt. It's a fun treat that's sure to please your taste buds.

Yogurt Thermometer for Instant Pot – Milk Thermometer for Homemade Yogurt, Candy, Deep Fry, and Syrup – Clip-On Stainless Steel Cooking Thermometer with Glass Tube (100°F–400°F)
Designed for Yogurt Making Accurately monitors milk temperature when using your multi-cooker to make homemade yogurt.
As an affiliate, we earn on qualifying purchases.
As an affiliate, we earn on qualifying purchases.
Frequently Asked Questions
What Are the Health Benefits of Vietnamese Yogurt?
You'll find that Vietnamese yogurt offers probiotics for gut health, calcium for strong bones, and protein for energy. Its low sugar content makes it a nutritious snack, helping you maintain a balanced diet and overall wellness.
Can I Use Non-Dairy Milk for Vietnamese Yogurt?
You can definitely use non-dairy milk for Vietnamese yogurt. Just make sure it's fortified and has a similar consistency. Experiment with different types to find your favorite flavor and texture combination!
How Long Does Vietnamese Yogurt Last in the Fridge?
Vietnamese yogurt typically lasts about one to two weeks in the fridge. Make sure you store it in an airtight container. Always check for any off smells or changes in texture before consuming.
Is Vietnamese Yogurt Safe for Lactose-Intolerant Individuals?
If you're lactose-intolerant, you might still enjoy Vietnamese yogurt. The fermentation process reduces lactose levels, making it easier to digest. However, it's best to test a small amount first to see how your body reacts.
What Toppings Pair Well With Vietnamese Yogurt?
When enjoying yogurt, consider toppings like fresh fruits, honey, granola, or nuts. You'll enhance the flavor and texture, making each bite more delightful. Experimenting with different combinations can lead to your perfect bowl!