Nui soup is a delicious Vietnamese pasta soup that wraps you in comforting flavors! You'll find small pasta shapes, fresh veggies, and your choice of protein like chicken or shrimp in a rich broth. It's perfect for family meals or cozy gatherings. To start, soak your rice noodles and simmer an aromatic broth with onions and garlic. Then, add your protein and finish it off with fresh herbs for extra flavor. This dish isn't just food; it's about sharing love and warmth with others. Get ready to be surprised by all the tasty ways you can enjoy nui soup!
Key Takeaways
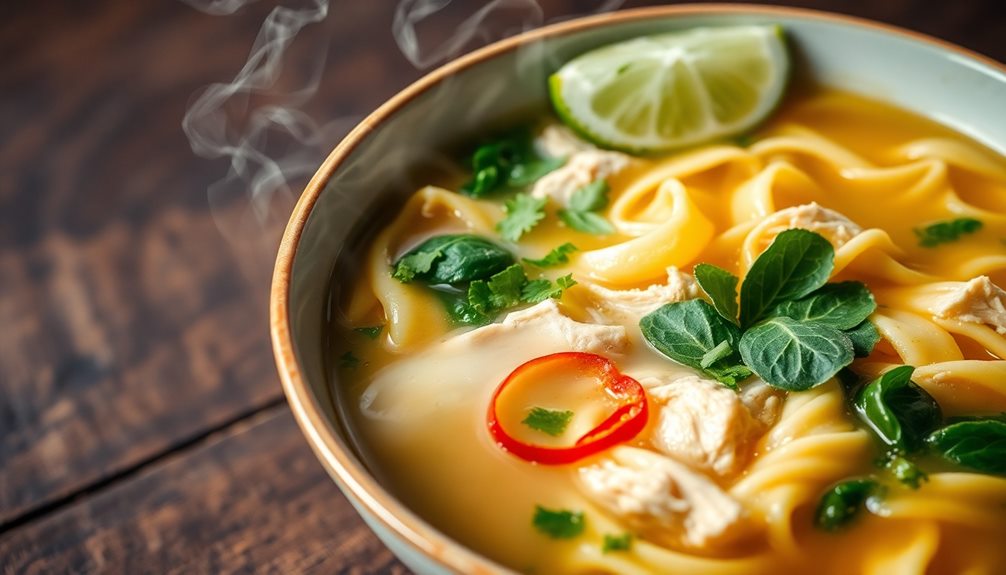
- Nui soup is a comforting Vietnamese dish made with small pasta, fresh vegetables, and a rich broth, perfect for family gatherings.
- The soup offers nutritional benefits, including vitamins from vegetables and protein sources, making it a balanced meal option.
- Cooking nui soup involves simmering a flavorful broth with aromatics and adding your choice of protein for depth.
- Personalize your nui soup by adjusting spice levels, adding various toppings, and using different noodle types to suit your preferences.
- This dish symbolizes togetherness and shared moments, making it more than just a meal, but a source of warmth and connection.
Top picks for "soup vietnamese pasta"
Open Amazon search results for this keyword.
As an affiliate, we earn on qualifying purchases.
History
Nui soup, a beloved dish in Vietnamese cuisine, has roots that trace back to the country's rich history. This delightful dish combines small pasta-like noodles with a flavorful broth, making it a comforting choice for many families.
You mightn't know that the influence of other cultures helped shape this tasty meal. Vietnamese cooks have blended their traditional flavors with ideas from French and Chinese cuisines, creating something unique and delicious.
As you enjoy a warm bowl of nui soup, think about how it represents the spirit of togetherness in Vietnam. Families often gather to share meals, and this soup is perfect for that!
It's not just about the food; it's about the love and care that goes into making it. Over the years, nui soup has become a favorite for people of all ages.
Whether you're feeling a bit under the weather or just want a cozy meal, this dish has a magical way of bringing comfort.
Cooking Steps
To create a delicious bowl of Vietnamese nui soup, start by gathering your ingredients and prepping them efficiently. You'll need nui pasta, chicken or tofu, fresh vegetables like carrots and bok choy, and some flavorful herbs.
Once you have everything, chop the veggies into bite-sized pieces.
Next, boil some water in a large pot. Add the nui pasta and cook it according to the package instructions.
While that's cooking, heat a little oil in a separate pan and sauté your chicken or tofu until it's golden and cooked through. Toss in the chopped veggies and cook them until they're tender but still bright.
When the nui pasta is ready, drain it and set it aside.
Now, it's time to combine everything! In the pot of pasta, add the sautéed chicken or tofu and veggies. Pour in a rich broth, and let it simmer for a few minutes.
Don't forget to sprinkle in fresh herbs like cilantro or basil for that extra burst of flavor.
Step 1. Prepare Ingredients and Utensils
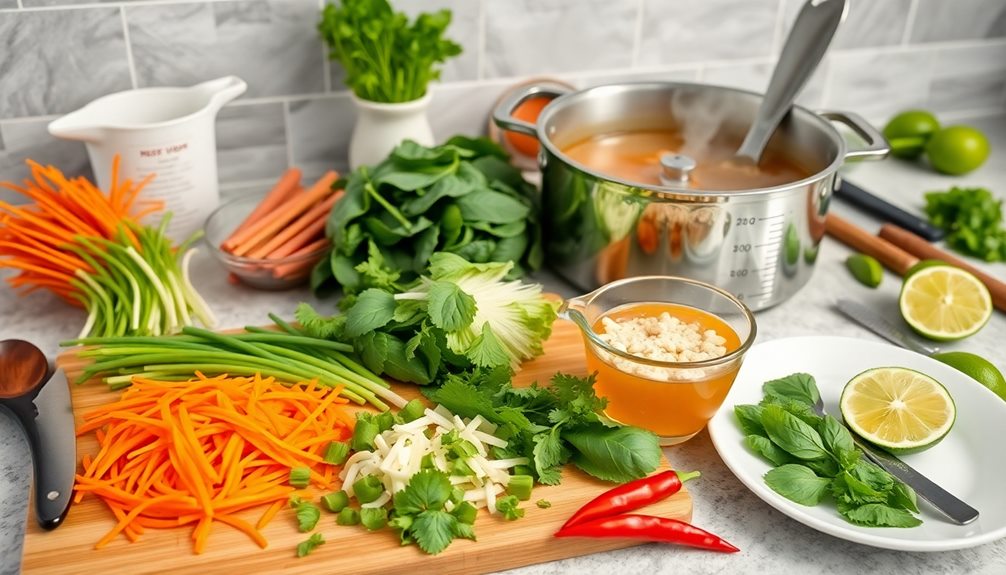
Before diving into making your delicious Nui soup, you'll want to gather all the necessary ingredients and utensils.
Start with the ingredients: you'll need some small pasta shapes, like elbow macaroni or tiny shells, along with fresh vegetables like carrots, bell peppers, and green onions.
Don't forget protein, which could be chicken, shrimp, or tofu, depending on your preference! Also, grab some chicken or vegetable broth to give your soup that rich flavor, and seasonings like fish sauce, salt, and pepper for that authentic Vietnamese taste.
Now, let's talk utensils. You'll need a large pot to cook your soup and a wooden spoon for stirring.
A cutting board and a sharp knife will help you chop your veggies easily. If you have a ladle, it's perfect for serving, but if not, a regular spoon will work too!
Make sure you have a measuring cup and spoons handy to get your ingredients just right.
Once everything is ready, you'll have a fantastic time creating your Nui soup, filling your kitchen with wonderful aromas! Happy cooking!
Step 2. Soak Rice Noodles in Water
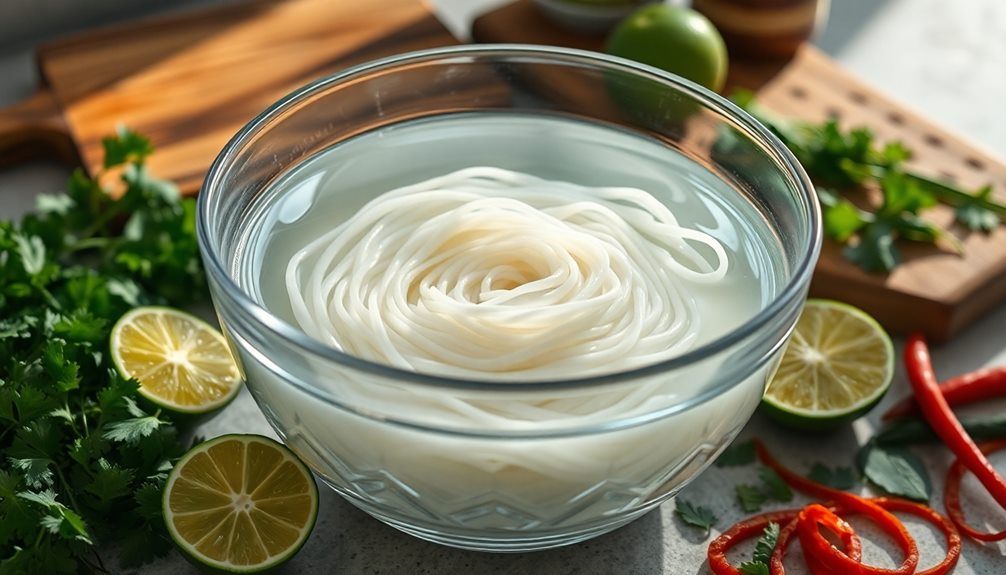
For the perfect texture in your Nui soup, soak the rice noodles in warm water for about 15 to 20 minutes. This step is super important because it helps the noodles soften up just right.
You'll want to grab a bowl or a large pot and fill it with warm water—make sure it's not boiling hot, just warm enough to help the noodles relax.
Once you've got the water ready, add the rice noodles and gently stir them around. This way, all the noodles will soak evenly. You can use this time to prepare other ingredients for your soup, like chopping vegetables or getting your broth ready.
Keep an eye on the noodles; after about 15 minutes, check if they're soft but still slightly firm. This is called "al dente," and it's perfect for your Nui soup! If they need a little more time, you can let them soak for another few minutes.
Once they're ready, drain them carefully, and they'll be all set to mix into your delicious broth. Soak those noodles right, and you'll taste the difference in every comforting spoonful of your Nui soup!
Step 3. Simmer Broth With Aromatics
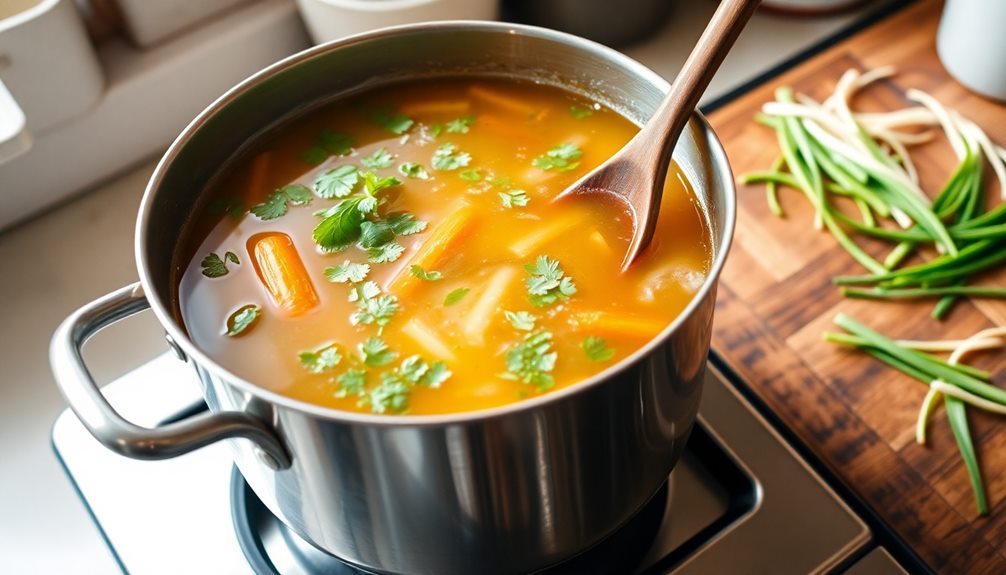
A flavorful broth is the heart of your Nui soup, and simmering it with aromatics elevates the dish to a whole new level.
To start, grab a pot and pour in your water or broth base. You can use chicken, beef, or vegetable broth depending on your taste. Next, add your aromatics! Toss in some chopped onions, garlic, and ginger. These ingredients will fill your kitchen with a warm and inviting smell.
Turn up the heat and bring everything to a gentle boil. Once it's bubbling, lower the heat and let it simmer. This step is important because it helps all those wonderful flavors mix together. You can also add a few star anise or cloves for an extra punch.
Let the broth simmer for at least 30 minutes. If you have time, an hour is even better! Keep an eye on it and stir occasionally. You want to make sure nothing sticks to the bottom.
As the broth bubbles and steams, savor the delightful aromas filling your home. Your Nui soup is already off to a fantastic start, and soon, it'll be time to add your protein of choice!
Step 4. Add Protein of Choice
Now that your broth is simmering beautifully, it's time to add your protein of choice. This is where the magic happens! You can pick from many options like chicken, shrimp, or tofu, depending on what you love. Just make sure your protein is cut into bite-sized pieces. If you're using chicken, boneless, skinless thighs work great because they stay juicy and tender.
When you're ready, gently drop the protein into the bubbling broth. Stir it carefully to make sure everything mixes well. Let it cook for about 5 to 7 minutes. You'll notice the protein changing color, which means it's cooking through.
If you're using shrimp, keep an eye on them; they only need a few minutes to turn pink and delicious!
If you chose tofu, it might take a little longer to soak up all those tasty flavors. Don't forget to taste the broth! You can add a pinch of salt or some fish sauce to boost the flavor even more.
Once everything's cooked and combined, you're one step closer to enjoying your comforting nui soup. Get ready for some delightful flavors to warm your heart!
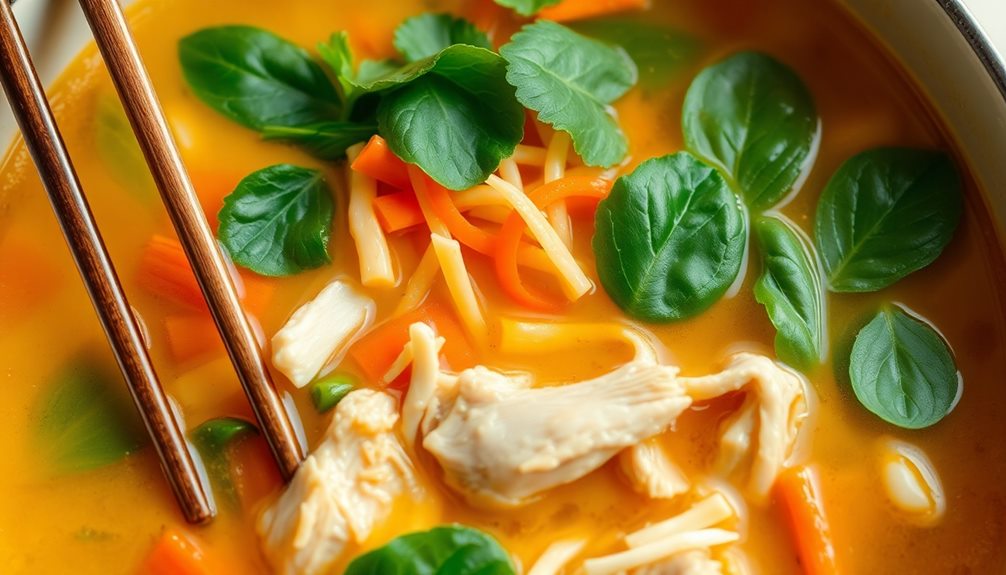
Step 5. Garnish With Fresh Herbs
Garnishing with fresh herbs elevates your nui soup, adding vibrant flavor and a burst of color. When you're ready to serve, grab some fresh herbs like basil, cilantro, or mint. These herbs aren't just pretty; they're packed with taste and can even enhance skin health due to their hydrating properties, similar to the benefits of flower teas like Rose.
Start by rinsing the herbs under cool water to clean them. Then, pat them dry with a paper towel. Next, you can chop the herbs finely or leave them whole, depending on what you like. If you're using basil, try tearing the leaves for a rustic look.
Sprinkle your chosen herbs generously over each bowl of soup. You can also add a squeeze of lime for an extra zing! This adds a refreshing twist that makes each bite delightful.
Don't forget to encourage everyone to mix in the herbs as they eat; it makes the flavors pop even more. The best part? You can use different combinations of herbs to switch things up each time you make nui soup.
Final Thoughts
Nui soup stands out as a delightful dish that beautifully marries flavors and textures. When you take a sip of this warm, comforting soup, you can feel the love and care that goes into each bowl.
It's not just a meal; it's an experience that brings family and friends together. Every spoonful offers a burst of savory goodness, making you smile and feel cozy inside.
You've learned how to create this special soup, from selecting the freshest ingredients to adding the perfect herbs for garnish.
It's a dish that's easy to personalize, allowing you to make it your own. Whether you like it spicy or mild, there's no wrong way to enjoy nui soup.
Frequently Asked Questions
What Type of Noodles Are Traditionally Used in Nui Soup?
When you think about traditional noodles in Vietnamese cuisine, rice noodles often come to mind. In Nui Soup, however, you'll find small, tubular pasta shaped like macaroni, adding a unique texture and flavor to the dish.
Can Nui Soup Be Made Vegetarian or Vegan?
Absolutely, you can make nui soup vegetarian or vegan! Just replace the meat with tofu or mushrooms, use vegetable broth instead of chicken broth, and add plenty of fresh veggies for a delicious, satisfying meal.
What Are Common Toppings for Nui Soup?
You can enhance your soup with toppings like fresh herbs, bean sprouts, lime wedges, and sliced chili. Consider adding crispy onions or toasted peanuts for extra texture and flavor that'll elevate your dish significantly.
How Can I Store Leftover Nui Soup?
To store leftover soup, let it cool completely, then transfer it to an airtight container. Refrigerate for up to three days or freeze for longer storage, ensuring you label it with the date for easy reference.
Is Nui Soup Suitable for Meal Prep?
Yes, it's perfect for meal prep! You can easily make a large batch, portion it out, and store it in the fridge or freezer. Just reheat when you're ready to enjoy a comforting meal.