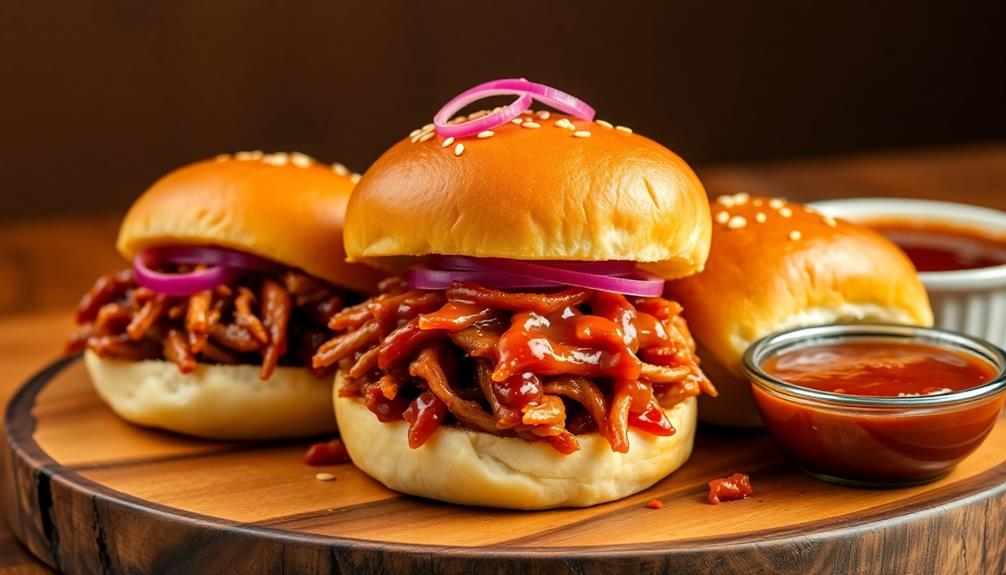
Chicken wings have become an iconic American dish you'll find everywhere from backyard barbecues to fancy restaurant menus. First popular in the mid-1900s, these tasty morsels really took off in 1964 when a New York bar owner created spicy wings that took the country by storm. Today, you can enjoy crispy, saucy, or grilled wings prepared with all sorts of flavorful seasonings. The key is getting that perfect crispy outside and juicy inside – it's an art that takes a bit of practice, but the mouthwatering results are well worth it. There's more to discover about these beloved bites!
Key Takeaways
- Chicken wings have a rich history, first gaining popularity in the U.S. during the mid-20th century, particularly with the iconic 1964 creation at Anchor Bar, Buffalo, NY.
- Chicken wings can be prepared in various ways, including crispy, saucy, or grilled, with common ingredients like olive oil, seasonings, and hot sauce.
- The cooking process involves baking the wings for a crispy exterior and juicy interior, with the option to toss them in sauce for enhanced flavor.
- Chicken wings offer a wide range of flavor varieties, from classic seasonings to exotic spices and creative marinades, allowing for endless experimentation.
- Chicken wings are a popular choice for entertaining, gatherings, and sporting events, as they are easy to share and enjoy in a communal setting.
Top picks for "chicken wing"
Open Amazon search results for this keyword.
As an affiliate, we earn on qualifying purchases.
History
According to historical accounts, chicken wings were first popularized in the United States during the mid-20th century. Prior to this, they were often overlooked or used primarily in soups and stews.
However, an iconic moment in 1964 changed everything. At the Anchor Bar in Buffalo, New York, the owners' son, Dominic Bellissimo, was tending the bar when a group of his friends arrived late one night, hungry for a snack. With limited options available, Dominic improvised by frying up some chicken wings and tossing them in a spicy sauce. This unexpected creation was an instant hit, and the popularity of chicken wings quickly spread across the country.
Today, chicken wings are a beloved American food, enjoyed for their delicious flavor and versatility. From classic Buffalo-style to innovative gourmet varieties, these small but mighty morsels have become a staple at parties, sporting events, and family gatherings nationwide.
The humble chicken wing's rise to fame is a testament to the power of culinary creativity and the enduring appeal of tasty, crowd-pleasing treats. From its humble beginnings as a budget-friendly ingredient, the chicken wing has found its way onto menus at top restaurants and sports bars alike, proving its versatility and universal appeal. Whether tossed in spicy buffalo sauce or coated in tangy barbecue glaze, the chicken wing has become a beloved staple at gatherings and events. And let’s not forget its role in the classic chicken parmesan recipe, adding a crispy, flavorful element to this timeless Italian dish. The chicken wing’s ability to enhance and elevate a variety of recipes is a true testament to its enduring popularity.
Recipe
Chicken wings are a beloved snack or appetizer that can be prepared in a variety of delicious ways. Whether you prefer them crispy, saucy, or grilled, this versatile dish can satisfy any craving.
In this recipe, we'll guide you through the steps to create a classic and flavorful plate of chicken wings that are sure to impress your guests or satisfy your own cravings.
Ingredients:
- 2 lbs chicken wings, drumettes and flats separated
- 2 tbsp olive oil
- 1 tsp salt
- 1 tsp black pepper
- 1 tsp garlic powder
- 1 tsp onion powder
- 1/2 cup hot sauce (such as Frank's RedHot)
- 2 tbsp unsalted butter, melted
Cooking Instructions:
Preheat your oven to 400°F (200°C). Line a baking sheet with parchment paper.
In a large bowl, toss the chicken wings with olive oil, salt, black pepper, garlic powder, and onion powder until evenly coated.
Arrange the wings in a single layer on the prepared baking sheet. Bake for 30-35 minutes, flipping halfway, until the wings are golden brown and crispy.
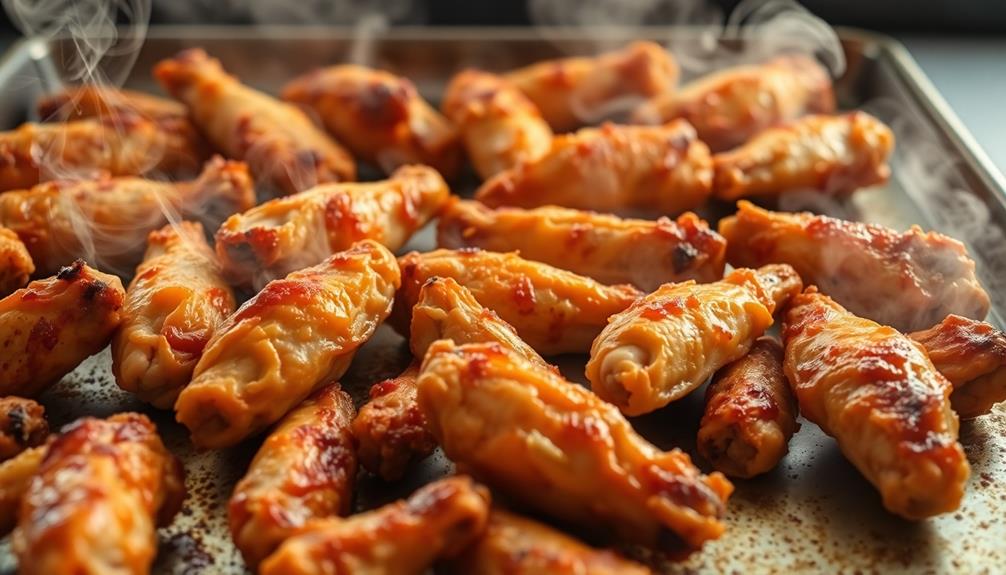
In a separate bowl, whisk together the hot sauce and melted butter. Once the wings are cooked, toss them in the hot sauce mixture until evenly coated.
Serve the wings immediately, while they're hot and crispy. Enjoy!
Tips:
- For extra crispiness, you can pat the wings dry with paper towels before seasoning.
- Experiment with different hot sauce flavors or add a touch of honey or brown sugar to the sauce for a sweet and spicy twist.
- Serve the wings with your favorite dipping sauces, such as ranch or blue cheese dressing.
Cooking Steps
Preheat your oven to 400°F – this'll get it nice and toasty for your wings.
Next, toss those wings in your favorite seasoning to give them some flavor.
Now, pop them in the oven for about 40 minutes, flipping them halfway through.
When they're almost done, brush on some delicious barbecue sauce for that extra zing.
Step 1. Preheat Oven to 400°F
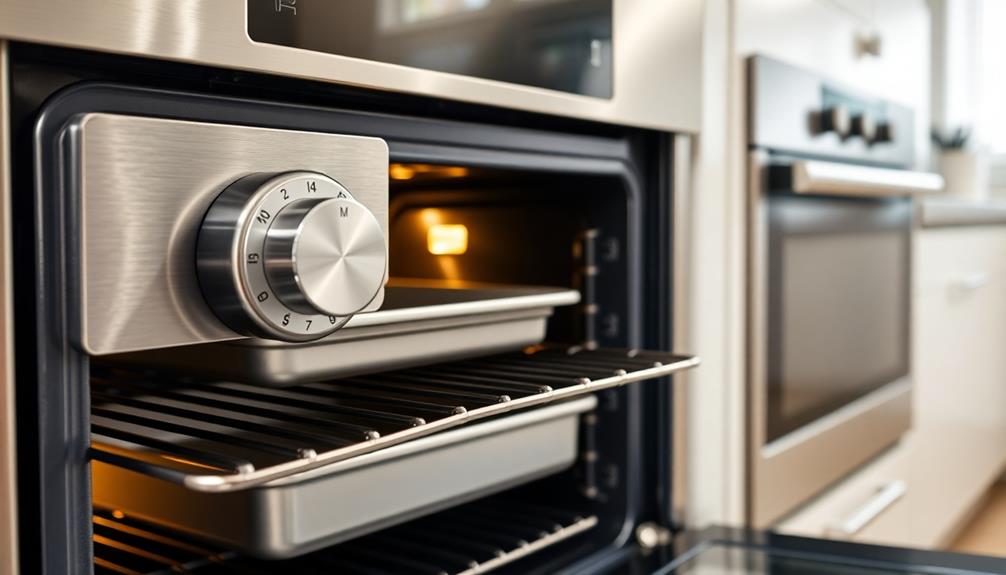
Preheat your oven to 400°F. This critical first step ensures your oven is at the perfect temperature for baking delicious chicken wings. The high heat will help create a crispy, golden-brown exterior while keeping the meat inside tender and juicy.
As the oven preheats, take a moment to gather your other ingredients and supplies. You'll need a baking sheet or roasting pan, cooking spray or oil, and any seasonings or sauces you plan to use. Having everything ready to go will make the cooking process quick and efficient.
Once your oven reaches 400°F, it's time to get those wings in! Arrange them in a single layer on the prepared baking sheet, making sure they've plenty of space to cook evenly.
This high-heat method will deliver the perfect chicken wings – crispy on the outside and deliciously moist on the inside. Get ready for a delightful and satisfying meal!
Step 2. Toss Wings With Seasoning
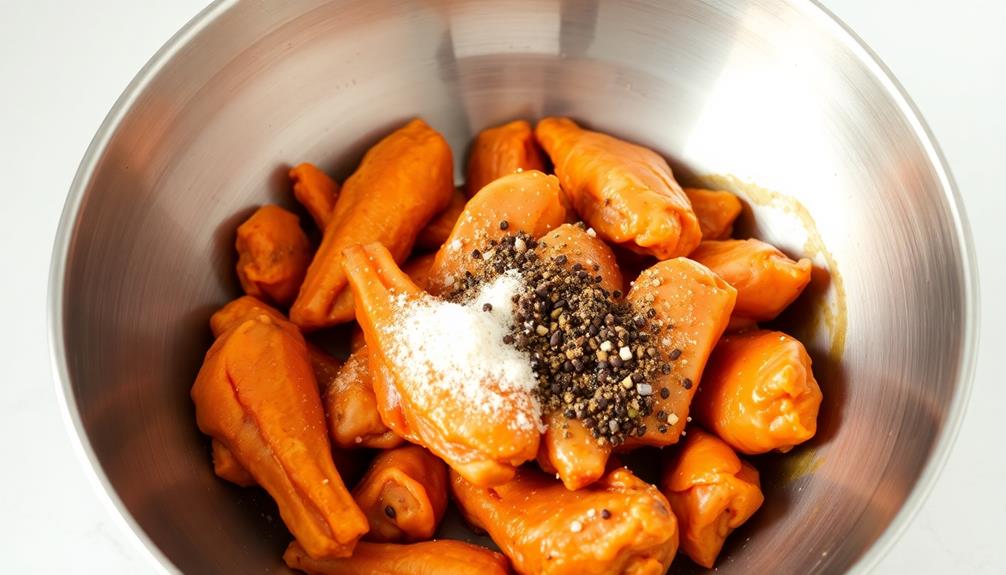
With the oven preheated, it's time to season those wings. In a large bowl, combine the wings with your favorite dry seasoning mix. Garlic powder, paprika, and a pinch of salt and pepper are a classic combination that works wonderfully. Toss the wings until they're evenly coated, making sure each piece is well-seasoned.
Now, if you want to take things up a notch, you can add a splash of hot sauce or a drizzle of honey to the mix. The hot sauce will give the wings a nice kick, while the honey will provide a sweet and savory balance. Just be sure to toss the wings again until the seasoning and sauces are distributed evenly.
Once your wings are perfectly seasoned, it's time to move on to the next step: baking them to crispy perfection.
Remember to keep a close eye on them as they cook, and don't be afraid to adjust the baking time or temperature to get that irresistible crunch.
Step 3. Bake Wings for 40 Minutes
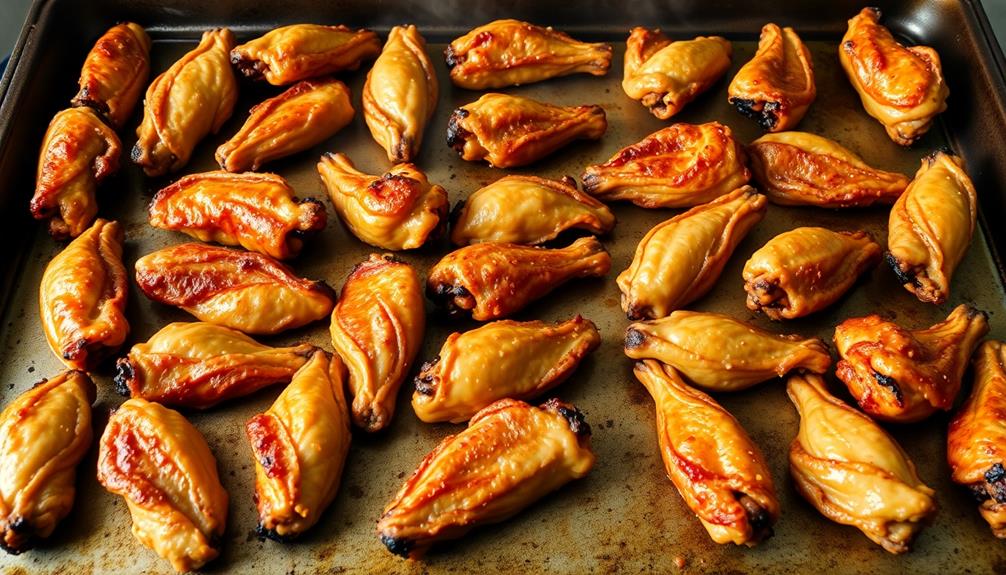
Slide the seasoned wings onto a baking sheet, making sure they're in a single layer. This helps the wings cook evenly and get nice and crispy.
Pop the baking sheet into the preheated oven and let the wings bake for 40 minutes. Set a timer so you don't forget about them!
As the wings bake, your kitchen will start to smell amazing. The spices and seasonings will fill the air, making your mouth water.
Keep an eye on the wings, giving the baking sheet a gentle shake halfway through to promote even cooking.
After 40 minutes, the wings should be golden brown and cooked through. Use tongs to transfer the wings to a serving platter.
Be careful, as they'll be hot! Serve the wings right away, or let them cool for a few minutes if you prefer.
Enjoy your perfectly baked chicken wings!
Step 4. Flip Wings Halfway Through Baking
Midway through the baking process, you'll want to give the wings a gentle flip. This helps ensure even cooking on both sides. Grab a sturdy pair of tongs and carefully lift each wing, flipping it over to the other side. Be gentle, as you don't want to tear the crispy skin.
Once all the wings have been flipped, put them back in the oven for the remaining baking time.
Flipping the wings halfway is an important step that helps them cook evenly. This way, the bottoms don't get too dark while the tops remain pale. When you check on the wings after 20 minutes, you'll see they've started to brown nicely. That's your cue to flip them over.
In just a few more minutes, those wings will be perfectly golden brown and ready to enjoy. The key is flipping them at the right moment for best results.
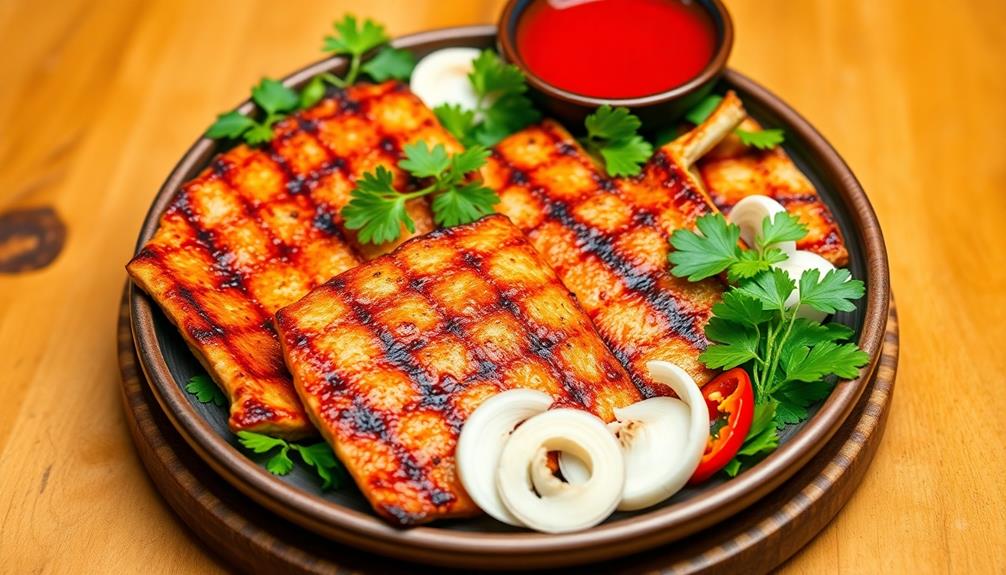
Step 5. Brush Wings With Barbecue Sauce

Once the wings have been flipped and are nearing the end of their baking time, it's time to brush them with a flavorful barbecue sauce. This step is crucial for adding a delicious, tangy, and slightly sweet flavor to your chicken wings.
Grab a clean basting brush and dip it into your favorite barbecue sauce. Gently brush the sauce over the tops of the wings, making sure to cover them evenly. Be careful not to glob on too much sauce, as you don't want it to drip and burn in the oven.
After brushing the wings, return them to the oven for the last few minutes of baking. This will allow the sauce to caramelize and create a sticky, finger-licking glaze. The aroma of the barbecue sauce will fill your kitchen, making your mouth water in anticipation.
When the timer goes off, remove the wings from the oven and let them cool slightly before serving. The barbecue-glazed wings are now ready to be enjoyed by all!
Final Thoughts
Ultimately, chicken wings are a versatile and beloved dish that can be enjoyed in countless ways. Whether you prefer them smothered in spicy buffalo sauce, glazed with a sweet and tangy barbecue, or simply seasoned with salt and pepper, there's a flavor to suit every palate.
The process of preparing them may take some time and effort, but the resulting crispy, juicy deliciousness is more than worth it.
Don't be afraid to get creative with your wing recipes, too. Try marinating them in exotic spices or experimenting with different dipping sauces. The possibilities are endless!
And don't forget, chicken wings are a great option for entertaining guests or enjoying as a family-friendly meal. So grab some napkins, dive in, and savor every bite of this crowd-pleasing favorite.
Frequently Asked Questions
What Is the Best Way to Reheat Leftover Chicken Wings?
The best way to reheat your leftover wings is to preheat your oven to 400°F, place them on a baking sheet, and warm them for 10-15 minutes until they're hot and crispy again. Don't forget to flip them halfway through!
Can I Use Frozen Chicken Wings Instead of Fresh?
Yes, you can use frozen chicken wings instead of fresh. Simply thaw them in the refrigerator overnight or use the microwave's defrost setting. Cook the wings according to your preferred method, ensuring they're fully cooked through.
How Do I Know When the Chicken Wings Are Fully Cooked?
You'll know the chicken wings are fully cooked when the internal temperature reaches 165°F (74°C) and the juices run clear. Check them with a meat thermometer to ensure they're safe to eat.
Can I Bake Chicken Wings Instead of Frying Them?
You certainly can bake chicken wings instead of frying them. Baking provides a healthier alternative while still delivering delicious, crispy results. Adjust the oven temperature and cooking time accordingly to ensure the wings are cooked through.
How Long Do Cooked Chicken Wings Last in the Refrigerator?
Cooked chicken wings can typically last 3-4 days in the refrigerator when stored properly in an airtight container or resealable bag. Be sure to refrigerate them promptly and reheat them thoroughly before consuming for food safety.
Conclusion
You've gotta try these chicken wings! They're the perfect blend of crispy skin and juicy meat. The cooking steps are a breeze, and you'll love the mouthwatering flavors. Whip up a batch for your next gathering – your friends and family will be begging for more. Trust us, these wings will have you dancing in the kitchen with joy. Dive in and enjoy every bite!