Start by resting the turkey for 20 minutes, then gather your carving tools. Begin by removing the legs and thighs, cutting through the joint and following the natural grain. Next, carve the drumsticks and thighs into slices. For the breasts, make долгий, smooth cuts along the breastbone and ribcage, then slice crosswise for neat portions. Keep your cuts even and presentation attractive—if you want more detailed tips and photos, keep exploring this guide.
Key Takeaways
- Rest the turkey for 20 minutes post-cooking to ensure juicy, tender slices and easier carving.
- Use a sharp carving knife and fork for precise, clean cuts along the natural grain and joint lines.
- Remove the legs and thighs first by cutting through the skin and joint, then carve into slices parallel to the bone.
- Carve the breast by slicing along each side of the breastbone, then crosswise into neat, angled pieces.
- Present slices neatly on a platter, maintaining even cuts for an attractive and easy-to-serve turkey.
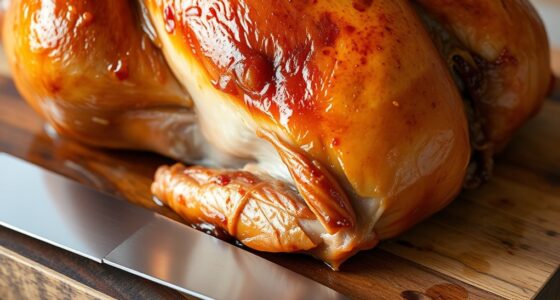
Carving a turkey can seem intimidating, but with the right techniques, you can serve beautifully sliced meat that impresses everyone at your table. The key is to approach the task methodically, starting with the right presentation tips and carving tools. Before you begin, ensure you have a sharp carving knife and a sturdy fork or tongs to hold the meat steady. A sharp knife makes precise cuts easier and reduces the risk of tearing the meat, while a carving fork helps stabilize the bird, giving you better control. Setting up a clean cutting surface and having a large platter ready for the slices also enhances presentation and makes the process smoother.
Start by resting the cooked turkey on a cutting board for about 20 minutes after removing it from the oven. This allows the juices to redistribute, making the meat easier to carve and preventing it from becoming dry. Begin by removing the legs and thighs. Use your carving knife to cut through the skin connecting the leg to the body, then gently pull the leg away and cut through the joint to detach it completely. Repeat with the other leg. Once the legs are off, carve the thighs into slices by cutting parallel to the bone, keeping your knife close to the bone for maximum meat. For the drumsticks, hold them steady with your carving fork and slice downward, following the natural grain.
Rest the turkey 20 minutes before carving for juicier, easier slices.
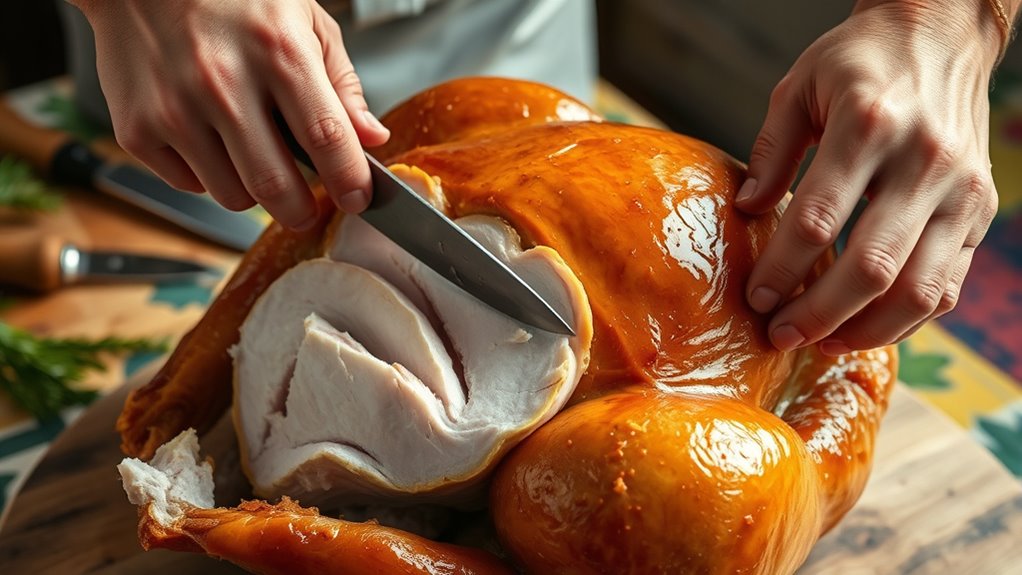
Next, work on the breast. Locate the breastbone in the center of the bird, and make a long, smooth cut along one side of the breastbone, starting at the top near the neck and working down to the wing joint. Use your knife to follow the contour of the ribcage, gently lifting the meat away as you go. Repeat on the other side. Once the breast is free, slice it crosswise into even pieces. To achieve an elegant presentation, cut the slices at a slight angle, creating a more attractive appearance on your platter.
Throughout the process, keep your cuts even and neat, which not only improves presentation tips but also makes serving easier. Using the right carving tools and techniques ensures each slice is tender, juicy, and visually appealing. Remember, patience and practice help perfect your turkey carving skills, turning a potentially formidable task into a simple, impressive finishing touch to your meal.
Frequently Asked Questions
What’s the Best Knife for Carving Turkey?
The best knife for carving turkey is a long, thin, and flexible carving knife or slicing knife. It allows you to perform precision slicing and follow proper carving techniques, ensuring clean, even cuts. Look for a sharp blade made of high-quality steel, as it helps you glide smoothly through the meat without tearing. With the right knife, you’ll carve your turkey effortlessly and impress everyone with your skill.
How Do I Prevent the Turkey From Drying Out?
To prevent your turkey from drying out, focus on moisture retention by using effective brining techniques. Brine the bird in a saltwater solution for several hours or overnight, which helps it stay juicy and flavorful. During cooking, avoid overcooking and consider tenting the turkey with foil to retain moisture. Let it rest before carving, allowing the juices to redistribute, ensuring each slice stays moist and tender.
When Is the Ideal Time to Carve the Turkey?
You should carve the turkey the moment it hits perfect holiday timing, when the juices are at their peak and the meat is irresistibly tender, not a second sooner. Wait until a meat thermometer shows the internal temperature reaches 165°F, signaling turkey readiness. Carving too early risks losing all that juicy goodness, while waiting too long can dry it out. Timing is everything for that picture-perfect, mouthwatering presentation!
How Do I Store Leftover Carved Turkey Safely?
You should store leftover carved turkey promptly in airtight storage containers to guarantee food safety. Place the turkey in shallow containers to help it cool quickly, and refrigerate within two hours of carving. Label the containers with the date, and consume the leftovers within three to four days. Proper storage prevents bacteria growth and keeps your turkey fresh and safe to eat later.
Can I Reuse the Turkey Carving Juices for Gravy?
Think of reusing turkey juices for making gravy as turning leftover treasure into a flavorful gem. Yes, you can reuse turkey carving juices, but strain them first to remove bits. Use these juices as a base, adding flour and seasonings to craft rich gravy. This way, you maximize flavor and avoid waste, ensuring your meal remains juicy and delicious from start to finish.
Conclusion
Now that you’ve carved your turkey with confidence, you’ve turned a whole bird into a work of art on your table. Each perfectly sliced piece is like a gem, shining with juicy promise. As you serve, imagine the smiles your masterpiece will bring, a symphony of flavors and warmth in every bite. You’ve transformed a simple bird into a memorable centerpiece, leaving everyone enthusiastic for seconds. Bon appétit—your feast is now a celebration!