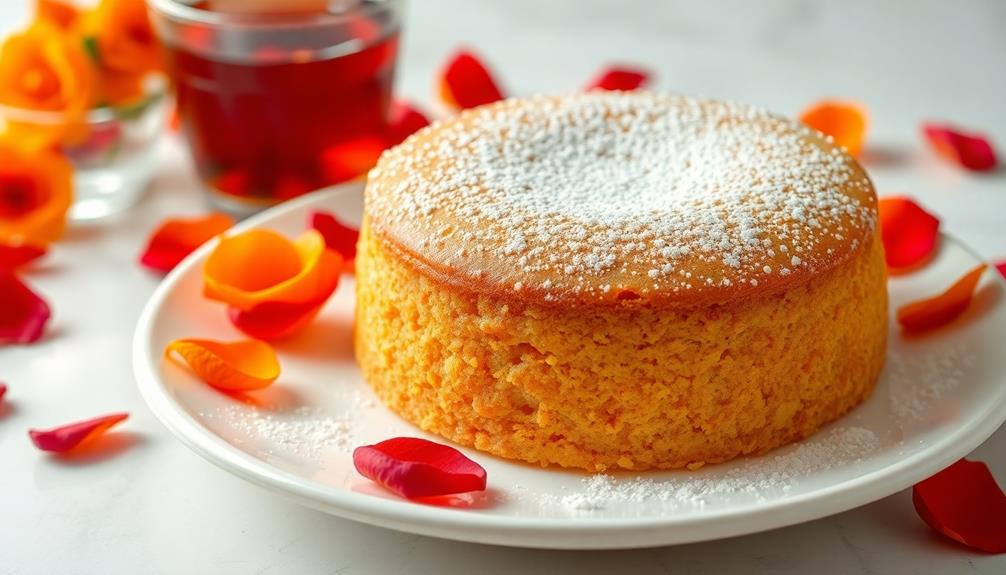

Harisseh, a semolina cake with ancient roots in the Middle East, will captivate your taste buds. Its unique texture and comforting flavors have delighted people for centuries. First, you'll sift the semolina and flour to create a smooth, fluffy crumb. Then, you'll slowly add melted butter, milk, and sugar, blending them into a batter. Once baked, the cake's mouthwatering aroma will fill the air. Finish with a sprinkle of crushed pistachios for a beautiful presentation and delightful contrast of flavors. With a few simple steps, you'll be enjoying this cherished symbol of the region's rich culinary heritage. And there's more to discover about this delightful treat. For a truly authentic experience, pair your harisseh with a traditional Middle Eastern tea or coffee to complement the sweet pastry dessert. Whether enjoyed on a peaceful afternoon or shared with loved ones, harisseh is sure to become a cherished part of your culinary repertoire. Its timeless appeal and simple yet satisfying ingredients make it a beloved treat worth savoring.
Key Takeaways
- Harisseh is a cherished semolina-based cake with origins tracing back to ancient culinary traditions of the Middle East, particularly Mesopotamia and the Levant region.
- The recipe involves sifting semolina and all-purpose flour, incorporating melted butter, milk, and sugar, and baking in a preheated oven for 30-35 minutes.
- Sifting the flours is crucial for achieving a light and fluffy crumb, while the addition of melted butter and milk contributes to the cake's rich and creamy texture.
- Garnishing the warm cake with crushed pistachios adds a delightful crunch and nutty flavor, enhancing the overall appeal and taste of the dish.
- Harisseh is a versatile cake suitable for special occasions or as a comforting snack, representing the rich culinary heritage of the Middle Eastern region.
Top picks for "harisseh semolina cake"
Open Amazon search results for this keyword.
As an affiliate, we earn on qualifying purchases.
History
The origins of harisseh, a semolina-based cake, can be traced back to the ancient culinary traditions of the Middle East. Over centuries, this delightful treat has evolved, with each region and culture adding their own unique flair.
Harisseh's roots lie in the kitchens of ancient Mesopotamia, where cooks first experimented with the versatile semolina flour. As the recipe spread throughout the region, it found a special home in the Levant, where it became a beloved part of the local cuisine.
Today, harisseh is enjoyed across the Middle East, from Egypt to Iran, each country and community putting their own spin on the classic recipe. Some add fragrant spices like cinnamon or cardamom, while others incorporate nuts or dried fruit.
No matter the variation, harisseh remains a cherished symbol of the region's rich culinary heritage, a timeless delight that connects generations and cultures.
Cooking Steps
To begin the cooking process, preheat your oven to 350°F (175°C). Grease and flour a 9-inch round cake pan or an 8-inch square baking dish.
Now, in a large bowl, whisk together the semolina, sugar, baking powder, and salt until well combined.
In a separate bowl, beat the eggs, milk, and melted butter until smooth. Slowly pour the wet ingredients into the dry ingredients, mixing until you have a thick, pourable batter.
Pour the batter into the prepared pan, smoothing the top with a spatula.
Bake the harisseh for 35-40 minutes, or until a toothpick inserted in the center comes out clean.
Allow the cake to cool in the pan for 10 minutes before inverting it onto a wire rack to cool completely.
Once cooled, serve the delicious semolina cake and enjoy its delightful texture and flavor.
Step 1. Sift Semolina and All-Purpose Flour
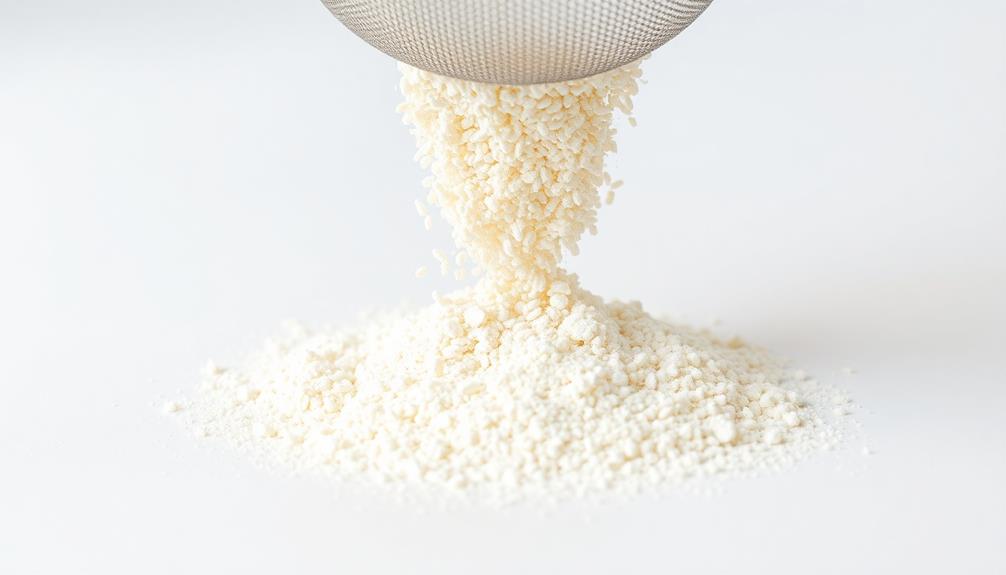
Sifting the semolina and all-purpose flour is a crucial step in preparing the Harisseh. By sifting, you'll remove any lumps or impurities, ensuring a smooth and consistent texture in your cake.
Start by placing a fine-mesh sieve over a large bowl. Gently pour the semolina into the sieve and shake it back and forth, allowing the fine grains to fall through into the bowl below. Repeat this process with the all-purpose flour.
Don't be tempted to skip this step – sifting aerates the flours, which helps create a light and fluffy crumb in the final cake. Plus, it's a satisfying process that only takes a minute.
Once you've sifted both the semolina and flour, give them a quick stir to combine. You're now ready to move on to the next step in crafting your delicious Harisseh.
Sifting may seem small, but it makes a big difference in the quality of your homemade semolina cake.
Step 2. Add Melted Butter
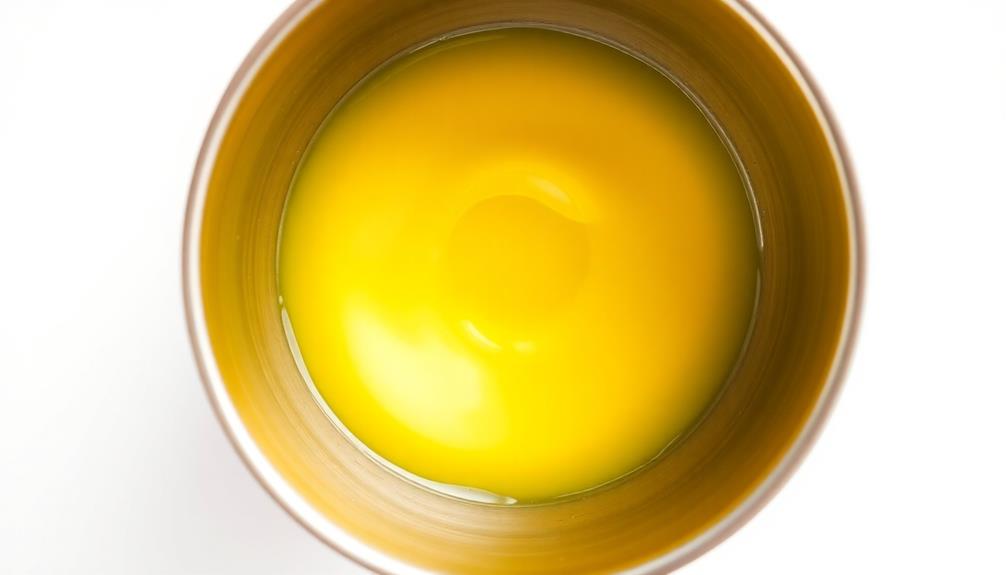
Next, add the melted butter to the sifted flours. You'll want to pour it in slowly, stirring as you go. This helps the butter incorporate evenly throughout the mixture. The butter will add a lovely richness and moisture to your harisseh cake.
Be sure to use real, unsalted butter for the best flavor. Melt it gently over low heat, watching closely so it doesn't burn. Once it's liquid, let it cool slightly before adding it to the dry ingredients.
Stir the butter in with a wooden spoon or sturdy spatula, making sure to scrape the sides and bottom of the bowl. Keep mixing until you have a smooth, well-blended batter. The butter should be fully incorporated, with no visible pockets or streaks remaining.
Now that the butter is in, you're ready for the next step! Grab your mixing bowl and let's keep going.
Step 3. Add Milk and Sugar
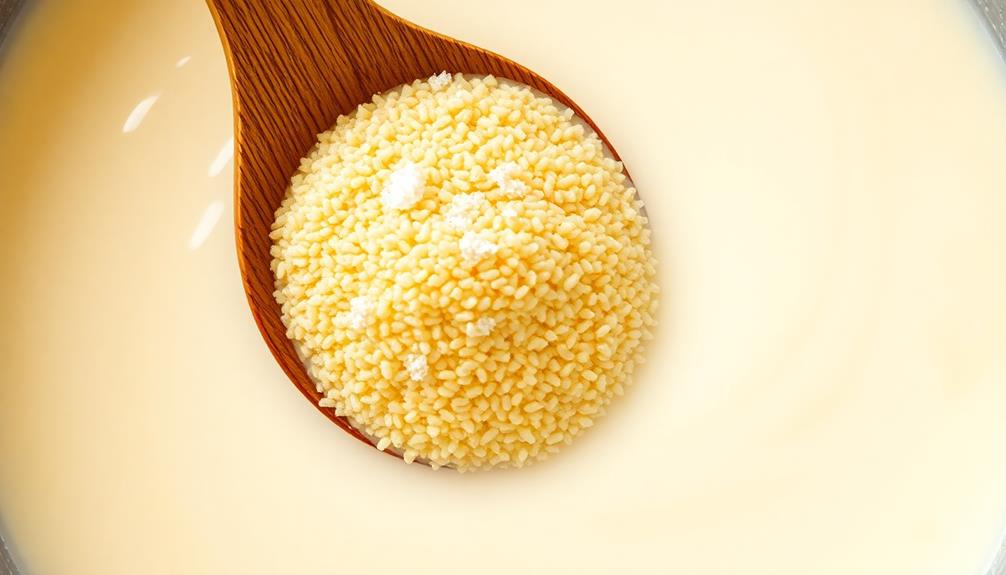
The addition of milk and sugar is a crucial step in crafting the perfect harisseh cake. This sweet combination brings a lovely creaminess and richness to the semolina base.
First, you'll want to pour in some whole milk, gently stirring it into the melted butter until the mixture is smooth and well-combined. The milk adds a delightful moistness that balances the slightly grainy texture of the semolina.
Next, it's time to sprinkle in the granulated sugar. Start with a quarter cup and give it a good stir, tasting as you go to achieve your desired sweetness level. The sugar will dissolve beautifully, lending a comforting, homey flavor to the cake.
Feel free to add a bit more if you'd like an extra-sweet treat.
With the milk and sugar incorporated, the batter is ready for the next step. Keep stirring to ensure everything is evenly distributed, then prepare to bake your aromatic and delectable harisseh cake.
Step 4. Bake in Preheated Oven
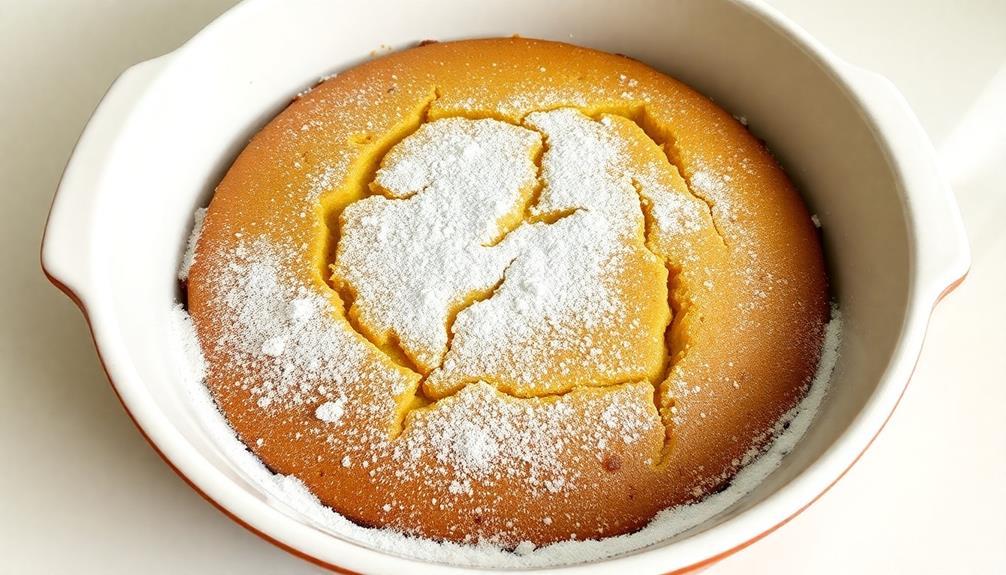
Preheating the oven to the specified temperature is essential for baking the harisseh cake to perfection. Set your oven to 350°F (175°C) and let it heat up completely. This even heat distribution is crucial for the cake to rise evenly and develop a beautiful golden-brown crust.
Once the oven is ready, carefully pour the batter into a greased baking pan. Spread it out evenly, making sure to reach the edges. This will help the cake bake consistently throughout.
Pop the pan into the preheated oven and let the magic happen!
Bake the harisseh for 30-35 minutes, or until a toothpick inserted into the center comes out clean. The aroma wafting through your kitchen will be absolutely mouthwatering.
Keep an eye on the cake, and if the top starts to brown too quickly, simply cover it with a sheet of aluminum foil to prevent overbrowning.
Step 5. Garnish With Crushed Pistachios
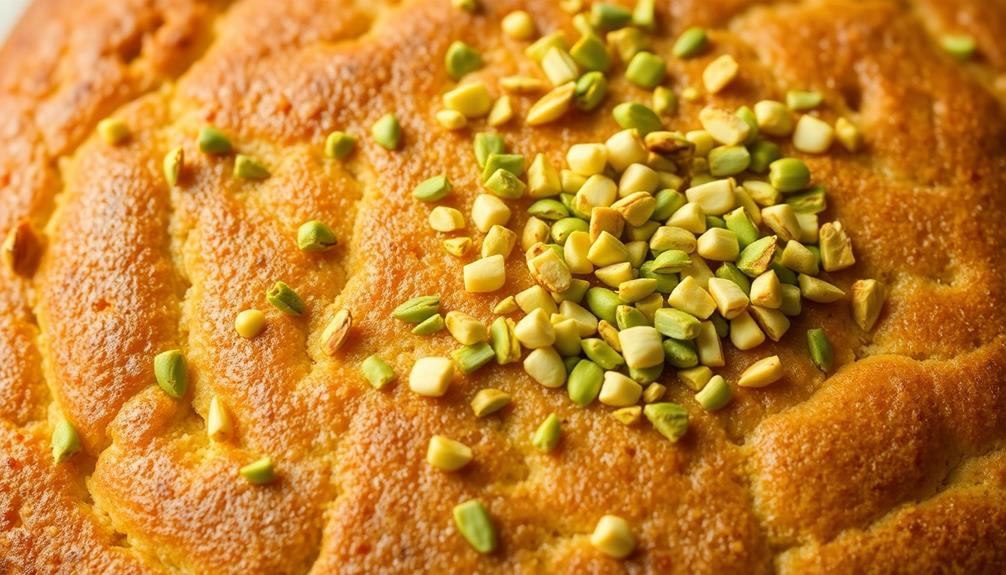
Once the harisseh has finished baking to perfection, it's time to add the finishing touch – a sprinkle of crushed pistachios. This simple garnish elevates the cake, bringing a delightful crunch and a pop of vibrant green color.
Gather a handful of shelled pistachios and place them in a small plastic bag. Use a rolling pin or the back of a spoon to gently crush the nuts into small, irregularly shaped pieces. You don't want them too finely ground – just enough to create a lovely texture.
Carefully remove the baked harisseh from the oven and let it cool slightly. While it's still warm, generously sprinkle the crushed pistachios over the top of the cake. The warm semolina will help the nuts stick, creating a beautiful, nutty topping.
Serve the harisseh immediately, allowing your guests to admire the tempting display of golden cake and vibrant green pistachios. The contrasting flavors and textures will delight the senses and have everyone reaching for seconds.
Final Thoughts
Ultimately, you should feel confident in your ability to create this delectable semolina cake, Harisseh. The process may seem daunting at first, but with a little practice, you'll be whipping up these fragrant and indulgent treats in no time.
Remember, the key is to take your time and follow the instructions carefully. Don't be afraid to experiment with different garnishes or flavors to make the dish your own.
Whether you're serving it at a special occasion or enjoying it as a comforting snack, Harisseh is sure to delight your taste buds and impress your friends and family.
Frequently Asked Questions
Can I Substitute Regular Flour for Semolina in This Recipe?
You can certainly try substituting regular flour for semolina in this recipe, but it won't give you quite the same texture.
Semolina has a coarser, grittier texture that adds a unique crumb to baked goods. If you use regular flour, your cake might turn out a bit more fine and delicate.
But hey, why not give it a shot? You might discover a whole new flavor and texture that you love!
How Long Can the Harisseh Cake Be Stored?
You'll be excited to hear that the delicious harisseh cake can be stored for up to a week!
Just keep it in an airtight container at room temperature, and it'll stay fresh and moist. Isn't that great news?
You can enjoy the soft, sweetness of this traditional semolina cake for days.
Just be sure to savor every bite – it's too good to let it go to waste!
Is Harisseh a Traditional Dessert From a Specific Region?
Ooh, you're in for a real treat! Harisseh is a delightful traditional dessert that originated in the Middle East.
It's a semolina-based cake with a mouthwatering, dense texture and a unique flavor profile. Depending on the region, it can be flavored with rose water, orange blossom water, or even spices like cinnamon.
No matter where it's from, this sweet treat is sure to delight your taste buds and transport you to a world of rich, cultural history.
Can I Use a Different Type of Sweetener Instead of Sugar?
Sure, you can absolutely use a different sweetener instead of sugar in your recipe!
Honey, maple syrup, or even agave nectar would work great. The key is to adjust the amount you use, as these alternative sweeteners can be more intense than regular sugar.
Have fun experimenting and find the flavor that suits your taste buds best.
Just be sure to keep a close eye on the texture and consistency as you make the switch.
Happy baking!
What Is the Purpose of the Rose Water in This Recipe?
Rose water adds a lovely, delicate floral flavor to many Middle Eastern desserts. When you use it in your baking, it transports you to a fragrant, exotic world.
The gentle rose scent in your dish creates a sense of warmth and comfort, elevating the overall experience. Plus, the rose water pairs beautifully with the rich, nutty flavors of the semolina in this recipe.
Just a touch goes a long way, so you'll enjoy the subtle yet captivating essence it brings to your dessert.