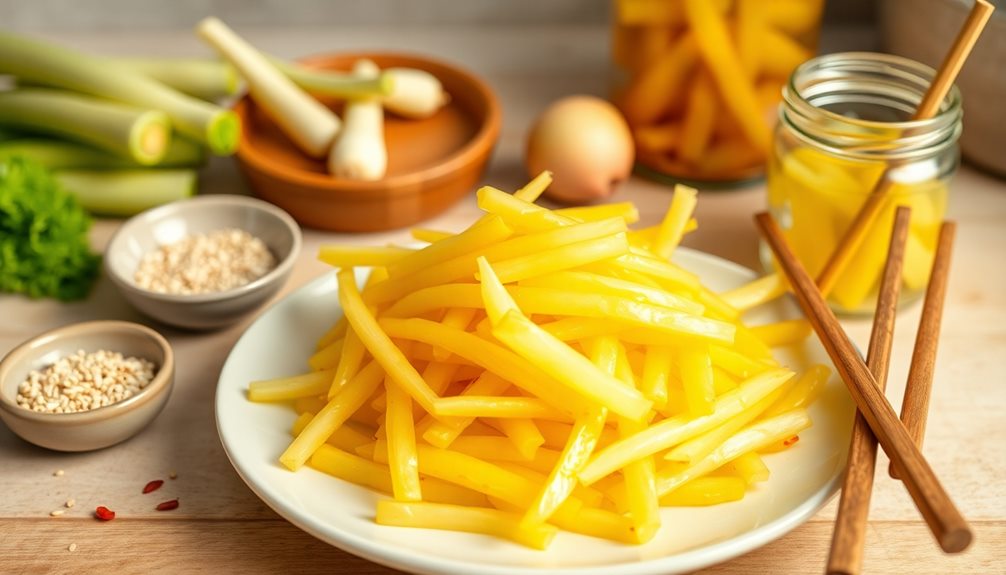
Korean pickled radish, or danmuji, is a tangy and sweet side dish that brightens up any meal! It's known for its vibrant yellow color and crunchy texture, making it perfect for adding excitement to your plate. You'll find it served with favorites like kimbap and bibimbap, and it even pairs well with grilled meats and salads. To make it, you simply slice radishes, sprinkle them with salt and sugar, mix in some vinegar, and let them chill. In just 24 hours, you'll have a delicious addition that everyone will love! Want to know how to make it at home?
Key Takeaways
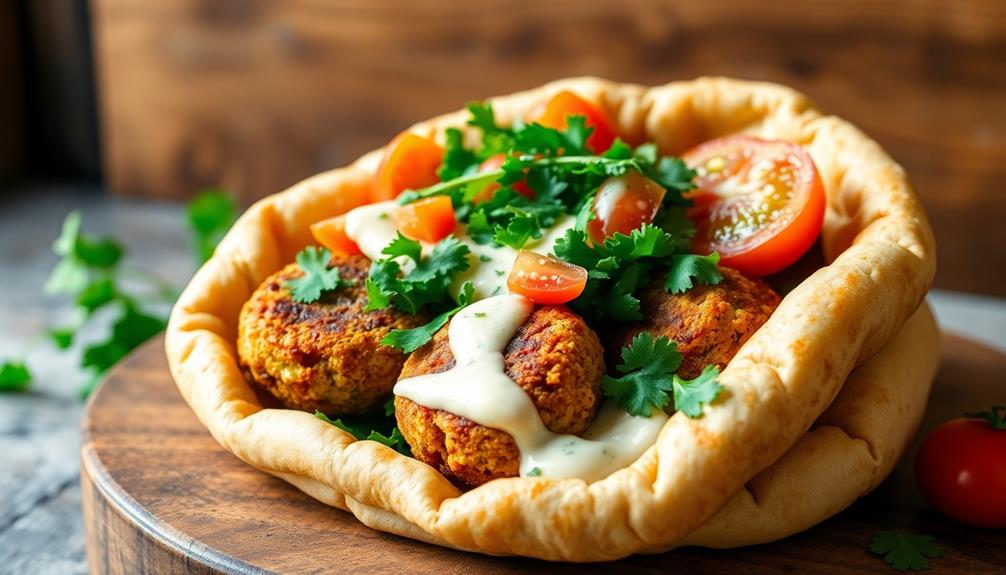
- Danmuji, a vibrant yellow pickled radish, adds a tangy and sweet flavor to Korean meals and enhances various dishes.
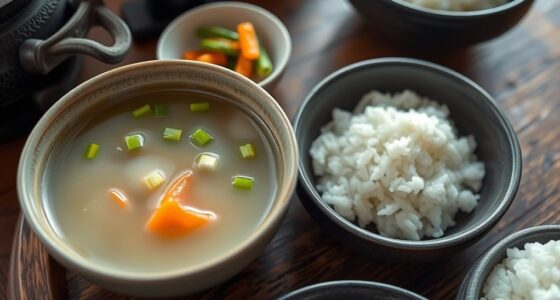
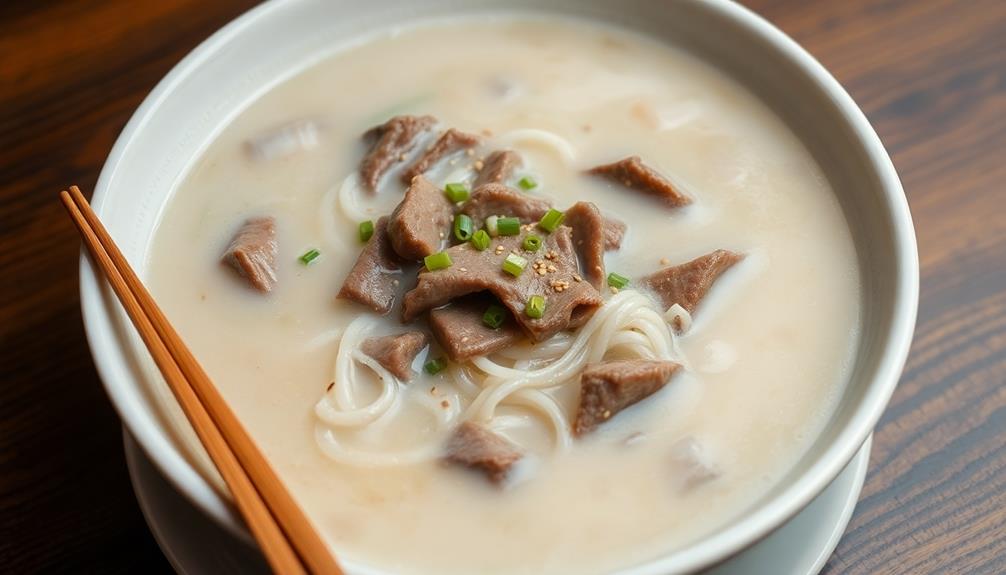
- It pairs well with kimbap, bibimbap, rice, grilled meats, salads, soups, and even fusion dishes like tacos and burgers.
- The pickling process involves daikon radish, vinegar, sugar, and salt, making it low in calories and rich in vitamins and probiotics.
- Danmuji has cultural significance in Korea, symbolizing hospitality and frequently featured in traditional banchan during celebrations and gatherings.
- Homemade danmuji recipes vary across families, allowing for creative twists while maintaining its essential tangy profile.

Seoulmate Banh Mi Pickles, 3.5 lb, Sweet & Tangy Fermented Carrots & Daikon Radish with Cilantro, Vietnamese-Style, Vegan, Small-Batch Handcrafted in Dallas, Perfect for Sandwiches, Tacos, Bowls & BBQ
- Authentic Vietnamese & Korean Flavor: Sweet and tangy pickled vegetables with cilantro
- Probiotic-Rich Fermentation: Supports digestive health and immunity
- Vegan and All-Natural Ingredients: Suitable for vegan and health-conscious diets
As an affiliate, we earn on qualifying purchases.
As an affiliate, we earn on qualifying purchases.
History
Korean pickled radish, known as "danmuji," has a rich history that reflects Korea's agricultural roots and culinary traditions. This bright yellow side dish has been enjoyed for generations, and it often accompanies meals like kimbap and bibimbap.
Danmuji's origins date back to the times when farmers would preserve vegetables to last through the harsh winters. They discovered that pickling radish not only kept it fresh but also added a zesty flavor that made meals even tastier!
Traditionally, the pickling process used simple ingredients like salt, vinegar, and sugar. These ingredients helped keep the radish crunchy while giving it a sweet and tangy taste. Over time, families began to create their own special recipes, making danmuji a beloved staple at home and in restaurants.
As you dive into the world of Korean cuisine, you'll find that danmuji isn't just a side dish; it's a symbol of Korean culture and history. Every bite tells a story of farmers working hard to bring fresh produce to their tables.
Cooking Steps
To make delicious pickled radish, you'll need to follow a few straightforward steps. First, gather your ingredients. You'll need fresh radishes, sugar, salt, vinegar, and water.
Start by washing the radishes and slicing them into thin rounds. This helps them absorb the flavors better!
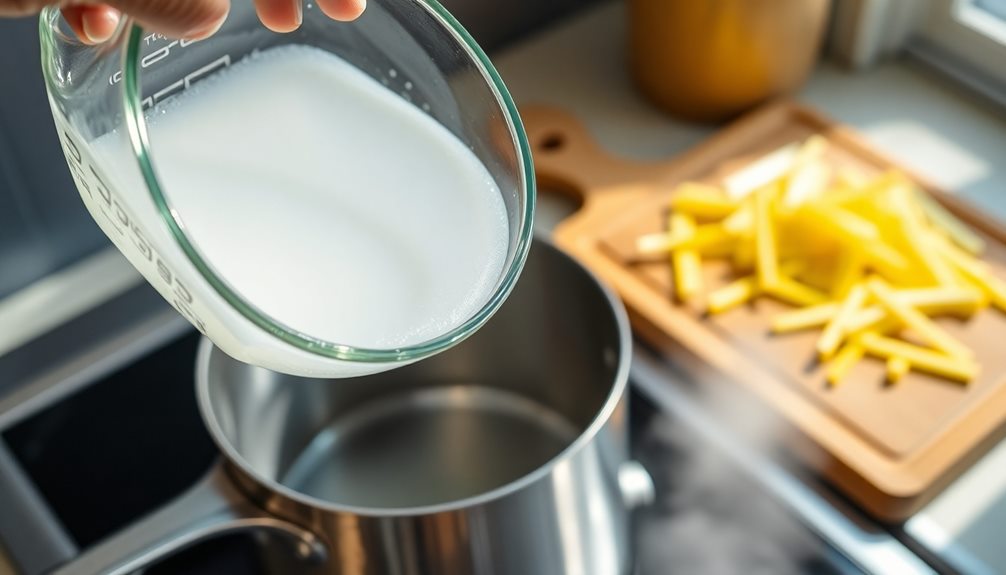
Next, in a mixing bowl, combine one cup of water, half a cup of vinegar, a quarter cup of sugar, and a tablespoon of salt. Stir everything together until the sugar and salt dissolve completely. It's like a magic potion for your radishes!
Now, place the sliced radishes into a clean jar. Pour the vinegar mixture over the radishes, making sure they're completely submerged. If needed, you can add more water or vinegar to cover them.
Seal the jar tightly and give it a little shake to mix everything up.
Step 1. Prepare Radishes for Slicing
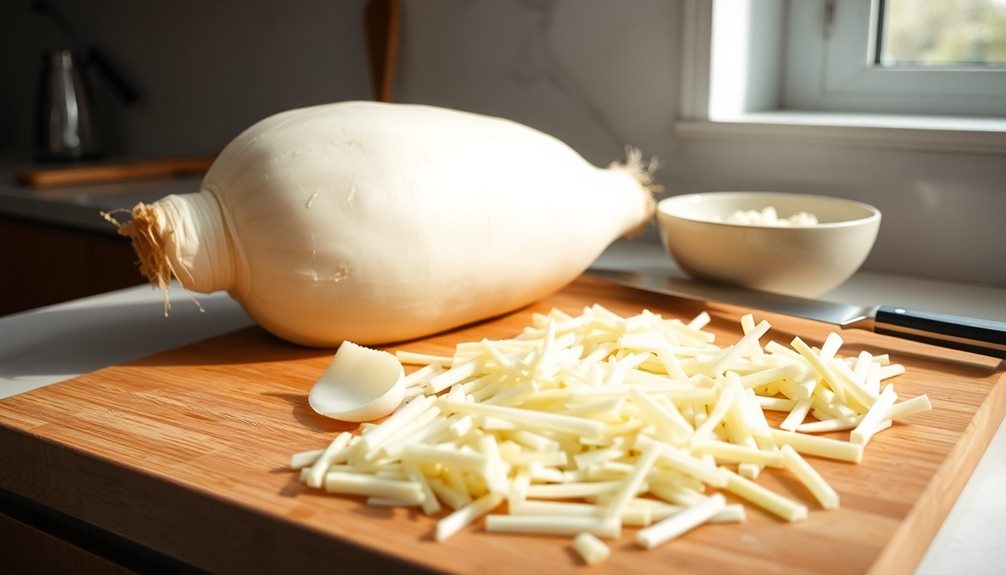
Before you start slicing, you'll want to prepare the radishes properly. First, grab a clean cutting board and a sharp knife. You'll need to wash the radishes under cool running water. This helps remove any dirt or grit. Once they're clean, pat them dry with a paper towel.
Next, it's time to trim the radishes. Cut off the leafy tops and the little root ends. This makes it easier to slice them evenly. If your radishes are large, you might want to cut them in half lengthwise. This way, they're easier to handle and won't roll around as you slice.
Now, you can slice the radishes! You can make thin rounds or even cut them into sticks, depending on your preference. Just remember, try to keep your slices even so they pickle nicely.
Don't forget to be careful with that knife! Take your time and enjoy the process.
Once you've got your radishes sliced, you're one step closer to creating a delicious, tangy side dish that everyone will love. Happy slicing!
Step 2. Add Salt to Radishes
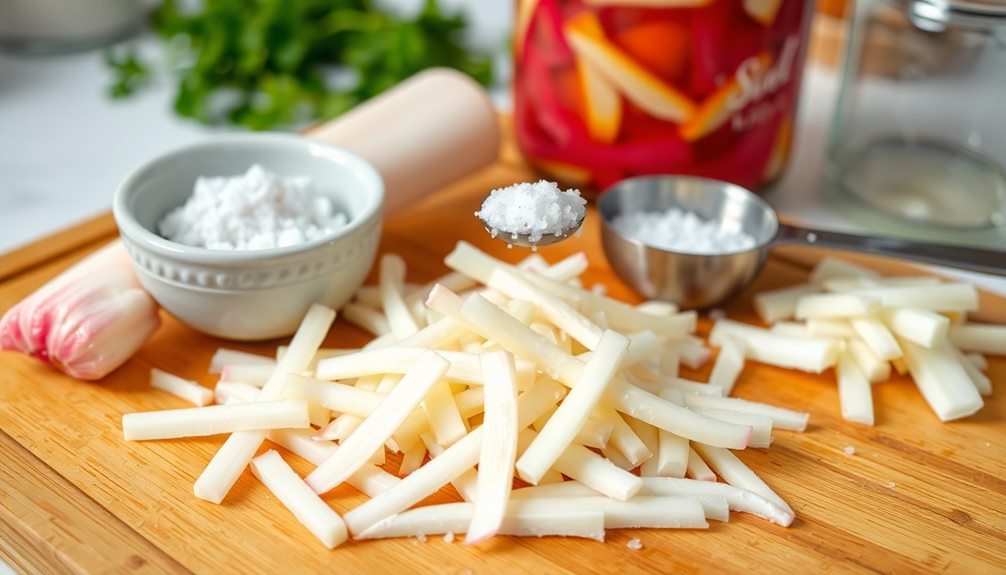
Now that you've sliced your radishes, it's time to add salt, which helps draw out moisture and enhances their flavor. Take a bowl and sprinkle a good amount of salt over your radish slices. You don't need to be shy; this is what makes them extra tasty!
Once you've added the salt, give the radishes a gentle toss with your hands. Make sure every slice is coated evenly. As you mix, you might notice the radishes beginning to sweat, which is just the moisture coming out. This process usually takes about 10 to 15 minutes, so be patient!
While you wait, you can think about all the yummy dishes you'll enjoy with these tangy radishes. Just imagine the crunch they'll add to your meals!
After the time's up, you should see a nice amount of liquid pooling at the bottom of the bowl. This salty step is crucial, as it prepares the radishes for their next flavor adventure.
Step 3. Mix Radishes With Sugar
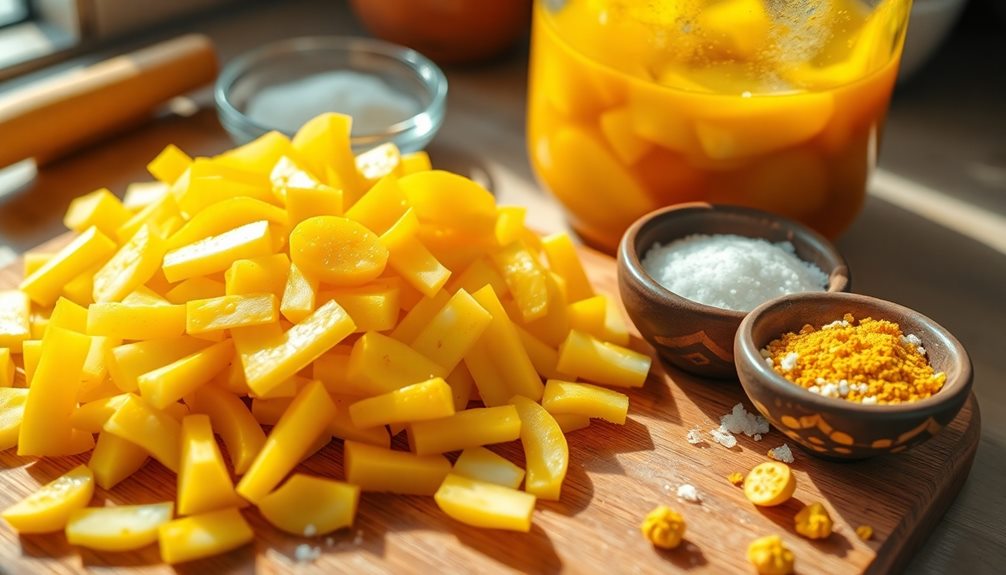
Adding a touch of sweetness to your radishes is the next exciting step in the pickling process. You've already salted your radishes, and now it's time to mix in some sugar. Grab your sugar and sprinkle it over the radishes, making sure to cover them evenly. This sugar will help draw out more moisture and add a delightful sweetness that balances the tangy flavor later on.
Using your hands, gently toss the radishes and sugar together. You want to make sure each piece gets coated, so don't be shy! As you mix, you'll notice the sugar starting to dissolve a bit, creating a lovely syrupy texture. It's like magic happening right in your bowl!
Let the radishes sit for about 15 to 20 minutes. This resting time allows the sugar to work its wonders and brings out the radishes' natural sweetness.
You'll see some liquid forming—the perfect sign that you're on the right path. Once time's up, you're ready to move on to the next step in creating your delicious pickled radish. Excited? You should be!
Step 4. Add Vinegar for Flavor
It's time to elevate the flavor of your radishes by adding vinegar! This step is super important because vinegar brings a tangy taste that makes your pickled radish so delicious. You can use rice vinegar for a milder flavor or apple cider vinegar for a bit more zing.
Start by measuring about half a cup of vinegar. Pour it into a bowl or jar with your radishes and sugar mixture. Stir it all together gently, making sure every radish gets some of that tasty vinegar.
If you want to spice things up a bit, you can add a pinch of salt and a few sesame seeds. This will give your pickled radish an extra crunch and flavor!
Now, let it sit for a minute and let those flavors mingle. You'll be amazed at how the vinegar transforms your radishes. The bright yellow color will pop, and the tangy smell will make your mouth water.
Trust me, you'll want to share this with everyone at the table! Enjoy the process, and get ready for a tangy treat that pairs perfectly with any meal. Happy pickling!
Step 5. Refrigerate for 24 Hours
After you've mixed in the vinegar and let those flavors mingle, the next step is to refrigerate your pickled radish for 24 hours.
This time in the fridge is super important! It allows the radishes to soak up all those yummy flavors and become extra tangy. Just imagine how delicious they'll taste after chilling!
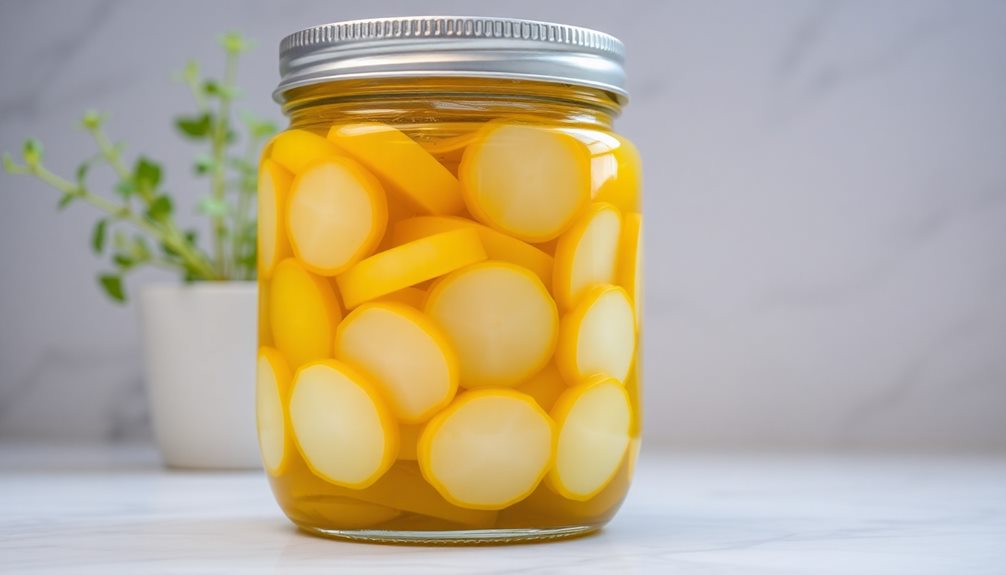
Make sure to place your radish mixture in an airtight container.
This keeps everything fresh and stops any strong smells from escaping. You wouldn't want your pickled radish to take over the fridge, right? Plus, it helps the flavors blend together even better.
While you wait, you can think about all the dishes you'll enjoy with your tangy side. They'll pair perfectly with rice, noodles, or even sandwiches!
After 24 hours, take a peek inside your container.
You're in for a treat! The radishes will have changed color, and the smell will be inviting. When you're ready to serve, just grab a fork or some chopsticks, and dig in!
Enjoy your homemade Korean pickled radish, and get ready to impress your family and friends with this tasty addition to any meal.
Final Thoughts
Korean pickled radish, known as danmuji, offers a vibrant addition to various dishes while also being a delightful snack on its own. If you've never tried it before, you're in for a treat!
This tangy, crunchy side dish pairs perfectly with rice, noodles, and even sandwiches. Imagine biting into a fresh wrap, and the danmuji adds a burst of flavor that makes everything taste better. It's like a party in your mouth!
Making danmuji is easy, and once you taste it, you'll want to share it with your friends and family.
Picture serving it at your next meal, and watching everyone smile as they enjoy the bright yellow radish. You can even get creative and add it to your favorite dishes.
Whether you're having Korean BBQ or a simple lunch, danmuji brings a special touch.
Frequently Asked Questions
Can I Use Other Types of Radishes for Pickling?
Absolutely, you can use other radish varieties for pickling! Each type brings its unique flavor and texture, so feel free to experiment with different ones to find your favorite pickled radish taste. Enjoy the process!
How Long Does Korean Pickled Radish Last in the Refrigerator?
Korean pickled radish typically lasts about two to three weeks in the refrigerator. Just make sure you store it in an airtight container. Enjoy its tangy flavor while it's fresh for the best taste!
Can I Adjust the Sweetness in the Recipe?
Yes, you can adjust the sweetness in the recipe! Just add more sugar for a sweeter taste or reduce it for less sweetness. Experiment until you find the perfect balance that suits your preferences.
Is Korean Pickled Radish Gluten-Free?
Yes, Korean pickled radish is gluten-free! You'll find it's made primarily from radishes, vinegar, and sugar, none of which contain gluten. Just double-check any specific brand or recipe for potential cross-contamination risks.
What Dishes Pair Best With Korean Pickled Radish?
Korean pickled radish pairs wonderfully with grilled meats, bibimbap, and spicy dishes. You'll find its tangy crunch enhances flavors, balancing rich and savory elements, making every meal feel complete and satisfying. Enjoy experimenting!