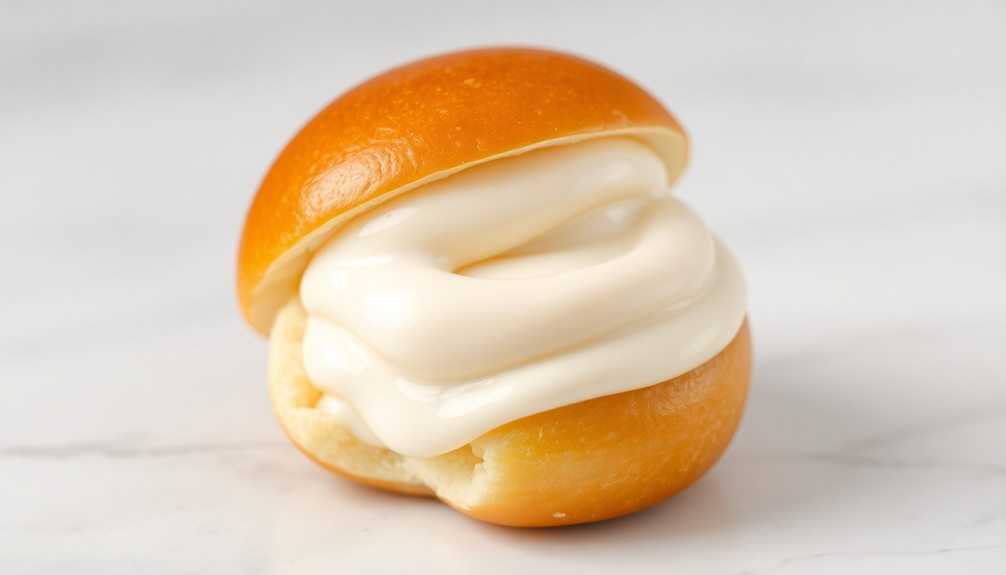
You've gotta try the dreamy Korean cream buns – these sweet, fluffy treats have been delighting folks for generations! They've got a soft, pillowy exterior that gives way to a rich, creamy filling. These buns have their roots in early 20th century Seoul, inspired by traditional Korean pastries. Over the decades, they've become a cherished part of Korea's culinary heritage, with bakeries across Seoul offering tons of tasty variations. Whip up a batch at home for a taste of this beloved snack – it's easy to do, and you'll be rewarded with a heavenly harmony of flavors and textures. Let's dive into the secrets behind making these scrumptious Korean cream buns!
Key Takeaways
- Korean cream buns are a beloved traditional snack that emerged in early 20th century Seoul, blending soft dough with rich, creamy fillings.
- These delightful treats offer a harmonious balance of flavors and textures, with a pillowy exterior contrasting the soft, indulgent filling.
- Bakeries across Seoul offer various versions of the cream buns, featuring diverse fillings and toppings to cater to diverse tastes.
- Making Korean cream buns at home is relatively easy, requiring careful dough kneading, proofing, and baking to achieve the perfect soft and fluffy texture.
- Korean cream buns are versatile, serving as both a cherished snack and an indulgent dessert, bringing joy to many with their irresistible sweetness.
Top picks for "korean cream sweet"
As an affiliate, we earn on qualifying purchases.
History

In the early 20th century, Korean cream buns emerged as a popular snack in Seoul, the capital of Korea. These soft, fluffy buns were inspired by traditional Korean pastries, but with a unique twist – a creamy, sweet filling inside. The recipe was quickly embraced by locals, who couldn't get enough of the delightful combination of pillowy dough and rich, velvety cream.
As the decades passed, Korean cream buns became a beloved part of the country's culinary heritage.
Bakeries across Seoul started offering their own versions, each with subtle differences in the dough, filling, or toppings. Some added a dusting of powdered sugar, while others experimented with different flavors like chocolate or strawberry.
No matter the variations, the cream bun remained a cherished treat that brought joy to generations of Koreans.
Cooking Steps

Preheat your oven to 350°F (180°C). Dust your work surface with a bit of flour, then roll out the dough until it's about 1/2-inch thick.
Use a biscuit cutter or the rim of a glass to cut out circle shapes from the dough. Carefully transfer the dough rounds to a greased baking sheet, leaving a little space between each one.
Bake for 12-15 minutes, until the buns are lightly golden. While they're baking, make the sweet cream filling. In a bowl, beat together softened butter, confectioners' sugar, and a splash of vanilla extract until smooth and creamy.
Once the buns have cooled slightly, use a sharp knife to slice each one in half horizontally. Spoon a generous amount of the cream filling onto the bottom half, then gently place the top half back on.
Enjoy your fluffy, cream-filled Korean treats!
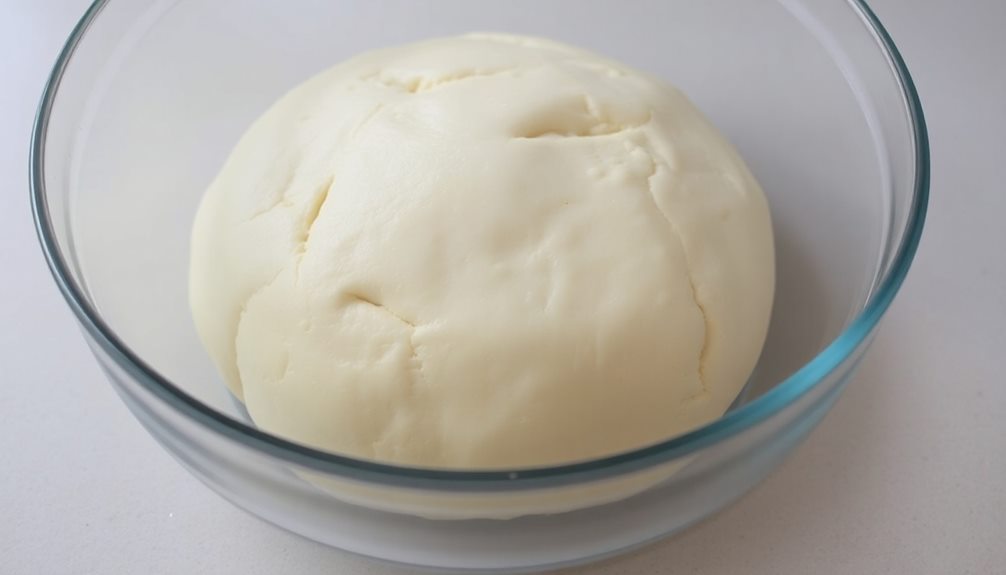
Step 1. Knead the Dough Until Smooth

Knead the dough until it becomes smooth and elastic. Use the palms of your hands to push and fold the dough, then rotate and repeat. This process helps develop the gluten, which gives the buns their soft, chewy texture.
Don't be afraid to put some muscle into it – knead for about 5-7 minutes until the dough feels silky and bounces back when poked.
As you knead, the dough will transform from a shaggy, sticky mass into a smooth, supple ball. This is an important step, as properly developed gluten is key to achieving the perfect Korean cream bun.
Once the dough is ready, cover it and let it rest for 30 minutes. This resting period allows the gluten to relax, making the dough easier to work with when you're ready to shape the buns.
With a little elbow grease, you'll have wonderfully soft and fluffy Korean cream buns in no time!
Step 2. Proof the Dough Until Doubled
After letting the dough rest, it's time to proof it until it doubles in size. This proofing stage is crucial for creating the soft, fluffy texture that makes Korean cream buns so delectable.
Start by placing the dough in a lightly greased bowl, then cover it with a damp towel or plastic wrap. Find a warm spot in your kitchen, like near a preheated oven or on the counter away from drafts.
Let the dough rise for about an hour, until it has doubled in volume. You'll know it's ready when you poke the dough with your finger and the indentation doesn't spring back.
Be patient – this step takes time, but it's well worth it for the incredible result. Once the dough has proofed, you can move on to shaping the buns and adding the creamy filling.
Get ready for a heavenly homemade treat that will have your taste buds doing a happy dance!
Step 3. Punch Down and Shape Dough

Having proofed the dough until it's doubled in size, it's now time to punch it down and shape the Korean cream buns. First, gently press your fist into the center of the dough to release all that trapped air. This will deflate the dough and prepare it for the next step.
Next, turn the dough out onto a lightly floured surface. Using your hands, knead the dough for about a minute, gently folding and pressing it to create a smooth, elastic texture.
Divide the dough into 12 equal pieces. Roll each piece into a smooth ball, tucking the edges underneath to create a neat, round shape.
Place the dough balls onto a parchment-lined baking sheet, spacing them a few inches apart. Cover the tray with a damp towel and let the dough rest for 15 minutes. This final proof will help the buns become extra light and fluffy.
Now they're ready for baking! Get excited, because your homemade Korean cream buns are almost ready to enjoy.
Step 4. Bake Until Golden Brown

Preheat your oven to 375°F (190°C).
Once your oven is ready, it's time to get those fluffy buns in! Gently place the shaped dough onto a parchment-lined baking sheet, making sure to leave a bit of space between each one. This will allow them to expand and get nice and golden.
Pop the baking sheet into the oven and let the magic happen. Keep a close eye on them, as they'll need about 18-22 minutes to achieve that perfect, golden-brown hue. The top should be shiny and the sides lightly crisp. When you give one a gentle poke, it should feel soft and pillowy, not doughy.
Once they're done, remove the baking sheet from the oven and let the buns cool for a few minutes. This will help them hold their shape before you fill them with that creamy, dreamy filling.
Can you just imagine the sweet aroma wafting through your kitchen? Get ready for a delicious Korean treat!
Step 5. Brush With Egg Wash Before Baking
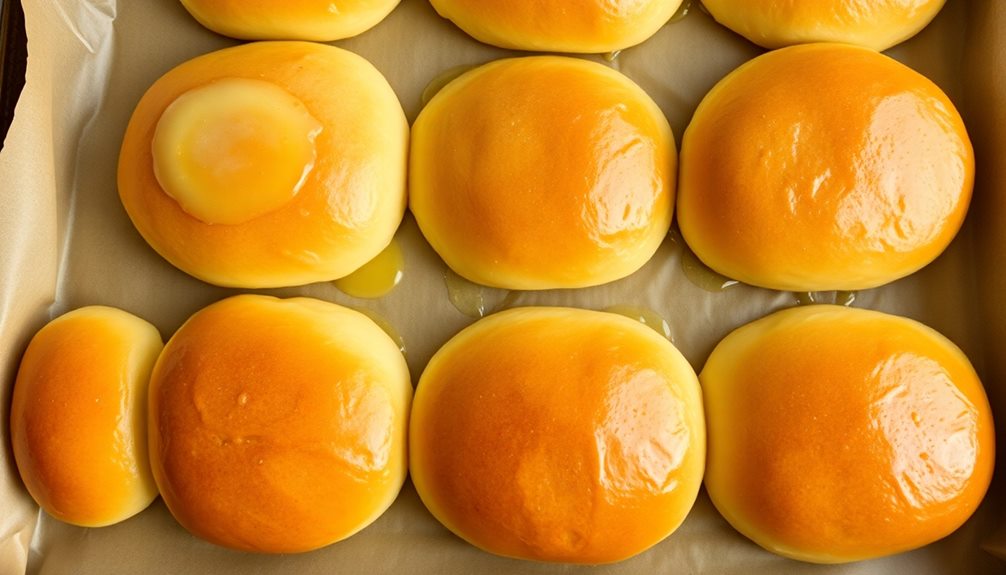
Before popping those fluffy buns into the oven, you'll want to give them a quick brushing of egg wash. This simple step will help your Korean cream buns develop a beautiful golden-brown crust that's simply irresistible.
Whisk together a single egg with a splash of water or milk until it's nicely combined. Then, using a pastry brush, gently sweep the egg wash over the top and sides of each dough ball. Be sure to get into all the nooks and crannies for even coverage.
The egg wash acts like a sealant, locking in moisture and helping the buns achieve that perfect sheen. It also adds a subtle shine and a delicate crunch to the exterior.
Don't be afraid to apply a generous amount – you want those buns to come out of the oven looking like little pillows of perfection!
With the egg wash applied, your Korean cream buns are ready for the final baking stage. Pop them in the oven and get ready for the sweet, fluffy goodness to come.
Final Thoughts
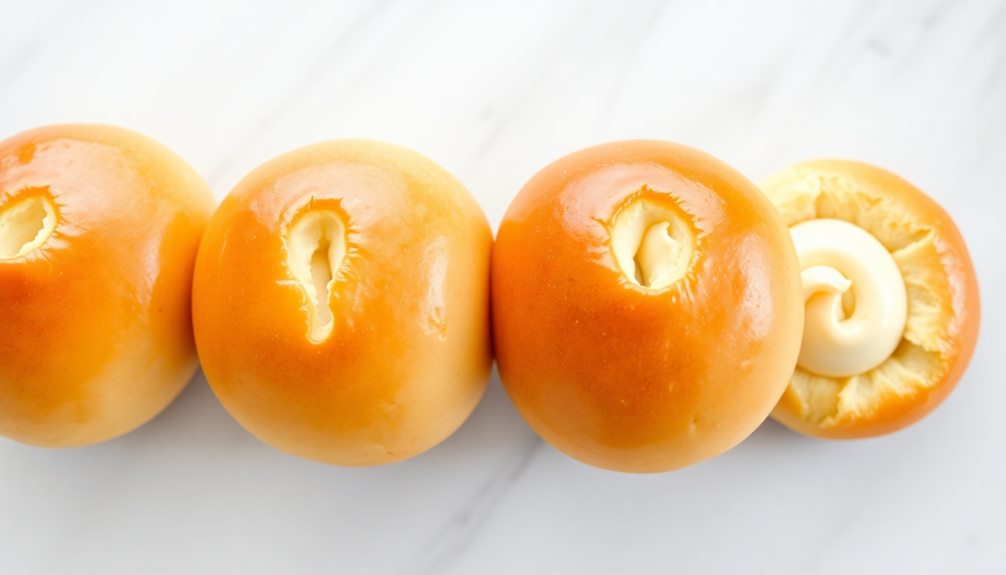
Despite the simplicity of the Korean cream bun, it offers a delightful harmony of flavors and textures that make it a standout treat. The golden, pillowy exterior gives way to a soft, cloud-like interior, while the sweet and creamy filling provides a delectable contrast.
Whether enjoyed as a midday snack or an indulgent dessert, this bun is sure to put a smile on your face.
The versatility of the Korean cream bun is truly impressive. It can be easily customized to suit individual tastes, with a range of fillings and toppings to choose from. From classic vanilla to unique flavors like matcha or red bean, the possibilities are endless.
And the best part? These buns are surprisingly easy to make at home, allowing you to savor the freshness and quality of homemade.
Frequently Asked Questions
What Is the Origin of the Korean Cream Bun?
The Korean cream bun's origin can be traced back to the country's long-standing pastry traditions, which draw from influences of both Eastern and Western baking techniques. It's a unique hybrid that's become a beloved local treat.
How Do I Store Leftover Korean Cream Buns?
To store leftover Korean cream buns, keep them in an airtight container in the fridge. They'll stay fresh for 2-3 days. Avoid freezing them as it can affect their light, fluffy texture.
Can I Substitute the Cream Filling With Other Fillings?
Absolutely! You can substitute the cream filling with a variety of other fillings. Try experimenting with fruit jams, chocolate spreads, or even savory fillings like cheese or sautéed vegetables. The possibilities are endless to customize your Korean cream buns.
Are Korean Cream Buns Gluten-Free or Vegan-Friendly?
Unfortunately, no – Korean cream buns aren't typically gluten-free or vegan-friendly. The buns themselves contain wheat flour, and the cream filling is usually made with dairy. You'd need to find a specialized recipe to make them gluten-free or vegan.
How Long Do Korean Cream Buns Stay Fresh?
Korean cream buns generally stay fresh for 2-3 days when stored properly at room temperature. However, they'll maintain their soft, fluffy texture best if consumed within the first 24 hours after baking.