
Get ready to tantalize your taste buds with the bold, spicy, and tangy flavors of kimchi! This fermented Korean side dish has a rich history, dating back to ancient times when Koreans preserved vegetables in earthen pots to survive the cold winters. Kimchi's unique regional recipes have evolved, featuring a variety of veggies like cabbage, radish, and cucumber, each bursting with its own blend of seasonings. Quality ingredients are key, including the essential napa cabbage, sea salt, and gochugaru – a Korean red pepper that adds heat and depth. Intrigued to learn more about this celebrated global superfood?
Key Takeaways
- Kimchi is a traditional Korean fermented side dish with a long history, dating back to ancient Korea as a method to preserve food during cold winters.
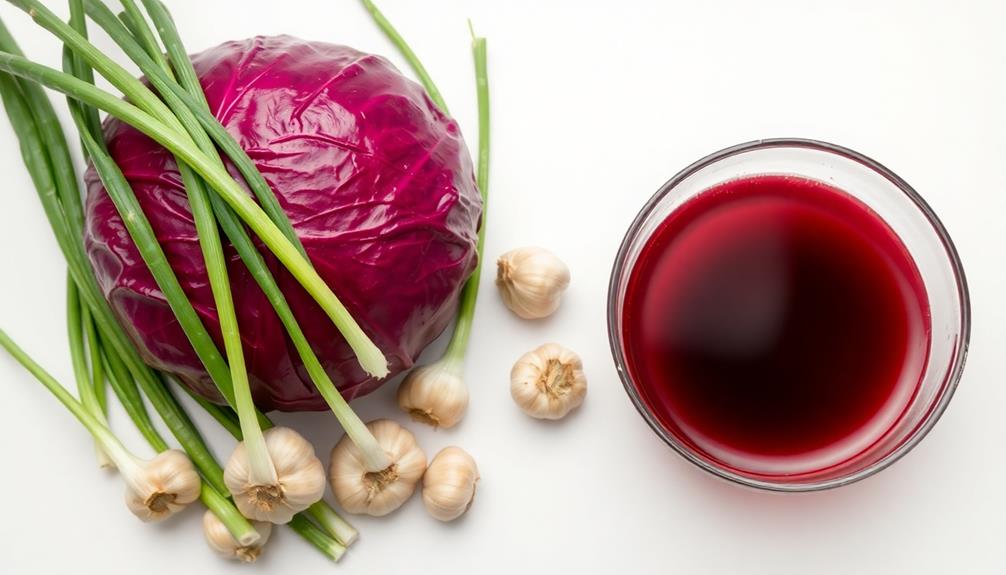
- Essential ingredients for authentic kimchi include napa cabbage, radishes, scallions, garlic, ginger, and Korean red pepper flakes (gochugaru).
- The basic process for making kimchi involves salting vegetables, mixing with seasoning paste, and fermenting in an airtight container for 3-7 days.
- Kimchi has gained global popularity and is considered a superfood due to its probiotic benefits, with a unique flavor profile that evolves over time.
- Kimchi can be enjoyed as a traditional side dish, incorporated into various recipes, or eaten as a quick snack, offering a distinct culinary experience.
Top picks for "kimchi"
Open Amazon search results for this keyword.
As an affiliate, we earn on qualifying purchases.
History
Kimchi's origins can be traced back to ancient Korea, where the fermented vegetable dish emerged as a way to preserve food during the cold winters.
As the seasons changed, savvy Koreans realized they could use the chilly temperatures to their advantage, burying their veggies in earthen pots and allowing them to ferment. This not only kept the foods fresh, but also gave them a delightfully tangy flavor.
Over time, the recipe evolved, with different regions developing their own unique spice blends and techniques.
Today, kimchi is a beloved staple across the Korean peninsula, appearing at every meal and in countless variations.
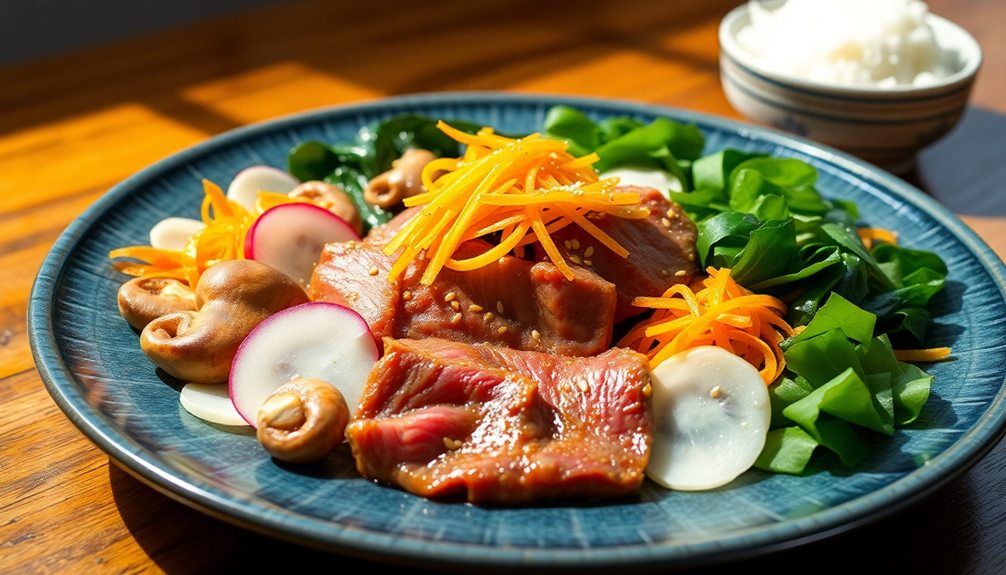
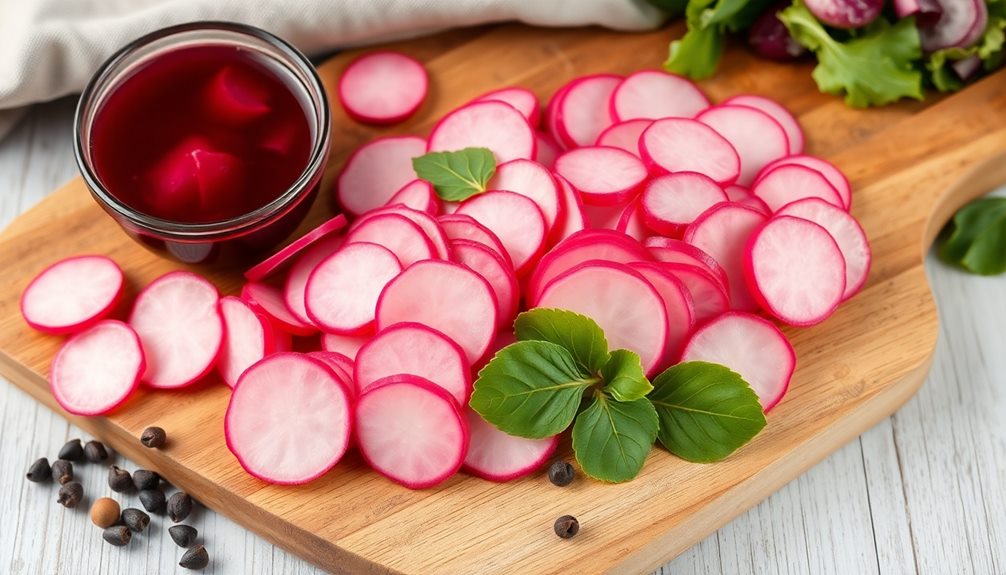
Whether you're enjoying the classic cabbage version or trying something more adventurous, like radish or cucumber kimchi, you're sure to be delighted by the burst of flavors in every bite.
It's a tasty tradition that's been nourishing Koreans for generations.
Recipe
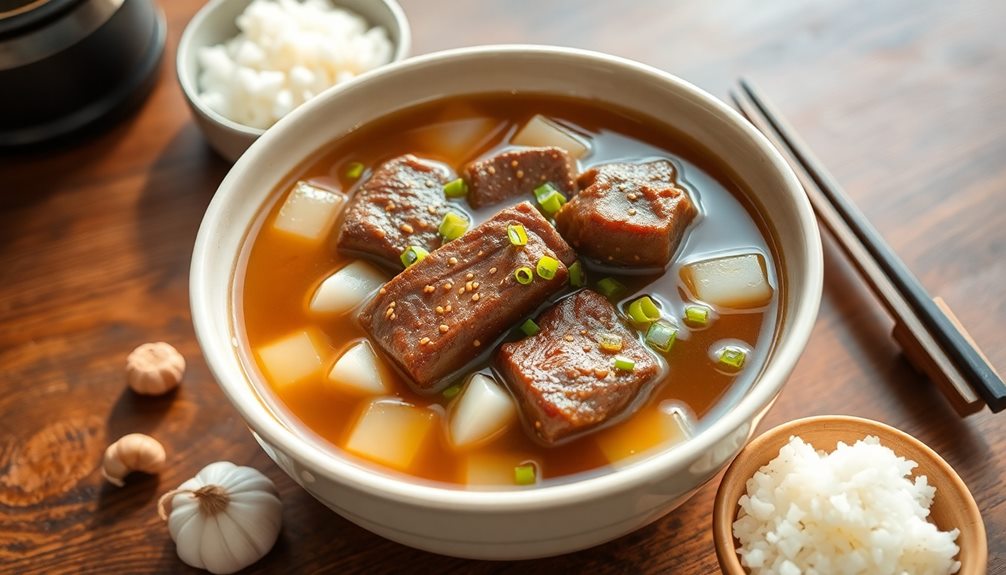
Kimchi is a traditional fermented Korean side dish that's known for its bold, spicy, and tangy flavor. It's a staple in Korean cuisine and can be enjoyed in a variety of dishes. The process of making kimchi can be quite involved, but the end result is well worth the effort.
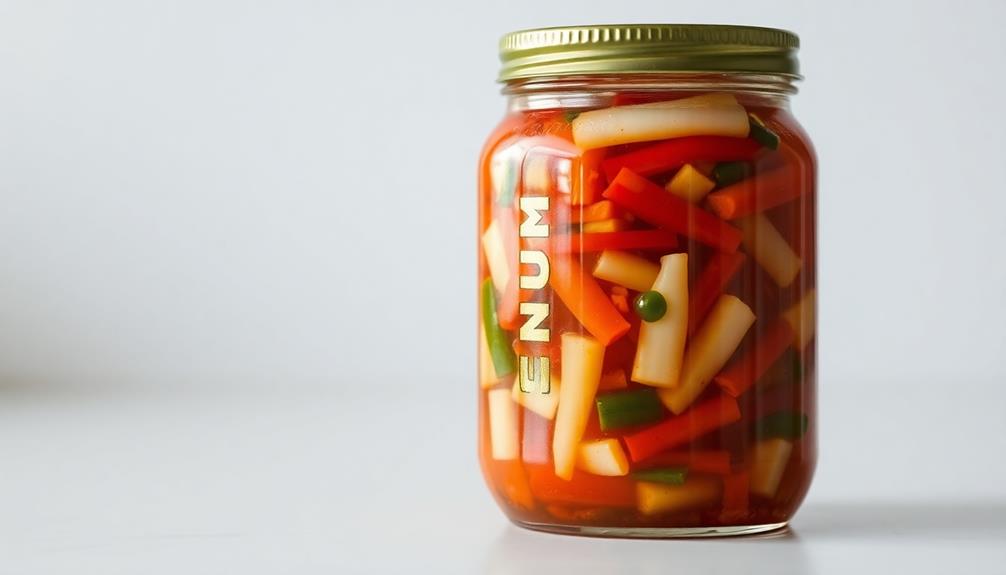
Kimchi can be made with a variety of vegetables, such as napa cabbage, radish, or scallions. The specific ingredients and method used can vary depending on the regional or familial tradition. However, the basic process typically involves salting the vegetables, mixing them with a seasoning paste, and then allowing the mixture to ferment for several days or weeks.
- 1 large napa cabbage, cut into 2-inch pieces
- 1/2 cup coarse sea salt
- 1/2 cup Korean red pepper powder (gochugaru)
- 3 cloves garlic, minced
- 1 tablespoon fresh grated ginger
- 2 tablespoons fish sauce
- 1 tablespoon white sugar
- 2 green onions, thinly sliced
To make the kimchi, first, mix the cut cabbage and salt in a large bowl. Cover and let sit for 2-3 hours, stirring occasionally, until the cabbage has wilted and released some of its water. Rinse the cabbage under cold water and drain well.
In a separate bowl, combine the red pepper powder, garlic, ginger, fish sauce, and sugar. Add the drained cabbage and green onions, and mix thoroughly with your hands to ensure even distribution of the seasoning.
Pack the kimchi into a clean, airtight container, pressing down to remove any air pockets. Cover and let ferment at room temperature for 3-7 days, depending on your desired level of sourness. Once the kimchi has reached your desired flavor, transfer it to the refrigerator, where it can be stored for several months.
When making kimchi, it's important to use the freshest and highest-quality ingredients possible. Additionally, be sure to wear gloves when handling the red pepper powder to avoid skin irritation.
The fermentation process can be monitored by tasting the kimchi regularly and adjusting the fermentation time as needed to achieve your preferred taste and texture.
Cooking Steps
First, you'll need to prepare the napa cabbage by chopping it up into bite-sized pieces.
Next, mix together all the tasty ingredients like garlic, ginger, and gochugaru.
Now, let everything ferment for a few days so the flavors can really develop.
Once it's ready, simply transfer the kimchi to a container and pop it in the fridge to mature.
Yum!
Step 1. Prepare Napa Cabbage
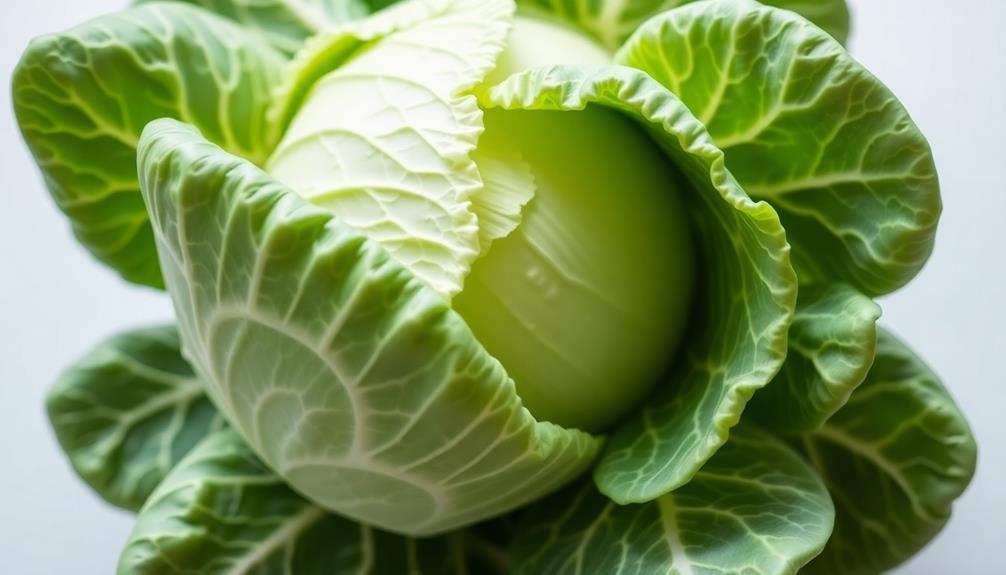
To prepare the napa cabbage, begin by rinsing it thoroughly under cold water. This helps remove any dirt or debris that might be lurking in the leaves.
Next, cut the cabbage in half lengthwise, then slice it crosswise into 1-inch pieces. Don't worry if the pieces are a bit uneven – they'll still taste amazing!
Now, sprinkle the cabbage generously with salt. This will help draw out the excess moisture, making the cabbage nice and crunchy.
Let it sit for about 30 minutes, then rinse the salt off under more cold water. Squeeze the cabbage gently to remove any remaining liquid.
Step 2. Chop and Mix Ingredients
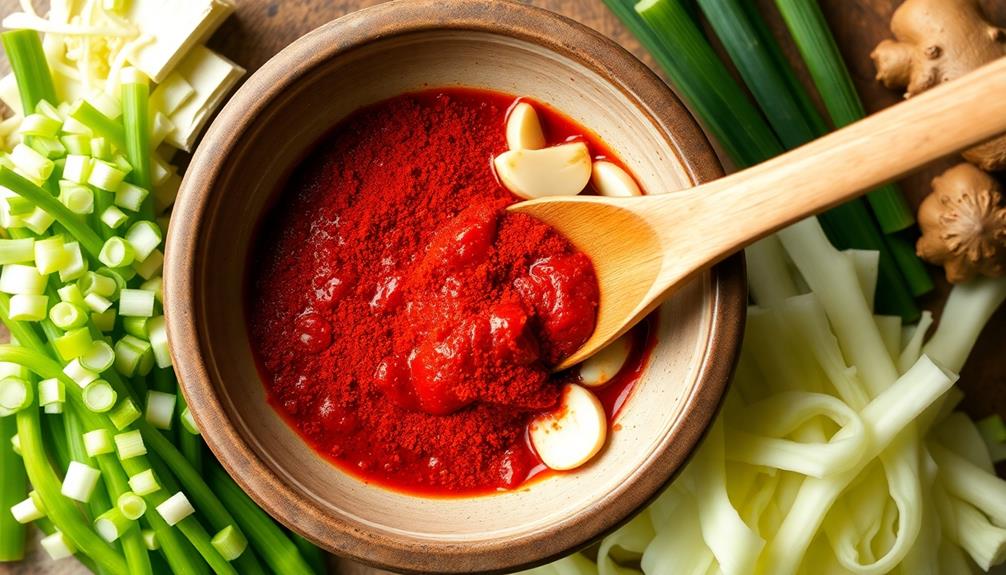
After the napa cabbage has been properly prepared, chop the remaining ingredients.
Start by dicing the onion into small pieces. Next, mince the garlic and ginger until they're nice and fine.
Be sure to wash the green onions well, then slice them up into bite-sized segments. Don't forget the Korean red pepper flakes! Sprinkle just the right amount over the veggies to give your kimchi a delightful kick of spice.
Finally, add in the salted shrimp or anchovy sauce – this really brings all the flavors together.
Once everything is chopped and mixed, it's time to get your hands a little dirty! Use your (clean) hands to thoroughly combine all the ingredients until they're evenly distributed.
This hands-on approach ensures the seasonings soak into every nook and cranny. With the hard work done, you're well on your way to creating an authentic and flavorful batch of homemade kimchi.
Step 3. Let Ingredients Ferment
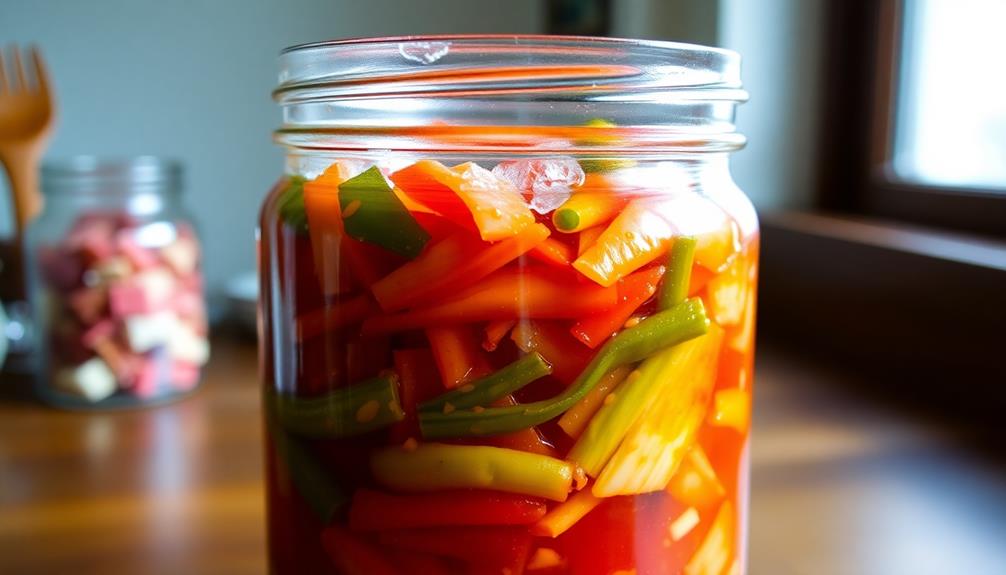
With the ingredients now thoroughly mixed, it's time to let the flavors meld and the fermentation process begin.
Grab an airtight container and pack in the seasoned veggies, pressing down to remove any air pockets. You'll want to leave a bit of headspace at the top to allow for expansion as the kimchi works its magic.
Next, add a bit of water until the ingredients are just barely submerged. This helps kick-start the fermentation.
Seal up the container and pop it in a cool, dark spot like the pantry or fridge. Over the next few days, you'll start to see bubbles forming – that's the good bacteria at work, transforming the flavors.
Give the kimchi a gentle stir every day or two, being careful not to let any solids escape.
In about a week, it should develop a pleasantly tangy aroma and flavor. Once it reaches your desired tartness, simply transfer the kimchi to the fridge to slow down the fermentation process.
Get ready to enjoy the tangy, crunchy results of your hard work!
Step 4. Transfer to Container
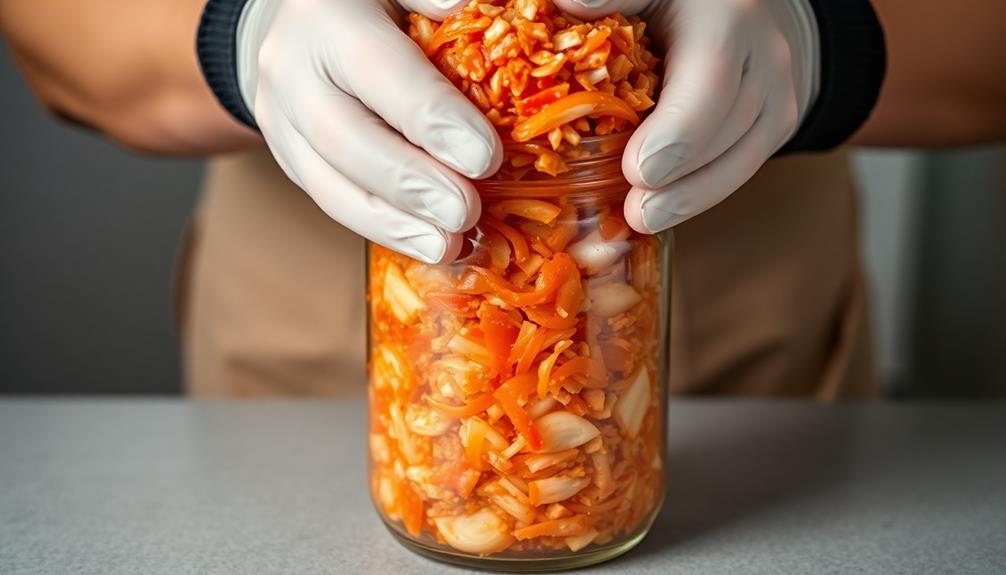
Once the ingredients are thoroughly mixed, it's time to pack the seasoned veggies into an airtight container.
You'll want to use a glass or ceramic container with an airlock lid. This helps the kimchi ferment properly by allowing gas to escape while keeping air out. Gently press down on the mixture to remove any air pockets, then seal the lid. Don't worry if the veggies don't fit perfectly – you can wedge them in tightly.
Now, place the container in a cool, dark spot like a pantry or cellar. The ideal temperature is around 55-75°F.
Over the next few days, you'll notice the kimchi begin to bubble and ferment. This is a good sign! The carbonation helps develop that signature tangy, spicy flavor. Just remember to "burp" the container every day or two by briefly opening the lid to release the built-up gases.
After 1-2 weeks, your homemade kimchi will be ready to enjoy. Scoop it out and serve with rice, noodles, or your other favorite dishes. Mmm, delicious!
Step 5. Refrigerate and Allow to Mature
Your kimchi is now ready to be refrigerated and allowed to mature. This step is crucial for developing the signature flavors and textures you've been waiting for!
First, transfer the kimchi to an airtight container, pressing down to remove any air pockets. This will help the fermentation process continue smoothly.
Next, place the container in the refrigerator. The cool temperature will slow down the fermentation, allowing the flavors to meld together perfectly.
Over the next few weeks, you'll start to notice the kimchi taking on a tangier, more complex taste. Don't be alarmed if you see some bubbling or foaming – that's just the natural gases being released as the fermentation progresses.
Depending on your personal preferences, you can let the kimchi mature for 2-4 weeks. The longer you wait, the deeper and richer the flavor will become.
Once it's reached your desired taste, it's ready to enjoy! Get excited, because your homemade kimchi is about to become the star of any meal.
Final Thoughts
Kimchi, this beloved Korean delicacy, has indeed captured the hearts and palates of people worldwide. As you've learned, the process of making this fermented masterpiece is both intricate and rewarding. This traditional dish is known for its spicy, tangy flavors and is often made with a variety of seasonings and vegetables. Many people enjoy it as a side dish or even as the main course. If you’re craving more Korean cuisine, you might also want to try making a Korean rice cake recipe, which is another popular and delicious dish in Korean culture.
From selecting the perfect ingredients to carefully monitoring the fermentation, each step requires patience and attention to detail.
Now that your kimchi has been refrigerated and allowed to mature, it's time to sit back, relax, and enjoy the fruits of your labor.
Whether you choose to savor it as a side dish, incorporate it into a recipe, or simply grab a forkful for a quick snack, the flavors will continue to evolve and delight your taste buds.
Frequently Asked Questions
How Long Does Homemade Kimchi Last in the Refrigerator?
Homemade kimchi can last 4-6 weeks in the fridge if stored properly. The fermentation process helps it stay fresh, but be sure to monitor for signs of spoilage like mold or an off smell. Enjoy your homemade kimchi while it's at its best!
Can Vegetarians and Vegans Consume Kimchi?
Yes, vegans and vegetarians can enjoy kimchi. As long as it's made without any animal products, like fish sauce or shrimp, kimchi is a great fermented food option for plant-based diets.
What Is the Origin of the Word "Kimchi"?
The word "kimchi" originates from the Korean language, where it's a combination of the words "kim" meaning "salted" and "chi" meaning "vegetable". It's a nod to the fermented, spiced vegetable dish's Korean roots.
Can I Use a Different Type of Cabbage for Kimchi?
You certainly can use a different type of cabbage for your kimchi recipe. Many types of cabbages, like napa or even regular green cabbage, work well in creating delicious and authentic-tasting kimchi.
How Does the Flavor of Kimchi Change Over Time?
As the kimchi ferments, its flavor evolves. Initially, it's pungent and spicy. Over time, the sourness increases, and the umami notes become more pronounced, creating a complex, tangy taste that continues to develop as the fermentation progresses.