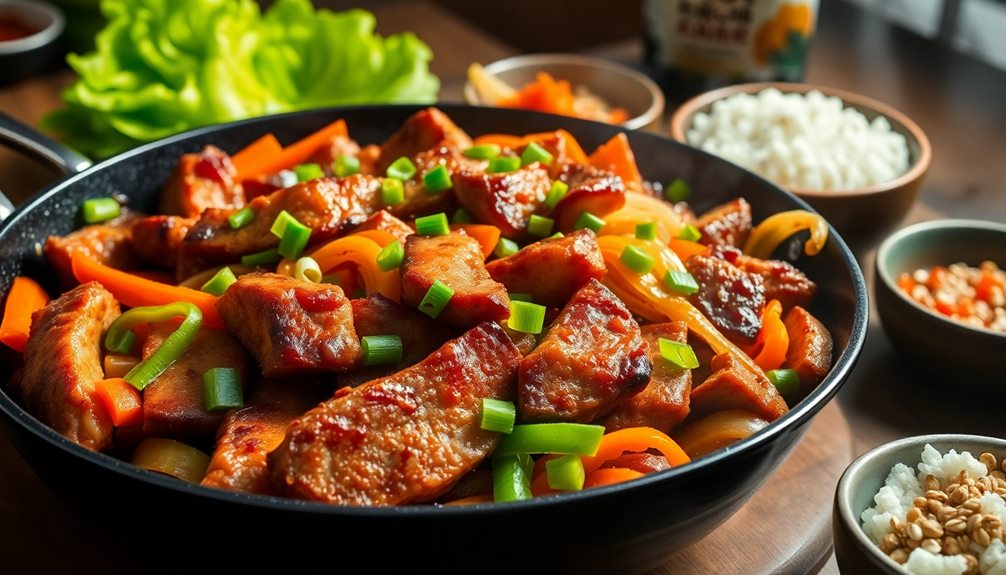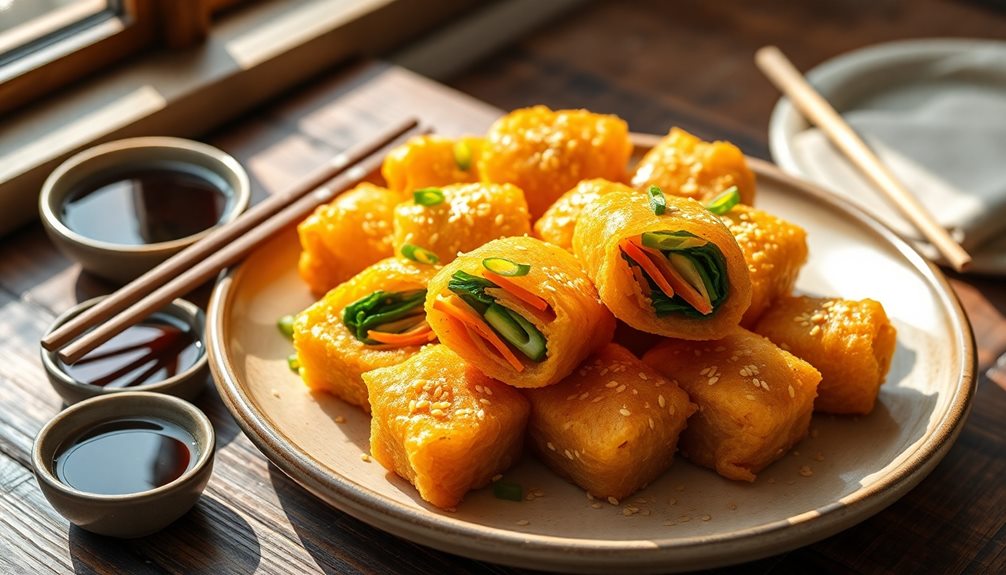
Kimari are tasty, deep-fried seaweed rolls that you'll absolutely love! These crispy treats are filled with delicious ingredients like seasoned rice and veggies. They're perfect as a snack or appetizer at gatherings. Making kimari is fun and simple—just spread sticky rice on seaweed, add your fillings, roll them tightly, and fry until golden brown. Don't forget to serve them with dipping sauces like soy sauce for extra flavor! Imagine sharing these amazing rolls with friends and family while enjoying great moments together. There's so much more to discover about kimari, so keep exploring the delightful world of Korean cuisine! Kimari pairs wonderfully with a variety of other Korean dishes, making it a versatile addition to any meal. For a truly satisfying feast, try serving them alongside a Korean tofu and kimchi combo, which brings together the rich flavors of crispy tofu and the spicy, tangy kick of fermented vegetables. This combo beautifully complements the crispy, savory textures of the kimari, creating a perfectly balanced spread sure to impress!
Key Takeaways
- Kimari is a popular Korean dish made of seaweed rolls filled with seasoned rice and various ingredients, often enjoyed as a snack or appetizer.
- The dish offers a unique blend of flavors and textures, making it a delightful culinary experience.
- Common fillings include vegetables, meats, and seafood, allowing for customization based on personal preferences.
- Kimari is typically served hot or at room temperature, making it versatile for different occasions.
- Pairing Kimari with dipping sauces like soy sauce or spicy gochujang enhances its flavor and enjoyment.
Top picks for "kimari korean deep"
As an affiliate, we earn on qualifying purchases.
History
The history of Korean deep-fried seaweed rolls, or "gimbap," unfolds through centuries of culinary evolution. You might be surprised to learn that gimbap has roots dating back to the Joseon Dynasty, around the 16th century. Back then, people used simple ingredients like rice and vegetables, wrapping them in seaweed to create a portable meal for picnics and travels.
As time went on, cooks got creative, adding ingredients like pickled vegetables, eggs, and even meat to make gimbap more delicious. The dish became popular not just for its taste but also for its colorful presentation, making it a feast for the eyes!
In the 20th century, gimbap evolved even further. Street vendors began selling it as a quick snack, introducing new flavors and styles, including the deep-fried version we love today.
People enjoy gimbap at family gatherings, celebrations, and even as a quick lunch.
Ingredients
- 4 sheets of dried seaweed (nori)
- 2 cups cooked short-grain rice
- 1 cup julienned vegetables (carrots, cucumbers, and spinach)
- 1/2 cup cooked protein (such as beef, chicken, or tofu)
- 1/4 cup sesame oil
- 1/4 cup flour (for batter)
- 1/2 cup water (for batter)
- Salt and pepper, to taste
- Vegetable oil (for deep frying)
Cooking Instructions
Begin by preparing the filling for your seaweed rolls. In a bowl, mix the cooked rice with sesame oil, salt, and pepper to taste.
Lay a sheet of seaweed on a bamboo sushi mat or a clean surface. Spread a thin layer of seasoned rice evenly over the seaweed, leaving about an inch of space at the top edge.
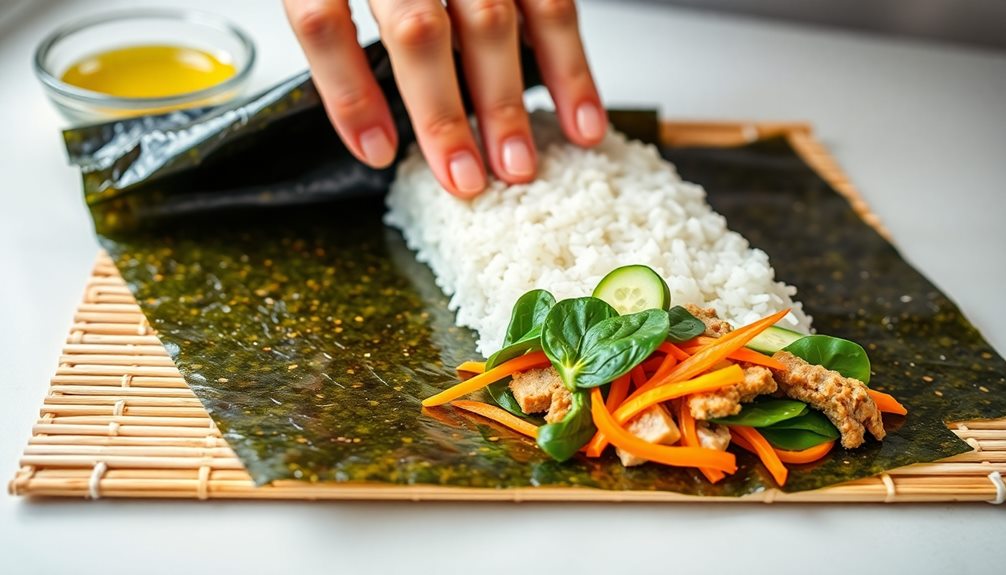
Arrange your julienned vegetables and cooked protein in a line along the bottom edge of the rice-covered seaweed. Carefully roll the seaweed away from you, applying gentle pressure to form a tight roll.
Repeat with the remaining ingredients. Once all rolls are assembled, mix the flour and water in a bowl to create a batter and preheat the vegetable oil in a deep frying pan.
Dip each roll into the batter and fry until golden brown and crispy, approximately 3-4 minutes. Remove from oil and drain on paper towels before slicing into bite-sized pieces.
Extra Tips
For the best results, ensure that your rice is slightly sticky, which helps the rolls hold together better.
You can also experiment with different fillings based on personal taste or dietary preferences, such as pickled radish or avocado.
Additionally, be mindful of the frying temperature—if the oil is too hot, the outside may burn before the inside is cooked through.
Cooking Steps
Creating delicious Korean deep-fried seaweed rolls requires careful attention to detail and a love for vibrant flavors.
First, gather your ingredients: seaweed sheets, cooked rice, and your favorite fillings like vegetables or meat.
Start by preparing the rice. Make sure it's sticky enough to hold the rolls together.
Lay a seaweed sheet on a flat surface, then spread a thin layer of rice evenly over it, leaving a little space at the edges.
Next, place your chosen fillings in a line at the bottom of the rice-covered seaweed.
Now comes the fun part! Carefully roll the seaweed away from you, tucking in the fillings as you go.
Moisten the edge of the seaweed with a bit of water to seal the roll.
Once you've got your rolls ready, heat some oil in a pan.
When it's hot, carefully add the rolls and fry them until they're golden brown and crispy.
Step 1. Prepare Seaweed Sheets First
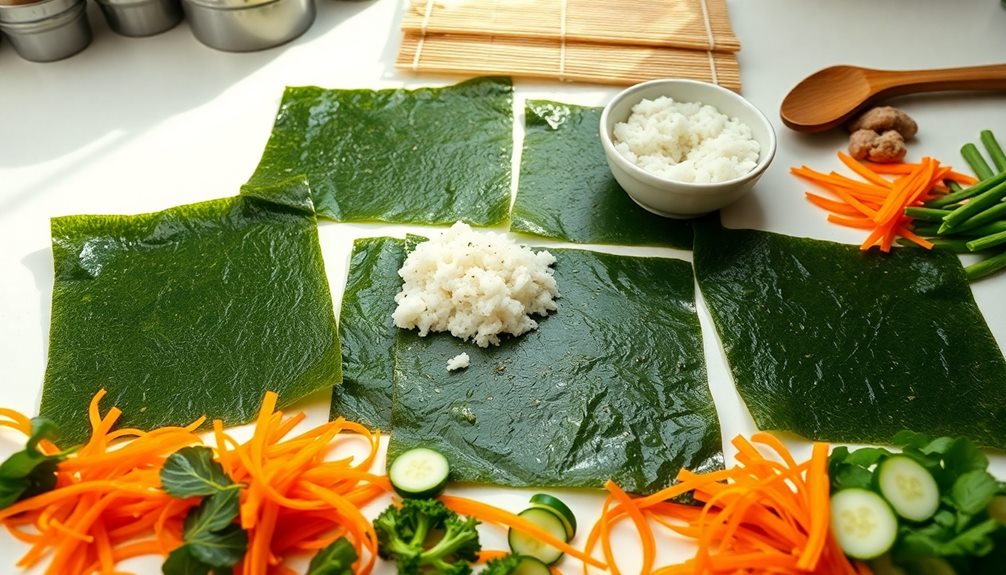
Before diving into the delicious world of Korean deep-fried seaweed rolls, it's essential to prepare your seaweed sheets properly.
First, gather your ingredients. You'll need nori sheets, which are the flat seaweed used in sushi. Make sure to pick the freshest ones, as this will enhance the flavor of your rolls!
Next, take a clean cutting board and lay a sheet of nori flat on it. If you want, you can cut the nori sheets in half to make smaller rolls, which are perfect for snacking. Just grab a sharp knife and slice it gently.
Now, it's time to moisten the edges of the nori. You can do this by lightly brushing a bit of water along the edges. This step helps the seaweed stick together when you roll it up later.
Once you've done that, you're ready to move on to the next step!
Just remember, preparing your seaweed sheets is a key part of making those crispy, tasty rolls that everyone will love. So take your time, and soon you'll be rolling up those delicious treats!
Step 2. Fill With Seasoned Rice

Now that your seaweed sheets are ready, it's time to fill them with seasoned rice. First, grab a scoop of your deliciously seasoned rice. You want it to be sticky enough to hold together, but not too mushy.
Carefully spread the rice onto the center of each seaweed sheet, leaving a little space at the edges. This little space will help keep your filling from spilling out later!
Next, take a spoonful of your favorite seasonings or ingredients, like sesame seeds or tiny bits of vegetables, and sprinkle them on top of the rice. This is where you can get creative!
Remember, the more colorful and tasty your fillings are, the more fun your rolls will be.
Now, gently press the rice and fillings down, just enough to make sure everything stays in place. If you want, you can even add a dash of soy sauce for extra flavor.
This is your chance to personalize your kimari! Once you've got everything just right, you're ready to move on to the next step. Filling those rolls is the best part, and you're doing great! Enjoy this delicious moment!
Step 3. Roll Tightly and Securely
Once you've filled the seaweed sheets with seasoned rice and your chosen ingredients, it's time to roll them tightly and securely.
Start by lifting the edge of the seaweed closest to you. Gently fold it over the filling while tucking in the ingredients. Use your fingers to keep everything snug as you roll. It's like wrapping a cozy blanket around a sleepy puppy!
As you roll, keep the pressure firm but not too tight, or the filling might squish out. You want your kimari to have a nice, round shape, so keep rolling until you reach the far edge of the seaweed.
Before sealing it, wet that edge slightly with a bit of water. This helps the seaweed stick together, just like glue!
Once you've rolled it up, give it a little squeeze to make sure everything is in place. If you have extra seaweed, feel free to trim it down, but don't worry if it's not perfect.
It's all about fun and flavor! Now, you're ready to move on to the next step and get those delicious rolls ready for frying. Enjoy the process; you're doing great!
Step 4. Fry Until Golden Brown

With your rolls all secured, it's time to heat up the oil for frying. Grab a heavy-bottomed pot or a deep fryer, and pour in enough oil to cover your rolls completely. Heat the oil over medium-high heat until it reaches about 350°F (175°C). You can test if it's ready by dropping in a tiny piece of bread; if it sizzles and bubbles, you're good to go!
Ensuring that your cooking equipment is properly maintained can enhance the efficiency of the frying process, much like regular maintenance on a heat pump enhances its performance and longevity maintaining system efficiency.
Carefully lower a few rolls into the hot oil, making sure not to crowd the pot. Let them fry for about 3 to 4 minutes. You want to keep an eye on them, turning gently with tongs to ensure they cook evenly. As they fry, watch for that beautiful golden-brown color. It's like magic happening right in front of you!
Once the rolls are golden and crispy, it's time to take them out of the oil. Use a slotted spoon to lift them out carefully, and let them cook for just a moment. The aroma will be amazing! You're almost there, and soon you'll be ready to enjoy these tasty treats!
Step 5. Drain Excess Oil Carefully

After frying, it's essential to drain excess oil from your golden seaweed rolls to achieve that perfect crispy texture.
Start by carefully removing the rolls from the hot oil using a slotted spoon or tongs. Make sure you're cautious; the oil is super hot!
Next, place the rolls on a plate lined with paper towels. The paper towels will soak up any extra oil, leaving your rolls nice and light. You can even give them a little shake to help the process.
If you have a wire rack, that's a great option too! Setting the rolls on a rack allows air to circulate around them, keeping them crispy on all sides.
Let them rest for a few moments, so they aren't too hot to handle. This step is crucial because it helps the rolls maintain their crunchiness.
Once they've cooled a bit, it's time to serve! You can pair them with soy sauce or your favorite dipping sauce.
Your friends and family will be so impressed with your delicious Kimari! Enjoy every crispy bite and share the joy of your homemade treat!
Final Thoughts
Enjoying Korean deep-fried seaweed rolls is more than just a culinary experience; it's a delightful fusion of texture and flavor that can elevate any meal.
These crispy, savory rolls, often filled with delicious ingredients, bring a taste of Korea right to your kitchen. You'll love the way each bite offers a satisfying crunch, followed by the soft, flavorful filling inside.
Making kimari can be a fun activity to share with family or friends. It's a great way to bond while learning about a different culture.
Plus, you can get creative with your fillings! Whether you prefer vegetables, meat, or a mix of both, the possibilities are endless.
When you serve these rolls, you'll not only impress your guests but also create lasting memories.
Don't forget to pair them with a tasty dipping sauce for that extra zing!
Frequently Asked Questions
What Are the Main Ingredients in Kimari?
The main ingredients in kimari are usually seaweed, rice, and various fillings like vegetables or seafood. You'll also need flour for the batter and oil for deep frying to achieve that perfect crispiness.
Can I Use Gluten-Free Flour for Kimari?
Yes, you can use gluten-free flour for kimari. It'll give your rolls a different texture, but they'll still taste great. Just ensure you balance the moisture to achieve the right consistency for frying. Enjoy experimenting!
How Long Do Kimari Rolls Last in the Fridge?
Kimari rolls typically last about three to four days in the fridge. To keep them fresh, store them in an airtight container. Just remember to check for any signs of spoilage before enjoying them!
Are There Vegetarian Options for Filling Kimari?
Yes, you can definitely create vegetarian options for kimari fillings. Consider using ingredients like sautéed mushrooms, spinach, or carrots. They'll add flavor and texture, making your rolls delicious without any meat. Enjoy experimenting!
What Dipping Sauces Pair Well With Kimari?
When enjoying kimari, try dipping it in soy sauce, sesame oil, or a spicy gochujang mix. These sauces enhance the flavors, balancing the crispy texture and savory filling, making each bite even more delicious.