
Gelato is Italy's delicious frozen treat that'll make your taste buds dance! It's creamier and more flavorful than regular ice cream, but with less fat. You'll love its smooth texture and rich taste. Gelato comes in many yummy flavors, from classic chocolate to fruity strawberry. It's perfect for hot summer days, birthday parties, or just as a special treat. Making gelato at home is fun and easy – you can get creative with flavors and toppings. Serve it in a cone or a cup, and don't forget to add some colorful sprinkles! There's so much more to discover about this Italian delight.
Key Takeaways
- Gelato is an Italian frozen dessert similar to ice cream but with less fat and a denser texture.
- It originated in ancient Rome and was popularized during the Renaissance period in Italy.
- Traditional gelato ingredients include milk, cream, sugar, and flavorings like fruits, nuts, or chocolate.
- Gelato is churned at a slower speed than ice cream, resulting in less air incorporation and a silkier texture.
- It's typically served at a slightly warmer temperature than ice cream, enhancing its flavor and soft consistency.
History
When did gelato first grace the palates of dessert lovers? You might be surprised to learn that this creamy treat has been around for centuries!
The story of gelato begins in ancient times:
- Romans enjoyed frozen desserts made with snow and fruit.
- Arabs brought sugar and new flavors to Italy during their conquests.
But it wasn't until the Renaissance that gelato as we know it today started to take shape. In the 16th century, you'd find the Medici family in Florence hosting grand feasts. They'd wow their guests with a special frozen dessert called "gelato."
Here's how gelato evolved:
- Bernardo Buontalenti created the first milk-based gelato in 1565.
- Francesco Procopio dei Coltelli opened the first gelato café in Paris in 1686.
- Gelato spread across Europe in the 18th century.
You'll be happy to know that gelato has come a long way since then. Today, you can enjoy this cool treat in countless flavors all over the world.
It's become a beloved dessert that brings smiles to faces young and old!
Recipe
Gelato, the creamy Italian frozen dessert, is a delightful treat that can be made at home with the right ingredients and technique. While it shares similarities with ice cream, gelato is denser, silkier, and often served at a slightly warmer temperature, allowing its intense flavors to shine through. For those looking for a healthier alternative, you might consider trying a sugar-free version that utilizes natural sweeteners for flavor.
Creating gelato from scratch requires patience and attention to detail, but the results are well worth the effort. This recipe for a classic vanilla gelato will serve as an excellent base for experimenting with various flavors and add-ins. Once you master the basics, you can easily adapt the recipe to create your own unique gelato creations.
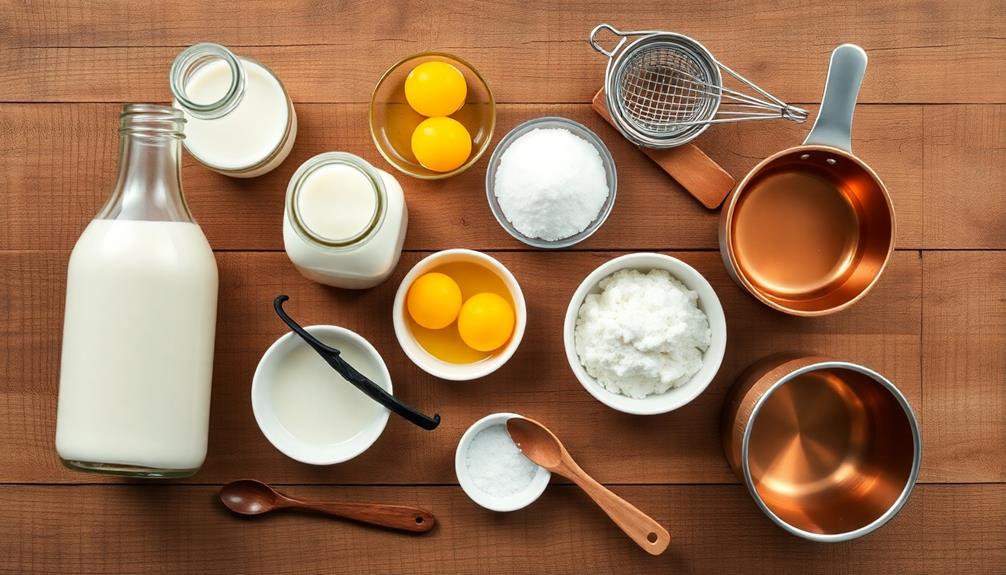
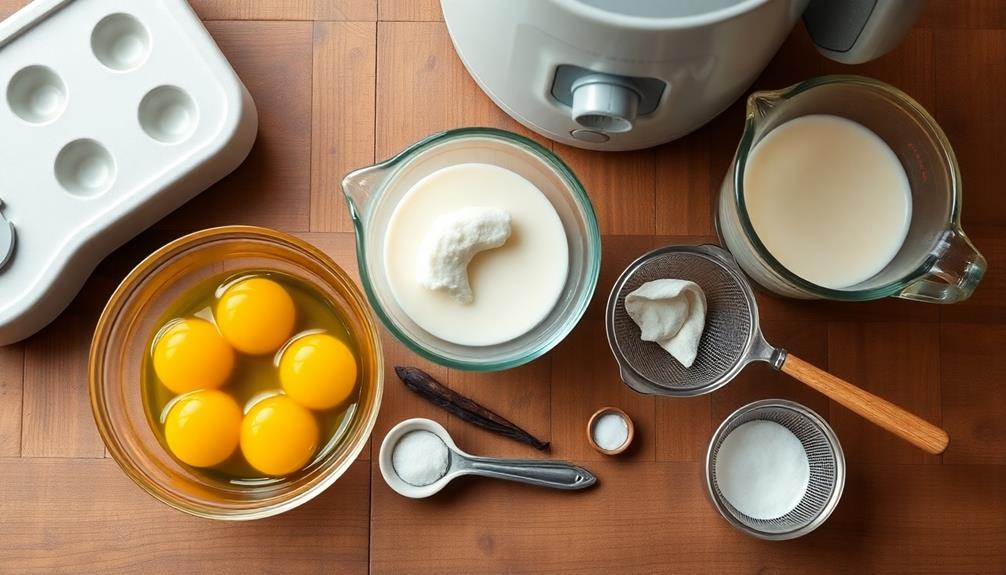
- 2 cups whole milk
- 1 cup heavy cream
- 4 large egg yolks
- 2/3 cup granulated sugar
- 1 vanilla bean, split and scraped (or 2 teaspoons pure vanilla extract)
- 1/4 teaspoon salt
In a medium saucepan, combine the milk, cream, and half of the sugar. Heat the mixture over medium heat, stirring occasionally, until it begins to simmer.
In a separate bowl, whisk together the egg yolks, remaining sugar, and salt until smooth. Slowly pour about 1 cup of the hot milk mixture into the egg mixture, whisking constantly to temper the eggs.
Pour the tempered egg mixture back into the saucepan and cook over medium-low heat, stirring constantly, until the custard thickens and coats the back of a spoon. Remove from heat, stir in the vanilla, and strain through a fine-mesh sieve.
Chill the mixture thoroughly, then churn in an ice cream maker according to the manufacturer's instructions. Transfer the gelato to a freezer-safe container and freeze for at least 2 hours before serving.
For the best texture and flavor, allow the gelato to soften at room temperature for 5-10 minutes before serving. Experiment with different flavors by infusing the milk mixture with herbs, spices, or citrus zest, or by folding in chopped nuts, fruit purees, or chocolate chips after churning.
Remember that gelato is best enjoyed fresh, so try to consume it within a week of making it for optimal taste and texture.
Cooking Steps
You're about to embark on a tasty adventure in gelato-making!
Let's walk through the cooking steps that'll turn your ingredients into a creamy, frozen delight.
From mixing milk and cream to freezing for that perfect scoop, you'll learn the secrets to creating authentic Italian-style gelato at home. Once you’ve mastered the basics of gelato making, you can experiment with different flavors and add-ins to create your own unique recipes. And for a taste of authentic Sicilian cuisine, try pairing your homemade gelato with a classic Sicilian caponata recipe. This sweet and savory eggplant dish is the perfect complement to the creamy, indulgent flavors of gelato. With these recipes in your repertoire, you’ll be able to recreate the taste of Italy right in your own kitchen.
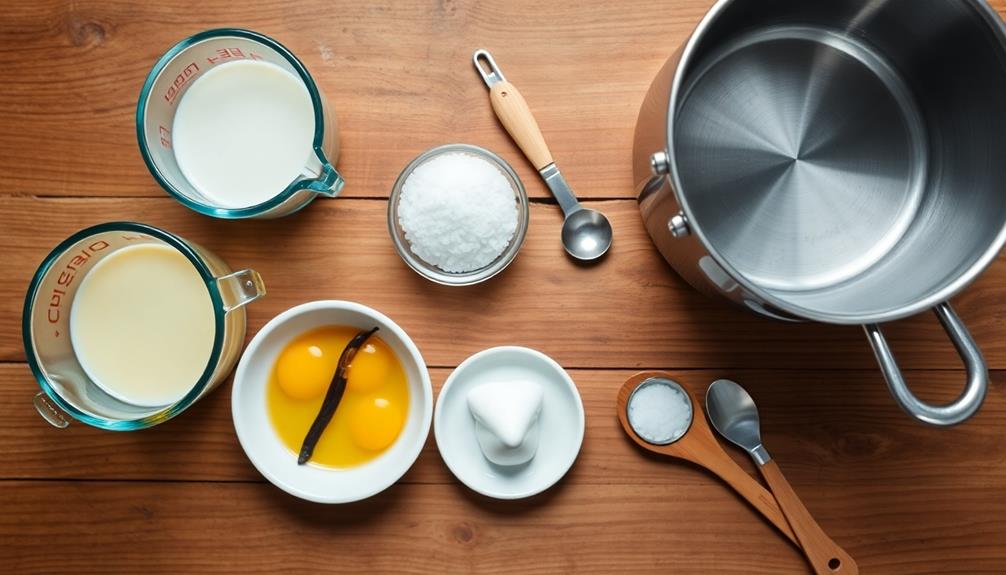
Step 1. Mix Milk and Cream
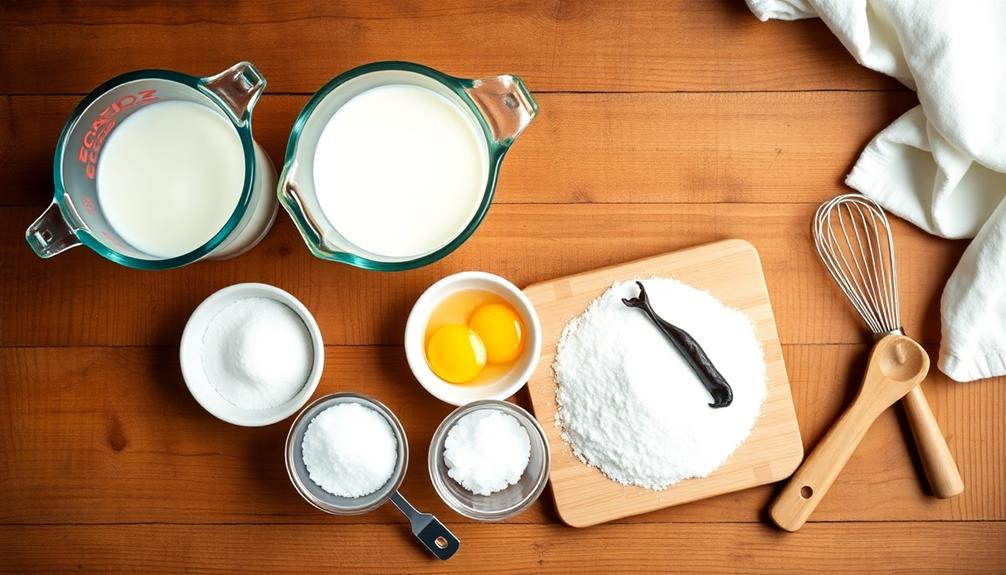
Ready to begin the gelato-making process? Let's start with the crucial step of mixing milk and cream. This combination forms the base of your delicious gelato, so it's important to get it just right!
Here's what you'll need:
- Whole milk
- Heavy cream
- A large mixing bowl
- A whisk or electric mixer
Follow these simple steps:
- Pour the milk into your mixing bowl.
- Add the cream slowly while stirring.
- Whisk or mix until well combined.
The ratio of milk to cream is key for that perfect gelato texture. You'll want more milk than cream, typically about 2 parts milk to 1 part cream. This blend gives gelato its signature smoothness without being too heavy.
Remember, the fat content matters! Whole milk works best because it adds richness. If you're feeling adventurous, try using different types of milk like almond or coconut for unique flavors.
Once you've mixed your milk and cream, you're ready for the next exciting step in your gelato adventure. Get ready to add some sweetness and flavor to your creamy base!
Step 2. Add Sugar and Flavorings

Now that you've prepared your creamy base, it's time to elevate your gelato with sugar and flavorings. This is where the magic happens! You'll transform your simple mixture into a delicious frozen treat that'll make everyone smile.
First, add sugar to sweeten your gelato:
- Start with about 1 cup of sugar for every 4 cups of base
- Stir until the sugar dissolves completely
Next, it's time to add your favorite flavors:
- For fruit gelato: Blend in fresh or frozen fruits
- For chocolate lovers: Mix in cocoa powder or melted chocolate
- For nut flavors: Add finely ground nuts or nut pastes
- For vanilla: Scrape in fresh vanilla beans or use extract
Don't forget to taste as you go! You can always adjust the sweetness and flavor intensity. Remember, gelato is usually less sweet than ice cream, so don't overdo it with the sugar.
For extra fun, try these mix-ins:
- Crushed cookies
- Chocolate chips
- Caramel swirls
- Chopped nuts
Your gelato is now bursting with flavor and ready for the next exciting step!
Step 3. Chill Mixture Before Churning
The chilling phase is crucial for achieving the perfect gelato texture. After you've mixed your ingredients, it's time to cool things down! Pop your gelato base into the refrigerator for at least 4 hours, or even better, overnight. This chilling step helps your mixture get nice and cold, which is super important for the next part of the process.
Why is chilling so important? Here are some reasons:
- It helps the flavors blend together better
- It makes the gelato creamier when churned
- It prevents ice crystals from forming
While your mixture is chilling, you can get ready for the fun part – churning! Make sure your ice cream maker's bowl is in the freezer, too. It needs to be really cold for the best results.
Step 4. Churn in Gelato Machine
Churning time has arrived! Get ready to transform your chilled mixture into creamy, delicious gelato. Here's what you'll do:
- Set up your gelato machine according to its instructions.
- Turn on the machine and let it start spinning.
- Slowly pour your cold gelato mixture into the churning bowl.
- Watch as the mixture thickens and expands.
The churning process usually takes about 20-30 minutes, but keep an eye on it. You'll know it's done when:
- The gelato looks thick and creamy
- It starts to pull away from the sides of the bowl
- The volume has increased by about 25-30%
Don't let it churn too long, or you'll end up with ice crystals!
Once it's ready, you can:
- Serve it right away for a soft-serve consistency
- Transfer it to a container and freeze for a firmer texture
Step 5. Freeze for Optimal Consistency
Freezing your freshly churned gelato is crucial for achieving that perfect, scoopable consistency. After churning, you'll want to transfer your gelato to an airtight container right away. Smooth the top with a spatula to prevent ice crystals from forming.
Then, pop it into the freezer for at least 4 hours, or ideally overnight.
Here are some tips to ensure the best freeze:
- Use a shallow, wide container to help it freeze evenly
- Cover the surface with plastic wrap to prevent freezer burn
- Keep your freezer at a steady 0°F (-18°C) for optimal results
When it's time to serve, take your gelato out of the freezer about 10-15 minutes beforehand. This will soften it just enough for easy scooping.
If you're having a gelato party, set out your favorite toppings:
- Chopped nuts
- Fresh fruit
- Chocolate sauce
- Whipped cream
Final Thoughts
Gelato's allure extends far beyond its creamy texture and vibrant flavors. It's a treat that brings people together, creating lasting memories with every spoonful.
Whether you're enjoying it on a hot summer day or as a special dessert, gelato has a way of making moments sweeter.
As you embark on your gelato-making journey, remember these key points:
- Choose fresh, high-quality ingredients
- Experiment with flavors and combinations
- Pay attention to temperature and churning time
- Serve at the right consistency for maximum enjoyment
Gelato isn't just a dessert; it's an art form that allows you to express your creativity.
Don't be afraid to try new things and put your own spin on classic recipes. The possibilities are endless!
Sharing gelato with friends and family can turn ordinary gatherings into festive occasions.
It's perfect for:
- Birthday parties
- Summer picnics
- Holiday celebrations
- After-dinner treats
Frequently Asked Questions
What's the Difference Between Gelato and Ice Cream?
You'll notice gelato's denser and creamier than ice cream. It's served warmer, has less fat, and contains more milk than cream. Gelato's intense flavors come from using less air during churning and fewer ingredients overall.
Is Gelato Healthier Than Traditional Ice Cream?
You'll find gelato's often healthier than traditional ice cream. It typically has less fat and fewer calories. However, it's still a treat, so you shouldn't overindulge. Moderation's key for any dessert.
Can Gelato Be Made Dairy-Free or Vegan?
You can definitely make dairy-free or vegan versions. There are many plant-based alternatives like soy, almond, or coconut milk that work well. You'll find recipes using these substitutes to create creamy, delicious frozen treats without animal products.
How Long Does Homemade Gelato Last in the Freezer?
Your homemade treat will typically last 1-2 weeks in the freezer. For best quality, you'll want to consume it within the first week. After that, ice crystals may form, affecting its texture and flavor.
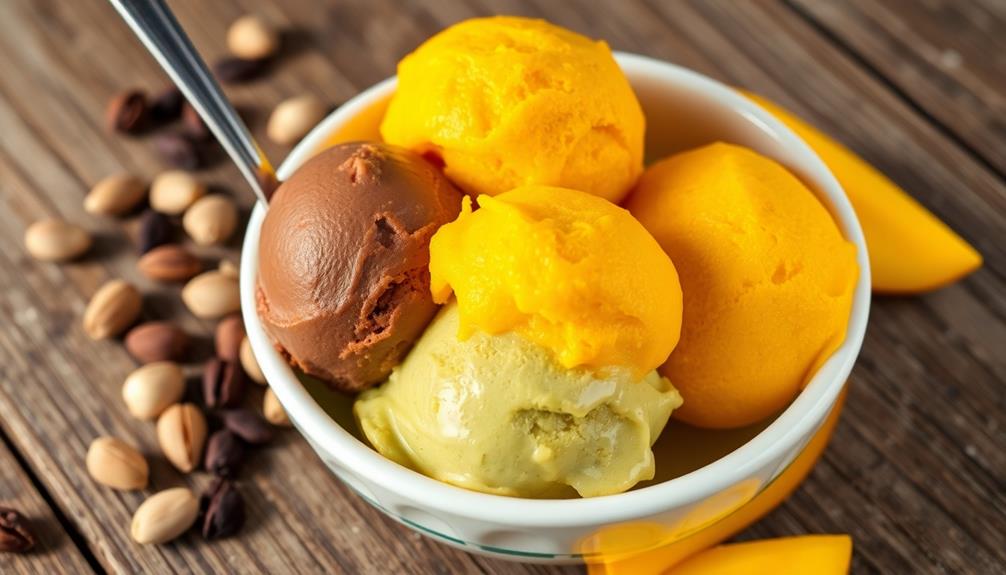
What Are Some Unique Gelato Flavors From Around the World?
You'll find exotic flavors worldwide: try Japan's wasabi or green tea, Italy's stracciatella or pistachio, Argentina's dulce de leche, or Thailand's durian. Don't miss lavender from France or saffron from Iran. There's a world of unique tastes to explore!