During World War II, rationing forced home cooks to get creative with limited ingredients. Ration books strictly controlled access to essentials like sugar, meat, and fats. Cooks had to improvise substitutes and maximize seasonal, local produce. They developed preserving techniques like canning and pickling to make the most of scant supplies. Meals emphasized simplicity and thrift, fostering a sense of community as recipes and resources were shared. This wartime ingenuity offers lessons for modern cooking – reducing waste, honoring tradition, and embracing adaptability. There's more to explore about how this history can inspire sustainable living today.
Key Takeaways
- Wartime rationing fostered innovative cooking techniques, emphasizing the use of substitutes, seasonal ingredients, and preservation methods to adapt to limited resources.
- Careful ingredient measurement, precise mixing of wet and dry components, and proper oven preheating and cooling were essential for successful baking with restricted supplies.
- The resilience and resourcefulness developed during rationing influenced future cooking practices, leading to a focus on minimalism, sustainability, and self-sufficiency.
- Community sharing of recipes and resources strengthened bonds, with an emphasis on thrift and nourishing meals shaping cooking habits for generations.
- Historical lessons from wartime cooking provide a blueprint for navigating contemporary challenges, inspiring creativity and adaptability in modern culinary practices.
Top picks for "world ration cook"
Open Amazon search results for this keyword.
As an affiliate, we earn on qualifying purchases.
History
Cooking with limited resources has a long and storied history. During World War II, rationing was a harsh reality that forced people to get creative in the kitchen. You couldn't simply go to the store and buy whatever you wanted. Meat, sugar, and other staples were in short supply, and the government strictly controlled their distribution.
But resourceful home cooks rose to the challenge. They learned to make the most of every ingredient, finding ways to stretch limited rations. Meals became simpler, but no less delicious. Innovative recipes emerged, utilizing alternative ingredients and techniques. Bakers, for instance, experimented with vegetable-based substitutes for eggs and butter.
This spirit of ingenuity and resilience is part of the legacy of wartime cooking. It's a testament to the human ability to adapt and thrive, even in the face of adversity.
Today, as we grapple with new challenges, we can draw inspiration from those who came before, and rediscover the joy of cooking with what we have.
Recipe
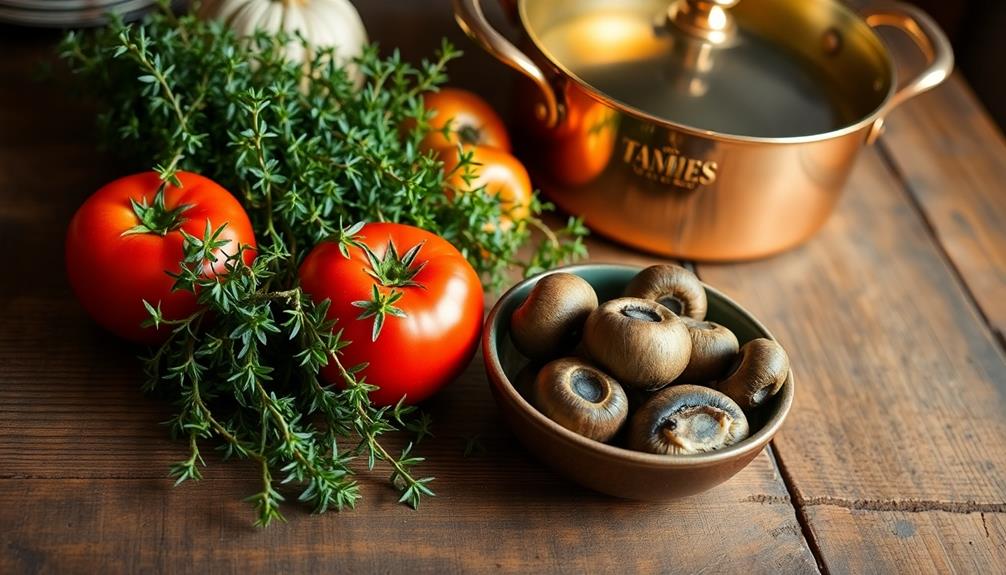
In times of limited resources, it's important to make the most of the ingredients available. This recipe for a simple yet satisfying dish can be prepared with a few basic pantry staples. With a little creativity and resourcefulness, you can create a delicious meal that nourishes both your body and your spirit.
Cooking is an art of transformation, where humble ingredients come together to form something greater than the sum of their parts. This recipe embodies that spirit, allowing you to transform a few readily available items into a comforting and flavorful dish.
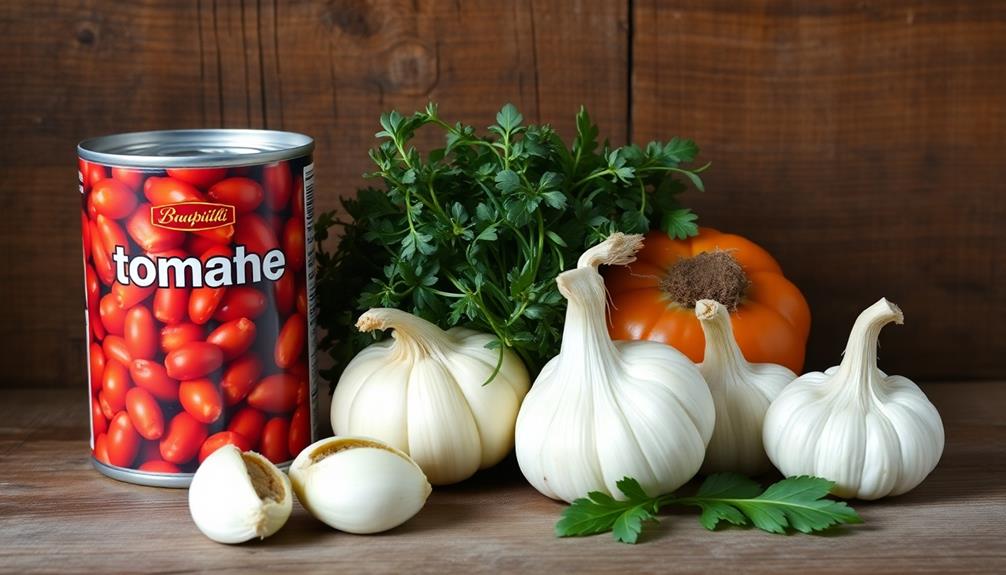
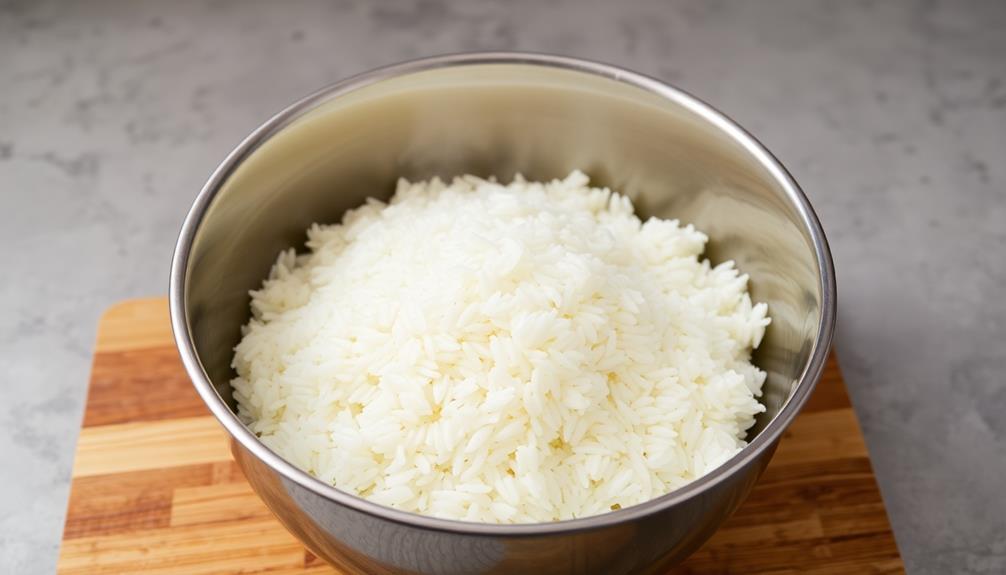
- 2 cups rice (any variety)
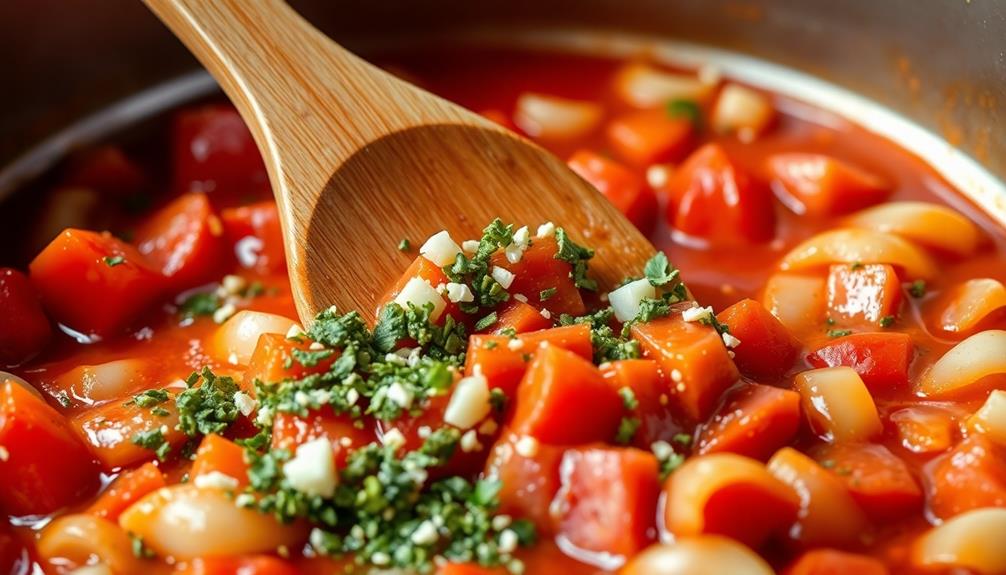
- 1 can (15 oz) diced tomatoes
- 1 onion, diced
- 2 cloves garlic, minced
- 1 teaspoon dried oregano
- Salt and pepper to taste
- 1 cup cooked beans or lentils (optional)
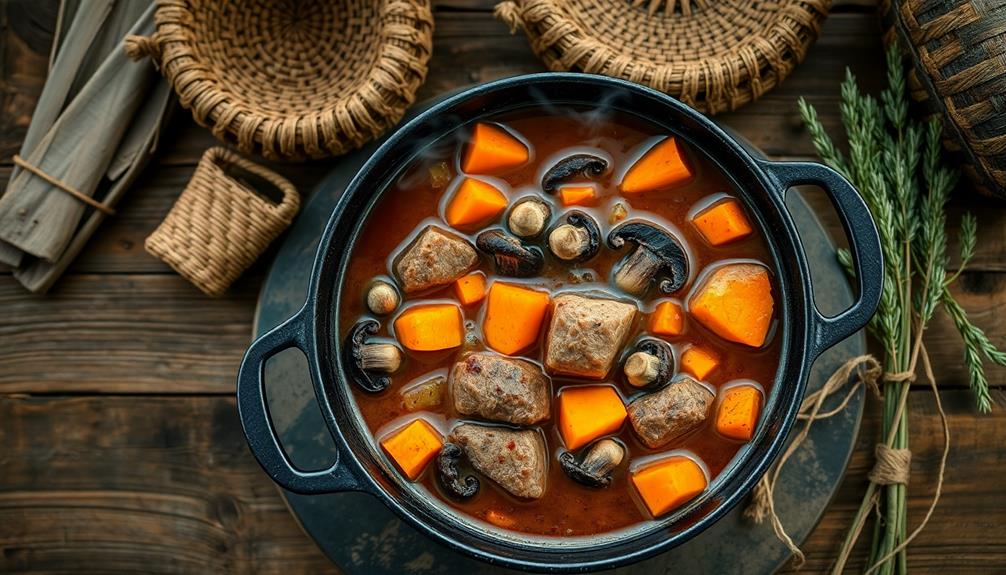
In a large pot, cook the rice according to package instructions. While the rice is cooking, sauté the onion and garlic in a small amount of oil or water until softened.
Add the diced tomatoes, oregano, salt, and pepper. Simmer the mixture for 10-15 minutes, allowing the flavors to meld.
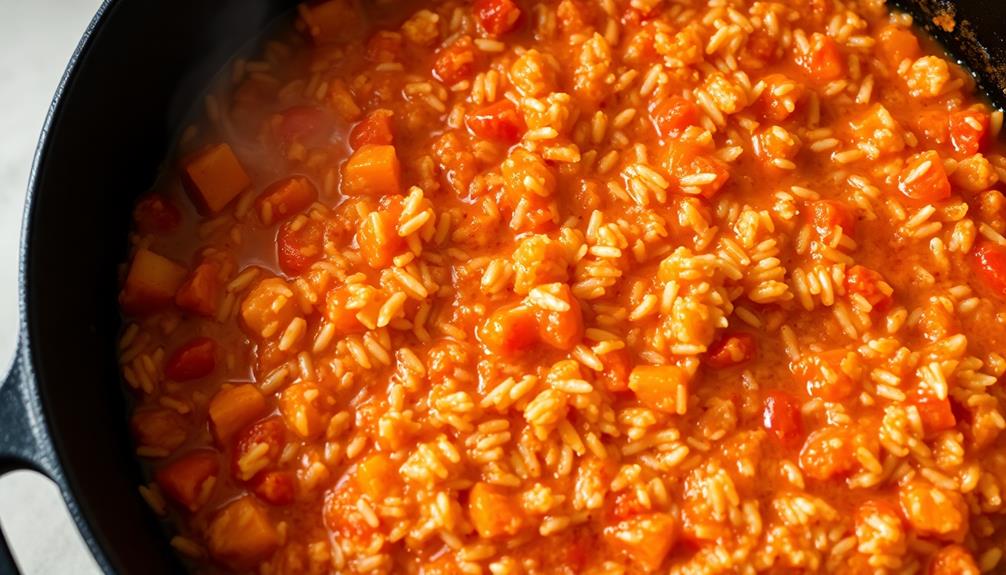
Once the rice is cooked, fluff it with a fork and stir in the tomato mixture. If desired, add the cooked beans or lentils for additional protein and heartiness.
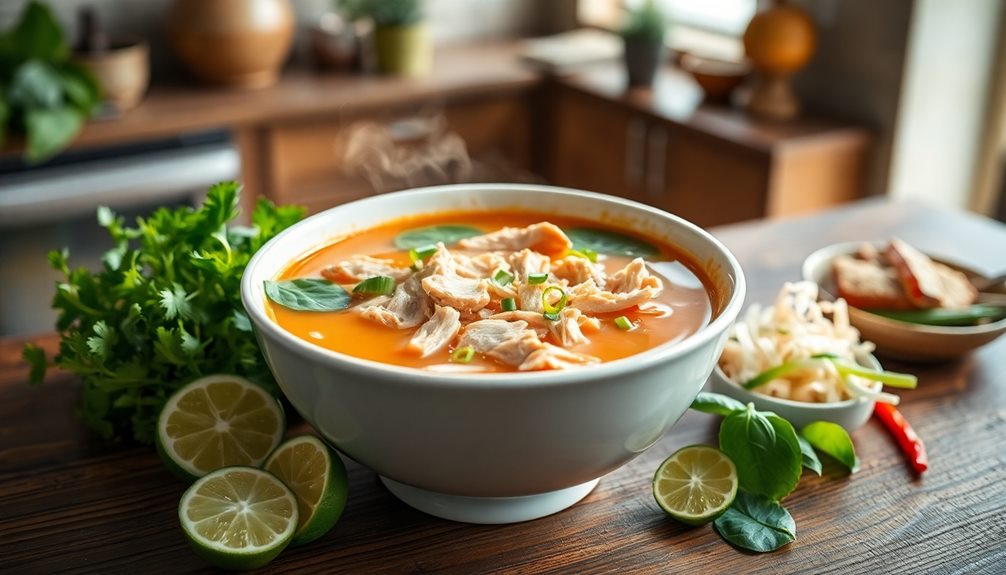
This dish is versatile and can be tailored to your taste. Consider adding other vegetables, such as diced bell peppers or spinach, for extra nutrition.
The combination of rice, tomatoes, and aromatics creates a comforting and satisfying meal. Enjoy your creation, and remember that with a little resourcefulness, you can transform simple ingredients into a nourishing and delicious dish.
Cooking Steps
First, gather the necessary ingredients and supplies.
Next, measure the ingredients carefully to ensure the recipe turns out right.
Then, mix the wet and dry ingredients before baking in a preheated oven, allowing the dish to cool completely before serving.
Step 1. Gather Necessary Ingredients and Supplies
Before you can get started on the cooking process, you'll need to round up all the necessary ingredients and supplies.
During the rationing era of World War II, ingredients were scarce, so you'll have to be resourceful. Check your pantry and see what you have on hand – things like flour, sugar, salt, and spices. If you're missing key items, you may need to get creative with substitutions.
Once you've identified the ingredients, gather the essential cooking supplies. You'll likely need pots, pans, mixing bowls, and utensils.
If you're short on certain items, improvise with what you have. For example, a mason jar can work as a mixing bowl, and a wooden spoon can substitute for a whisk. The goal is to work with the limited resources available to you.
Step 2. Measure Ingredients Carefully

Once you've gathered your ingredients and supplies, it's time to carefully measure them out. Precision is key when working with limited resources. Accurately measuring each item ensures you make the most of what you have and don't waste a single drop or crumb.
Start by retrieving your measuring cups and spoons. Carefully fill each to the exact line, leveling off the top with a knife. If a recipe calls for a half-cup, don't eyeball it – use the right tool for the job. The same goes for teaspoons and tablespoons. Ensure you're using the proper utensil to get the correct amount.
When measuring liquids, place the cup on a level surface and read the measurement at eye level. This prevents you from accidentally overfilling.
Dry ingredients like flour and sugar should also be lightly spooned into the cup, not packed down. Following these steps helps you make the most of your rationed supplies and creates consistent, delicious results every time.
Step 3. Mix Wet and Dry Ingredients
With your ingredients measured out, it's time to start mixing. First, combine the dry ingredients in a large bowl. This typically includes flours, sugars, baking powder, and any spices. Whisk them together until well-incorporated.
Next, in a separate bowl, mix the wet ingredients. This could be milk, eggs, oil, or melted butter. Gently stir the wet mixture until it's smooth and homogeneous.
Slowly pour the wet ingredients into the bowl with the dry ingredients. Using a wooden spoon or rubber spatula, gently fold the mixtures together, being careful not to overmix. The batter should come together with a few small lumps remaining. Overmixing can result in a dense, tough final product.
Once the wet and dry ingredients are just combined, your batter is ready for the next step. Depending on your recipe, you may need to let the batter rest for a few minutes before proceeding.
Pay close attention to the consistency and follow the instructions closely for the best results.
Step 4. Bake in Preheated Oven
Preheat your oven to the temperature specified in the recipe. This step is crucial, as it ensures your baked goods cook evenly and thoroughly.
Once the oven has reached the desired temperature, carefully place your prepared baking dish or pan on the middle rack. Be mindful of the oven door, as it can get quite hot.
Depending on the recipe, baking times may vary. Keep a close eye on your creation, checking it periodically to prevent over-baking.
Use oven mitts when removing the dish from the oven, as it will be scorching hot. Place the baked item on a wire rack to cool, allowing the heat to dissipate. This step helps prevent the bottom from becoming soggy.
If the recipe calls for broiling or finishing the dish with a crispy top, adjust the oven rack and switch to the broil setting.
Keep a watchful eye, as broiling can quickly go from golden brown to burnt. Once the desired color is achieved, immediately remove the dish from the oven.
Step 5. Allow to Cool Completely
After removing the baked item from the oven, always allow it to cool completely before handling. This is crucial to prevent burns and ensure the item's structural integrity.
Rushing the cooling process can lead to crumbling or deformation, ruining all your hard work. Give the baked good at least 30 minutes to an hour to cool, depending on its size and complexity.
You can speed up the process by placing it on a wire rack, which allows air to circulate all around. Avoid putting it directly on the counter, as this can trap heat and prolong the cooling time.
Once cooled, you can then safely handle the item, whether it's a tender loaf of bread, flaky pastry, or moist cake. This step may seem simple, but it's essential for achieving the perfect texture and presentation.
Take the time to let your baked creation cool completely, and you'll be rewarded with a delicious and professional-looking result.
Final Thoughts
Cooking with limited resources can feel daunting, but the lessons learned are invaluable. This era has taught us the value of creativity, resourcefulness, and making the most of what we have. Though we may no longer face strict rationing, the principles we've discovered can still serve us well in everyday life.
Embracing simplicity, reducing waste, and finding innovative ways to stretch our ingredients – these are skills that transcend the past and can enrich our modern kitchens. The recipes and techniques we've explored demonstrate that even with constraints, we can produce delicious, nourishing meals.
By honoring the thrift and ingenuity of those who came before, we honor ourselves and our own potential to adapt and thrive, no matter the circumstances.
As we move forward, let's carry these lessons with us, applying them not just in the kitchen, but in all aspects of our lives. The resilience and resourcefulness forged in times of scarcity can be our guiding light, lighting the path to a more sustainable, fulfilling future.
Frequently Asked Questions
What Were the Most Popular Rationed Food Items During WWII?
You may be surprised to learn that the most popular rationed food items during WWII were things like sugar, butter, meat, and canned goods. People had to get creative with limited resources to feed their families.
How Did Families Cope With the Limited Food Supply?
You had to get creative and make the most of what little you had. You stretched ingredients, preserved foods, and shared with neighbors to cope with the scarcity. Ingenuity and resourcefulness were key to feeding your family.
What Cooking Techniques Were Used to Make the Most of Rationed Ingredients?
To make the most of rationed ingredients, you had to get creative. You'd use every part of the food, stretch it further, and find innovative ways to add flavor and nutrition.
Were There Any Innovative Recipes Created During the Rationing Period?
Yes, resourceful cooks developed innovative recipes to make the most of rationed ingredients. They used creative substitutions, stretching techniques, and imagination to craft tasty dishes despite the limitations.
How Did the Rationing System Affect the Overall Diet and Nutrition of the Population?
The rationing system significantly impacted the population's diet and nutrition, limiting access to certain foods. This resulted in a shift towards more basic, plant-based meals, potentially affecting overall nutrient intake and health.