Kataifi, the shredded phyllo pastry dessert, has captivated Mediterranean culinary traditions for centuries. This crisp, golden-brown pastry, often layered with a rich, decadent filling, represents a delightful fusion of textures and tastes that's impressed even the most discerning pastry enthusiasts. You'll find this iconic treat originated in the Ottoman Empire, spreading throughout the Balkans and Middle East. With patience and attention to detail, you can create your own kataifi masterpiece, combining the aroma of spices, the gleam of syrup-soaked layers, and the contrast of temperatures that elevates the dessert experience. Keep reading to uncover the secrets behind mastering this signature Mediterranean delight.
Key Takeaways
- Kataifi is a traditional Mediterranean dessert made with shredded phyllo dough, nuts, and sweet syrup, originating from Crete and representing Greek culinary heritage.
- The dessert requires patience and attention to detail for optimal results, combining crisp, golden-brown phyllo with a flavorful filling.
- Kataifi is often served with whipped cream or vanilla ice cream for added indulgence, and its aroma and visual appeal enhance the sensory experience.
- Creativity in presentation and serving styles, such as using chopped pistachios or dusting with powdered sugar, can personalize the dessert experience.
- Mastery of kataifi preparation comes through practice and experimentation, as attention to detail in layering and syrup application is crucial for achieving consistent, high-quality results.
Top picks for "kataifi shredd phyllo"
Open Amazon search results for this keyword.
As an affiliate, we earn on qualifying purchases.
History
Kataifi, a delectable Greek dessert, has its roots deeply embedded in the culinary tapestry of the Mediterranean region. This shredded phyllo pastry has been a beloved treat for centuries, with its origins tracing back to the Ottoman Empire.
As the empire expanded, the recipe for kataifi spread throughout the Balkans and the Middle East, where it became a cherished part of local cuisine.
The process of making kataifi is a true labor of love. The paper-thin strands of phyllo dough are meticulously shredded, creating a light and airy texture that sets the stage for the rich, sweet flavors to come.
This intricate technique has been passed down through generations, with skilled pastry chefs honing their craft to deliver the perfect kataifi experience.
Today, kataifi remains a beloved delicacy, enjoyed not only in Greece but also across the Mediterranean and beyond.
Its unique texture and delectable taste have made it a staple in the repertoire of traditional desserts, a testament to the enduring culinary traditions of the region. This beloved dessert has been passed down through generations, with each family adding their own special touch to the recipe. In addition to its use in desserts, the unique texture of this ingredient has also inspired a variety of savory dishes, including the famous greek tiropita recipe. Whether it’s enjoyed in sweet or savory form, this versatile ingredient continues to be a beloved and essential part of Greek cuisine.
Recipe
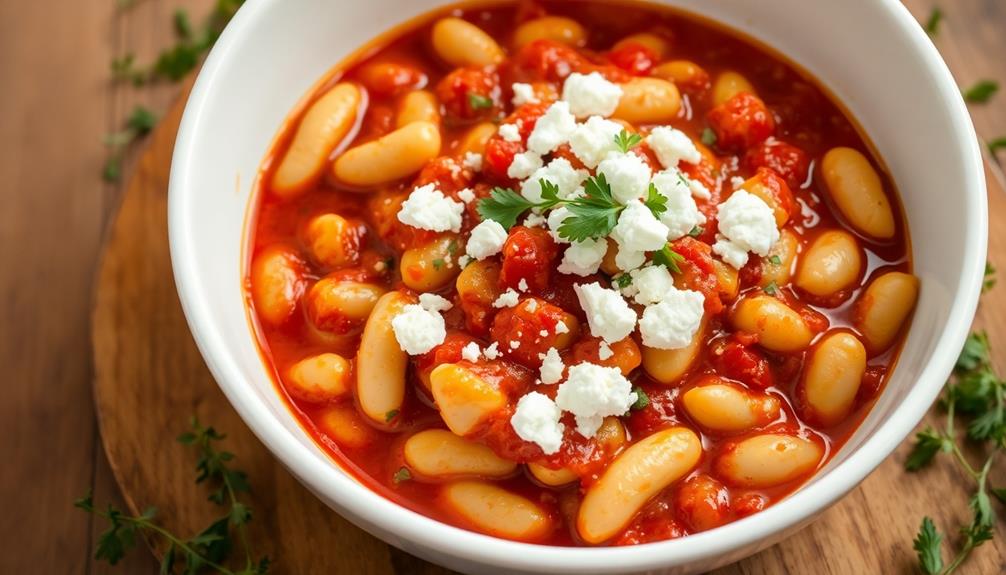
Kataifi is a delightful Greek dessert made with shredded phyllo dough, nuts, and a sweet syrup. Its delicate, thread-like texture and the interplay of flavors make it a true delight for the senses. Originating from the island of Crete, this dessert has become a beloved part of Greek culinary heritage.
The preparation of Kataifi requires a bit of patience and attention to detail, but the end result is well worth the effort. The crisp, golden-brown shredded phyllo dough envelops a fragrant and flavorful filling, creating a harmonious balance of textures and tastes.
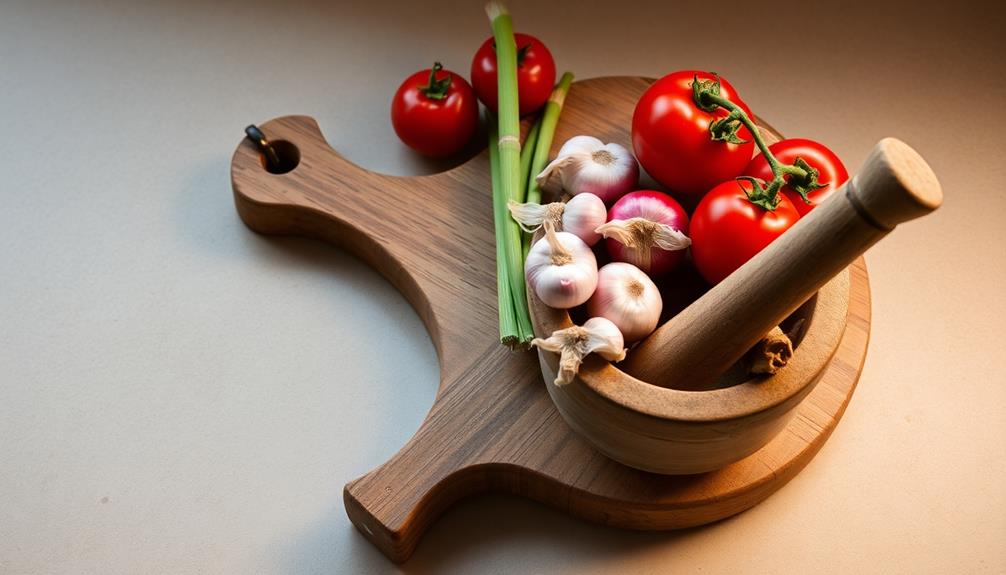
Ingredients:
- 1 lb (450g) shredded phyllo dough
- 1 cup (200g) chopped walnuts or pistachios
- 1 cup (200g) unsalted butter, melted
- 1 cup (200g) granulated sugar
- 1 cup (240ml) water
- 1 cinnamon stick
- 1 lemon peel
Instructions:
Preheat your oven to 350°F (180°C). Grease a 9×13-inch baking dish. Spread the shredded phyllo dough evenly in the prepared dish and drizzle the melted butter over the top, ensuring even coverage. Bake for 30-35 minutes, or until the phyllo dough is golden brown.
While the phyllo dough is baking, prepare the syrup. In a saucepan, combine the sugar, water, cinnamon stick, and lemon peel. Bring the mixture to a boil, then reduce the heat and simmer for 10-15 minutes, or until the syrup has thickened slightly. Remove the cinnamon stick and lemon peel.
As soon as the phyllo dough comes out of the oven, pour the hot syrup evenly over the top. Sprinkle the chopped nuts over the syrup-soaked phyllo dough. Allow the Kataifi to cool completely before serving, as the syrup will continue to absorb into the dough.
When serving Kataifi, be gentle as the shredded phyllo dough can be delicate. Consider serving it with a dollop of whipped cream or a scoop of vanilla ice cream for an extra indulgent touch. Enjoy the perfect balance of crisp, sweet, and nutty flavors in this classic Greek dessert.
Cooking Steps
First, prepare the kataifi pastry strands by carefully unraveling the delicate shredded dough.
Next, make a sweet syrup mixture with sugar, water, and lemon juice.
Then, assemble the kataifi and syrup, layering them in a baking dish until it's all used up.
Bake the kataifi until it's golden brown and crispy, and let it cool completely before serving.
Step 1. Prepare Kataifi Pastry Strands
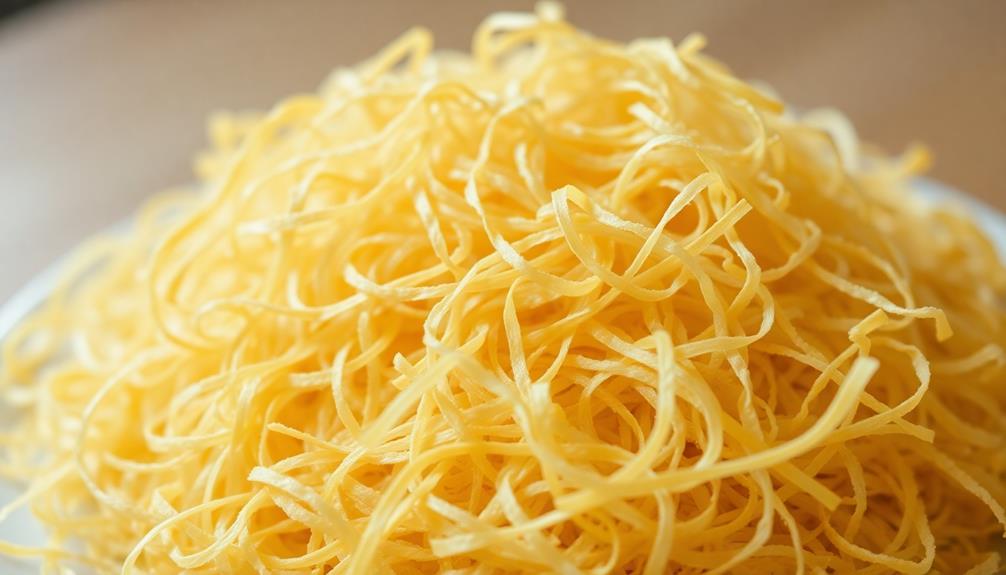
Typically, you'll begin by meticulously separating the delicate kataifi pastry strands. This is a crucial step, as the thin, noodle-like threads need to be gently pulled apart to ensure they cook evenly.
Take your time and work carefully, as these strands can easily break if handled too roughly.
Once the kataifi is separated, you'll want to fluff and loosen the strands to create a light, airy texture. Gently run your fingers through the pastry, lifting and tossing it to create volume.
Be mindful not to compress or pack the strands down, as you want to maintain their delicate, intricate appearance.
With the kataifi prepped, you're now ready to assemble your dessert. The fluffy, golden-brown pastry will serve as the base, providing a crisp and flaky foundation for the sweet filling and syrup.
As you work, remember to handle the kataifi with care, preserving its unique and captivating structure.
Step 2. Make Syrup Mixture

With the kataifi pastry prepped and ready, you'll now turn your attention to crafting the syrupy accompaniment. In a medium saucepan, combine water, sugar, lemon juice, and honey. Bring this fragrant mixture to a gentle simmer, stirring occasionally, until the sugar fully dissolves and the syrup takes on a translucent, amber hue.
It's important to note that while enjoying desserts, maintaining a balanced diet is essential to avoid potential nutrient deficiencies, especially if you're also indulging in juice diets nutrient deficiencies.
Once the syrup is ready, remove it from the heat and stir in a touch of vanilla extract, adding a warm, aromatic depth. The sweet, citrusy scent will start to fill your kitchen, leaving you eager to drizzle this luscious syrup over the crisp kataifi strands.
Carefully pour the hot syrup over the freshly baked kataifi, ensuring every golden tendril is coated in the glistening liquid. Allow the pastry to soak up the syrup for a few minutes, letting the flavors meld together harmoniously.
Get ready to indulge in the captivating texture and irresistible taste of this traditional Greek dessert.
Step 3. Assemble Kataifi and Syrup Mixture

Now that you've prepared the sweet syrup mixture, it's time to assemble the kataifi dessert.
Begin by spreading a layer of the shredded kataifi dough in the bottom of your baking dish. Don't be too worried about getting it perfectly even – a little bit of texture will add to the rustic charm.
Next, pour about half of the warm syrup mixture evenly over the kataifi layer. Use a spoon to gently spread it around, making sure the kataifi is thoroughly soaked.
Sprinkle a handful of the chopped nuts over the top, then repeat the process with another layer of kataifi, the remaining syrup, and the rest of the nuts.
Your layered dessert is starting to take shape!
Finish by placing the pan in the oven and baking until the kataifi is golden brown and crispy, about 30 minutes.
Remove from the oven and let it cool slightly before slicing and serving. The aroma will have your family gathered around the table in no time!
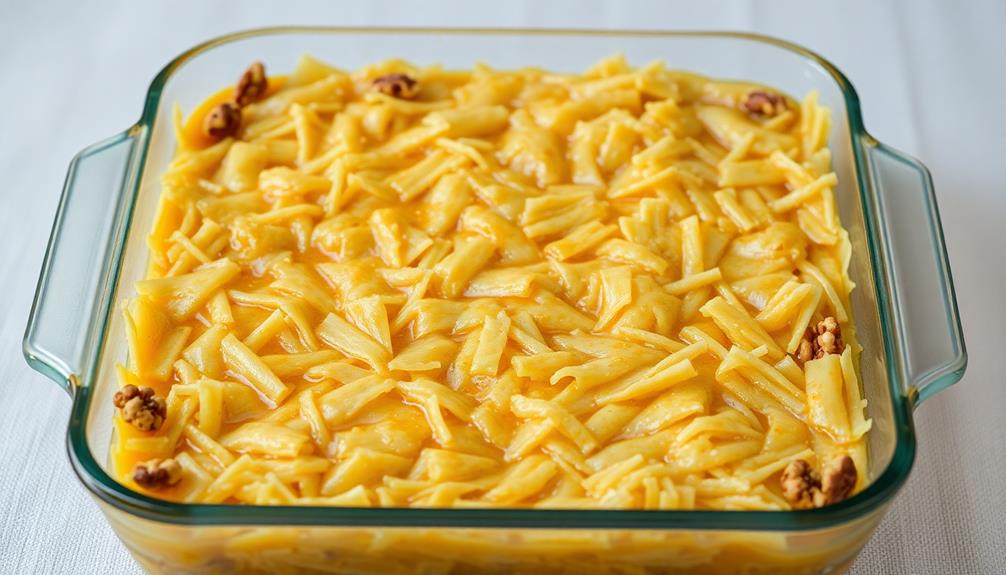
Step 4. Bake Until Golden Brown

Once the layers are assembled, place the pan in the preheated oven and bake until the kataifi is golden brown and crispy, about 30 minutes.
Keep a watchful eye as the shredded phyllo pastry will quickly transform from pale and delicate to a lovely, caramelized hue. The buttery aroma will fill your kitchen, tantalizing your senses and signaling that the kataifi is nearing perfection.
As the minutes tick by, the top will develop a delightful crunch, contrasting beautifully with the soft, custard-like interior. Use a toothpick to check for doneness – it should slide through the center with ease.
Once that gorgeous golden glow appears, remove the pan from the oven and let the kataifi cool slightly before drizzling the sweet syrup over the top.
This final step will infuse the pastry with flavor and create a stunning presentation, ready to delight your family and friends.
Step 5. Let Kataifi Cool Before Serving
After removing the kataifi from the oven, let it cool slightly before serving. This crucial step allows the crisp, golden-brown layers to settle and the filling to firm up, making it easier to slice and serve.
As the kataifi cools, the aroma of the spices and sweetness will fill the air, enticing your guests and building their anticipation.
Once the kataifi has had a chance to cool for about 10-15 minutes, it's ready to be portioned out and enjoyed. Carefully use a sharp knife to cut the pastry into neat, even slices, revealing the delicate strands and the luscious filling within.
Arrange the slices on a serving platter, allowing everyone to admire the intricate layers and the gleam of the syrup-soaked kataifi.
Serve the kataifi dessert warm, but not piping hot, allowing your guests to savor the perfect balance of crispy, flaky pastry and the rich, aromatic filling.
Accompany it with a dollop of creamy vanilla ice cream or a sprinkle of chopped nuts for an extra special touch.
Final Thoughts
The key to mastering the kataifi dessert lies in the final touches.
You've carefully prepared the shredded phyllo, layered the cinnamon-kissed syrup, and now it's time to bring it all together.
Don't be afraid to get creative! A sprinkle of chopped pistachios or a dusting of powdered sugar can add a delightful pop of color and texture.
For an extra indulgent treat, consider serving a scoop of creamy vanilla ice cream alongside the warm, flaky kataifi. The contrast of temperatures and flavors is simply divine.
As you savor each bite, allow the sweet aromas to transport you to the bustling streets of Greece.
This dessert is a true celebration of Mediterranean culinary artistry.
With a little practice, you'll be whipping up kataifi that would make even the most discerning pastry chef swoon.
Frequently Asked Questions
How Long Does Kataifi Pastry Typically Stay Fresh?
Kataifi pastry typically stays fresh for 3-5 days when stored properly. It's best to keep it in an airtight container at room temperature and avoid refrigeration, which can cause it to become dry and crumbly.
Can Kataifi Be Frozen for Later Use?
Yes, you can definitely freeze kataifi for later use. It'll retain its texture and flavor when thawed. Just be sure to wrap it tightly and store it in the freezer for up to 3 months.
What Is the Best Way to Store Leftover Kataifi?
To store leftover kataifi, you can place it in an airtight container or resealable bag and refrigerate it for up to 5 days. For longer storage, you can freeze the kataifi for up to 2 months.
Can Kataifi Be Made With Gluten-Free Flour?
Yes, you can make kataifi with gluten-free flour. Substitute the regular flour with a gluten-free blend or use a combination of rice, tapioca, and almond flour. This will result in a delicious and celiac-friendly version of the classic pastry.
How Versatile Is Kataifi in Different Dessert Recipes?
You can use the versatile kataifi in a variety of dessert recipes. It works well as a crunchy topping, filling, or base, adding texture and flavor to sweet treats. Its shredded texture makes it adaptable to different dessert styles.