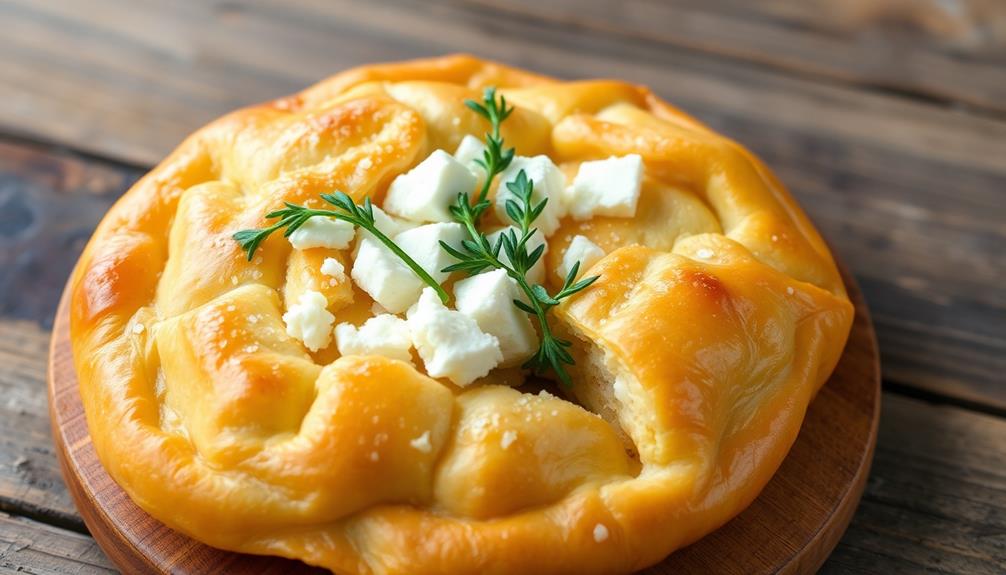
Tiropita, the classic Greek cheese pie, has delighted taste buds for centuries! This savory pastry boasts a flaky, golden-brown crust that encases a creamy, tangy cheese filling. Tracing its roots to ancient Greece, tiropita remains a cherished part of the country's culinary heritage, often served at gatherings and celebrations. To make this delightful treat, you'll layer delicate phyllo dough with a blend of feta and ricotta cheeses, seasoned to perfection. Bake until the crust is crisp, and allow it to cool before slicing – this allows the flavors to meld for an incredible taste experience. Tiropita pairs beautifully with lighter Mediterranean dishes, making it a versatile addition to any meal. Want to learn more about this beloved Greek specialty?
Key Takeaways
- Tiropita is a classic Greek savory pastry with a flaky, golden-brown crust and a creamy cheese filling, often enjoyed as a snack or appetizer.
- The recipe for Tiropita can be traced back to ancient Greece, dating back to the 4th century BC, and has evolved over centuries with regional and familial variations.
- The key ingredients in Tiropita include crumbled feta cheese, ricotta cheese, eggs, and melted butter for the phyllo dough layers, seasoned with dried oregano and ground black pepper.
- Achieving the perfect balance of flaky and creamy elements is essential in the preparation of Tiropita, which requires delicate assembly of the phyllo dough and precise baking technique.
- Tiropita is a cherished part of Greek culinary heritage, often shared among family and friends, representing the essence of Greek hospitality and evoking the imagery of sun-drenched Greek islands.
History
Originating in ancient Greece, tiropita's history can be traced back to the 4th century BC. Back then, simple cheese-filled pastries were a beloved delicacy, often served at important social gatherings and religious ceremonies.
As the centuries passed, the recipe evolved, with different regions and families putting their unique spin on the classic dish.
Today, tiropita remains a cherished part of Greek culinary heritage. Whether enjoyed as a savory snack or a satisfying meal, this flaky, cheese-filled pastry continues to delight taste buds around the world.
The combination of crisp phyllo dough and creamy, tangy feta cheese is a true testament to the enduring appeal of this timeless treat.
As you savor each bite, you can almost feel the rich history and cultural traditions that have been lovingly passed down through generations of Greek bakers and home cooks.
Recipe
Tiropita, or cheese pie, is a classic Greek savory pastry that has been delighting taste buds for centuries. This flaky, golden-brown delicacy is a beloved staple in Greek cuisine, often enjoyed as a snack, appetizer, or even a main course. Another popular variation of this savory pastry is the traditional Greek spinach pie, known as spanakopita. Made with layers of crispy phyllo dough filled with a savory mixture of spinach, feta cheese, and herbs, spanakopita offers a delightful contrast of flavors and textures. Both tiropita and spanakopita showcase the rich culinary tradition of Greece, and are cherished dishes in Greek households and restaurants around the world.
With its rich, creamy cheese filling, tiropita can be a perfect accompaniment to lighter dishes such as Turkey Bean and Tomato Zoodle Bowl, enhancing your Mediterranean dining experience. The key to a truly exceptional tiropita lies in the harmonious balance of its buttery, crisp phyllo dough and its rich, creamy cheese filling.
Whether you're a seasoned Greek cook or a newcomer to the world of Mediterranean flavors, this recipe will guide you through the steps to create an authentic and mouthwatering tiropita in your own kitchen.
Ingredients:
- 1 pound (450g) feta cheese, crumbled
- 1/2 cup (120ml) ricotta cheese
- 2 eggs, lightly beaten
- 1/4 cup (60ml) heavy cream
- 1/4 cup (60ml) grated Parmesan cheese
- 1 teaspoon (5ml) dried oregano
- 1/4 teaspoon (1.25ml) ground black pepper
- 1 package (16 ounces or 450g) phyllo dough, thawed if frozen
- 1 cup (240ml) unsalted butter, melted
Instructions:
In a large mixing bowl, combine the feta cheese, ricotta cheese, eggs, heavy cream, Parmesan cheese, oregano, and black pepper. Mix well until all the ingredients are evenly incorporated.
Unfold the phyllo dough and keep it covered with a damp towel to prevent it from drying out. Preheat your oven to 350°F (175°C). Grease a 9×13 inch (23×33 cm) baking dish.
Working with one sheet of phyllo dough at a time, brush it lightly with the melted butter and place it in the prepared baking dish. Repeat this process with 8 more sheets of phyllo, brushing each one with butter.
Spread the cheese filling evenly over the phyllo layers. Top with the remaining 8 sheets of phyllo, brushing each one with butter. Using a sharp knife, cut the layered pastry into squares or triangles.
Bake for 35-40 minutes, or until the top is golden brown and crispy. Allow the tiropita to cool for 10-15 minutes before serving.
For best results, be sure to work quickly when assembling the tiropita, as phyllo dough can dry out and become brittle if left exposed for too long. Additionally, the use of high-quality, fresh ingredients will greatly enhance the flavor and texture of your homemade tiropita.
Enjoy this delightful Greek delicacy with family and friends, and savor the authentic taste of the Mediterranean in every bite.
Cooking Steps
Unroll the phyllo dough sheets and get ready to build your delectable tiropita.
Brush each layer of the flaky phyllo with melted butter, then add the creamy cheese mixture between the layers.
Pop the pie in the oven and bake it until it's golden brown and irresistible.
Once it's cooled, you can slice into the warm, savory goodness.
Step 1. Unroll the Phyllo Dough Sheets
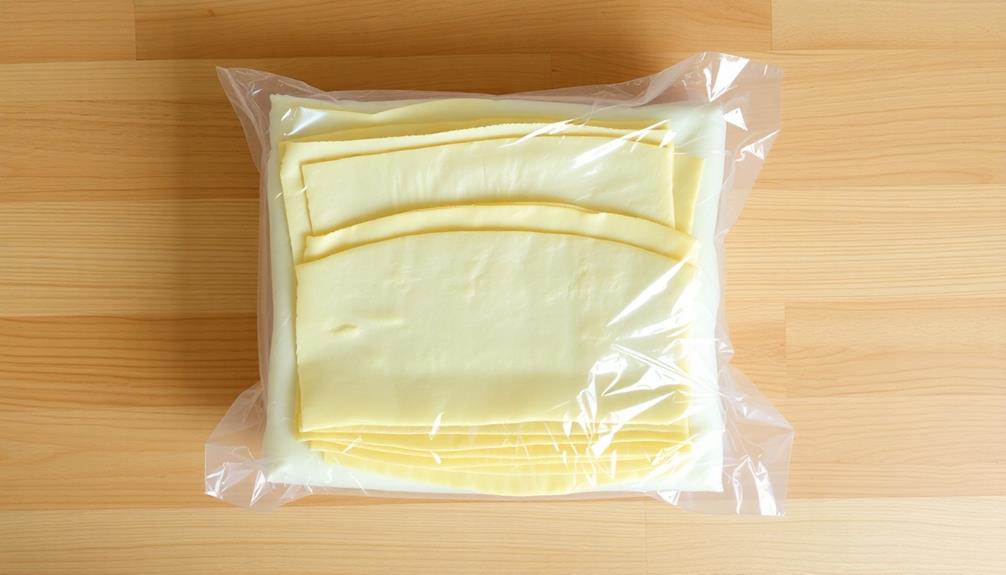
Typically, you'll start by carefully unrolling the phyllo dough sheets. These delicate, tissue-thin layers can be tricky to handle, so take your time. Gently unfurl each sheet, being mindful not to tear the fragile dough.
Phyllo dough can dry out quickly, so keep the unused sheets covered with a damp towel to prevent them from becoming brittle.
As you lay out the first sheet, notice how translucent and paper-thin it is. Brushing a bit of melted butter or olive oil onto the surface will help prevent the layers from sticking together.
Continue this process, layering sheet after sheet and brushing each one lightly with the fat of your choice. The number of layers you use will depend on the recipe, but a typical tiropita calls for around 8-10 sheets.
Be patient and work carefully – the delicate phyllo is the foundation for your delicious cheese pie, so treat it with care.
With a little practice, you'll soon have a beautiful stack of buttery, flaky layers ready for the filling.
Step 2. Brush Phyllo With Melted Butter
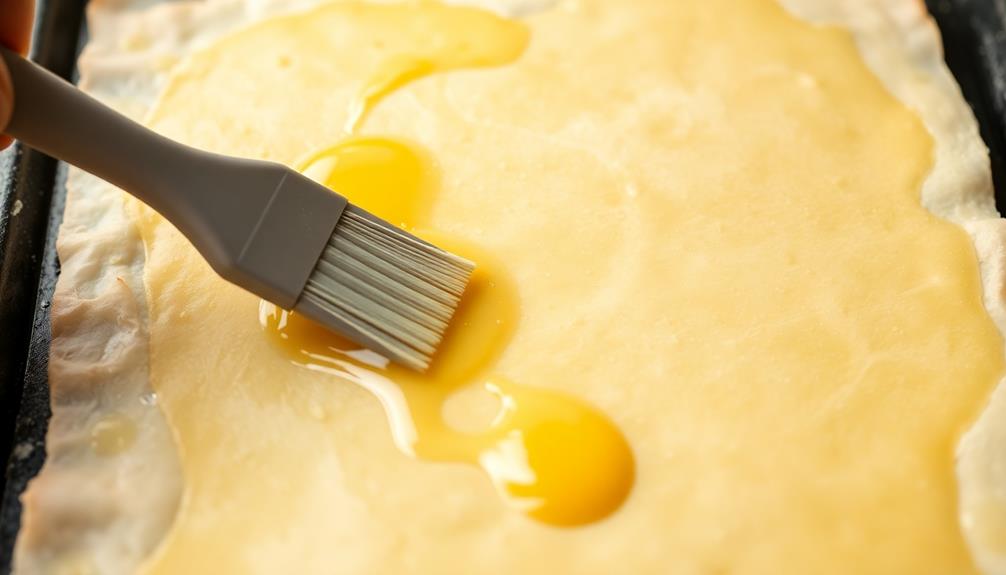
Next, go ahead and brush each layer of the phyllo dough with melted butter. This step is crucial for creating the signature crispy, flaky texture of tiropita.
Dip a pastry brush into the warm, golden butter, then gently sweep it across the surface of the delicate phyllo sheets. Make sure to cover every inch, from the edges to the center.
Don't be afraid to apply a generous coating – the butter will help the layers stick together and transform into a beautifully layered pastry. As you work, you'll notice the phyllo becoming more supple and pliable. This will make it easier to work with as you build your tiropita.
Take your time and savor the satisfying sizzle of the butter meeting the cool phyllo. With each brushstroke, you're one step closer to enjoying the rich, cheesy goodness at the heart of this classic Greek dish.
Keep going until all the phyllo has been brushed and coated in the fragrant butter.
Step 3. Layer Phyllo and Cheese Mixture
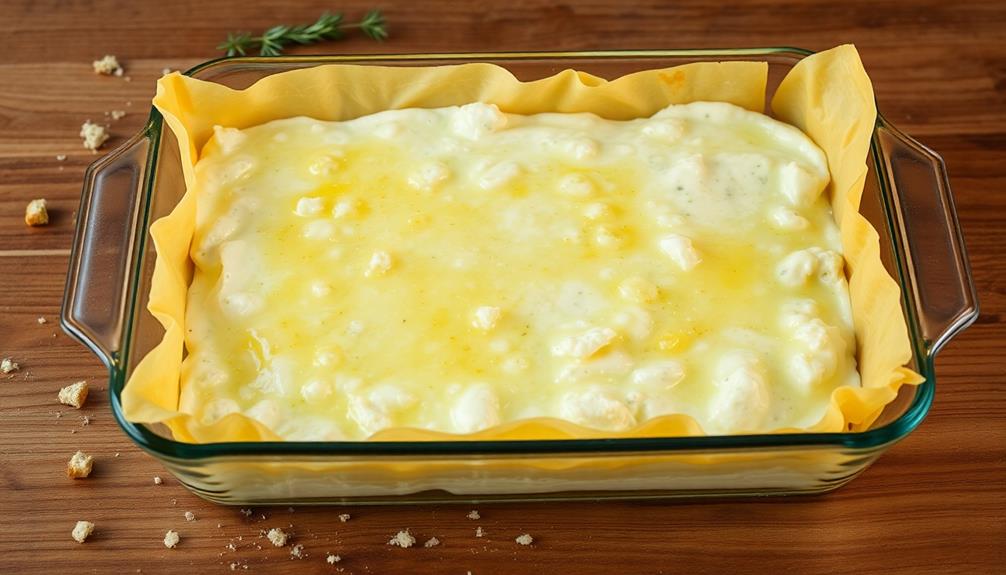
With the phyllo sheets now coated in luscious butter, begin layering them into your baking dish. Carefully place one sheet down, then brush the top with more melted butter. Continue this process, adding a new layer of phyllo and brushing with butter, until you've used half of the sheets.
Next, spread the cheese mixture evenly over the phyllo layers. The smooth, creamy texture will contrast beautifully with the crisp, flaky phyllo.
Top this with the remaining phyllo sheets, brushing butter between each layer just as before. Be sure to tuck in the edges of the phyllo as you go, creating neat, even sides for your tiropita. This attention to detail will make your final product look absolutely mouthwatering.
With the phyllo and cheese fully assembled, your tiropita is ready for baking. The irresistible aroma of warm, buttery phyllo and tangy cheese will soon fill your kitchen, calling everyone to the table.
Step 4. Bake Until Golden Brown

Preheat your oven to 375°F (190°C). Carefully transfer the layered phyllo and cheese mixture into a baking dish. Make sure to spread it evenly, so every bite gets that delightful combination of crisp phyllo and creamy, tangy cheese.
Now, pop your tiropita into the preheated oven and let it work its magic. As it bakes, the phyllo will turn a beautiful golden brown, creating a crispy, flaky crust that'll have your mouth watering.
Keep a close eye on it, checking every 10-15 minutes, until the top is a gorgeous, even hue.
Once it's reached that perfect, golden-brown perfection, remove your tiropita from the oven. Let it cool for a few minutes before slicing into those decadent, cheesy squares.
The aroma alone will have your family and friends gathering around the table, eager to dive in. Serve warm, and get ready for the compliments to start rolling in!
Step 5. Let Pie Cool Before Slicing
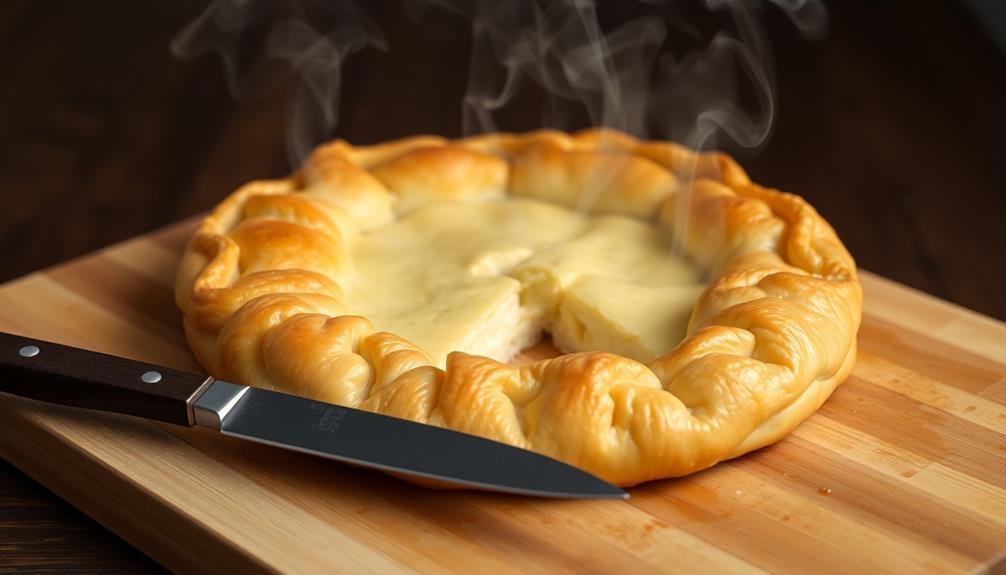
Once your tiropita has reached that perfect, golden-brown hue, it's important to let it cool before slicing into those decadent, cheesy squares. This resting period allows the filling to solidify, preventing a messy, oozing situation when you serve up those savory slices.
Be patient – the wait will be worth it!
As the pie cools, the layers of crisp, flaky phyllo dough and creamy, tangy cheese will set, making for clean, picture-perfect portions. You can even let it cool completely on the baking sheet before transferring it to a cutting board.
This extra time ensures the bottom crust stays perfectly intact. Once it's reached room temperature, use a sharp knife to cut the tiropita into neat, triangular slices.
Admire the beautifully layered cross-section before taking that first, indulgent bite. The flavors will have had time to meld, resulting in a truly heavenly experience.
Enjoy your masterpiece!
Final Thoughts
Tiropita, or Greek cheese pie, is a delightful culinary delight that showcases the harmonious blend of savory and flaky perfection. As you've discovered, the key to this beloved dish lies in the patience and care taken during its preparation.
From the delicate assembly of the phyllo dough to the precise baking technique, every step plays a crucial role in achieving the perfect balance of textures and flavors.
While the cooling process may seem like an eternity, it's an essential step that allows the flavors to meld and the structure to set.
When you finally slice into that golden, crispy crust, revealing the creamy, tangy filling within, you'll be rewarded with a symphony of taste and aroma that transports you straight to the sun-drenched Greek islands.
Savor each bite, savoring the harmonious interplay of salty feta, fragrant herbs, and the buttery, flaky pastry.
Tiropita is a true celebration of the culinary arts, and sharing this delightful creation with loved ones is sure to leave a lasting impression.
Frequently Asked Questions
Is Tiropita a Traditional Greek Dish?
Yes, tiropita is a traditional Greek dish. It's a savory pastry that's been enjoyed in Greece for centuries, made with layers of flakey phyllo dough and a creamy, tangy cheese filling. It's a beloved part of Greek cuisine and culture.
What Type of Cheese Is Typically Used in Tiropita?
The most common cheese used in tiropita is feta, a brined, crumbly Greek cheese made from sheep's or goat's milk. Its tangy flavor and firm texture make it well-suited for this traditional Greek dish.
Can Tiropita Be Made With Different Types of Cheese?
Absolutely! You can use different types of cheese to make tiropita. While the traditional recipe calls for feta, you can experiment with other cheeses like ricotta, cottage cheese, or a blend to create your own unique flavor profile.
How Long Does It Take to Bake Tiropita?
The baking time for your dish can vary depending on the ingredients and your oven, but it typically takes around 30-40 minutes to bake at a temperature of 375°F (190°C) until the crust is golden brown.
Can Tiropita Be Frozen and Reheated?
Yes, you can freeze tiropita and reheat it later. Just be sure to wrap it tightly and store it in the freezer for up to 3 months. When ready to enjoy, simply thaw and reheat in the oven or microwave.