
To render your own lard or tallow, start by trimming excess meat or connective tissue and cutting the fat into small, even pieces. Gently melt the fat in a heavy-bottomed pot or slow cooker at around 200°F to 250°F, stirring occasionally. Strain out impurities and let the fat cool before storing it in airtight containers. When done properly, you get pure, high-quality fat that’s perfect for cooking or baking. Keep exploring to learn all the essential steps and safety tips.
Key Takeaways
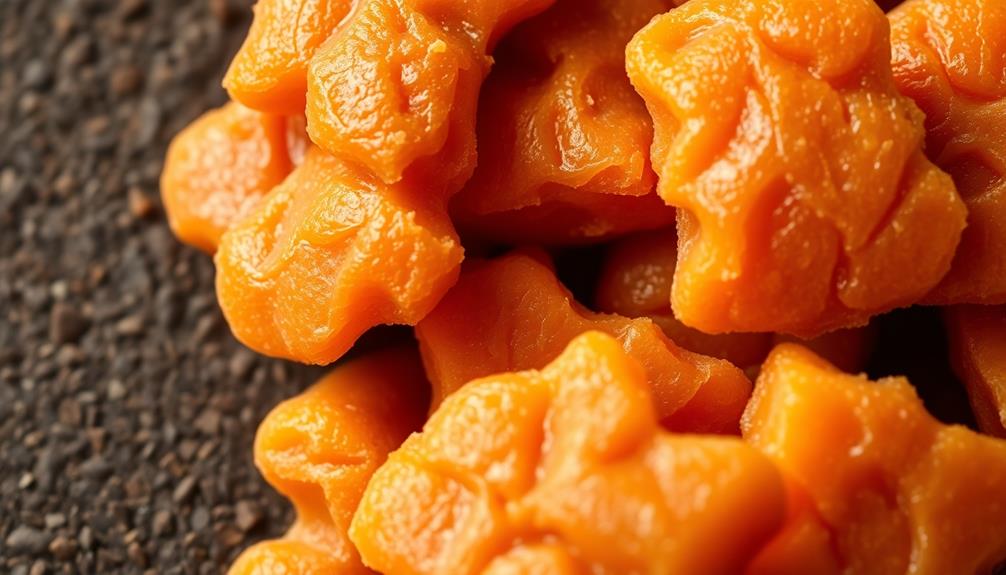
- Trim excess meat and connective tissue from fat before rendering for cleaner, purer lard or tallow.
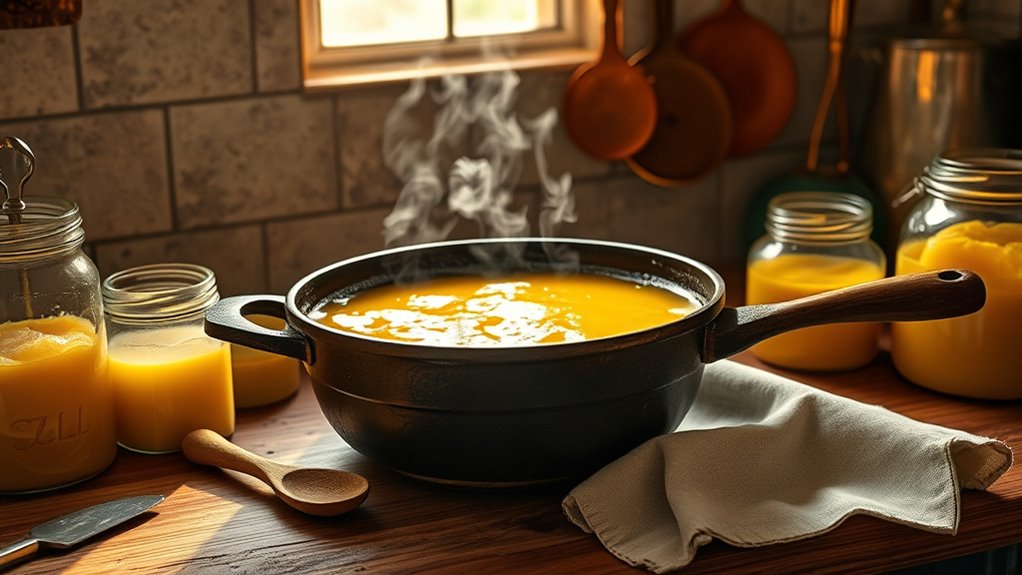
- Use low heat (200°F-250°F) and a heavy-bottomed pot to slowly melt fat without burning.
- Strain the melted fat through cheesecloth or fine mesh to remove impurities and solids.
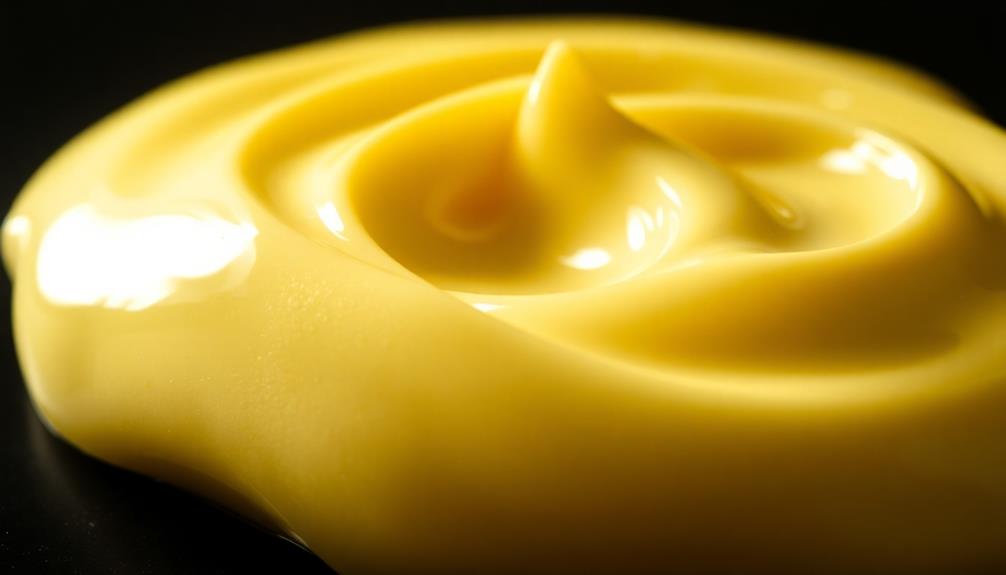
- Cool the rendered fat before storing it in airtight containers in the refrigerator or freezer.
- Follow safety precautions like working in well-ventilated areas and using protective gear to prevent accidents.
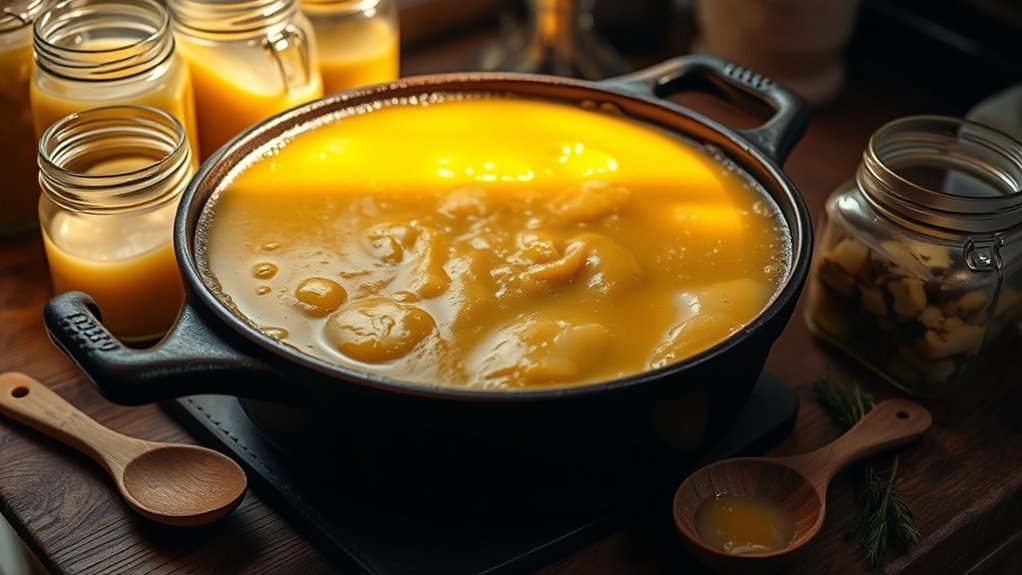
Are you looking to upgrade your kitchen without breaking the bank? Rendering your own lard or tallow is a rewarding DIY project that can save money and give you fresh, high-quality fats for cooking. To get started, you’ll want to familiarize yourself with rendering techniques, which involve slowly melting animal fat to extract pure, usable fat while removing impurities. The process begins with trimming away any remaining meat or connective tissue from the fat, then cutting it into small, even pieces to guarantee even melting. You’ll need a heavy-bottomed pot or slow cooker to heat the fat gently over low heat, allowing the fat to liquefy gradually without burning or scorching. Stir occasionally to prevent sticking, and keep a close eye on the temperature—aim for a gentle simmer, around 200°F to 250°F. As the fat melts, you’ll see impurities like bits of tissue or cracklings rise to the top or sink to the bottom. Straining the liquid through cheesecloth or a fine mesh sieve helps separate the pure fat from these solids. This method guarantees you get a clean, high-quality result, perfect for frying, baking, or preserving. Additionally, understanding the rendering process can help you optimize your yield and improve the clarity of your fat.
While you’re working on rendering techniques, safety precautions are essential to prevent accidents or health issues. Always work in a well-ventilated area, as melting fat can produce fumes that might be irritating or flammable. Keep a fire extinguisher nearby, just in case, since hot fat can ignite if overheated or spilled onto a heat source. Never leave melting fat unattended—it’s easy for it to overheat and catch fire, especially if the heat is too high. Use heat-resistant gloves and long-handled utensils to handle hot containers and prevent burns. Also, be cautious when transferring hot fat to storage containers, as splashes can cause serious burns. Once cooled, store your rendered fat in airtight containers in the refrigerator or freezer for long-term use. Label them clearly to avoid confusion, especially if you’re rendering multiple types of fats.
Incorporating safety precautions into your rendering process not only keeps you safe but also guarantees your project is successful. Mastering rendering techniques takes patience and attention, but it’s a skill that pays off with fresh, preservable fats that you can use for a variety of recipes. With careful handling and proper safety measures, you can confidently render your own high-quality cooking fats from scratch.
Frequently Asked Questions
How Long Does Homemade Lard or Tallow Last Without Refrigeration?
Homemade lard or tallow typically lasts about 1 to 2 months without refrigeration if stored in a cool, dark place. Your shelf life depends on how well you rendered and stored it; always watch for spoilage signs like off-odor, discoloration, or mold. Properly strained and kept away from heat and moisture, it can last longer, but refrigeration extends its freshness and safety.
Can I Render Lard or Tallow Using a Microwave?
Yes, you can render lard or tallow using a microwave, but it’s like walking a tightrope—you must be careful. Use microwave-safe containers and short, controlled bursts to prevent overheating. This method works with proper rendering techniques, ensuring even melting without splattering or burning. Always monitor closely, stirring occasionally, to keep your fat safe and your kitchen free of mishaps. Remember, patience and caution make the best results.
What Are the Best Storage Containers for Homemade Fat?
You should store your homemade fat in airtight containers to keep it fresh and prevent odors. Glass jars are ideal because they’re non-reactive, easy to clean, and allow you to see the fat’s color and level. Make sure to seal the jars tightly and keep them in a cool, dark place. Proper storage guarantees your rendered lard or tallow stays fresh and ready for cooking whenever you need it.
Is It Safe to Reuse Rendered Fat Multiple Times?
Yes, you can reuse rendered fat, but you should follow food safety and reuse guidelines carefully. Each time you reuse the fat, strain it thoroughly to remove food particles, which can harbor bacteria. Store it in airtight containers in the refrigerator, and avoid reusing it more than a few times to prevent spoilage and off-flavors. Always check for rancidity or unusual odors before using it again.
How Can I Tell if the Fat Has Gone Bad?
You’ll know your fat’s gone bad when it smells like a swamp after a rainstorm—rancidity signs are unmistakable. If it develops a sour or off odor, turns a strange color, or feels sticky or slimy, it’s time to toss it. Fat spoilage is no joke; don’t risk greasy stomachaches. Trust your nose and eyes—if they scream “bad,” it’s time to say goodbye to that questionable blob.
Conclusion
Now that you’ve rendered your own lard or tallow, you’ve unsealed a treasure chest of flavor and versatility. Think of your kitchen as a garden, where each step is like tending to a plant, nurturing it into something rich and nourishing. With this newfound skill, you’re crafting more than just ingredients—you’re creating a legacy of homemade goodness. Keep experimenting and savor the satisfaction of turning simple ingredients into culinary gold. Your kitchen is now a place of alchemy.