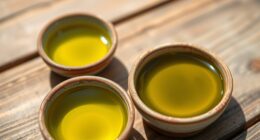
Grilled corn on the cob is a summer staple, and when you elevate it with a vibrant herb butter, the flavors really shine. Start by thoroughly removing the husks and silk, then soak the corn to enhance moisture before grilling over medium-high heat. Brush on the herb-infused butter, letting it sizzle and melt for a deliciously caramelized exterior. Top it off with a sprinkle of grated Parmesan cheese for a nutty finish. Serve this hot-off-the-grill corn immediately for the best flavor – you'll be amazed at how simple yet mouthwatering this dish can be. And if you'd like even more tips, read on.
Key Takeaways
- Grilled corn is a beloved summer staple originating from the Americas, with European settlers adopting the practice of grilling corn over open fires.
- The essential ingredients for grilled corn with herb butter include fresh corn, unsalted butter or olive oil, salt, pepper, and fresh herbs.
- The cooking process involves shucking and removing silk from the corn, brushing it with herb-infused butter, grilling until charred, and sprinkling with grated Parmesan cheese.
- Grilling the corn on medium-high heat enhances its smoky flavor and creates a beautifully caramelized exterior.
- Grilled corn can be served immediately while hot, paired with summer salads or grilled meats, and offers nutritional benefits as a good source of fiber and essential vitamins.
History
Originating in the Americas, grilled corn on the cob has long been a cherished summer staple. For centuries, native peoples cultivated and enjoyed the sweet, juicy kernels. When European settlers arrived, they quickly adopted this delicious tradition, grilling corn over open fires.
Over time, grilled corn became a beloved part of summer celebrations and backyard barbecues across the continent.
Today, grilled corn on the cob remains a quintessential warm-weather treat. The smoky, caramelized flavor and satisfying crunch of freshly grilled corn have made it a cookout favorite.
Whether slathered in butter, sprinkled with spices, or served simply with a squeeze of lemon, grilled corn is a versatile and crowd-pleasing side dish. Its history stretches back thousands of years, reflecting the enduring appeal of this humble yet delicious ingredient.
Recipe
Grilled corn on the cob is a delightful summertime treat that brings the smoky flavor of the grill to this classic vegetable. The natural sweetness of the corn is enhanced by the charred edges, creating a perfect balance of flavors.
Preparing grilled corn on the cob is a straightforward process that allows you to enjoy the fresh, juicy corn in a whole new way. With a few simple ingredients and some quick grilling, you can elevate this simple side dish into a star of the meal.
- Fresh corn on the cob, husks and silk removed
- Butter or olive oil
- Salt and pepper to taste
Preheat your grill to medium-high heat. Brush the corn with a light coating of butter or olive oil, and season with salt and pepper to taste. Place the corn directly on the grill grates, turning occasionally, until the kernels are tender and lightly charred, approximately 15-20 minutes.
To ensure the best results, be sure to start with fresh, high-quality corn. The natural sweetness of the corn will be the star of the dish, so avoid overcooking or charring the kernels too much.
Serve the grilled corn hot, with additional butter, salt, and pepper if desired. Enjoy this simple, yet flavorful, summertime classic.
Cooking Steps
First, start by shucking the corn and removing any silk.
Then, brush the corn with a delightful herb butter to infuse it with flavor.
Step 1. Shuck and Remove Silk
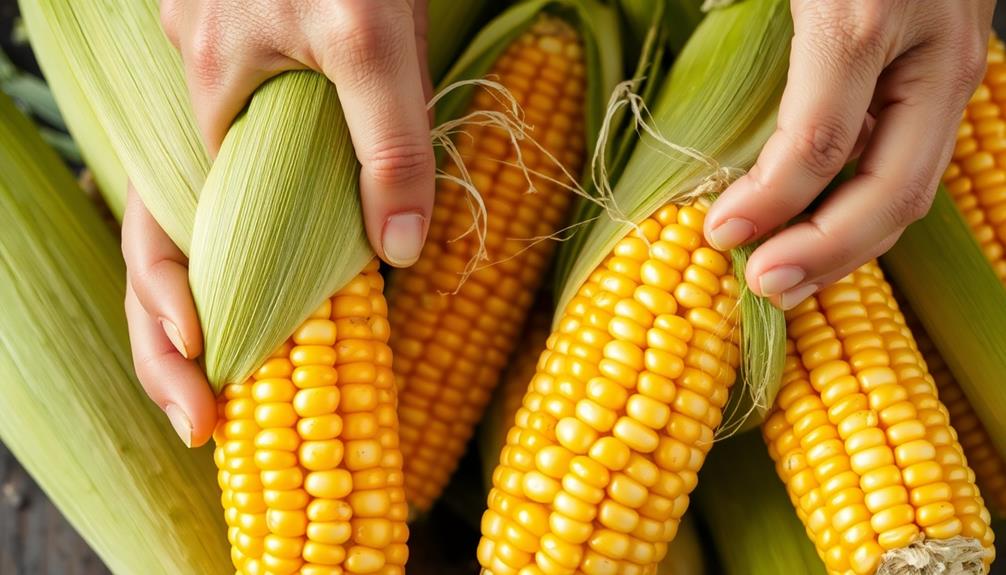
With the grill preheated, begin by removing the husks and silk from the corn cobs.
Carefully peel back the outer husks, revealing the tender kernels inside. Use your fingers to gently pull away any remaining silk strands, ensuring the corn is clean and ready for grilling.
Don't worry if a few of the outer leaves remain attached – this can actually help protect the corn during the grilling process.
Just be sure to remove as much of the papery husks and stringy silk as possible.
Once the corn is prepped, you're ready to start cooking! The smoky, charred flavor from the grill will pair perfectly with the sweet, juicy kernels.
Get ready to enjoy a delightful grilled corn on the cob experience.
Step 2. Brush With Herb Butter

After prepping the corn, you'll want to brush it with a flavorful herb butter. This will add a mouthwatering richness and aroma to the grilled corn, enhancing its natural sweetness.
To make the herb butter, simply combine softened butter, chopped fresh herbs like parsley, thyme, and chives, plus a pinch of salt and pepper. Butter enhances flavor by binding ingredients and elevating culinary creations. Stir everything together until well blended. To take your herb butter to the next level, spread it generously over a warm slice of homemade focaccia. This delicious homemade focaccia recipe pairs perfectly with the herb butter, allowing the flavors to meld together and create a mouthwatering combination. The savory herbs in the butter complement the soft, chewy texture of the focaccia, making it a perfect addition to any meal or as a snack on its own.
Grab a pastry brush and generously coat the corn on all sides with the herb butter. Be sure to get it into all the nooks and crannies for maximum flavor.
The butter will melt and sizzle as it hits the hot grill grates, creating a delectable glaze. Keep brushing the corn with the remaining butter throughout the grilling process. This will create a beautifully caramelized and flavorful exterior.
When the corn is tender and charred in spots, it's ready to serve. The herb butter will melt over the hot corn, creating a truly mouthwatering dish.
Step 3. Grill Corn Until Charred
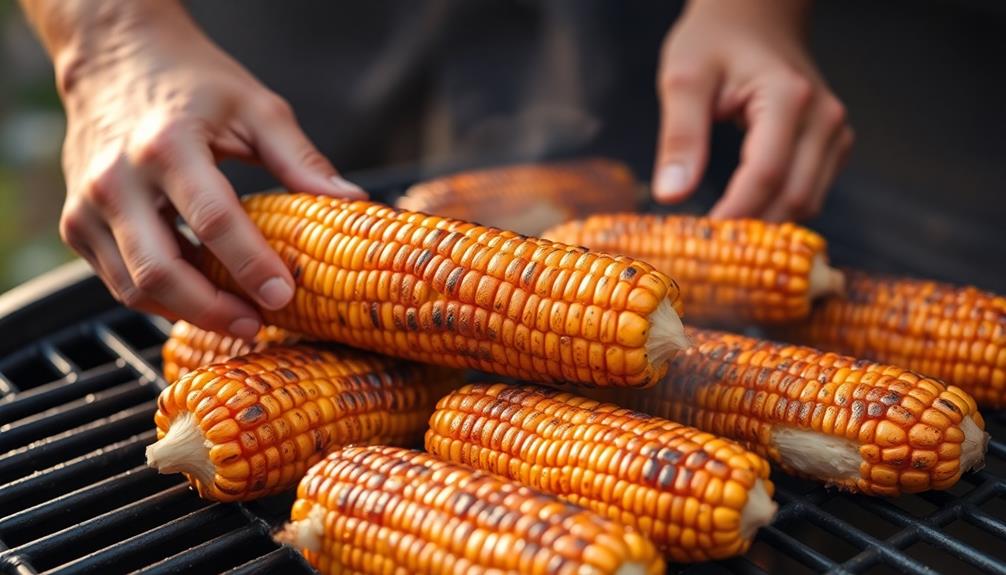
Preheat your grill to medium-high heat. Once it's nice and hot, place the corn cobs directly on the grates.
For an enhanced outdoor cooking experience, consider using a portable rocket stove for a different method of grilling. Don't be afraid to let them char a bit – that's where you'll get that delicious, smoky flavor.
Grill the corn, rotating occasionally, until it's lightly charred all over, about 12 to 15 minutes total. Keep an eye on it and adjust the heat if needed to prevent burning.
The kernels should be tender and juicy when the corn is done. Use tongs to transfer the grilled corn to a platter.
Let it cool for a couple of minutes before brushing with the herb butter you prepared earlier. Make sure to coat the corn evenly so each bite is bursting with flavor.
Serve the grilled corn on the cob immediately, while it's hot and the butter is melted. Enjoy the sweet, charred goodness!
Step 4. Sprinkle With Grated Parmesan Cheese

Once the grilled corn on the cob has cooled slightly, sprinkle a generous amount of grated Parmesan cheese over the top.
The nutty, salty flavor of the Parmesan pairs beautifully with the sweet, charred corn, making it a perfect accompaniment to classic American dishes like Corned Beef Hash. In fact, the rich and bold flavors of Parmesan and charred corn can enhance a wide range of dishes, from hearty soups and salads to creamy pasta and grilled meats. For a delicious twist, try sprinkling the mixture over a spicy shrimp dish to add a crunchy, savory element that elevates the dish to new heights. Whether you’re a fan of classic American comfort food or adventurous international cuisines, the combination of Parmesan and charred corn is sure to add depth and excitement to your favorite dishes.
Be sure to use a high-quality, finely grated Parmesan for best results. Sprinkle the cheese evenly across the surface of the corn, letting it melt slightly into the hot kernels.
The Parmesan will create a delicious, crispy topping that complements the tender, juicy corn. You can use as much or as little cheese as you prefer, depending on your taste.
Just make sure each kernel gets a little bit of the Parmesan for maximum flavor. This simple step takes the grilled corn to new heights, transforming it into a truly irresistible side dish or appetizer.
The grated Parmesan cheese adds a wonderful finishing touch that your guests are sure to love.
Step 5. Serve Immediately While Hot
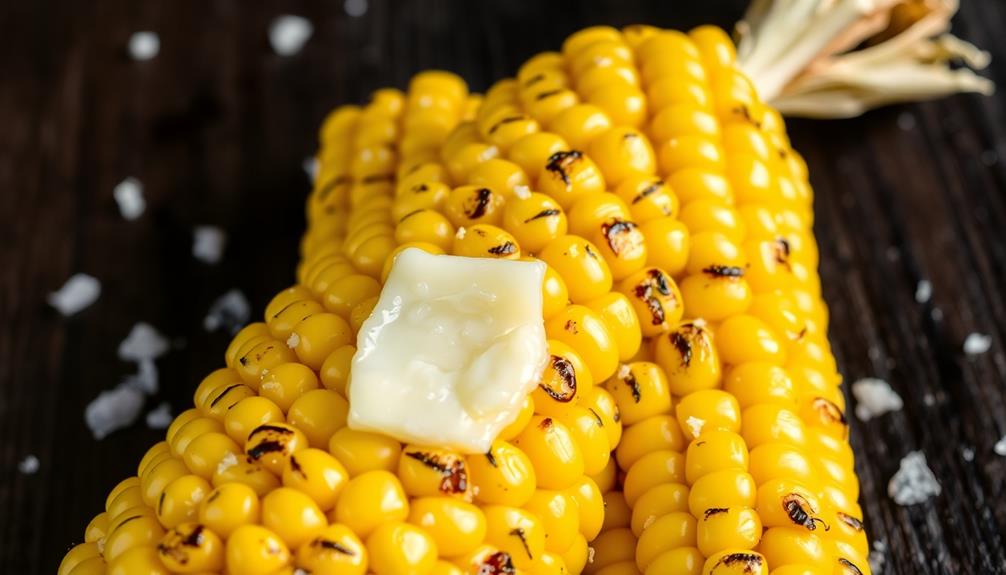
Serve the grilled corn on the cob immediately while it's hot. The juicy, tender kernels and the sweet, smoky flavor are best enjoyed fresh off the grill.
Have your plates ready and use tongs to transfer the corn from the grill to the plates. Be careful, as the corn will be very hot! You'll want to serve it right away so your guests can enjoy the corn at its absolute peak.
Once the corn is on the plates, you can add any desired toppings or seasonings, such as the grated Parmesan cheese or herbs and spices. The heat will help the toppings melt and infuse the corn with their flavors.
Encourage your guests to dig in and savor every bite while the corn is still piping hot. The contrast of the warm, charred kernels and any cool, creamy or zesty toppings makes for a truly delightful grilled corn experience.
Final Thoughts
Ultimately, grilled corn on the cob is a simple yet delightful summer staple that can elevate any backyard gathering.
It's a versatile dish that allows you to experiment with various seasonings and toppings, catering to different tastes. Whether you prefer a classic herb butter or a more adventurous spice blend, the smoky char and juicy kernels of grilled corn create a mouthwatering experience.
As you plan your next outdoor feast, don't forget this easy-to-prepare crowd-pleaser. With just a few minutes of active prep and a little patience on the grill, you can enjoy the best of summer's bounty.
Remember to serve it immediately while it's hot and bursting with flavor. Grilled corn on the cob is a simple pleasure that can bring friends and family together, creating lasting memories under the summer sun.
Frequently Asked Questions
How Long Can the Herb Butter Be Stored?
The herb butter can be stored for up to 1 week in the refrigerator or up to 3 months in the freezer. Just be sure to keep it in an airtight container to preserve its freshness.
Can the Corn Be Cooked in Advance?
You can cook the corn in advance, but it's best to do so shortly before serving. Cooked corn can be kept in the fridge for up to 3 days, but it may lose its fresh flavor and texture over time.
What Are Some Variations to the Herb Butter?
You can try different variations of the herb butter to complement the corn. Consider adding garlic, lemon zest, Parmesan, or even a touch of spice like paprika or chili powder for extra flavor.
Can the Corn Be Grilled in the Husks?
Sure, you can grill corn in its husks. The husks will steam the corn and impart a subtle flavor. Just make sure to soak the husks in water for 30 minutes before grilling to prevent them from burning.
How Do I Ensure the Corn Cooks Evenly?
To ensure your corn cooks evenly, soak the shucked cobs in water for 30 minutes before grilling. This will create steam and help the kernels cook through without burning the outside.

