
Roasted garlic and herb focaccia is a delicious twist on the classic Italian flatbread. You'll love its soft, pillowy texture and aromatic flavors. To make it, you'll activate yeast, mix the dough, and let it rise. Then, shape it into a rectangle, dimple the surface, and add olive oil, herbs, and roasted garlic. The key is using high-quality ingredients and letting the dough rest before baking. Once baked, you'll have a versatile bread perfect for snacking, sandwiches, or as a side dish. With practice, you'll master this recipe and can even experiment with different toppings. There's so much more to discover about this mouthwatering bread.
Key Takeaways
- Roasted Garlic and Herb Focaccia is an Italian flatbread enhanced with garlic, rosemary, thyme, and oregano for a Mediterranean flavor profile.
- The bread's soft, pillowy texture is achieved through proper yeast activation and allowing the dough to rise until doubled in size.
- Key steps include mixing ingredients, kneading the dough, shaping it into a rectangle, and creating dimples for oil and herb infusion.
- High-quality olive oil and fresh herbs are essential for the best flavor and texture in this focaccia variant.
- The versatile bread can be served as an appetizer, side dish, or sandwich base, and can be prepared ahead for convenience.

Ninja Air Fryer XL with MaxCrisp, 6.5 Qt, 6-in-1, Grey, AF181
- Max Crisp Technology: Up to 450°F for crispy results
- 6-in-1 Cooking Functions: Multiple cooking modes including bake and dehydrate
- XL Capacity: 6.5-quart basket, holds large meals
As an affiliate, we earn on qualifying purchases.
History
Tracing its roots back to ancient Rome, focaccia has evolved into a beloved Italian staple.
You'll find this flatbread's history intertwined with the development of Mediterranean cuisine, much like how urban themes reflect the rapid modernization of Indian cities.
Originally, focaccia was a simple dough baked on the hearth, often used as an offering to the gods. As time passed, it became a popular food among Roman soldiers and civilians alike.
During the Middle Ages, focaccia spread throughout Italy, with each region developing its own unique variations.
In Liguria, you'll discover the famous Focaccia Genovese, topped with olive oil and salt. The bread's versatility allowed it to adapt to local ingredients and tastes.
Recipe
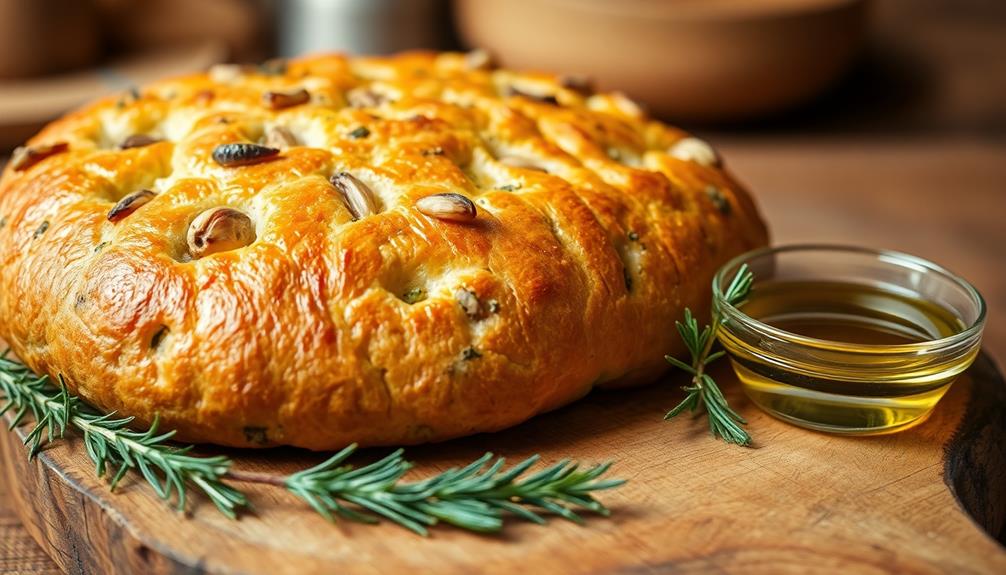
Focaccia is a beloved Italian flatbread known for its soft, pillowy texture and flavorful toppings. This roasted garlic and herb version takes the classic recipe to new heights, infusing the dough with aromatic herbs and crowning it with caramelized garlic cloves.
This recipe yields a fragrant, savory bread that's perfect as an appetizer, side dish, or even as the base for sandwiches. The combination of rosemary, thyme, and oregano creates a Mediterranean flavor profile that pairs beautifully with the sweet, mellow taste of roasted garlic.
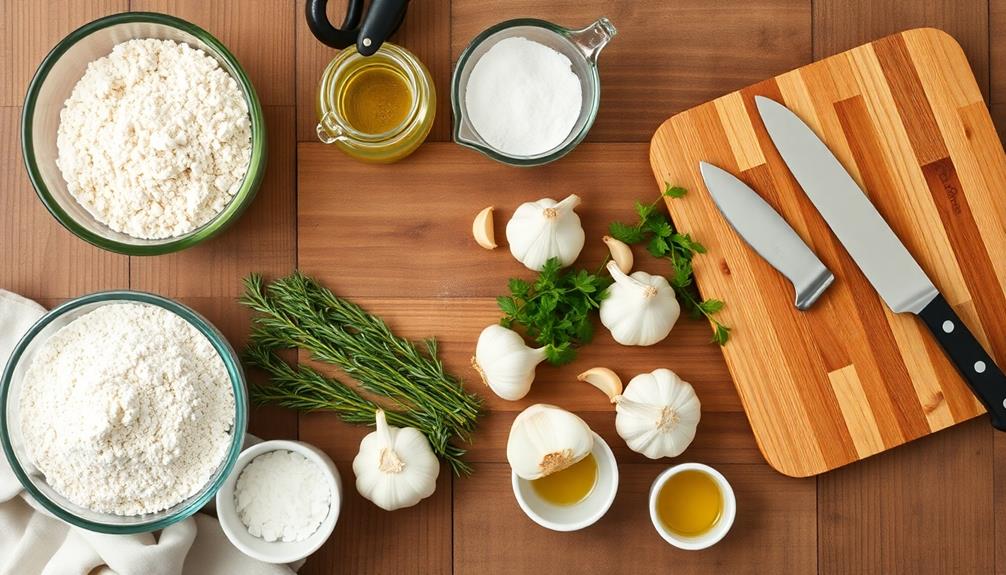
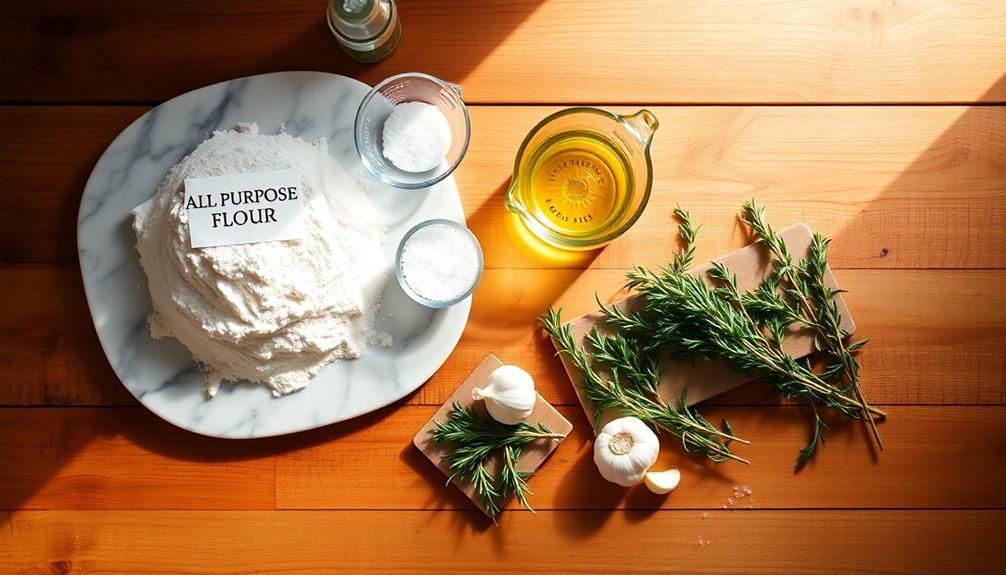
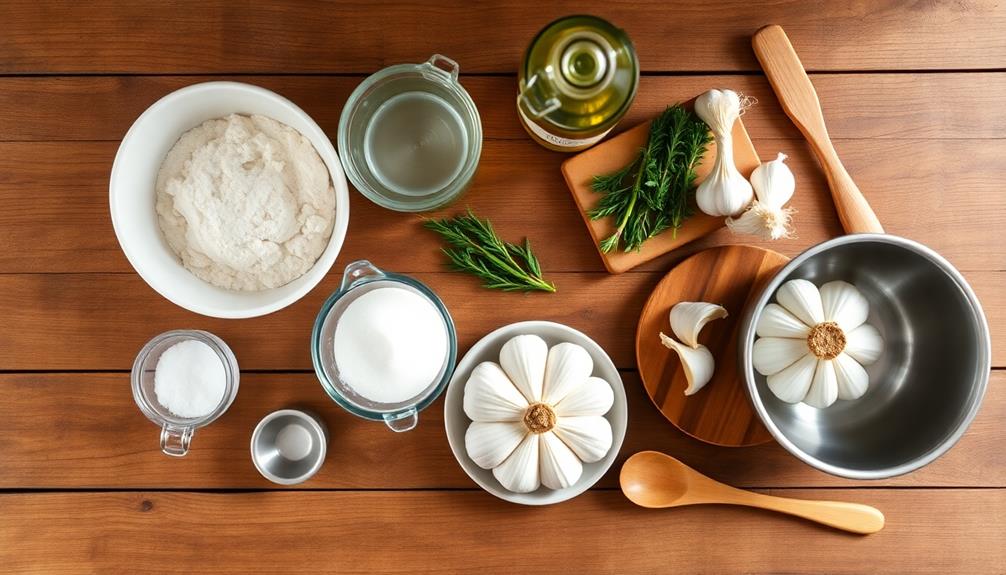
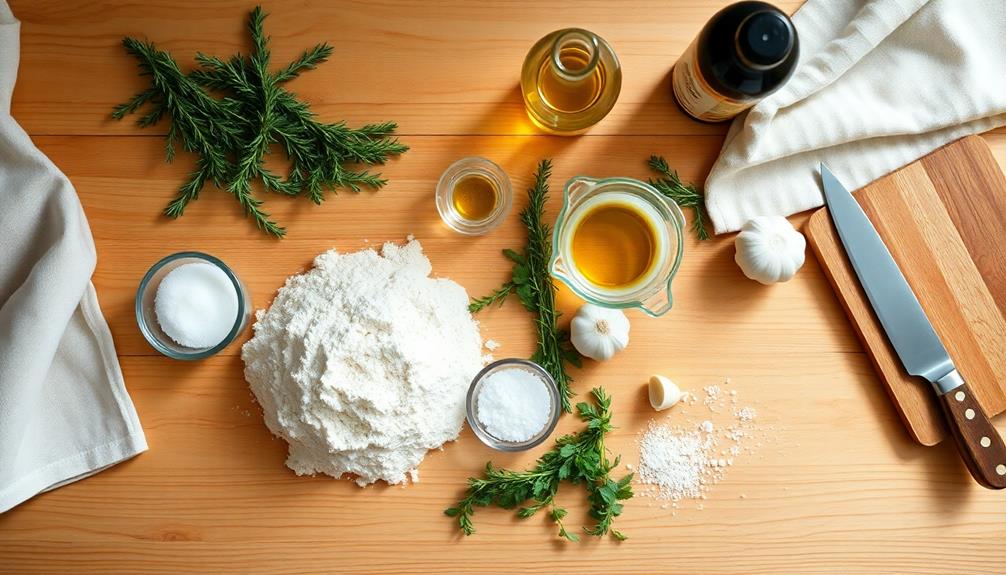
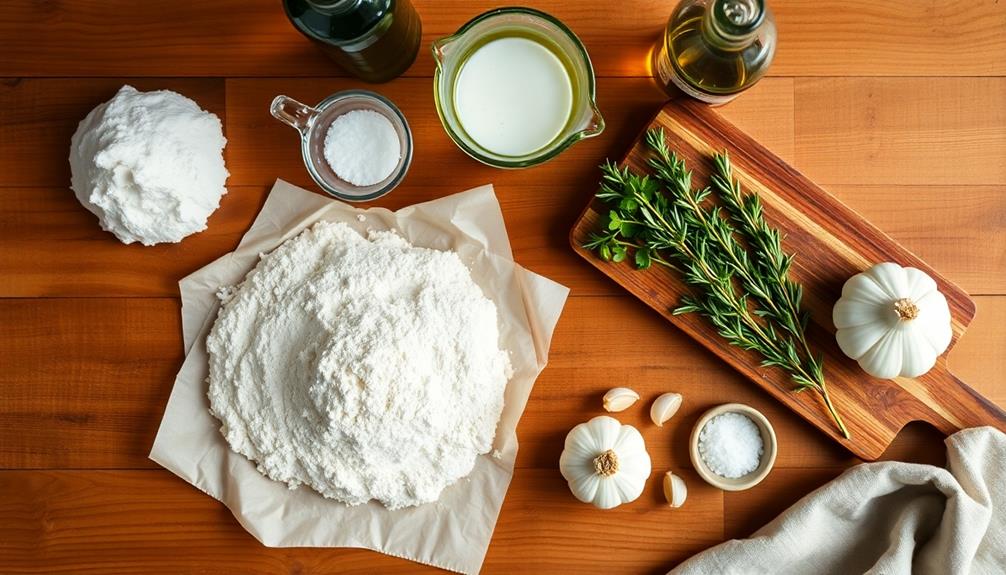
- 4 cups all-purpose flour
- 2 teaspoons instant yeast
- 2 teaspoons salt
- 2 cups warm water
- 1/4 cup olive oil, plus extra for topping
- 1 tablespoon each of fresh rosemary, thyme, and oregano, chopped
- 1 head of garlic, cloves separated and peeled
- Coarse sea salt for sprinkling
To make the focaccia, combine the flour, yeast, and salt in a large bowl. Add the warm water and olive oil, mixing until a shaggy dough forms. Knead the dough for about 10 minutes until smooth and elastic, then let it rise in a warm place for 1-2 hours.
Meanwhile, roast the garlic cloves in olive oil until golden and soft. Once the dough has doubled in size, stretch it onto a baking sheet, dimple the surface with your fingers, and top with the roasted garlic, herbs, and a generous drizzle of olive oil. Let it rise for another 30 minutes, then bake in a preheated 425°F (220°C) oven for 20-25 minutes until golden brown.
For the best results, use high-quality olive oil and fresh herbs to enhance the flavors. Don't be afraid to be generous with the olive oil – it helps create the characteristic crispy exterior and moist interior of focaccia. If you prefer a stronger garlic flavor, you can mix some of the roasted garlic into the dough itself.
Lastly, while the bread is best enjoyed fresh, it can be stored at room temperature for a day or two, or frozen for longer storage.
Cooking Steps
To make your focaccia, you'll start by activating the yeast in warm water.
Next, you'll mix all the dough ingredients together and let it rise until doubled in size.
Once risen, you'll shape the dough into a rectangle, then dimple the surface with your fingers and brush it with oil to create that classic focaccia texture.
Step 1. Activate Yeast in Warm Water
Begin by combining 1 1/4 cups of lukewarm water with 2 1/4 teaspoons of active dry yeast in a large mixing bowl. Stir the mixture gently and let it sit for about 5 minutes.
You'll know the yeast is active when you see it start to foam and bubble on the surface. This process is called "proofing" the yeast.
While you're waiting, gather your other ingredients. You'll need flour, salt, olive oil, and any herbs you'd like to add to your focaccia.
Once the yeast mixture is foamy, it's time to start making your dough. The activation of yeast is crucial because it's what makes your bread rise and gives it that delicious, airy texture.
If your yeast doesn't foam after 5-10 minutes, it might be dead. In this case, you'll need to start over with fresh yeast.
Always check the expiration date on your yeast packet before using it. Remember, the water shouldn't be too hot or too cold – lukewarm is just right for happy, active yeast!
Step 2. Mix Dough Ingredients Together
With the yeast activated, it's time to mix in the remaining ingredients. In a large bowl, combine the flour, salt, and sugar. Make a well in the center and pour in the yeast mixture, olive oil, and warm water.
Using a wooden spoon or your hands, start mixing the ingredients together. As you stir, the dough will begin to form.
Once the dough comes together, turn it out onto a lightly floured surface. Knead the dough for about 5-7 minutes. You'll know it's ready when it becomes smooth and elastic. If it's too sticky, add a little more flour. If it's too dry, add a touch more water. The goal is to have a soft, pliable dough that's not too sticky.
After kneading, shape the dough into a ball. Place it in a lightly oiled bowl, cover with a damp cloth or plastic wrap, and let it rise in a warm spot for about an hour.
During this time, the dough will double in size, developing its flavor and texture.
Step 3. Let Dough Rise
During the rising process, your focaccia dough will develop its characteristic flavor and texture.
After mixing the ingredients, place the dough in a lightly oiled bowl and cover it with a clean, damp kitchen towel or plastic wrap.
Find a warm, draft-free spot in your kitchen for the dough to rise. Ideally, the temperature should be around 75-80°F (24-27°C).
Let the dough rise for about 1 to 1.5 hours, or until it's doubled in size.
You'll know it's ready when you gently poke it with your finger, and the indentation slowly springs back. If it doesn't spring back at all, it's overproofed, and if it springs back immediately, it needs more time.
Once the dough has risen, you'll need to punch it down.
This step releases excess gas and redistributes the yeast.
Gently press your fist into the center of the dough and fold the edges towards the middle.
This process helps ensure an even texture in your finished focaccia.
After punching down, you're ready to shape your dough for the second rise.
Step 4. Shape Dough Into Rectangle
After punching down the dough, you'll shape it into a rectangle. Start by gently pressing the dough onto a lightly oiled baking sheet. Use your fingertips to stretch and push the dough outward, working from the center to the edges.
Don't worry if it's not perfect – focaccia is meant to have a rustic look. Creating a delicious focaccia can be as satisfying as setting up a top projector for gaming for a movie night.
Aim for a rectangle that's about 1/2 inch thick and roughly 9 by 13 inches in size. If the dough keeps springing back, let it rest for a few minutes before trying again. This gives the gluten time to relax, making it easier to shape.
Once you've got your rectangle, use your fingertips to create dimples all over the surface. These little indentations will hold onto the olive oil and herbs you'll add later, giving your focaccia its signature texture and flavor.
Don't be shy – press your fingers firmly into the dough, almost reaching the bottom of the pan. This step is crucial for that authentic focaccia look and feel, so take your time and enjoy the process.
Step 5. Dimple and Oil Dough Surface
Now that you've shaped your dough, it's time to dimple and oil the surface. Using your fingertips, gently press down into the dough, creating small indentations all over. Don't be shy – really get in there! These dimples will help the oil pool and create that classic focaccia texture.
Next, drizzle olive oil generously over the entire surface. You'll want to use about 2-3 tablespoons, making sure it spreads into all the nooks and crannies. The oil will give your focaccia a crispy, golden crust and add tons of flavor.
As you oil the dough, you can also add some extra toppings if you'd like. Sprinkle on some fresh herbs, like rosemary or thyme, or add some sliced olives or cherry tomatoes. These will sink into the dimples and become one with the bread as it bakes.
Once you've oiled and topped your dough, let it rest for about 20 minutes. This will give the dough time to relax and rise a bit more before baking, resulting in a lighter, airier texture.
Final Thoughts
With this delicious roasted garlic and herb focaccia recipe in your repertoire, you've got a crowd-pleasing bread that's perfect for any occasion.
You'll find that it's not only tasty but also versatile. Serve it as a side dish, use it for sandwiches, or enjoy it on its own as a satisfying snack.
Remember, practice makes perfect. Don't be discouraged if your first attempt isn't exactly as you imagined. Each time you make this focaccia, you'll get better at handling the dough and perfecting the flavors.
Feel free to experiment with different herbs or toppings to create your own unique version.
One of the best things about this recipe is that it's easy to make ahead. You can prepare the dough the night before and let it rise slowly in the refrigerator. This slow rise actually enhances the flavor, giving you an even more delicious result.
When you're ready to bake, just take it out, let it come to room temperature, and follow the final steps. You'll have fresh, homemade focaccia with minimal effort on the day you want to serve it.
Frequently Asked Questions
Can I Freeze Focaccia Dough Before Baking?
Yes, you can freeze focaccia dough before baking. It's a great way to save time. Simply wrap it tightly in plastic wrap and freeze for up to 3 months. Thaw overnight in the fridge before baking.
How Long Does Homemade Focaccia Stay Fresh?
Your homemade focaccia will stay fresh for 2-3 days at room temperature when stored properly. You'll want to keep it in an airtight container or wrap it tightly in plastic wrap to maintain its moisture and texture.
What's the Best Way to Reheat Leftover Focaccia?
To reheat leftover focaccia, you'll get the best results using an oven. Preheat it to 375°F, wrap the bread in foil, and warm for 10-15 minutes. You'll revive its crispy exterior and soft interior.
Can I Substitute Dried Herbs for Fresh Ones?
You can substitute dried herbs for fresh ones, but you'll need to adjust the amount. Use about 1/3 of the quantity called for fresh herbs. Remember, dried herbs are more potent, so a little goes a long way. For example, if a recipe calls for 3 tablespoons of fresh basil, you would use 1 tablespoon of dried basil instead. Keep in mind that the flavor of dried herbs may be slightly different from that of fresh herbs, so it’s a good idea to taste and adjust as needed. Additionally, if you’re looking to add some unique flavors to your cocktails, be sure to explore herbinfused cocktail recipes for an extra twist.
Is It Possible to Make Gluten-Free Focaccia?
Yes, you can make gluten-free focaccia! You'll need to use a gluten-free flour blend and xanthan gum as a binder. The texture might be slightly different, but you'll still get a delicious, herb-infused flatbread to enjoy.