Dairy-free pizzas are a tasty, versatile option that let you enjoy a cheesy slice without the lactose. Their origins trace back to the early 20th century, as awareness of lactose intolerance grew. Today, you can craft amazing dairy-free pies using a whole wheat crust, flavorful tomato sauce, and melty vegan mozzarella cheese. Top it with veggies like bell peppers, onions, and mushrooms for a satisfying meal. Bake at 425°F for 15-20 minutes until the crust is golden and the cheese has melted. By choosing quality ingredients and getting creative with toppings, you can make dairy-free pizza a new family favorite. Keep reading to discover more tips and tricks for perfecting your dairy-free pizza creations.
Key Takeaways
- Dairy-free pizzas offer a satisfying alternative for those with lactose intolerance or dietary preferences, featuring plant-based ingredients like vegan mozzarella and fresh vegetables.
- Innovative recipes and cooking techniques, such as using a pizza stone or grilling, can help achieve the desired crispy crust and melted cheese-like texture.
- A wide variety of creative toppings, including roasted vegetables, fruits, and nut-based cheese alternatives, can be explored to craft unique and flavorful dairy-free pizzas.
- Homemade dairy-free pizzas allow for control over ingredient quality and nutritional content, providing a healthier option compared to store-bought options.
- Proper preparation techniques, like allowing the dough to rise and using high-quality vegan cheese, are crucial for achieving the best texture and flavor in dairy-free pizzas.
Top picks for "dairy free pizza"
Open Amazon search results for this keyword.
As an affiliate, we earn on qualifying purchases.
History
The origins of dairy-free pizza can be traced back to the early 20th century, when lactose intolerance became more widely recognized. As people realized they couldn't digest dairy products, the demand for cheese-free alternatives grew.
In the 1920s, enterprising bakers began experimenting with plant-based toppings like tomatoes, vegetables, and even nuts to create dairy-free pizzas. These early attempts weren't always perfect, but they laid the groundwork for the diverse, delicious dairy-free pizzas we enjoy today.
Over the decades, innovations in vegan cheese and innovative crust recipes have made dairy-free pizza a satisfying option for those avoiding dairy, as well as those simply looking to try something new.
Whether you're lactose intolerant, vegan, or just craving a unique pizza experience, the history of dairy-free pizza is one of adaptation, creativity, and a passion for great-tasting food.
Recipe
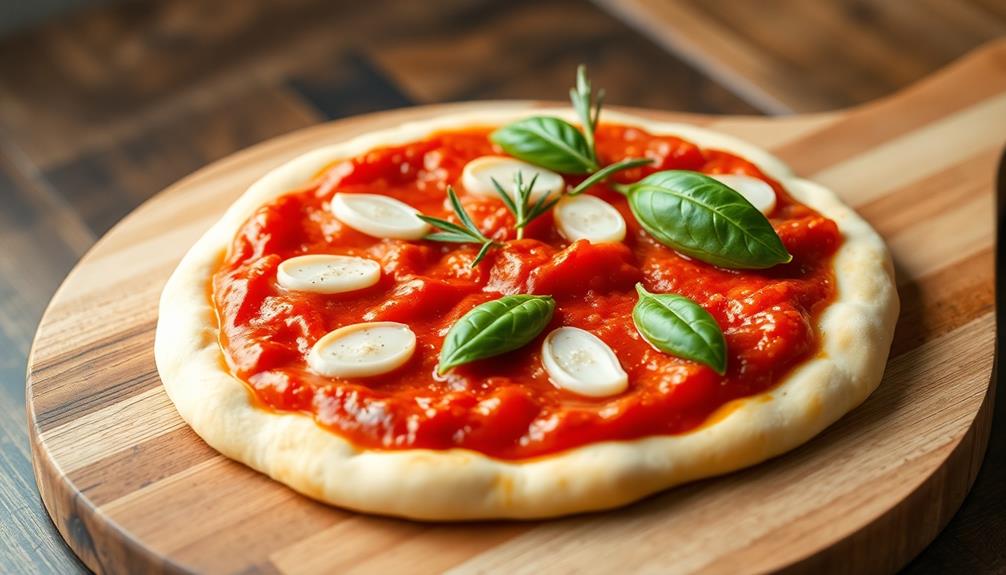
Pizza is a classic dish that can be enjoyed by everyone, even those who are dairy-free. This recipe for Dairy-Free Pizza offers a delicious alternative that's just as satisfying as the traditional version.
The key to a successful dairy-free pizza is using the right ingredients. By substituting traditional dairy products with plant-based alternatives, you can create a crust, sauce, and toppings that aren't only dairy-free but also packed with flavor.
- Whole wheat pizza dough
- Tomato sauce
- Vegan mozzarella cheese
- Sliced bell peppers
- Sliced onions
- Sliced mushrooms
- Fresh basil leaves
Preheat your oven to 425°F (220°C). Roll out the pizza dough on a lightly floured surface to your desired thickness and shape. Spread the tomato sauce evenly over the dough, leaving a small border around the edges.
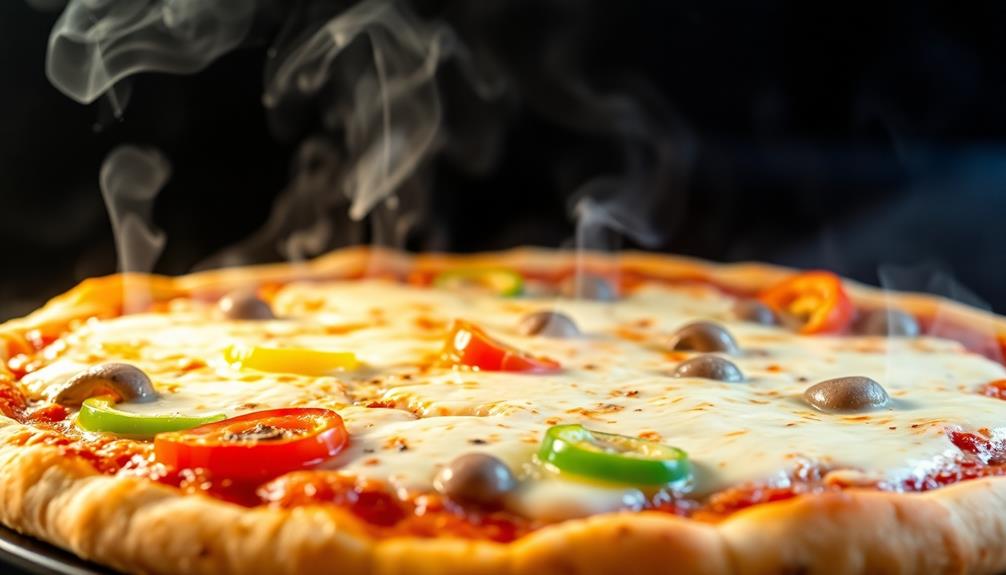
Sprinkle the vegan mozzarella cheese over the sauce, and then top with the sliced bell peppers, onions, and mushrooms. Bake the pizza for 15-20 minutes, or until the crust is golden brown and the cheese is melted and bubbly.
Remove the pizza from the oven and garnish with fresh basil leaves.
When making a dairy-free pizza, it's important to choose a high-quality vegan mozzarella cheese that melts well and has a similar texture to traditional cheese. Additionally, be sure to use a pizza dough that's suitable for your dietary needs, such as a whole wheat or gluten-free option.
With a little creativity and the right ingredients, you can enjoy a delicious and dairy-free pizza that the whole family will love.
Cooking Steps
First, prepare the dough according to the recipe provided.
Next, top the dough with your desired toppings.
Step 1. Prepare the Dough According to Recipe
Now that you've gathered the necessary ingredients, let's dive into the process of preparing the dough.
First, in a large mixing bowl, combine the flour, yeast, and salt. Give it a good stir to evenly distribute the dry ingredients.
Next, slowly pour in the warm water and olive oil, mixing with your hands or a wooden spoon until a shaggy dough forms.
Once the dough comes together, turn it out onto a lightly floured surface and knead for about 5-7 minutes. You'll know it's ready when the dough becomes smooth, elastic, and springs back when you poke it.
Form the dough into a ball, place it in a lightly greased bowl, and cover with a damp towel or plastic wrap. Let the dough rise in a warm, draft-free spot for 1-2 hours, or until it's doubled in size.
Punching down the dough and kneading it briefly will help develop the gluten, resulting in a chewier crust.
Now you're ready to roll or stretch the dough into your desired shape and top it with your favorite dairy-free toppings!
Step 2. Top the Dough With Desired Toppings
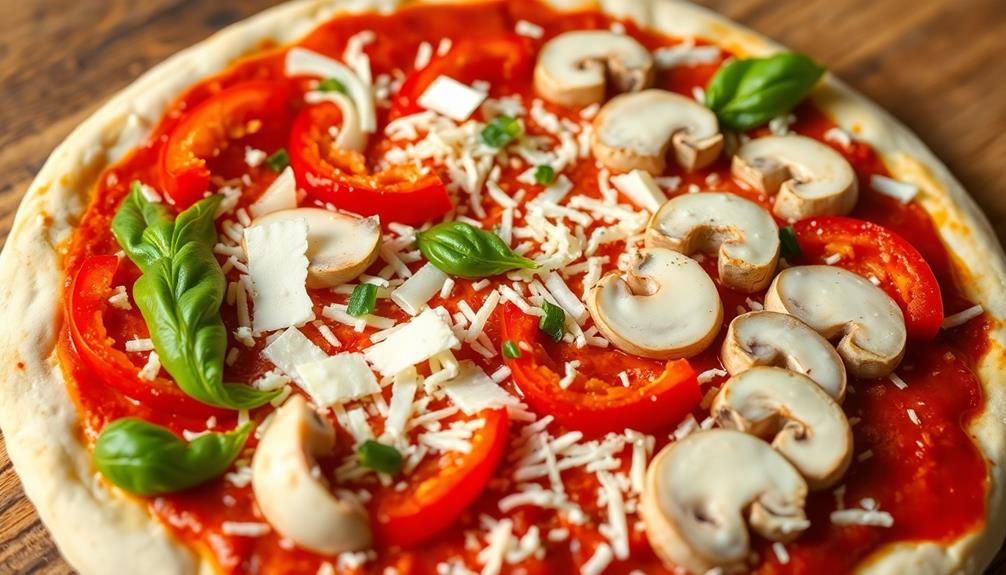
With the dough prepped and ready, it's time to start topping the pizza. Gather your desired toppings – whether that's savory veggies, tangy marinara, or juicy plant-based meat alternatives.
Start by spreading a layer of your favorite sauce over the dough, leaving a bit of space around the edges. This step is crucial for creating a flavorful foundation that enhances the overall taste.
Next, sprinkle on your toppings, being mindful to distribute them evenly. You can get creative with the arrangement, layering ingredients for a visually appealing pie while considering content quality and topical authority.
Don't be afraid to try new combinations – roasted red peppers and spinach, or maybe caramelized onions and mushrooms.
Once your toppings are in place, give the pizza a final drizzle of olive oil around the edges for a crisp, golden crust.
With the toppings ready, your delicious dairy-free pizza is almost ready to bake. Just slide it into the oven and get ready to enjoy a mouthwatering meatless meal.
Step 3. Bake Pizza in Preheated Oven
Once your toppings are arranged, slide the pizza into the preheated oven.
You'll want to bake it at a high temperature, around 450°F (230°C), to get a nice crisp crust.
Keep a close eye on it, as dairy-free pizzas can burn more easily than traditional cheese-based ones.
Bake for 12-15 minutes, or until the crust is golden brown and the toppings are sizzling.
When the timer goes off, use oven mitts to carefully remove the pizza from the oven.
Let it cool for a few minutes before slicing and serving.
This resting period allows the crust to firm up and the toppings to set.
Once your dairy-free masterpiece is ready, slice it up and dive in!
The lack of cheese won't compromise the delicious flavors of the sauce, veggies, and other tasty toppings.
Enjoy your creation and savor every bite of this dairy-free delight.
Step 4. Let Dough Rest Before Assembling
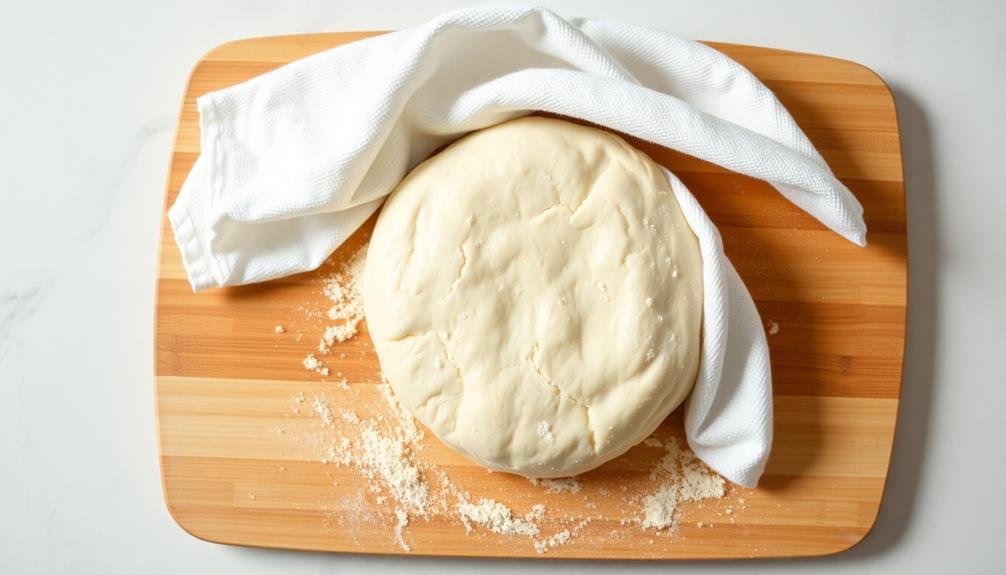
Before assembling your dairy-free pizza, let the dough rest for about 30 minutes. This resting period is crucial for the gluten in the dough to relax, making it easier to work with and preventing it from shrinking back when you try to stretch it out.
During this time, the dough will also continue to ferment, developing more flavor.
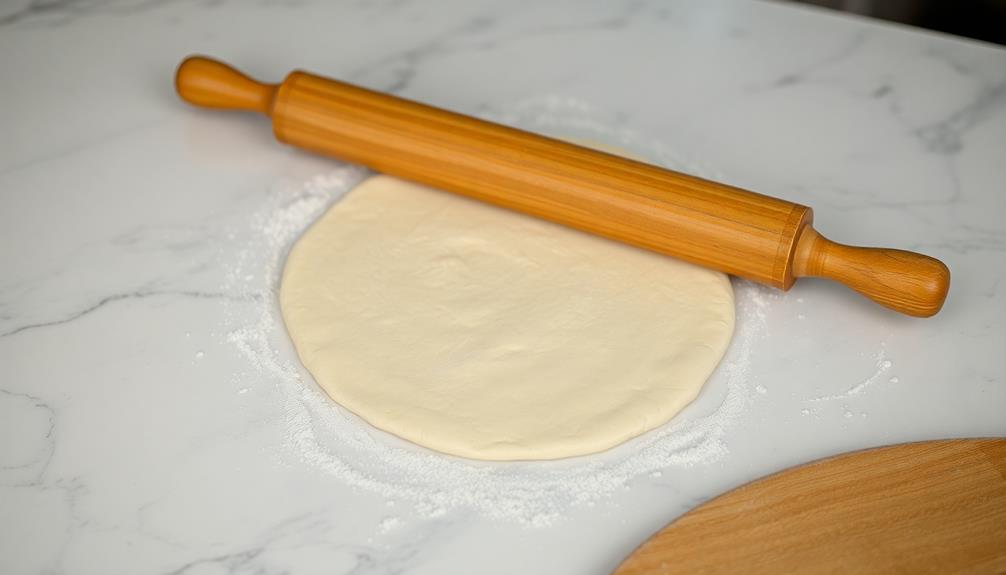
Once the dough has rested, it's time to start assembling your pizza. Lightly flour your work surface and use your hands or a rolling pin to gently stretch and shape the dough into your desired size and thickness.
Be careful not to overwork the dough, as this can make it tough. If the dough is being stubborn, let it rest for a few more minutes before trying again.
With your dough ready, you can now start adding your favorite dairy-free toppings. Whether you're using plant-based cheese, roasted veggies, or a flavorful sauce, the possibilities are endless when it comes to creating a delicious dairy-free pizza.
Step 5. Slice and Serve the Baked Pizza
Now that your dairy-free pizza dough is ready and topped with your favorite ingredients, it's time to bake it up to perfection.
Once your pizza has finished baking, you'll want to let it cool for a few minutes before slicing and serving. Use a sharp knife or pizza cutter to carefully slice the pizza into even pieces. Be gentle to prevent the toppings from sliding off.
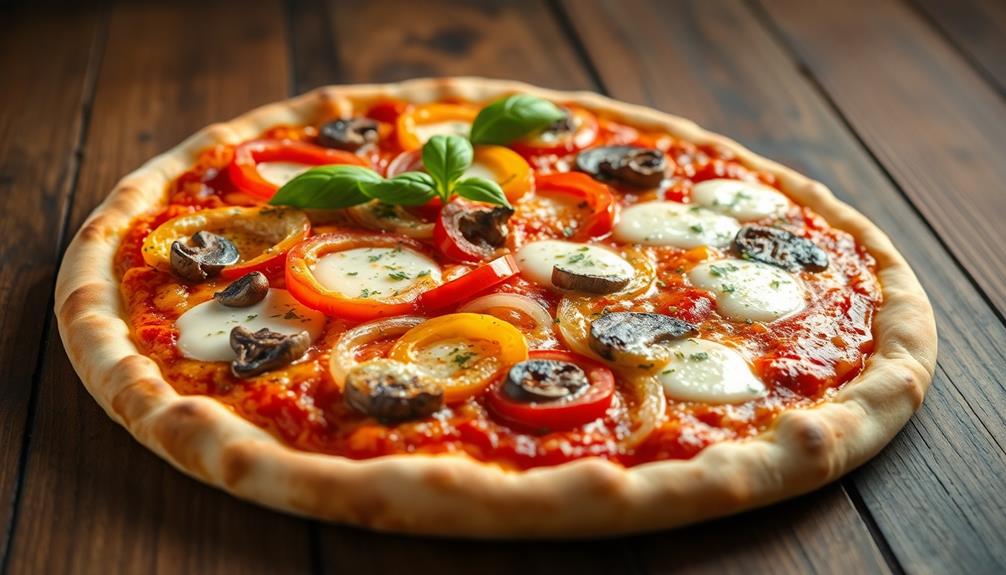
Arrange the slices on a serving platter or plate. You can drizzle a bit of olive oil or sprinkle some fresh herbs over the top for added flavor and presentation.
Serve the dairy-free pizza immediately while it's hot and crispy. Your guests will love the delicious, dairy-free taste. Encourage them to dig in and enjoy every bite of this flavorful, plant-based creation.
With a little care and attention, you've now mastered the art of baking mouthwatering dairy-free pizzas right at home.
Final Thoughts
Dairy-free pizza may be a game-changer for those with lactose intolerance or who simply prefer to avoid dairy.
By experimenting with creative toppings and plant-based cheese alternatives, you can craft delicious dairy-free pizzas that satisfy your cravings without compromising on flavor or texture. One option for a unique topping is to use roasted vegetables such as zucchini, bell peppers, and mushrooms. These add a burst of flavor and nutrients to your dairy-free pizza, and can be easily customized to suit your personal taste. Additionally, experimenting with different plant-based cheeses like cashew or almond-based options can give your dairyfree pizza recipe a rich and creamy texture that rivals traditional mozzarella.
Don't be afraid to get creative with your toppings.
Vegetables, fruits, nuts, and seeds can all make for tasty and nutritious pizza toppings.
You might even discover new favorite combinations, like roasted veggies and pesto or a sweet and savory fruit pizza.
And with so many dairy-free cheese options available, from cashew-based to coconut-based, you're sure to find one that works for your taste buds.
Frequently Asked Questions
Can I Use Plant-Based Cheese Substitutes?
You certainly can use plant-based cheese substitutes! They're a great dairy-free option that can provide the same texture and flavor as traditional cheese. Just be sure to choose a high-quality substitute that melts well for the best results.
How Do I Ensure a Crispy Crust?
To ensure a crispy crust, you'll want to preheat your oven to a high temperature, use a pizza stone or baking steel, and let the dough rest before stretching it out. This will help create a beautifully crisp base for your pizza.
How Do I Reheat Dairy-Free Pizza Properly?
To reheat your dairy-free pizza properly, preheat your oven to 400°F (200°C). Place the pizza slices on a baking sheet and bake for 5-7 minutes, or until the crust is crispy and the toppings are heated through. Enjoy your reheated pizza!
Are There Any Nut-Free Dairy-Free Cheese Options?
Yes, there are nut-free and dairy-free cheese alternatives made from soy, coconut, or oat. These provide a similar texture and flavor to traditional cheese without the use of nuts or dairy products. You can find them at many grocery stores.
How Long Does Dairy-Free Pizza Stay Fresh?
Typically, dairy-free pizzas will stay fresh for 3-5 days when stored properly in the refrigerator. However, the exact shelf life can vary depending on the specific toppings and crust used. Be sure to check the pizza for signs of spoilage before consuming.