
To make flawless gluten-free pâte à choux, start by choosing a good gluten-free flour blend that provides structure and elasticity. Measure ingredients carefully and sift the flours to avoid lumps. Cook the flour mixture on the stovetop until smooth and glossy, then cool slightly before adding eggs one at a time, mixing well. Achieve a stiff, shiny consistency, pipe onto baking sheets, and bake until golden. For more tips on perfecting your pastry, keep exploring the essentials.
Key Takeaways
- Use a high-quality gluten-free flour blend or a combination of rice flour, tapioca starch, and sorghum for the best texture.
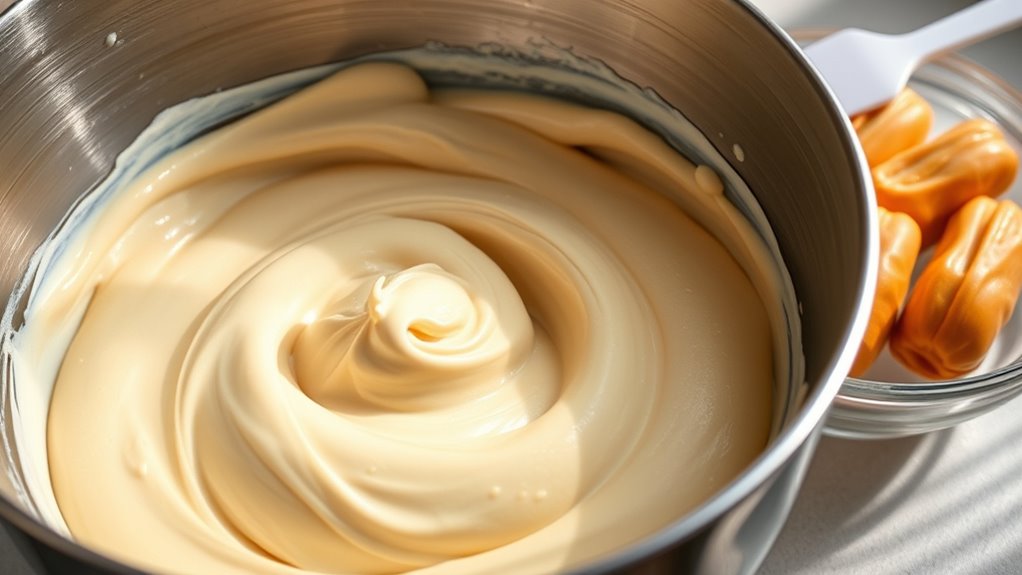
- Sift the flours and cook the mixture on the stovetop until smooth and glossy to develop flavor and structure.
- Incorporate eggs one at a time, mixing thoroughly to achieve a shiny, pipeable dough with proper consistency.
- Monitor and adjust dough thickness with additional eggs or water to ensure it holds shape and is easy to pipe.
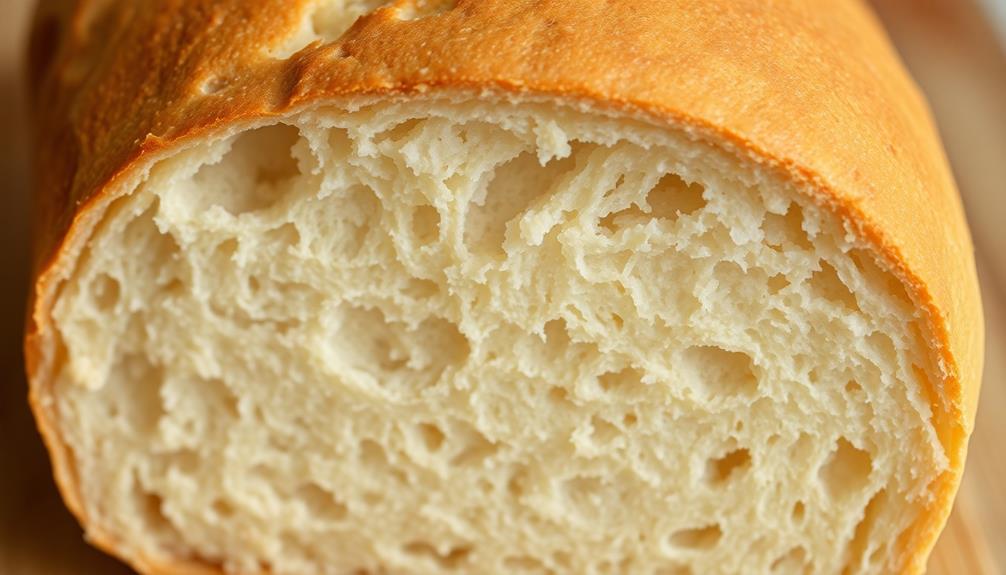
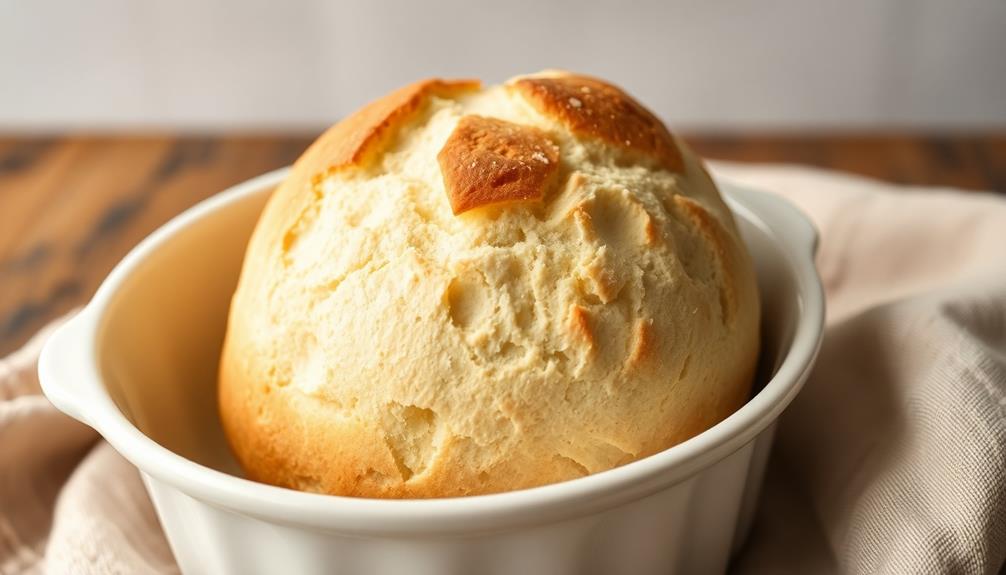
- Bake until golden and puffed, and handle with patience to achieve light, airy, gluten-free pâte à choux.
If you’re craving classic pâte à choux but need a gluten-free option, don’t worry—it’s entirely possible to make a delicious version at home. The key lies in choosing the right gluten-free flours and mastering some essential preparation tips. Gluten free flours come in many varieties, such as rice flour, tapioca starch, sorghum, or a blend specifically formulated for baking. Combining these can help mimic the structure and elasticity that gluten provides, so you get a light, airy choux pastry. A common approach is to use a pre-made gluten-free flour blend designed for baking, which simplifies your process and guarantees a more consistent result.
Create light, airy gluten-free pâte à choux using the right flours and essential preparation techniques.
When working with gluten free flours, preparation tips become essential. First, guarantee all your ingredients are measured accurately. Gluten-free dough can be more sensitive to moisture levels, so precise measurements help achieve the right consistency. Before starting, sift your flours to eliminate any lumps and to aerate them, which can improve the dough’s texture. As you cook the flour mixture on the stovetop, stir constantly until it forms a smooth, glossy paste and pulls away from the sides of the pan. This step, called “cooking out the raw flour taste,” is indispensable for flavor and structure. Additionally, understanding the role of gluten-free flours can help you choose the best options for your recipe.
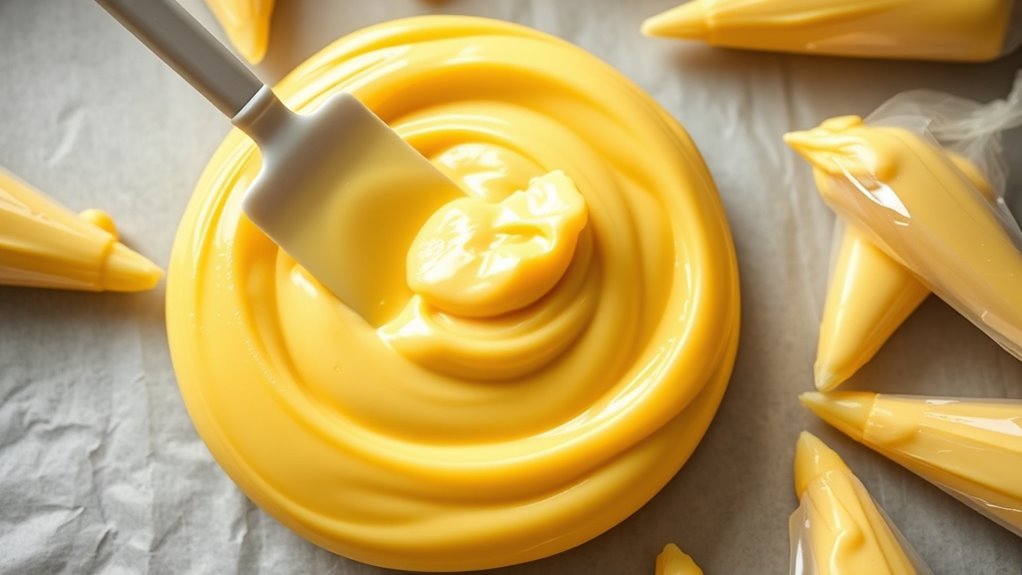
Once your flour mixture is ready, transfer it to a mixing bowl and let it cool slightly before adding eggs. Incorporate eggs one at a time, mixing thoroughly after each addition. The dough should become smooth, shiny, and pipeable—if it’s too thick, add a little more eggs; if too runny, a touch more flour. Using a piping bag fitted with a star tip gives you uniform, professional-looking pastries. Including a stiff, glossy dough stage ensures your pâte à choux will hold its shape during baking and produce that perfect puff. To achieve consistent results, some bakers also use a kitchen thermometer to monitor the temperature during the cooking process.
Keep in mind that gluten-free pâte à choux may require slight adjustments based on humidity and the specific flours used. If your dough feels too loose, chilling it briefly can help; if it’s too stiff, a small splash of water or milk can loosen it up. Proper storage and handling can also impact the final texture and appearance of your pastries. Baking time might vary slightly, so keep an eye on your pastries as they turn golden and puff up. Proper preparation and understanding of your gluten-free flours make all the difference in producing flawless, airy pâte à choux that’s just as delightful as traditional versions. With patience and practice, you’ll master this gluten-free adaptation and enjoy homemade treats that everyone can savor.
Frequently Asked Questions
Can I Substitute Different Gluten-Free Flours in the Recipe?
You wonder if you can use different gluten-free flours in your pâte à choux recipe. Yes, substitution options exist, but they vary in texture and moisture content. You might try rice flour, tapioca starch, or a gluten-free flour blend for best results. Keep in mind, experimenting may require adjustments to liquids and baking time to achieve the perfect, fluffy choux.
How Do I Prevent the Choux From Collapsing During Baking?
Think of your choux as a delicate balloon. To prevent it from collapsing, keep your oven temperature steady and high enough—around 375°F. Use steam injection at the start of baking to create a burst of pressure, helping the choux rise firmly. Avoid opening the oven door too early, as sudden temperature drops can deflate your masterpiece. Patience and proper oven conditions are your best allies.
What’S the Best Method to Store Gluten-Free Pâte À Choux?
You should store gluten-free pâte à choux in an airtight storage container to keep it fresh. For best results, refrigerate it, but make sure to cover it tightly to prevent drying out or absorbing odors. When ready to use, let it come to room temperature, and gently rewhisk if needed. This method maintains the texture and ensures your choux is ready for baking whenever you need it.
Can I Freeze the Dough Before Piping?
Freezing dough before piping is like catching lightning in a bottle — it can work if you’re careful. You can freeze your gluten-free pâte à choux dough during dough preparation, but make sure to shape or pipe it first. Wrap it tightly, then freeze. When you’re ready, thaw it slightly, and it should pip out smoothly. Just note that freezing might slightly alter the texture, so experiment to perfect your process.
How Do I Adjust the Recipe for High-Altitude Baking?
When baking pâte à choux at high altitude, you’ll need altitude adjustments to make certain of perfect rise. Reduce the liquid slightly and increase the flour to strengthen the dough. Use leavening techniques like slightly increasing eggs to boost leavening power. Additionally, bake at a slightly higher temperature to help the shells set quickly. These tweaks help counteract the lower air pressure, giving you light, airy choux every time.
Conclusion
With a little patience and attention, you’ll find your gluten-free pâte à choux can truly shine. While it may take a gentle touch to perfect, the results are often worth the effort, offering a delicate texture that’s hard to beat. Remember, even the most refined pastries have their humble beginnings. Trust your instincts and enjoy the journey—your future creations will thank you for your dedication, and everyone will appreciate the delightful treats you bring to life.