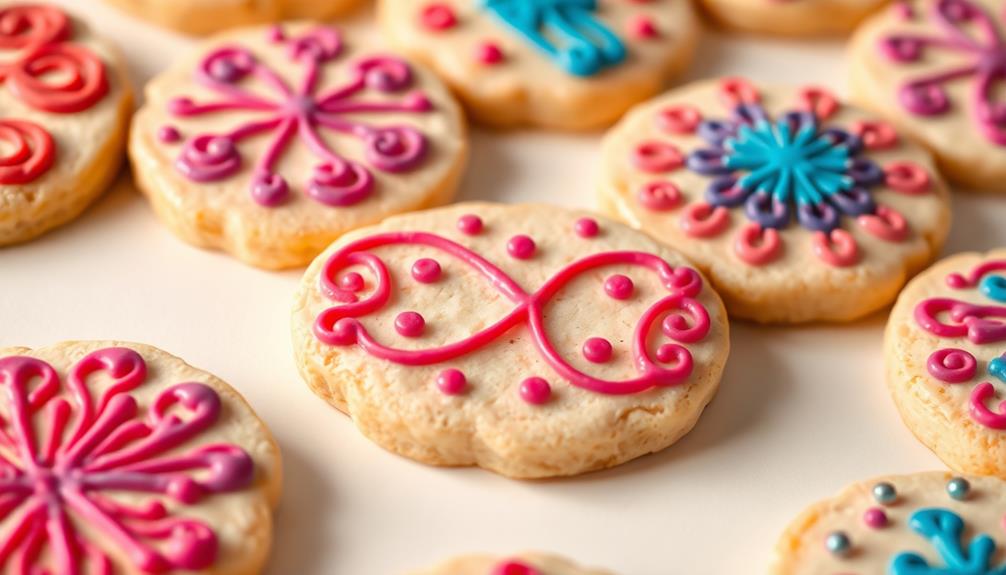
Decorating cookies with royal icing is a delightful way to let your creativity shine! This glossy, hardening icing dates back to the 17th century, when it was used to decorate royal court cakes. Today, you can use it to transform simple cookies into showstopping treats. Just whip up a batch with egg whites, sugar, and lemon juice, then get to piping! Experiment with different techniques and nozzle sizes to create intricate designs. Add a splash of food coloring for pops of color. The possibilities are endless – from nature-inspired motifs to cultural patterns. With a little practice, you'll be decorating like a pro in no time. And there's more to discover about this versatile medium…
Key Takeaways
- Master piping techniques with various tip sizes to create intricate designs on cookies.
- Utilize food coloring to tint royal icing and add visual interest to decorations.
- Allow icing to dry completely between layers for a durable, glossy finish.
- Experiment with seasonal or cultural motifs to inspire unique cookie designs.
- Consistent practice enhances decorating skills and leads to professional-looking results.
Top picks for "decorat royal techniqu"
Open Amazon search results for this keyword.
As an affiliate, we earn on qualifying purchases.
History
According to historical accounts, the origins of royal icing can be traced back to the 17th century. It was originally used to decorate elaborate cakes and pastries for the royal courts of Europe. Back then, this icing was made with egg whites and sugar, creating a glossy, smooth finish that could be piped and molded into intricate designs.
Over the centuries, the recipe for royal icing evolved, and it became a staple in the world of baking and decorating. Today, it's commonly used to adorn cookies, cupcakes, and even gingerbread houses. The versatility of royal icing allows bakers to create stunning, professional-looking results with its ability to hold its shape and harden to a glossy sheen.
Whether you're a seasoned baker or just starting out, learning the history and techniques of decorating with royal icing can help you take your baked goods to new heights. With a few simple tips and tricks, you'll be creating edible works of art in no time!
Recipe
Decorating with royal icing is a classic way to add intricate designs and details to baked goods. Royal icing is a versatile and forgiving medium that can be used to create everything from delicate piped flowers to bold geometric patterns.
The key to successful royal icing is achieving the right consistency. It should be thick enough to hold its shape but thin enough to be easily piped and smoothed. With a little practice, you'll be able to master the perfect royal icing consistency for your decorating needs.
Ingredients:
- 4 cups (500g) confectioners' sugar
- 3 large egg whites
- 1 teaspoon lemon juice
Instructions:
In a large bowl, combine the confectioners' sugar, egg whites, and lemon juice. Using an electric mixer, beat the mixture on high speed until it becomes thick, glossy, and holds stiff peaks, about 5-7 minutes.
Tips:
- Royal icing dries quickly, so be sure to keep it covered with a damp cloth when not in use. You can also add a small amount of water to thin the icing if it begins to stiffen.
- For best results, allow the royal icing to dry completely between layers or decorations. This can take several hours or even overnight, depending on the thickness of the icing.
- Experiment with different piping techniques and nozzle sizes to create a variety of decorative elements. You can also tint the icing with food coloring for added visual interest.
Cooking Steps
First, prepare your cookie dough according to the recipe.
Next, flood the cookies with a smooth layer of royal icing.
Once the icing has set completely, you can start piping decorative designs on top.
Let the royal icing harden fully before admiring your handiwork!
Step 1. Prepare Cookie Dough According to Recipe
Before you can begin decorating your cookies with royal icing, you'll need to prepare the cookie dough according to your recipe. First, gather all the necessary ingredients, like flour, sugar, butter, and eggs.
Then, follow the recipe's instructions step-by-step. Cream the butter and sugar together until light and fluffy, then add the eggs one at a time, mixing well after each addition.
Next, combine the dry ingredients, such as the flour and baking powder, in a separate bowl. Gradually incorporate the dry ingredients into the wet mixture, mixing just until they're fully combined.
Be careful not to overmix, as this can make the cookies tough. Once the dough is ready, cover it and chill in the refrigerator for at least an hour, or until firm.
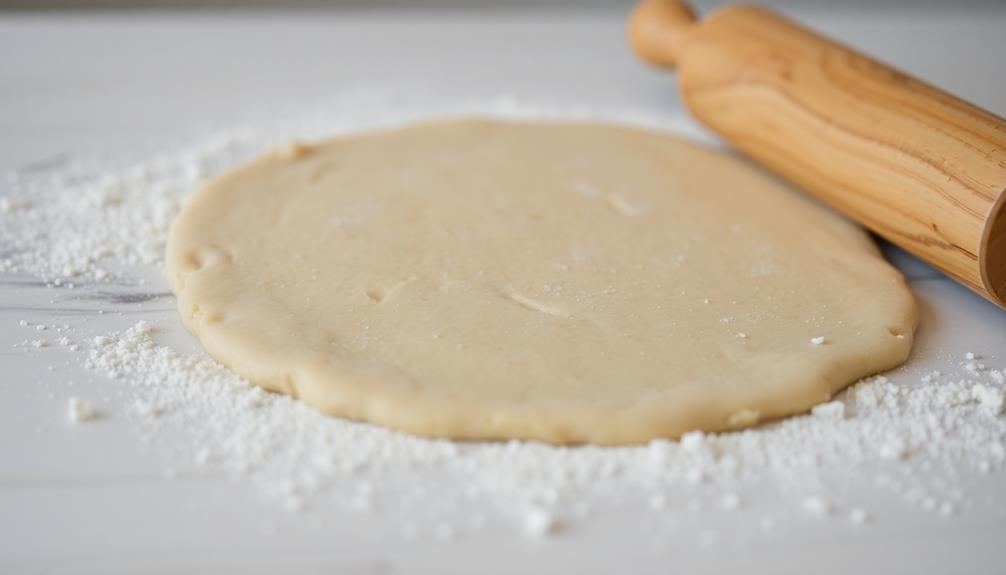
After the dough has chilled, you can start rolling it out and cutting it into your desired shapes. Place the cut-out cookies onto a parchment-lined baking sheet, then bake them according to the recipe's instructions.
Allow the cookies to cool completely before decorating them with the royal icing.
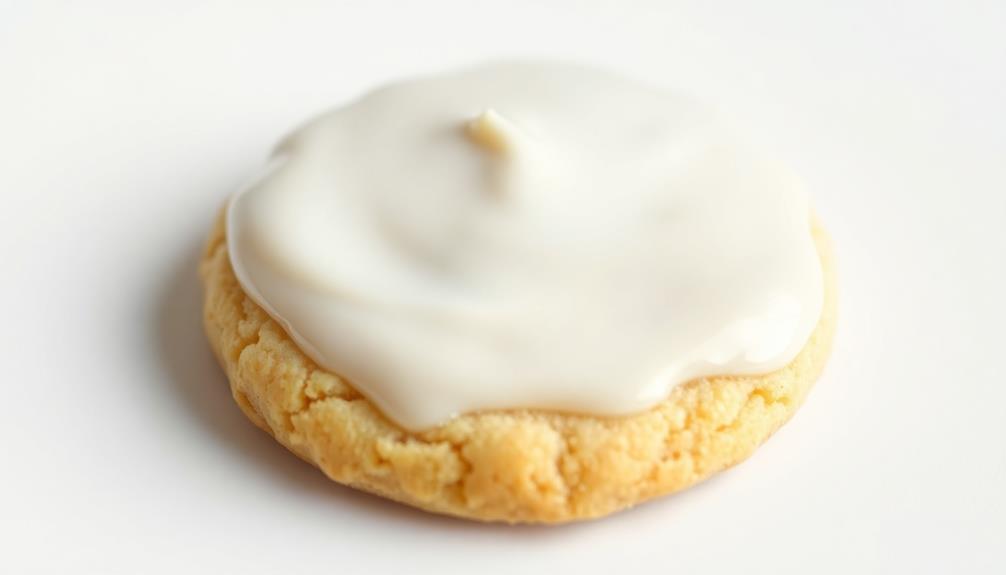
Step 2. Flood Cookies With Royal Icing

To flood your cookies with royal icing, start by preparing the icing. Mix the icing according to the recipe, making sure it has a smooth, spreadable consistency.
Gently spoon the icing onto the surface of your baked cookies, starting from the center and working your way out. Use a clean, damp paintbrush to guide the icing to the edges, creating an even, glossy coating.
Once the icing is applied, let the cookies dry completely, which can take several hours or even overnight. This allows the icing to harden and create a beautiful, shiny finish.
If desired, you can add additional decorations, such as sprinkles or edible glitter, while the icing is still wet. Just be careful not to disturb the iced surface.
Flooding cookies with royal icing is a simple yet effective way to create professional-looking, beautifully decorated treats. Once the cookies are flooded with royal icing and allowed to dry, they can be further embellished with intricate designs using piping bags and tips. For an even more elegant touch, consider adding glossy chocolate tempering to create a stunning contrast in texture and flavor. The smooth, shiny finish of the tempered chocolate will add a professional touch to your cookies and make them irresistible to anyone who sets eyes on them.
Take your time and enjoy the process – the results will be worth it!
Step 3. Let Royal Icing Set Completely
After applying the royal icing, you'll want to let it set completely. This process can take a little while, but it's important to be patient. As the icing dries, it'll become firm and shiny. This usually takes about 4-6 hours, depending on the humidity in your kitchen.
During this time, make sure not to touch or move the cookies. You don't want to disturb the icing while it's setting.
Once the icing is fully hardened, you can start decorating your cookies with additional details, like sprinkles or edible glitter. This will create beautiful, professional-looking designs.
Be careful when handling the cookies, as the iced surfaces can be delicate. Store the decorated cookies in a single layer to prevent the icing from getting damaged.
With a little time and care, you'll have gorgeous royal icing cookies that are sure to impress your family and friends!
Step 4. Pipe Decorative Designs on Cookies
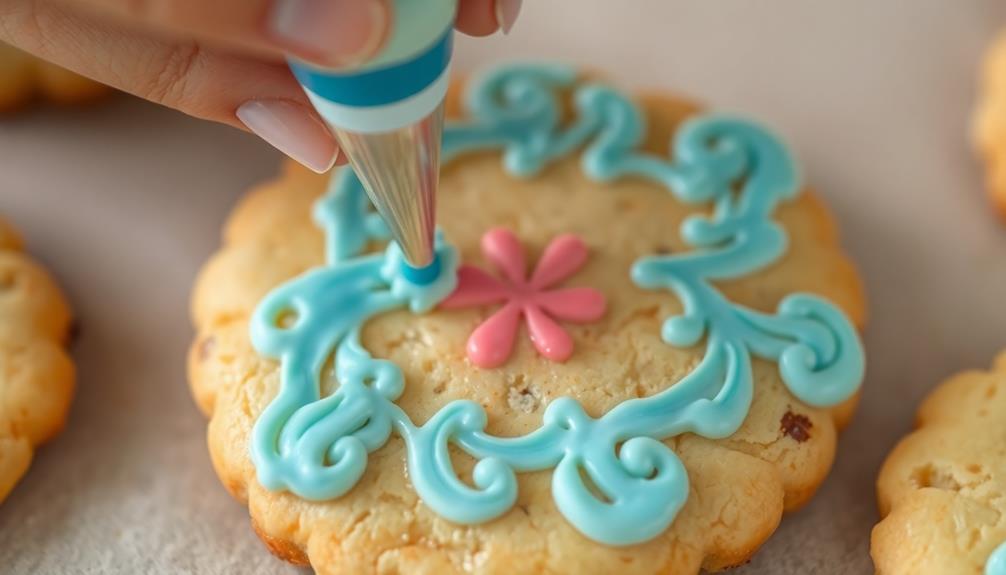
Once the royal icing has completely set, you're ready to start piping decorative designs onto your cookies. Grab your piping bags and prepare to unleash your creativity! You can pipe intricate patterns, swirls, and shapes using the icing.
Start with a simple design, like a border around the edge of the cookie. Slowly and carefully pipe the icing along the outline, making sure to keep the lines clean and even.
Next, try something more complex, like a delicate lace pattern or an elegant floral design. Squeeze the icing bag gently to create delicate lines and loops. Don't worry if it's not perfect at first – practice makes progress! You can also experiment with different tip sizes to achieve various effects.
Get creative and have fun! Pipe designs that reflect your personal style or the occasion. Whether you opt for classic designs or whimsical patterns, your beautifully decorated cookies are sure to impress.
Just take your time, pipe with confidence, and enjoy the process.
Step 5. Let Royal Icing Harden Completely
With the decorative piping complete, you'll need to let the royal icing harden completely before handling the cookies. This is a crucial step to ensure your beautiful designs stay intact.
Simply set the cookies aside and allow the icing to dry, which should take about 2-3 hours. Be patient – you don't want to rush this process.
As the icing dries, it will become hard and glossy, creating a smooth, professional-looking finish.
Once the icing is completely set, you can carefully transfer the cookies to an airtight container or display them proudly. The hardened icing will protect your intricate designs, allowing you to enjoy your creations for days to come.
Final Thoughts
Royal icing can be a versatile and rewarding medium for decorating cakes and other baked goods. As you've learned, it takes a bit of practice to master, but the results are well worth the effort.
With a little patience and creativity, you can create stunning, professional-looking designs that will impress your friends and family.
Don't be afraid to experiment with different techniques and designs. Royal icing offers endless possibilities, from delicate lace patterns to bold, vibrant colors.
Have fun with it and let your creativity shine through. Remember, the more you practice, the better you'll become.
When you're finished decorating, be sure to store your creations properly to keep them fresh and beautiful.
With a little care, your royal icing masterpieces can last for days or even weeks.
Frequently Asked Questions
How Long Does Royal Icing Take to Dry Completely?
The drying time for royal icing can vary, but it generally takes 4-8 hours to dry completely. Factors like humidity and temperature affect the drying process, so keep an eye on your cookies and let them set fully before handling.
Can Royal Icing Be Used for Piping and Flooding?
Yes, you can use royal icing for both piping and flooding techniques. It's versatile and dries to a smooth, hard finish, making it perfect for decorating cookies, cakes, and other baked goods with intricate designs.
How Do I Store Leftover Royal Icing?
To store leftover royal icing, place it in an airtight container and refrigerate it. When ready to use, let it come to room temperature and give it a good stir before piping or flooding your cookies.
Can I Color Royal Icing With Food Coloring?
Absolutely! You can easily color royal icing with food coloring. Just add a few drops of your desired color and mix thoroughly until you achieve the perfect hue. The icing will readily accept the color, allowing you to get creative.
What Tools Are Needed for Decorating With Royal Icing?
You'll need a few essential tools to decorate with royal icing: piping bags, tips, food coloring, and a small paintbrush. Consider investing in a turntable or rotating cake stand for easier access. With these simple tools, you can create stunning, intricate designs on your cookies.