A patty melt is a mouthwatering twist on the classic hamburger that you'll love sinking your teeth into. It's a savory sandwich that combines a juicy beef patty with gooey melted cheese, all nestled between slices of crispy, buttery rye bread. Caramelized onions add a touch of sweetness to balance the rich flavors. This comfort food emerged in the 1940s or 1950s and has been a diner favorite ever since. You can customize your patty melt with different cheeses, toppings, or even bread types to create your perfect sandwich. Let's explore how to make this delicious treat step by step.
Key Takeaways
- A patty melt is a sandwich featuring a beef patty, melted cheese, and caramelized onions on grilled rye bread.
- It originated in the 1940s or 1950s as a variation of the classic hamburger, using grilled bread instead of a bun.
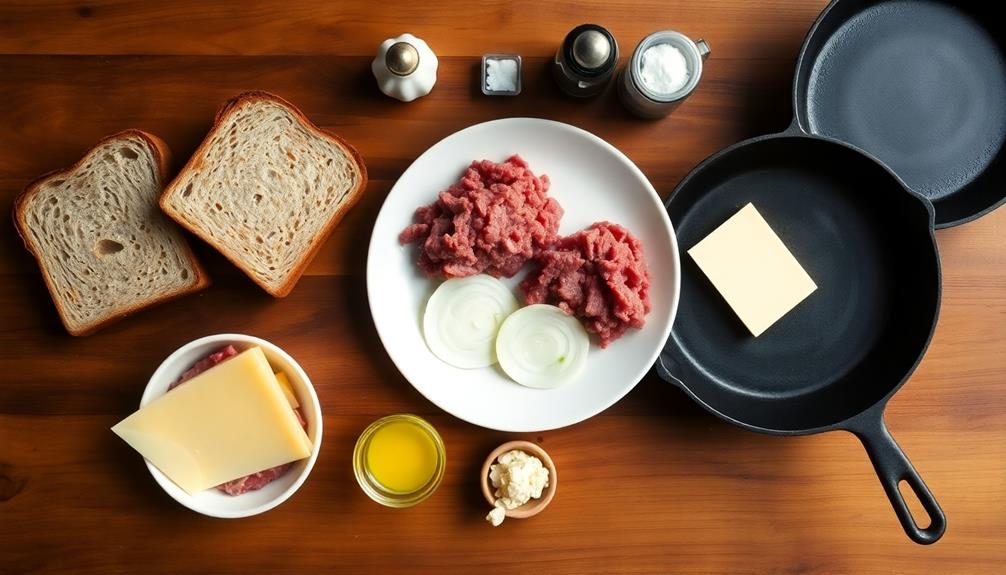
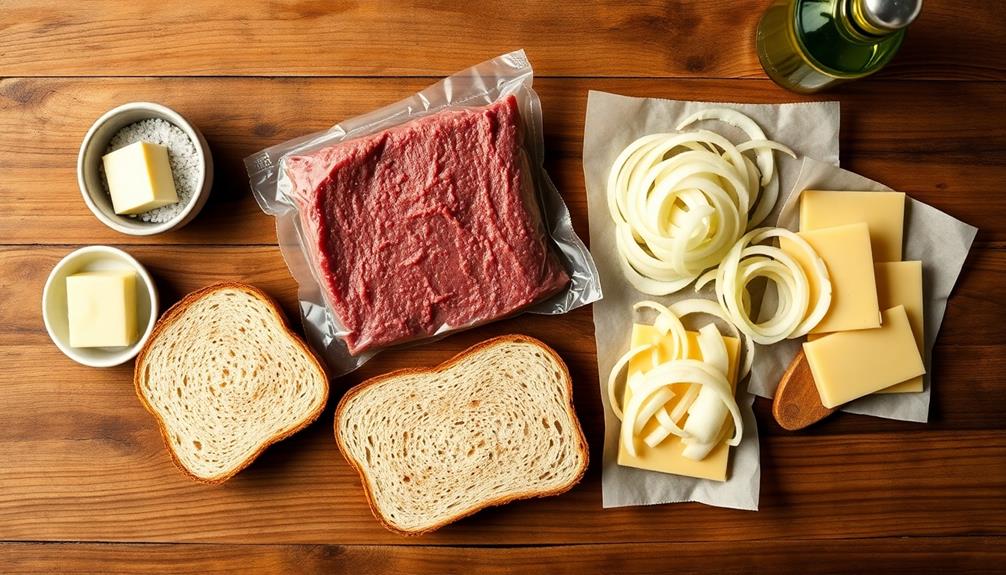
- Key ingredients include a seasoned beef patty, gooey melted cheese, crispy buttered bread, and sweet caramelized onions.
- The sandwich combines savory and sweet flavors, with a rich texture contrast between the crispy bread and melted ingredients.
- Patty melts are versatile, suitable for lunch, dinner, or late-night snacks, and can be customized with different cheeses and toppings.
History
The patty melt's origins are often shrouded in mystery, but it's generally believed to have emerged in the 1940s or 1950s in the United States. You might wonder how this delicious sandwich came to be! Well, it's thought to have been created as a twist on the classic hamburger. Instead of a bun, someone had the brilliant idea to use grilled bread.
The name "patty melt" perfectly describes what you're getting: a beef patty that's melted together with cheese and other yummy ingredients. It's like a grilled cheese sandwich and a burger had a tasty baby!
Over the years, the patty melt has become a staple in diners and restaurants across America. You'll find that different places have their own special ways of making patty melts. Some use rye bread, while others prefer sourdough. The cheese can vary too, from American to Swiss.
No matter how it's made, the patty melt has stood the test of time and remains a beloved comfort food for many people.
Cooking Steps
Preparing a perfect patty melt involves several key steps. First, you'll want to shape your ground beef into thin, oval patties. Season them well with salt and pepper.
Next, heat up a skillet and cook the patties until they're nicely browned on both sides. While they're cooking, butter your bread slices and set them aside.
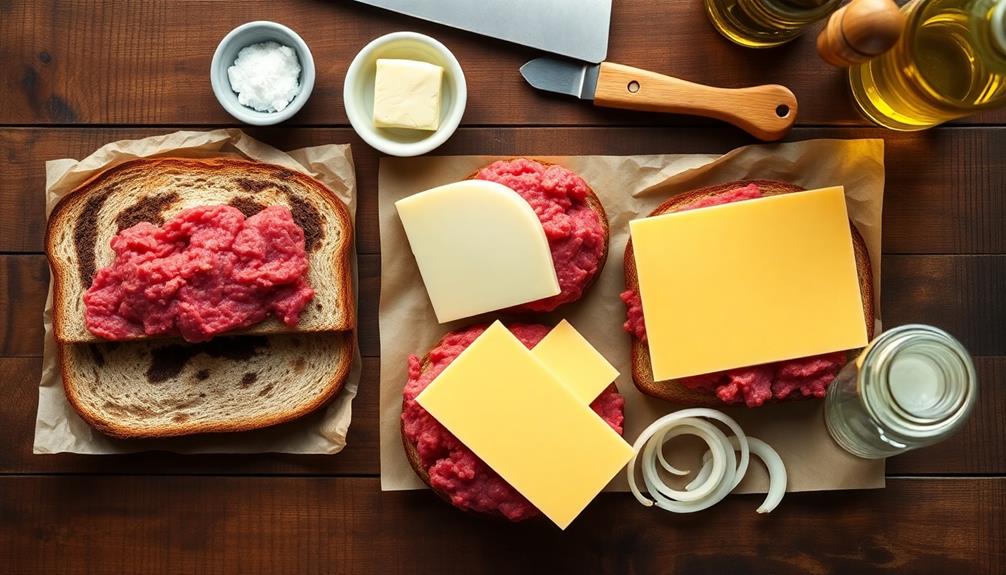
Now, it's time to assemble your patty melt. Place a slice of bread, buttered side down, in the skillet. Add a slice of cheese, then the cooked patty, some caramelized onions (if you like), and another slice of cheese.
Top it with the second slice of bread, buttered side up. Cook your patty melt over medium heat, pressing gently with a spatula. When the bottom is golden brown, carefully flip it over.
Keep cooking until both sides are crispy and the cheese is melty. The smell will be amazing!
Let it cool for a minute, then slice it diagonally. Your homemade patty melt is ready to enjoy. It's crispy, cheesy, and absolutely delicious!
Step 1. Season Ground Beef Patties
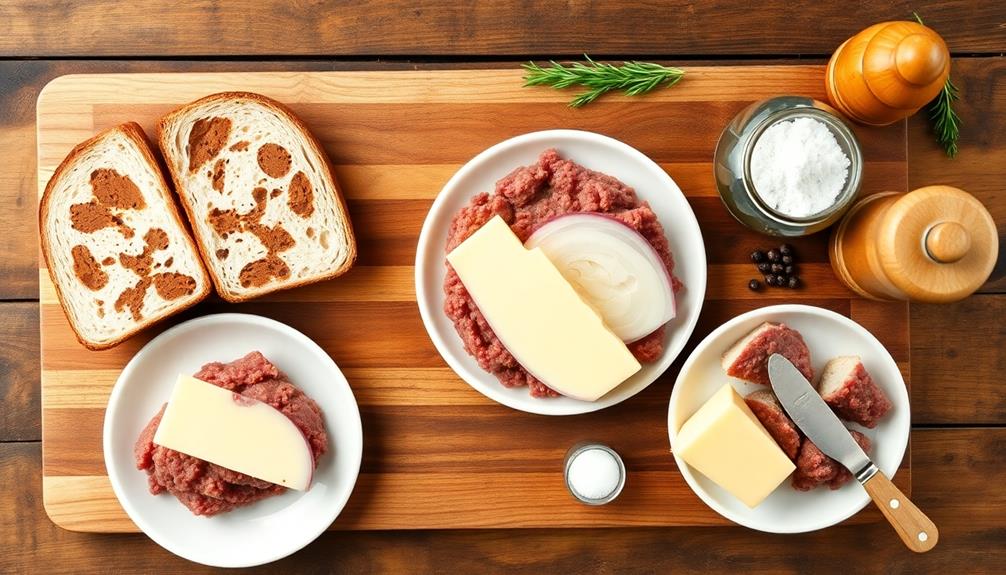
Seasoning ground beef patties is a crucial step in creating a flavorful patty melt. You'll want to start with fresh ground beef, about 80% lean for the best taste and texture. In a large bowl, gently break up the meat with your hands.
Now, it's time to add your seasonings! For a classic patty melt, you'll need salt, black pepper, and garlic powder. Sprinkle these over the meat evenly. Don't be shy with the salt – it brings out the beef's natural flavors. If you're feeling adventurous, try adding a dash of Worcestershire sauce or some finely minced onions for extra zing.
Once you've added your seasonings, it's time to mix. Use your hands to gently work the spices into the meat. Be careful not to overwork the beef, as this can make your patties tough. Mix just until the seasonings are evenly distributed.
Now, shape your patties. Aim for patties that are slightly larger than your bread slices, as they'll shrink a bit during cooking. Remember, a well-seasoned patty is the heart of a delicious patty melt!
Step 2. Cook Patties Until Browned

Sizzling success awaits as you cook your seasoned patties to perfection. Get your skillet or griddle nice and hot over medium-high heat, making sure to use a bit of butter for flavor to enhance the cooking process.
You'll know it's ready when a drop of water dances on the surface. Place your patties gently onto the hot cooking surface, and listen for that satisfying sizzle!
Let each patty cook for about 3-4 minutes on the first side. Don't be tempted to press down on them with your spatula, as this can squeeze out those tasty juices. When you see little beads of moisture forming on the top of the patties, it's time to flip them over.
Cook the second side for another 3-4 minutes, or until they're nicely browned and cooked to your liking. For medium-rare, look for a nice crust on the outside while the inside stays slightly pink. If you prefer them more well-done, cook for an extra minute or two on each side.
Step 3. Caramelize Sliced Onions
Often overlooked but crucial to a perfect patty melt, caramelized onions add a sweet and savory depth to the sandwich. To start, you'll need a large skillet and some thinly sliced onions. Heat up a bit of oil or butter in the pan over medium heat. Once it's hot, toss in your onions and spread them out evenly.
Now, here's where patience comes in handy. You'll want to cook these onions slowly, stirring them every few minutes. As they cook, they'll start to turn golden and smell amazing. Don't rush this process – it can take about 20 to 30 minutes for the onions to caramelize fully.
For optimal results, consider taking care of your skin while cooking by keeping your skin health in mind to prevent burns from the stove.
If the pan starts to dry out, you can add a splash of water or broth. This will help the onions cook evenly and prevent burning. Keep an eye on the heat, too. If the onions are cooking too fast, turn it down a bit.
When they're done, they'll be soft, golden-brown, and super flavorful. These caramelized onions will take your patty melt from good to absolutely delicious!
Step 4. Toast Rye Bread Slices
The foundation of a great patty melt lies in perfectly toasted rye bread. To achieve this, you'll need a few slices of fresh rye bread and a bit of butter.
Start by heating up a large skillet or griddle over medium heat. While it's warming, spread a thin layer of butter on one side of each bread slice. For a fun twist, consider serving your patty melt alongside a sweet treat like Dirt Cups, which are perfect for kids' parties and themed events.
Once your pan is hot, place the bread slices butter-side down. Listen for that satisfying sizzle as they hit the surface! Keep an eye on your bread as it toasts. You're looking for a golden-brown color and a crispy texture. This usually takes about 2-3 minutes per side.
Don't forget to flip your bread slices to toast both sides evenly. The second side often cooks faster, so stay alert!
When they're done, remove the toasted slices from the pan and set them aside. They should be crispy on the outside but still soft on the inside. This perfect balance of textures will make your patty melt extra delicious.
Now you're ready for the next step in creating your mouthwatering sandwich!
Step 5. Add Cheese, Assemble Sandwich
With your perfectly toasted rye bread ready, it's time to add the cheese and assemble your patty melt. Grab your favorite cheese slices – Swiss or American work great – and place them on one side of each bread slice. The warmth from the toasted bread will start melting the cheese, creating a gooey base for your sandwich.
Now, take your cooked burger patty and place it on top of the cheese on one slice of bread. If you've caramelized some onions, add them on top of the patty for an extra layer of flavor.
Then, carefully place the other slice of bread on top, cheese side down, to complete your sandwich. Press down gently on the sandwich to help it stick together. The melting cheese will act like glue, holding everything in place.
If you want, you can return the sandwich to the pan for a minute on each side to ensure the cheese is fully melted and the sandwich is heated through. Your patty melt is now ready to be cut and enjoyed!
Final Thoughts
Although the patty melt may seem like a simple sandwich, it's a true American classic that deserves recognition. You've now learned how to make this delicious treat, and it's time to enjoy your creation! But wait, what’s a classic American meal without a tasty dessert to complement it? Why not top off your patty melt with a slice of delicious homemade cherry pie? Check out our favorite delicious homemade cherry pie recipe and serve it with a scoop of vanilla ice cream for the perfect ending to your meal. After all, who can resist the timeless combination of a savory main course followed by a sweet and fruity dessert?
Remember, the key to a great patty melt is in the details. The perfectly seasoned beef patty, the gooey melted cheese, and the crispy, buttery bread all come together to create a mouthwatering experience.
Don't forget the caramelized onions, which add a sweet and savory touch that takes this sandwich to the next level.
Feel free to experiment with different types of cheese or bread to find your favorite combination. You can even try adding extra toppings like bacon or mushrooms for a unique twist. The patty melt is versatile, so don't be afraid to make it your own!
Whether you're enjoying it for lunch, dinner, or a late-night snack, the patty melt is sure to satisfy your cravings.
Frequently Asked Questions
Can a Patty Melt Be Made With Chicken or Turkey Instead of Beef?
You can definitely make a patty melt with chicken or turkey instead of beef. It's a versatile sandwich that adapts well to different proteins. Simply substitute your preferred poultry patty and follow the same cooking method for a delicious twist.
What Are the Best Side Dishes to Serve With a Patty Melt?
You'll love classic sides like crispy french fries, onion rings, or cole slaw. For a lighter option, try a fresh green salad or vegetable soup. Don't forget pickle spears for that tangy crunch!
Is a Patty Melt Considered a Sandwich or a Burger?
You'll find that a patty melt blurs the line between sandwich and burger. It's technically both! You're getting a beef patty like a burger, but it's served on grilled bread like a sandwich. It's the best of both worlds.
How Many Calories Are Typically in a Restaurant-Style Patty Melt?
You'll typically find a restaurant-style patty melt packing around 700-900 calories. It's not a light meal! The exact count can vary widely depending on the ingredients and portion size, so it's best to check specific menus.
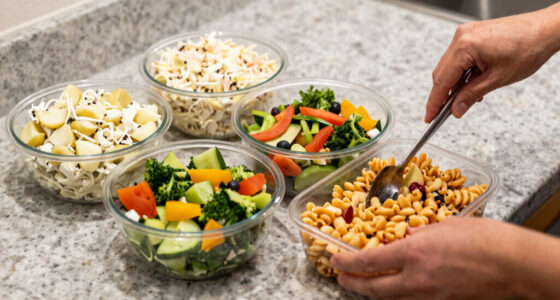
Can Patty Melts Be Prepared in Advance and Reheated Later?
You can prepare patty melts in advance and reheat them later. Just assemble the sandwiches, wrap them tightly, and store in the fridge. When you're ready, reheat in a skillet or oven for best results.