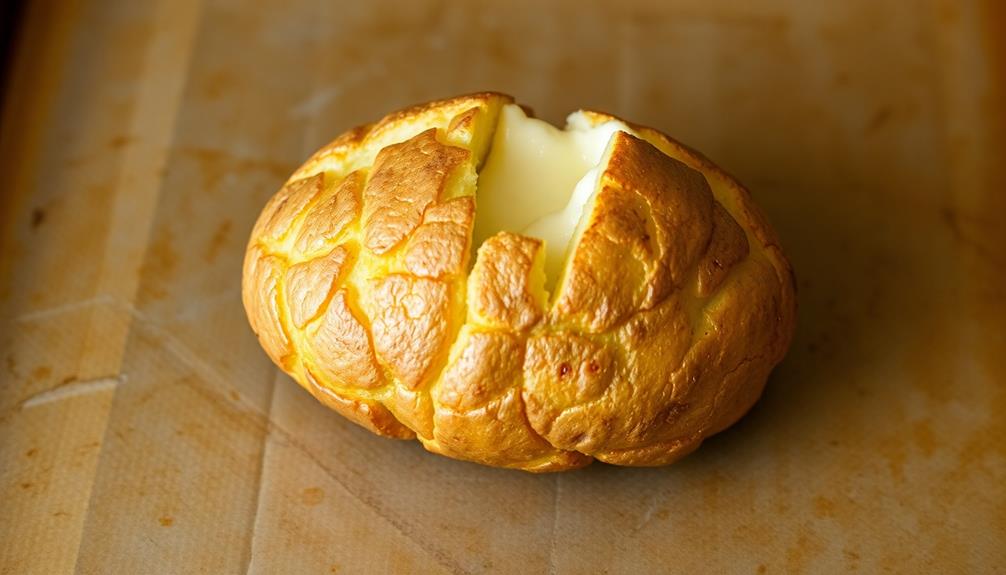
You're gonna love the loaded baked potato – it's a classic that'll take you on a satisfying flavor journey! These spuds started back in the early 1900s when home cooks got creative, topping their baked potatoes with crispy bacon, melted cheese, tangy sour cream, and fresh chives. The fluffy potato combined with those rich toppings creates a meal that'll have your taste buds dancing. Over time, folks have put their own spin on the recipe, but it's still a beloved favorite at dinner tables everywhere. Wanna learn the easy steps to make these taters taste like pure bliss? Just keep reading!
Key Takeaways
- Loaded baked potatoes originated in the early 20th century as home cooks experimented with toppings like bacon, cheese, sour cream, and chives.
- Baking the potatoes until crispy and fluffy creates a base for the rich and satisfying toppings.
- The combination of a tender potato and indulgent toppings makes loaded baked potatoes a beloved classic comfort food dish.
- Cooking steps involve preheating the oven, baking the potatoes until tender, scooping out the flesh, and stuffing the skins with toppings.
- Loaded baked potatoes have evolved over time with new flavor combinations while retaining their timeless appeal as a family dinner favorite.
History
The origins of the loaded baked potato can be traced back to the early 20th century, when resourceful home cooks began experimenting with new ways to dress up the humble baked potato.
As people became more adventurous in the kitchen, they started topping their baked potatoes with an array of delicious ingredients, like crispy bacon, melted cheese, sour cream, and chives.
This creative approach quickly caught on, and the loaded baked potato became a beloved classic. Families would gather around the dinner table, eagerly anticipating the perfectly baked spuds, ready to be customized with their favorite toppings.
The combination of the fluffy, warm potato and the rich, flavorful toppings made for a truly satisfying and comforting meal.
Over the years, the loaded baked potato has evolved, with chefs and home cooks alike experimenting with new flavor combinations, but the classic version remains a timeless favorite.
Cooking Steps
Preheat your oven to 400°F (200°C). Grab a fork and poke some holes all over the potatoes. This will let the steam escape as they bake.
Pop the potatoes onto a baking sheet and slide them into the hot oven.
Bake the potatoes for 50-60 minutes, until they're nice and soft when you squeeze them.
Carefully remove the potatoes from the oven – they'll be piping hot! Use a sharp knife to slice them open down the middle.
Grab a fork and fluff up the insides.
Now for the fun part! Top your baked potatoes with all your favorite toppings.
Sour cream, shredded cheese, crumbled bacon, chives, and a sprinkle of salt and pepper will make these potatoes utterly delicious.
Get creative and add whatever toppings you love most.
Dig in and enjoy your perfectly baked, loaded potatoes!
Step 1. Wash and Prick Potatoes

First, rinse the potatoes under cool running water to remove any dirt or debris. This helps ensure you have a clean canvas to work with.
Next, use a fork to prick the potatoes several times all over. This allows steam to escape while they bake, preventing the potatoes from bursting in the oven.
Once the potatoes are washed and pricked, place them directly on the oven rack. Baking them right on the rack, rather than a baking sheet, helps the skins get nice and crispy.
Set the oven to 400°F and let the potatoes bake for 50-60 minutes, or until a knife can easily pierce through the center. The skins should look wrinkly and the insides should be soft and fluffy.
When the potatoes are done, use tongs to carefully remove them from the oven. Be cautious, as they'll be piping hot!
Now you're ready to move on to scooping out the insides and loading them up with all your favorite toppings.
Step 2. Bake Potatoes Until Tender

Once the potatoes are washed and pricked, place them directly on the oven rack. Set the temperature to 400°F. As the oven heats up, the insides of the potatoes will start to steam and soften. Bake the potatoes for 50-60 minutes, or until a fork can easily pierce through the center.
During the baking process, the skins will become crispy and golden brown. This is exactly what you want! The contrast between the fluffy interior and the crispy exterior is what makes a baked potato so delicious.
To check if the potatoes are done, gently squeeze the potato. If it gives easily and feels soft, it's ready. You can also insert a fork into the center – it should slide in with minimal resistance.
Once the potatoes are tender, use tongs to carefully remove them from the oven. Be cautious, as the potatoes will be very hot. Set them aside to cool for a few minutes before moving on to the next step.
Step 3. Remove Potato Skins

With a fork, gently pierce the baked potato and slice it open lengthwise. Careful not to burn your fingers! Once the potato is sliced open, use a spoon to carefully scoop out the fluffy interior, being sure to leave the skin intact. You can then mash the potato with a bit of butter and seasoning for a delicious side dish. And for a tasty dessert, be sure to try out this classic apple pie recipe that has been passed down for generations. With a flaky crust and sweet, cinnamon-spiced apple filling, it’s sure to become a family favorite.
Now, use a spoon to scoop out the fluffy, steaming insides, leaving behind a thin layer of potato attached to the skin. Feel the warmth of the potato as you transfer it to a plate.
Don't toss those potato skins just yet – they're about to get a tasty makeover.
Using a sharp knife, trim off any blemishes or darkened areas on the potato skins. Discard those bits and give the skins a good rinse under cool water. Pat them dry with a paper towel.
Now you're ready to load up those crispy skins with all your favorite toppings. Shredded cheddar, crumbled bacon, a dollop of sour cream – the possibilities are endless!
Pop the stuffed skins back into the oven for a few minutes to melt the cheese and warm everything through. Get ready for a flavor explosion in every bite.
Step 4. Scoop Out Potato Flesh

Now that you've carefully removed the skins, it's time to scoop out the fluffy potato flesh.
Using a sturdy spoon, gently dig into the baked potato, taking care not to tear the delicate insides. Scoop out the soft, cloud-like interior, transferring it to a large mixing bowl. Be sure to leave a thin layer of potato attached to the skin, as this will help maintain the potato's structural integrity.
Once you've scooped out all the flesh, give it a good mash with a potato masher or fork. This will help break down any stubborn lumps, creating a smooth, creamy consistency.
Now, it's time to add your favorite toppings and seasonings. Stir in a generous helping of butter, a splash of warm milk, and a sprinkle of salt and pepper. Mix everything together until the potato is light and fluffy, ready to be piled back into the crispy potato skins.
Step 5. Mash Potato Flesh With Ingredients

Take the mashed potato flesh and stir in a generous amount of butter. The butter will melt right in, making the potatoes extra creamy and delicious.
Next, add a splash of milk or cream and keep mashing and mixing until the potatoes are nice and smooth. Don't be afraid to really get in there and work the potatoes with a potato masher or fork.
Now it's time to add some tasty toppings! Sprinkle in shredded cheddar cheese, crumbled bacon, and chopped green onions. The cheese will melt into the hot potatoes, the bacon will add a salty crunch, and the green onions will provide a fresh, oniony flavor.
Stir everything together until well combined.
Final Thoughts
Savoring the final morsels of this loaded baked potato, you can't help but reflect on the satisfying journey of its preparation.
From selecting the perfect potato to deftly mashing the flesh with a medley of creamy ingredients, each step has culminated in this delectable result.
As you take the last bite, you savor the harmonious blend of flavors – the fluffy potato, the tangy sour cream, the smoky bacon, and the sharp cheddar cheese.
This truly is a comfort food masterpiece, one that has left you feeling nourished and content.
With a sense of accomplishment, you take a moment to appreciate the care and attention that went into crafting this masterful dish.
Though the plate is now empty, the memory of this loaded baked potato will linger, reminding you of the joys that can be found in simple, homemade pleasures.
Frequently Asked Questions
Can I Use Sweet Potatoes Instead of Regular Potatoes?
Absolutely! You can definitely use sweet potatoes instead of regular potatoes in your recipe.
Sweet potatoes have a delicious, natural sweetness that would be a great addition. They're also packed with vitamins and minerals, making them a healthy choice.
Just be sure to adjust your cooking time and temperature, as sweet potatoes may cook a bit differently than regular potatoes.
Give it a try – your taste buds will thank you!
How Long Do the Baked Potatoes Need to Cool Before Topping?
You'll want to give your baked potatoes a little time to cool before adding all the delicious toppings. Aim for about 5-10 minutes of cooling time.
This'll make it easier to handle the potatoes and prevent the toppings from melting too quickly. Once they've had a chance to cool, you can get to work loading them up with all your favorite fixings.
Just be careful not to wait too long, or the potatoes might start to harden up. Enjoy your tasty baked potato creation!
Can I Prepare the Loaded Toppings in Advance?
Absolutely! You can prepare the loaded toppings for your baked potatoes in advance.
This is a great way to save time and have everything ready to go when it's time to assemble your delicious loaded potatoes. Just chop up the bacon, shredded cheese, chives, and any other tasty toppings you want.
Store them in separate containers in the fridge until you're ready to top your hot, fresh-baked potatoes. Easy peasy!
Now, all you have to do is sit back and enjoy your awesome loaded potato creation.
Is It Possible to Make This Dish in the Air Fryer?
Absolutely! The air fryer is a fantastic way to make a loaded baked potato.
It's quick, easy, and gives you that irresistible crispy skin. You can even prepare the toppings in advance, so when it's time to assemble, it'll be a breeze.
Just pop the potato in the air fryer, let it get all nice and crispy, then load it up with your favorite toppings.
It's a delicious and hassle-free way to enjoy a loaded baked potato!
Can I Substitute the Bacon With a Vegetarian Alternative?
Sure, you can absolutely swap the bacon for a tasty vegetarian alternative!
There are lots of great options out there, like crispy veggie bacon or tempeh bacon.
These plant-based substitutes will give you that same smoky, savory flavor without the meat.
Just toss them in the air fryer alongside your other toppings, and you'll have a delicious, meatless loaded baked potato in no time.
Get creative and enjoy!


