Kocho, the fermented enset bread, is a cherished part of Sidama culture in Ethiopia. You'll find this savory staple featured in community gatherings and celebrations, where its unique sour flavor and dense, chewy texture shine. The core ingredient, the enset plant, is carefully harvested, fermented, and formed into flattened discs before baking. This gluten-free delicacy packs a nutritious punch, rich in carbohydrates, fiber, and essential vitamins. Kocho's preparation is a labor of love, requiring patience and skill. As you continue reading, you'll uncover more about this captivating Ethiopian culinary tradition and how it connects the Sidama people to their vibrant cultural heritage.
Key Takeaways
- Kocho is a traditional fermented bread made from the stems of the enset plant, also known as "false banana," originating from the Sidama people of Ethiopia.
- The fermentation process gives kocho a unique, slightly sour flavor and a dense, chewy texture, making it versatile for use in various meals.
- Kocho is culturally significant in Ethiopia, symbolizing hospitality, community bonding, and enduring culinary traditions of the Sidama region.
- The preparation of kocho involves a labor-intensive process, including harvesting, soaking, fermenting, and baking the enset core in a clay oven or on a hot stone.
- Kocho is a sustainable, gluten-free food source rich in carbohydrates, fiber, and essential vitamins and minerals, making it a heart-healthy option.
History
Kocho, the fermented enset bread, has a rich cultural history rooted in the traditional practices of Ethiopia's Sidama people. For centuries, the Sidama have cultivated the enset plant, a banana-like crop that serves as a staple food source. They've developed intricate techniques to transform the plant's starchy core into the iconic kocho, a nutritious and versatile bread.
The process of making kocho is a labor-intensive but deeply meaningful ritual. First, the enset is harvested and the core is stripped and scraped. It's then packed into a specialized fermentation pit, where it undergoes a monthslong transformation, developing its signature tangy flavor and chewy texture.
This fermentation process isn't only a practical necessity but also an integral part of Sidama identity and community.
Kocho holds a revered place in Sidama culture, featuring prominently in celebrations, rites of passage, and daily meals. Its production and consumption are woven into the fabric of Sidama life, a testament to the enduring ingenuity and culinary traditions of this remarkable region.
Recipe
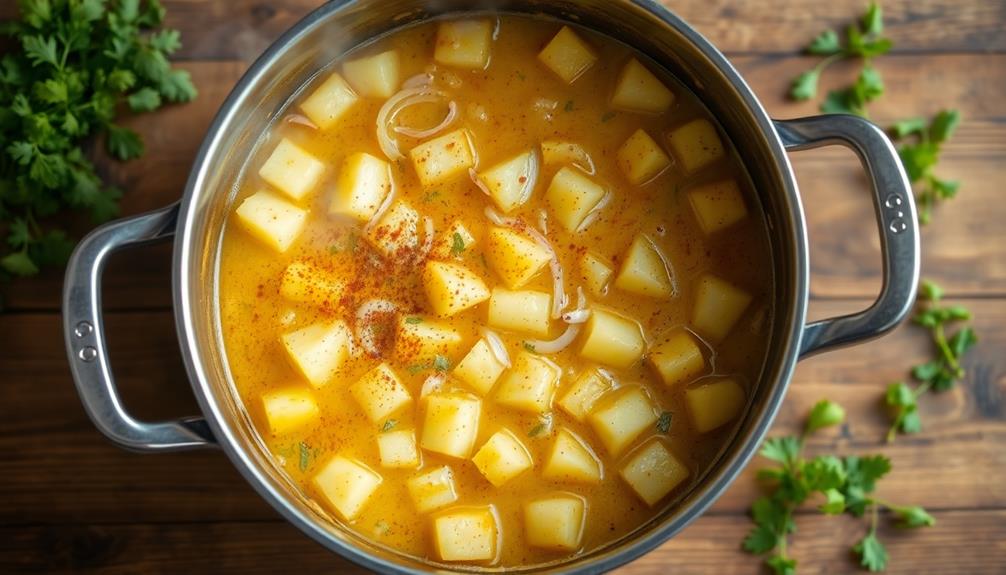
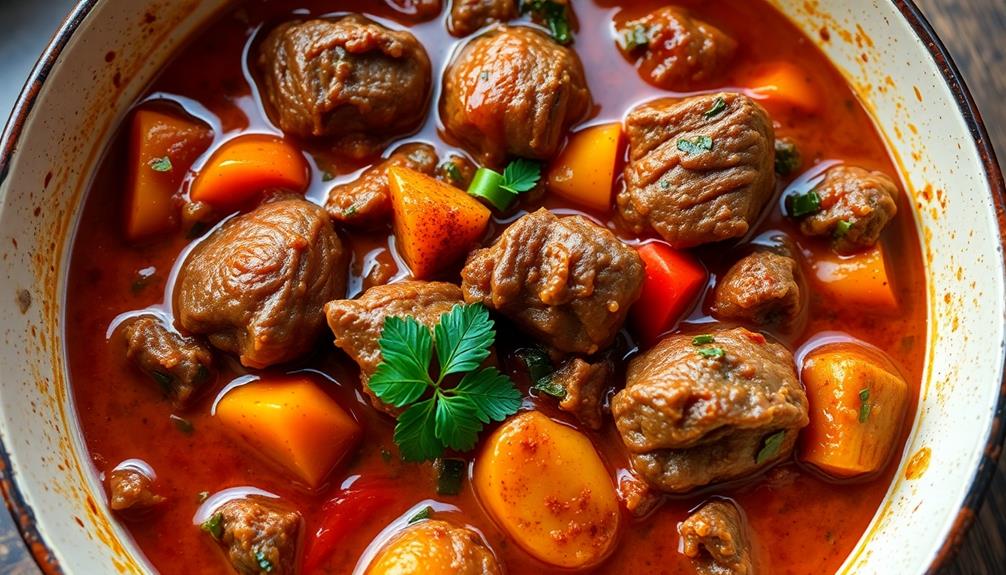
Kocho is a staple food in parts of Ethiopia, made from the fermented and cooked pulp of the enset plant, also known as the "false banana." This traditional bread has a unique, slightly sour flavor and a dense, chewy texture. In Ethiopia, kocho is often enjoyed with stews or sauces, adding a hearty and flavorful element to the meal. It can also be used as a wrap for meats and vegetables, similar to a tortilla or flatbread. Pairing kocho with traditional Ethiopian dishes like doro wat or kitfo can create a truly delicious and authentic experience. In Bali, the traditional dish of balinese roasted pig, also known as Babi Guling, is a popular accompaniment to kocho.
The process of making kocho is time-consuming, as it involves harvesting the enset, processing the stems, and allowing the mixture to ferment for several days before it can be cooked.
However, the end result is a nutritious and satisfying bread that has been an integral part of the local cuisine for generations. This traditional recipe for ambasha bread has been passed down through families and is a beloved staple at gatherings and celebrations. The combination of simple ingredients and time-honored baking techniques result in a bread that is both delicious and culturally significant. The aroma of freshly baked ambasha bread wafting through the air is a cherished part of many Ethiopian households and brings a sense of nostalgia and comfort to those who enjoy it.
Ingredients:
- Enset plant stems
- Water
- Salt (optional)
Cooking Instructions:
Harvest the enset plant, remove the outer leaves, and extract the inner stem. Grate or pound the stem to create a pulp.
Place the pulp in a container, add water, and allow it to ferment for 3-7 days, depending on the desired flavor. Once fermented, press the mixture to remove excess liquid, and then cook the kocho in a pan or on a griddle until it forms a dense, flat bread.
Tips:
- The fermentation process can be adjusted to achieve the desired level of sourness in the final product.
- Kocho can be served on its own or used as a base for other dishes, such as stews or vegetable toppings.
- It's important to thoroughly cook the kocho to ensure it's safe to eat, as the fermentation process can introduce potential food safety risks if not handled properly.
Cooking Steps
First, peel and chop the enset plant into smaller pieces.
Next, soak the chopped enset in water and let it ferment for several days.
Step 1. Peel and Chop Enset Plant

Having harvested the enset plant, you'll need to peel off its thick, waxy outer leaves. Use a sharp knife to carefully remove the layers, revealing the soft, starchy inner core. Be gentle, as the leaves can be tough and fibrous.
Next, chop the peeled enset into smaller pieces. Aim for roughly 1-inch cubes, making them uniform in size for even cooking. You can use a large knife or a food processor to speed up this step. Ensure the pieces aren't too small, as you want them to maintain their texture during the fermentation process.
As you work, gather the chopped enset in a large bowl or container. This will make it easier to transfer the pieces to the next stage of the kocho-making process.
Remember to work quickly to prevent the enset from drying out and losing its moisture content.
Step 2. Soak Chopped Enset in Water

With the enset chopped, it's time to soak the pieces in water. This step helps break down the plant's fibers, making them easier to work with.
Grab a large container and fill it with enough water to fully submerge the chopped enset. Gently place the pieces into the water, ensuring they're all covered. Let the enset soak for several hours, or even overnight, stirring occasionally to encourage even soaking.
The soaking process softens the enset, prepares it for the next steps, and starts the fermentation that gives kocho its unique flavor. Once the enset has had sufficient time to soak, it's ready to be squeezed and strained.
This will remove excess water and further break down the plant material, setting the stage for the next phase of kocho preparation. With patience and care, the soaked enset will be well on its way to becoming the delicious, traditional bread.
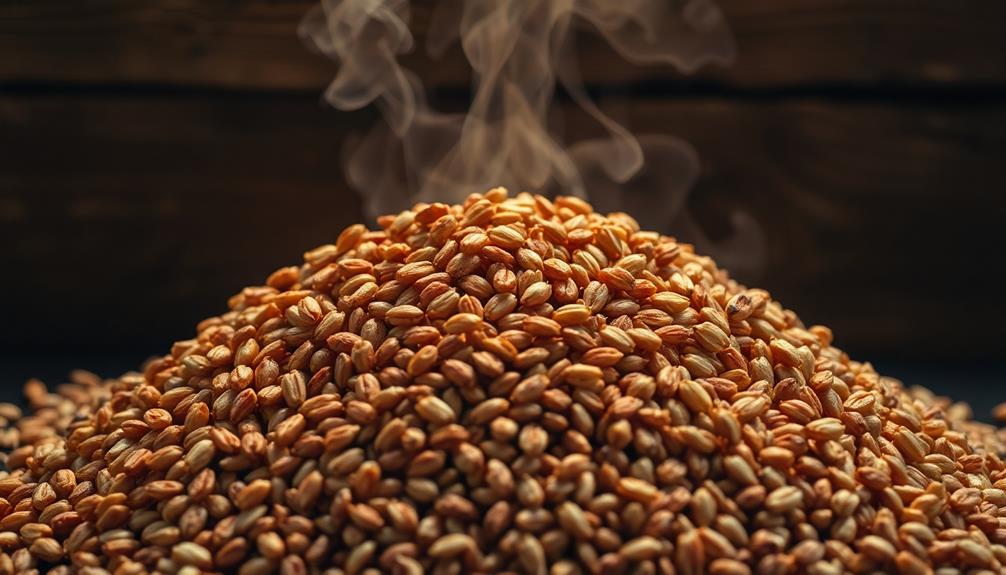
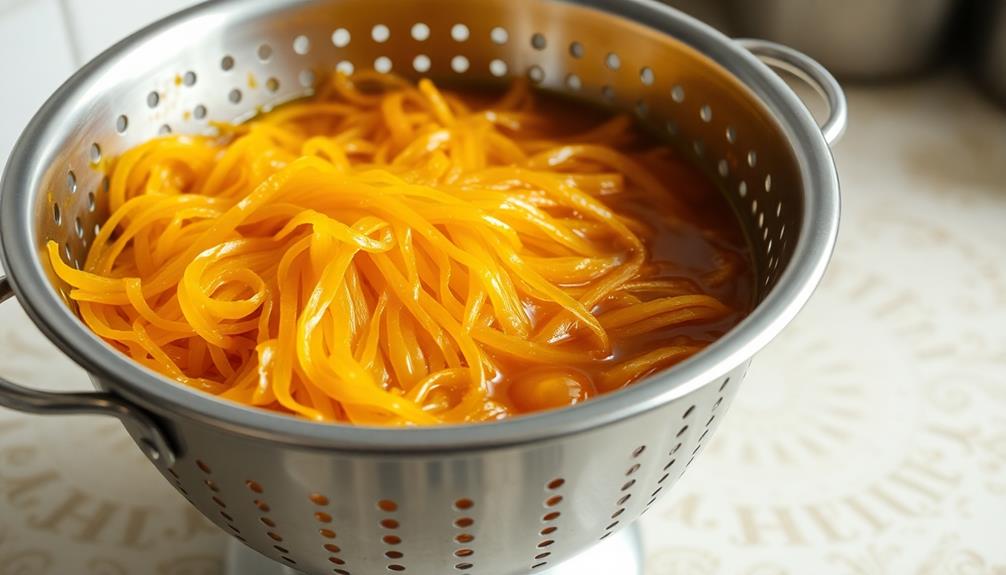
Step 3. Ferment Chopped Enset for Days
After soaking the chopped enset, you'll need to ferment it for several days. This fermentation process is crucial for developing kocho's unique flavors and textures.
Place the soaked enset in a large, shallow container and cover it with water. Make sure the enset is fully submerged. Now, you'll need to let it sit for 3-5 days, stirring it occasionally. As the enset ferments, it will release gases and become softer.
You'll know it's ready when the mixture has a sour, tangy aroma. Drain the fermented enset, reserving the liquid for later use. The fermented enset should have a soft, spreadable consistency, perfect for shaping into kocho.
Be sure to handle the fermented enset gently, as it can become delicate. With the hard work of fermentation complete, you're one step closer to enjoying the delicious, traditional flavors of kocho.
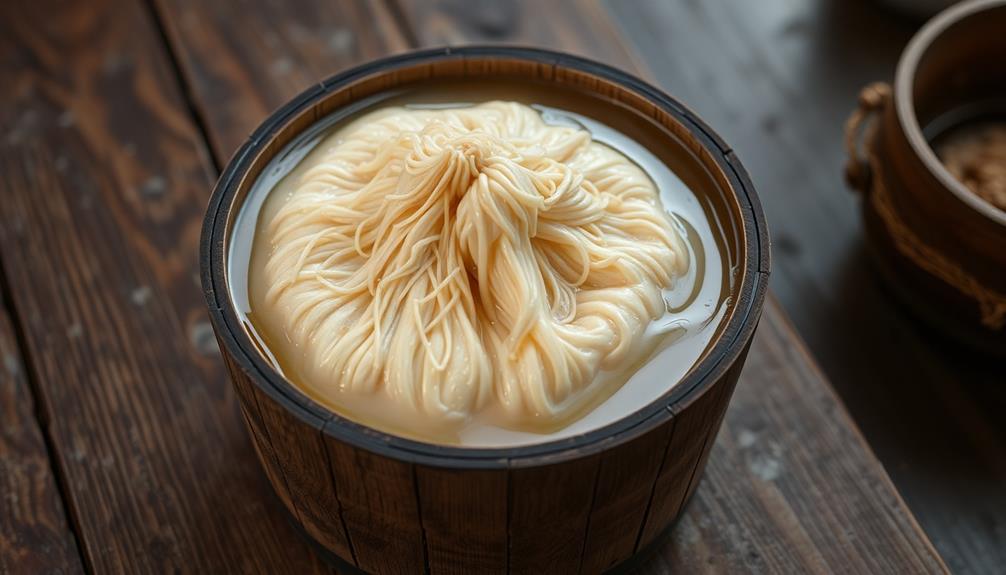
Step 4. Drain Fermented Enset Mixture
Once the enset has fermented for 3-5 days, you'll need to drain the mixture.
Place a large sieve or colander over a bowl. Carefully pour the fermented enset into the sieve, allowing the liquid to drain into the bowl below. You may need to gently press on the solids to help the liquid drain.
Once the liquid has drained, the solid enset pieces should be left in the sieve. This drained enset is called kocho and is the base for the fermented bread.
Transfer the kocho to a clean work surface. Use your hands to knead and squeeze the kocho, removing any remaining liquid. The kocho should have a soft, pliable texture at this stage.
With the kocho prepared, you're ready to form it into flatbreads and continue the fermentation process.
This step is crucial for developing the unique flavor and texture of the final kocho bread.
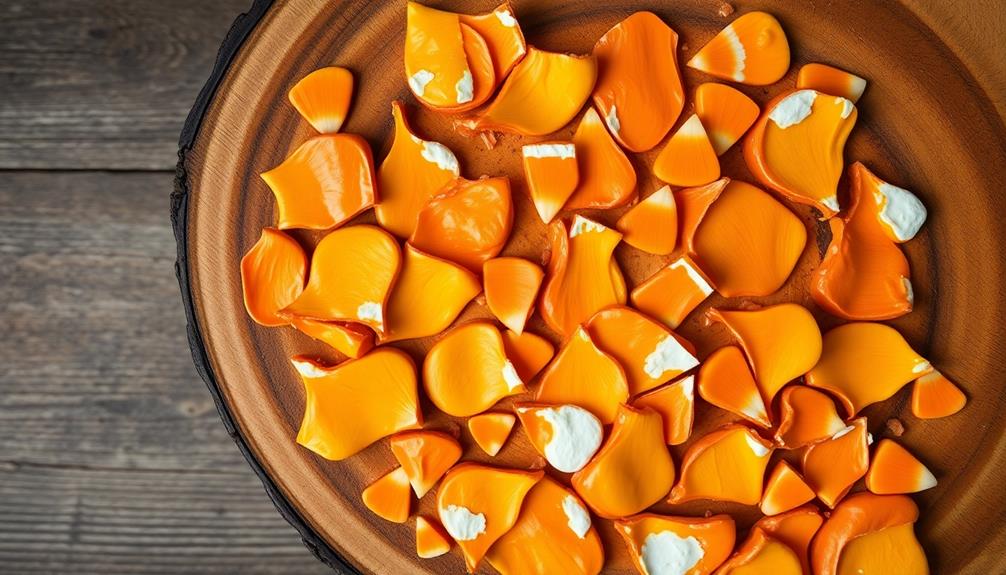
Step 5. Shape Fermented Enset Mixture

To shape the fermented enset mixture, divide the prepared kocho into golf ball-sized portions.
Use your hands to gently roll each portion into a smooth, round shape. Be careful not to overwork the dough, as this can make it tough.
Once you've shaped all the portions, arrange them on a clean, flat surface, such as a baking sheet or large plate.
Space the portions a few inches apart to allow for expansion during the next step.
Now, use your palms to gently flatten each ball, creating a slightly flattened, disk-like shape.
Aim for about a half-inch thickness. This will help the kocho cook evenly and develop a delicious, chewy texture.
Final Thoughts
Kocho, the fermented enset bread, has undoubtedly captivated the hearts and palates of many. As you've discovered, creating this traditional Ethiopian delicacy is a true labor of love, requiring patience, skill, and a deep respect for the process.
The final step, where you shape the fermented enset mixture, is the culmination of all your hard work. Carefully molding the dough into the signature round or oblong shapes is an art form in itself, ensuring each loaf retains its unique character.
Remember to handle the mixture gently, allowing the natural fermentation to shine through.
Once baked, your homemade kocho will reward you with a tantalizing aroma and a satisfying, slightly sour flavor. Whether enjoyed on its own or paired with savory stews and vegetables, this versatile bread is sure to become a cherished part of your culinary repertoire.
Savor every bite and take pride in the rich cultural heritage you've brought to life in your kitchen.
Frequently Asked Questions
Is Fermented Enset Bread Gluten-Free?
Yes, fermented enset bread is gluten-free. Enset, a plant native to Ethiopia, doesn't contain gluten. So if you're following a gluten-free diet, you can safely enjoy this traditional African bread.
How Long Can Fermented Enset Bread Be Stored?
Fermented enset bread can typically be stored for up to 2 weeks when kept in a cool, dry place. It's important to check for any signs of spoilage before consuming. With proper storage, you can enjoy this gluten-free bread for several days.
What Is the Nutritional Value of Fermented Enset Bread?
Fermented enset bread provides a valuable source of fiber, vitamins, and minerals. It's a nutritious staple that can support a healthy diet. While the exact nutritional profile varies, it's generally a wholesome choice to incorporate into your meals.
Can Fermented Enset Bread Be Used in Other Recipes?
You can certainly use fermented bread in other recipes. It adds a unique flavor and texture to dishes like stews, casseroles, and even baked goods. Get creative and experiment with incorporating this versatile ingredient into your cooking!
Is Fermented Enset Bread Difficult to Make at Home?
Making fermented bread at home can be time-consuming, but it's doable with the right instructions. The process requires patience, as the dough needs to ferment for several days before it's ready to bake.