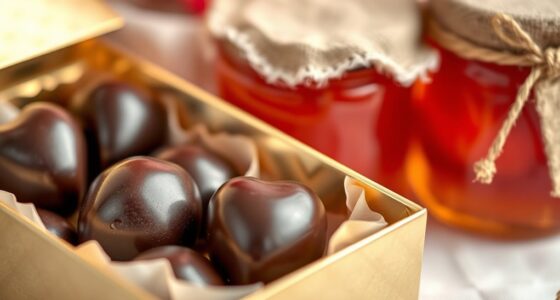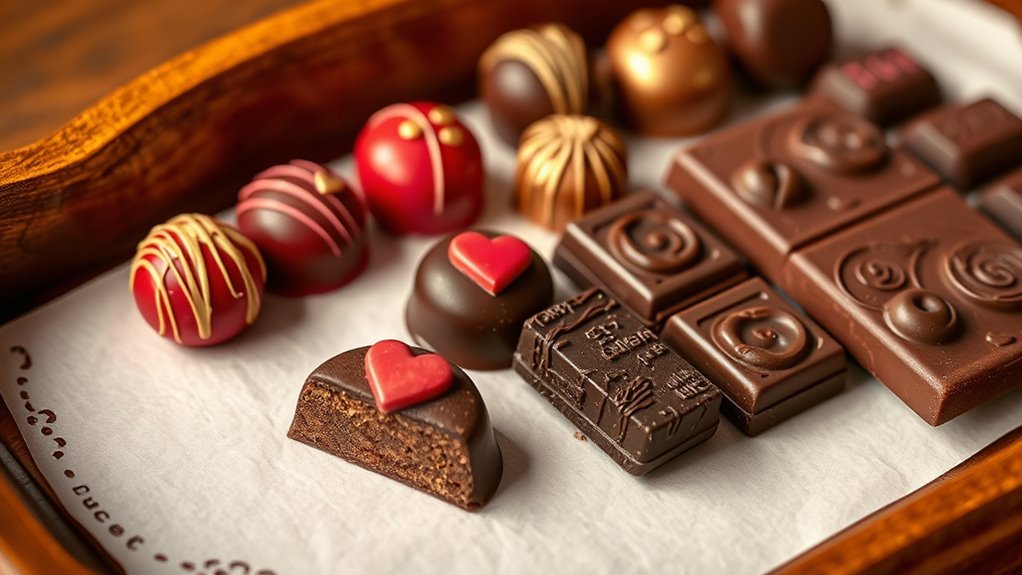

To create stunning Valentine’s Day chocolates, try making filled bonbons and bars at home. Mix and match flavors like caramel, fruit, or even liqueurs, then carefully fill molds or bars. Wrap them in elegant foil or decorative paper, add a ribbon, and personalize with notes or charms. With simple tools and some patience, you can craft delicious, beautiful chocolates that leave a lasting impression. Keep going to discover more tips and tricks to perfect your treats.
Key Takeaways
- Create personalized chocolates by choosing unique flavor fillings like caramel, fruit, or liqueurs to suit your loved one’s taste.
- Use proper tempering techniques to ensure glossy, crisp chocolates for bonbons and bars.
- Fill molds carefully with piping bags or spoons, layering flavors for a visually appealing result.
- Wrap chocolates in decorative packaging such as foil, tissue, or clear cellophane, adding ribbons or notes for a special touch.
- Pair homemade chocolates with complementary items like wine or flowers to enhance the overall Valentine’s Day gift.

Looking for a sweet way to celebrate Valentine’s Day? Making your own chocolates can be a heartfelt gesture that shows how much you care. Whether you’re creating filled bonbons or homemade bars, the process lets you get creative with wrapping techniques and flavor combinations, making each piece uniquely special. When you start, think about how you want to present your chocolates; the wrapping techniques you choose can elevate the entire gift. You might opt for elegant foil wrapping, decorative paper, or clear cellophane bags tied with ribbons. These little touches add a polished look and make your chocolates feel more luxurious. Playing with different wrapping styles also allows you to personalize your gift—perhaps with handwritten notes or small charms that reflect your loved one’s personality. As you plan your chocolates, consider how flavor combinations can turn simple ingredients into extraordinary treats. Combining rich dark chocolate with hints of sea salt, caramel, or chili pepper creates a complex taste experience. Alternatively, pairing milk chocolate with fruity accents like raspberry or orange zest can add freshness and vibrancy. For a more indulgent touch, you might fill bonbons with ganache infused with coffee or liqueurs such as Grand Marnier or Chambord. When working with filling, precision matters; use a piping bag or a small spoon to fill each mold carefully, ensuring that your flavor layers are distinct and well-distributed. Once filled, sealing the chocolates with a top layer of chocolate requires patience but pays off in the end. Tempering your chocolate properly results in a glossy finish and a satisfying snap when bitten into. Properly changing gears on your equipment is also essential for working efficiently and avoiding mishaps. When it comes to wrapping your finished chocolates, think about how to preserve freshness and enhance visual appeal. Double-wrap delicate bonbons in tissue paper before placing them in decorative boxes or tins. For bars, consider wrapping each segment individually in wax paper or foil, then bundling them together in a pretty gift box. Incorporate your favorite flavor combinations into the packaging, like adding a small card describing the taste profile or pairing chocolates with complementary items such as a bottle of wine or a bouquet of flowers. The key is to balance aesthetics with taste, making your homemade chocolates not just delicious but also a memorable gift. With attention to wrapping techniques and flavor pairings, your DIY chocolates will surely impress anyone lucky enough to receive them, turning a simple act of confectionery into a touching expression of love.
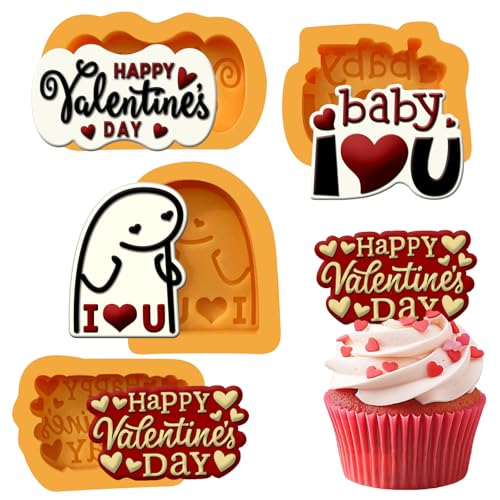
Valentines Day Silicone Molds – Set of 4 Romantic Chocolate Molds for Valentines Day | Cute Heart & Message Silicone Valentines Molds for Cupcakes, Fondant, Resin & Crafts
💘 4 Unique Designs for Valentine's Day: Includes "Happy Valentine’s Day", "Baby I ❤️ U", "I U Flork",…
As an affiliate, we earn on qualifying purchases.
As an affiliate, we earn on qualifying purchases.
Frequently Asked Questions
What Are the Best Chocolate Types for DIY Chocolates?
You should choose high-quality chocolate types like couverture for your DIY chocolates. Opt for cocoa bean varieties such as Forastero, Criollo, or Trinitario to get different flavor profiles. Master chocolate tempering techniques to guarantee your chocolates have a glossy finish and snap. Milk, dark, or white chocolate work well, but tempering is key to achieving professional results with any type you select.
How Long Do Homemade Chocolates Stay Fresh?
Think of your homemade chocolates as delicate whispers of sweetness; they’ll stay fresh for about 1 to 2 weeks when stored properly. Keep them in an airtight container in a cool, dark place to preserve their flavor and prevent melting or bloom. For longer freshness, refrigerate them, but remember to bring them to room temperature before enjoying, ensuring each bite retains its rich, luscious essence.
Can I Customize Fillings for Dietary Restrictions?
Yes, you can customize fillings for dietary restrictions when making chocolates. You just need to choose ingredients that suit your needs, like dairy-free, nut-free, or sugar-free options. Focus on filling customization by selecting suitable substitutes such as coconut milk or honey. Always check ingredient labels to verify everything aligns with your dietary restrictions, and experiment with flavors to create delicious, personalized chocolates that everyone can enjoy.
What Tools Are Essential for Making Bonbons?
Making bonbons is like crafting tiny treasures, and you’ll need essential tools to do it right. Start with molds to shape your chocolates perfectly, and spatulas for smooth filling and coating. Tempering equipment is vital to achieve that glossy, professional finish. These tools help you control every step, ensuring your filled bonbons turn out beautifully, with a satisfying snap and shiny appearance that make them irresistible.
How Do I Prevent Chocolates From Melting During Storage?
To prevent chocolates from melting during storage, focus on temperature control and proper wrapping. Keep your chocolates in a cool, dry place ideally between 60-70°F (15-21°C). Avoid exposing them to direct sunlight or humidity. Wrap each piece tightly in foil or airtight containers to prevent moisture and temperature fluctuations. This way, your chocolates stay fresh, glossy, and delicious until you’re ready to enjoy them.

Digital Candy Thermometer with Pot Clip, 10" Long Stainless Steel Probe, Instant Read Kitchen Thermometer for Cooking, Baking, and Candy Making
Pot Clip Design for Safer Operation: This candy thermometer digital with clip can be fixed to the pot…
As an affiliate, we earn on qualifying purchases.
As an affiliate, we earn on qualifying purchases.
Conclusion
Creating your own Valentine’s Day chocolates adds a personal touch that truly shows you care. When you craft filled bonbons and bars, you’re not just making sweets—you’re making memories. This DIY project isn’t just about the chocolates; it’s about the love and effort you put into every piece. So, why not surprise someone special with these handmade treats? After all, the sweetest chocolates are the ones made with heart.

Lerykin Small 15-Cavity Semi Sphere Silicone Molds Non-Stick,2 Packs Half Sphere Silicone Baking Molds for Making Jelly, Chocolates and Cake
【 OVEN SAFE & FLEXIBLE SILICONE MOLD 】: Lerykin silicone molds are made of 100% Food Grade silicone,…
As an affiliate, we earn on qualifying purchases.
As an affiliate, we earn on qualifying purchases.
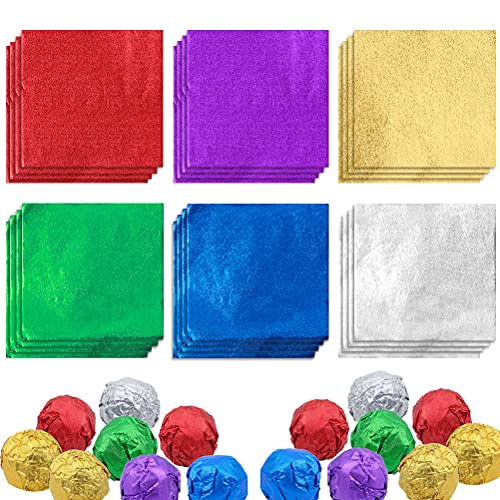
600pcs Foil Candy Wrappers, 4×4 inches DIY Square Package Wrapping Papers for Easter Decorations Chocolate Candy Packaging
【Color and Quantity】Total 600 pieces chocolate foil wrappers,each color 100 pcs.(golden, silver, purple, red, blue, and green).The size…
As an affiliate, we earn on qualifying purchases.
As an affiliate, we earn on qualifying purchases.