To bake perfect holiday dinner rolls, focus on proper fermentation to guarantee light, airy results. Mix and knead your dough until smooth, then let it double in size for the best rise. Shape the dough gently, proof until puffed, and brush with butter or egg wash before baking at the right temperature. Finishing touches like a shiny glaze boost their appeal. Keep these tips in mind, and you’ll master soft, irresistible rolls—learn more to perfect your technique.
Key Takeaways
- Ensure proper fermentation by letting the dough double in size for a light, airy texture.
- Knead until smooth and elastic to develop gluten for better rise and softness.
- Shape rolls uniformly and allow a second proof for a delicate, consistent crumb.
- Brush with butter or egg wash before baking for a shiny, golden finish.
- Bake at the correct temperature and cool slightly to enhance flavor and texture for holiday perfection.

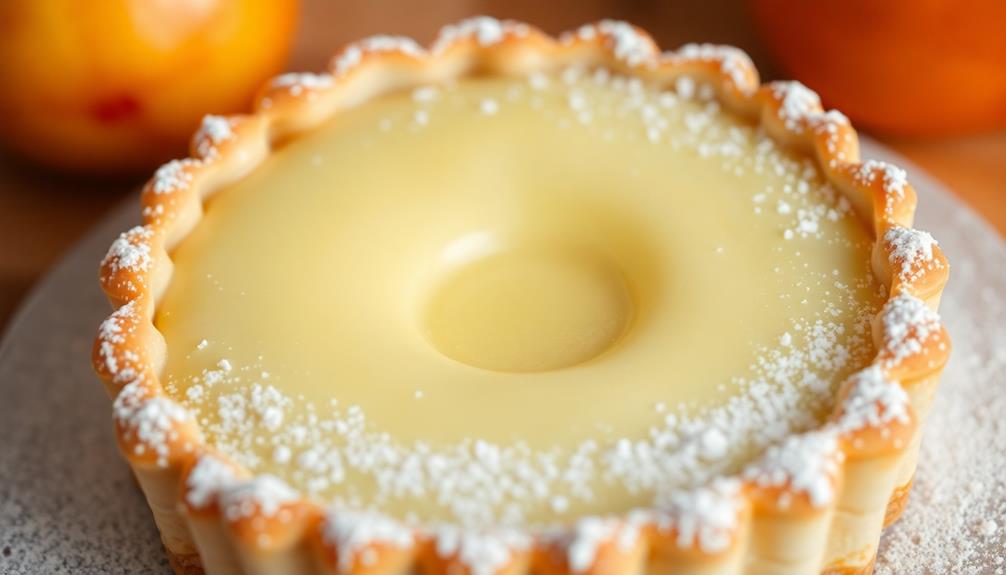
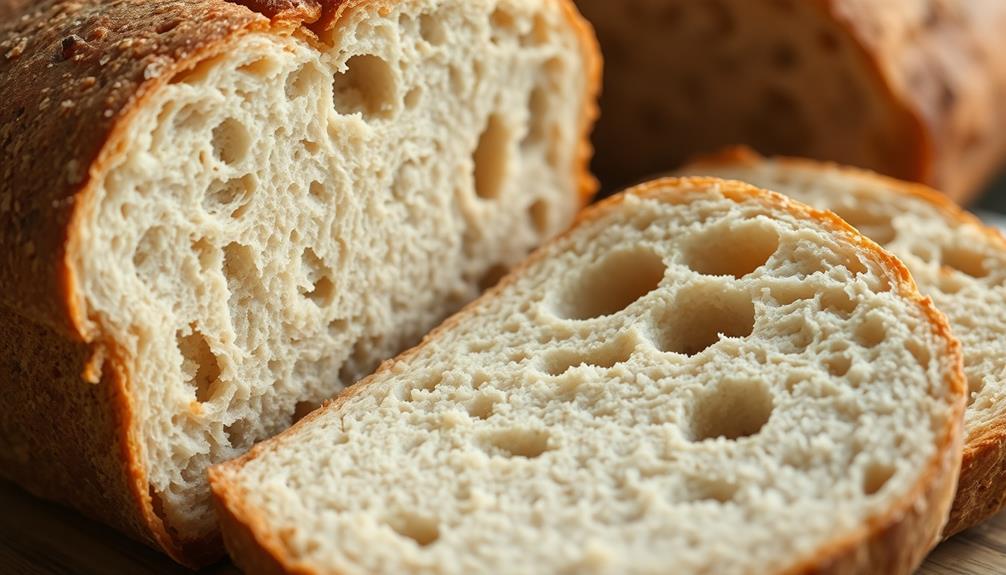
Baking classic dinner rolls is a simple way to elevate any meal, and with a few basic ingredients, you can create soft, fluffy rolls that everyone will love. The key to perfect dinner rolls lies in understanding dough fermentation and mastering shaping techniques. When you start, you’ll mix your ingredients and knead the dough until it becomes smooth and elastic. Once the dough is ready, it needs time to ferment; this is when the yeast works its magic, producing carbon dioxide that makes the dough rise and develop flavor. Patience during fermentation is essential. Allow your dough to rise until it has doubled in size, which might take about one to two hours depending on your kitchen temperature. This step ensures your rolls turn out light and airy, with a tender crumb.
Master dough fermentation for light, airy dinner rolls with a tender crumb and perfect rise.
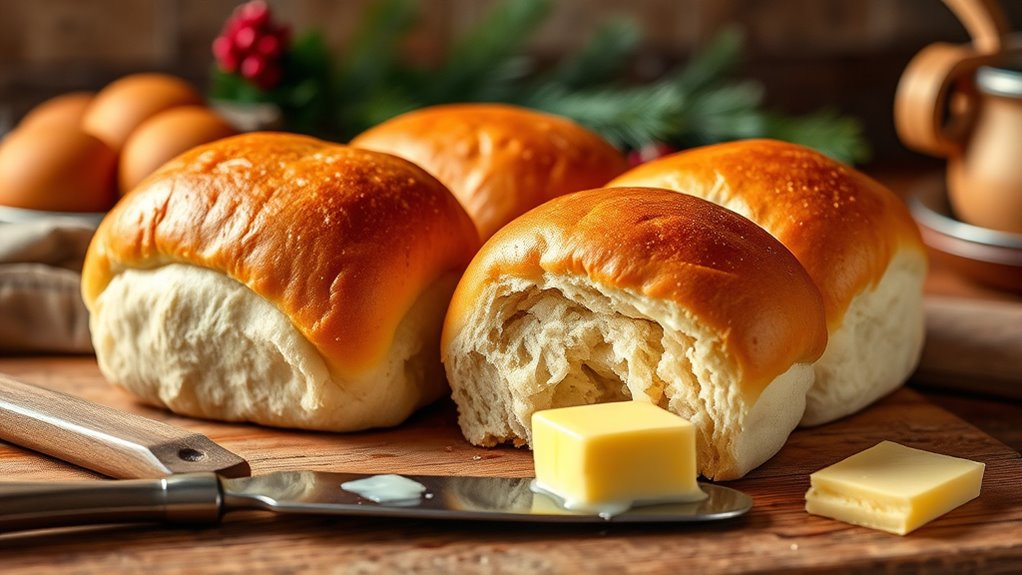
After the dough has fermented properly, the shaping process begins. You’ll punch down the dough gently to release excess gases, then divide it into equal portions for uniform rolls. Using your hands or a bench scraper, shape each portion into smooth, round balls. The way you shape your rolls impacts their final appearance and texture. For a classic look, gently tuck the edges underneath to create a tight surface on top, which helps in achieving a smooth, rounded shape. Avoid overworking the dough during shaping, as this can toughen the texture. Instead, handle it with care to maintain the dough’s elasticity and ensure the rolls stay soft and fluffy after baking.
Once shaped, place the rolls on a baking sheet lined with parchment paper or a silicone mat. Cover them with a clean towel or plastic wrap and let them undergo a second rise—called proofing—for about 30 to 60 minutes. During this period, they will expand further, filling out their shape and becoming even more tender. Proper shaping combined with adequate proofing results in a uniform, appealing appearance and a delicate crumb.
Additionally, understanding dough fermentation and how it influences flavor and texture can help you fine-tune your baking process for better results. When they’re ready to bake, brush the tops with melted butter or an egg wash for a shiny, golden finish. Keep an eye on them as they bake—your oven’s temperature and your shaping techniques influence the final look and texture. When they come out of the oven, the aroma alone will make your mouth water. Let them cool slightly before serving. With attention to dough fermentation and careful shaping techniques, you’ll craft dinner rolls that are irresistibly soft, perfectly risen, and beautifully shaped—ideal for any holiday feast.

Milkary Set of 3 Pizza Kit Including Stainless Steel Pizza Dough Roller, Wooden Docker Rolling Pin and Non-slip Silicone Baking Mat, Dough Hole Maker for Cookie Pie Pastry Crust
COMPLETE PIZZA MAKING SET: This pizza accessories includes a silicone baking mat, a dual-sized rolling pin, and a…
As an affiliate, we earn on qualifying purchases.
As an affiliate, we earn on qualifying purchases.
Frequently Asked Questions
Can I Freeze Dough Before the Final Rise?
Yes, you can freeze dough before the final rise. Just do a dough freezing to delay proofing, which helps you plan ahead. Shape your dough, wrap it tightly, and freeze it for up to three months. When you’re ready to bake, thaw it overnight in the fridge, then let it come to room temperature for a final proof. This method keeps your dinner rolls fresh and ready when you need them.
What Are Gluten-Free Alternatives for Dinner Rolls?
You can make gluten-free dinner rolls using gluten-free flours like rice, almond, or tapioca flour. To improve texture, you’ll need alternative binding agents such as xanthan gum or psyllium husk. These help mimic the stretchy gluten’s role, giving structure and elasticity. Mix these ingredients well, and you’ll get tasty, soft gluten-free dinner rolls perfect for your holiday table.
How Do I Prevent Rolls From Sticking to the Pan?
Ever wondered how to keep your rolls from sticking? You should always grease your pans generously or line them with parchment paper before placing the dough. This simple step creates a barrier that prevents sticking and makes cleanup easier. Do you want perfectly baked rolls that come out effortlessly? Applying a light coating of butter or oil on the pan, or using parchment paper, guarantees your rolls slide right off when they’re ready.
Can I Make Dinner Rolls Vegan?
Yes, you can definitely make dinner rolls vegan. You’ll just need vegan egg substitutes like flaxseed or applesauce instead of eggs, and use plant-based butter or margarine instead of dairy butter. Mix these ingredients into your dough as usual, and you’ll get soft, delicious vegan dinner rolls perfect for any holiday table. Just follow your regular recipe, swapping in these vegan alternatives, and enjoy your tasty, cruelty-free bread.
How Do I Store Leftover Dinner Rolls Properly?
Storing leftover dinner rolls is like tucking them into a cozy nest. Wrap your rolls tightly in plastic wrap or foil, then place them in an airtight container to keep them fresh. For the best reheating leftover, reheat in the oven or microwave until warm. Use these roll storage tips to maintain softness and flavor, so your dinner rolls stay delicious for days to come.

26×16 Inch Extra Thick Silicone Baking Mat with Measurements, Non-slip and Reusable – For Cookies, Bread, Pastry
【100% Safe Silicone Baking Mat】: We provide the food grade silicone dough mat sheet which is made of…
As an affiliate, we earn on qualifying purchases.
As an affiliate, we earn on qualifying purchases.
Conclusion
As you pull those warm, golden dinner rolls from the oven, remember they’re more than just bread—they’re symbols of comfort, togetherness, and tradition. Each soft, tender bite wraps your family in a comforting embrace, like the love shared around the table. These rolls aren’t just for the holidays; they’re tokens of connection, a reminder that simple moments, like baking, can create lasting memories. Let each roll be a symbol of the warmth and joy you share.

HOTEC 600℉ Heat Resistasnt Basting Brushes, BPA Free Silicone Pastry Brush, Spread Oil Butter Sauce Marinades for BBQ Grill Barbecue Baking Kitchen Cooking Dishwasher Safe (Black 2)
[ FOOD GRADE MATERIALS ]: This Silicone Basting Brush Set BPA Free,Non-toxic, lead free Odourless. With Stainless Steel…
As an affiliate, we earn on qualifying purchases.
As an affiliate, we earn on qualifying purchases.

Sourdough Proofing Basket Gift Set, 9" Round and 10" Oval Banneton Bread Baking Supplies, Sourdough Baskets with Bread Lame, Danish Whish, Bowl Scraper, Sourdough Scraper, and Linen Liner
What You Get: 1 9-inch round banneton bread proofing basket , 1 10-inch oval proofing basket, 2 liners,…
As an affiliate, we earn on qualifying purchases.
As an affiliate, we earn on qualifying purchases.