
To poach perfect eggs for brunch, start with fresh eggs that hold a rounded shape. Use water heated to about 180°F to 190°F, with gentle bubbles, not a rolling boil. Create a vortex by swirling the water before slipping the egg in from a small cup, helping whites wrap around the yolk neatly. Cook for 3-4 minutes until whites are tender and yolk is runny. Continue exploring to master every step for flawless results.
Key Takeaways
- Use fresh eggs with a firm shell for neater, more compact poached eggs.
- Heat water to 180°F–190°F (82°C–88°C) for gentle, steady bubbles that prevent breaking.
- Create a vortex by swirling water before slipping in the cracked egg for a tidy, rounded shape.
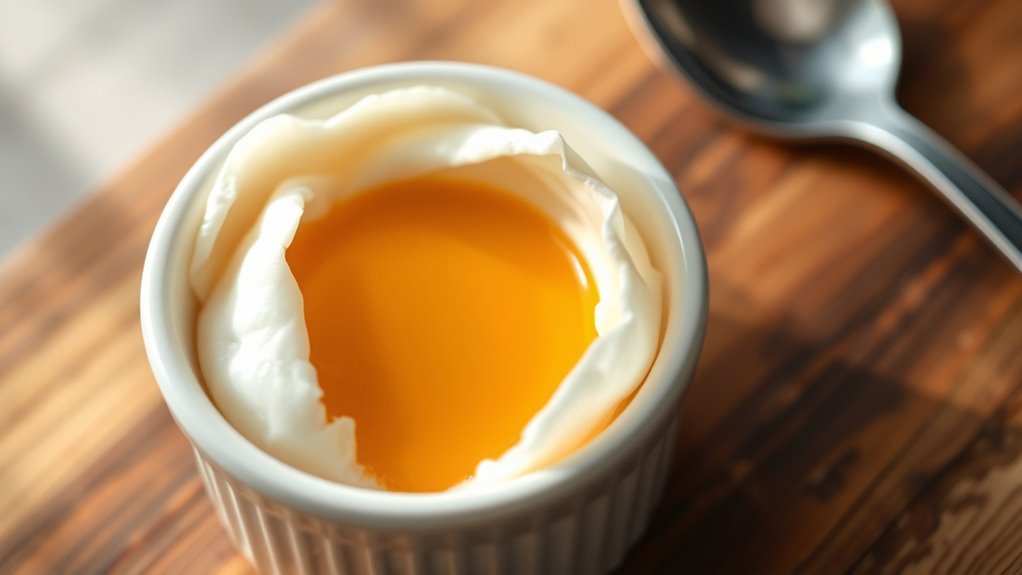
- Cook eggs for 3–4 minutes to achieve tender whites and a runny yolk.
- Crack eggs into a cup first, then gently slide into water for better control and shape.
Poaching eggs is a simple yet elegant way to prepare eggs with a delicate, runny yolk and tender whites. When aiming for the perfect poached egg, paying attention to the egg shape and water temperature can make all the difference. The egg shape, which refers to the rounded, compact form of a freshly cracked egg, influences how neatly it will hold together during cooking. Fresh eggs tend to have a more compact shape, with tighter whites that stay close to the yolk, making them easier to poach cleanly. As eggs age, their whites become more spread out and less cohesive, which can lead to ragged edges or uneven shapes. To guarantee a tidy, rounded egg shape, always select fresh eggs, ideally those with a firm shell and a visibly rounded form.
Maintaining the proper water temperature is crucial; the water should be heated to just below boiling, around 180°F to 190°F (82°C to 88°C), creating gentle, steady bubbles that help cook the egg evenly without disturbing its shape. If the water is too hot and reaches a rolling boil, the vigorous movement can cause the egg to break apart or disperse, resulting in uneven whites and irregular shapes. Conversely, if the water isn’t hot enough, the egg whites won’t set properly, leading to a runny, unappealing appearance. Maintain a gentle simmer, where small bubbles form on the bottom of the pan and occasionally rise to the surface. This steady, gentle heat ensures the whites coagulate softly around the yolk, preserving the egg’s natural shape and producing a visually appealing result.
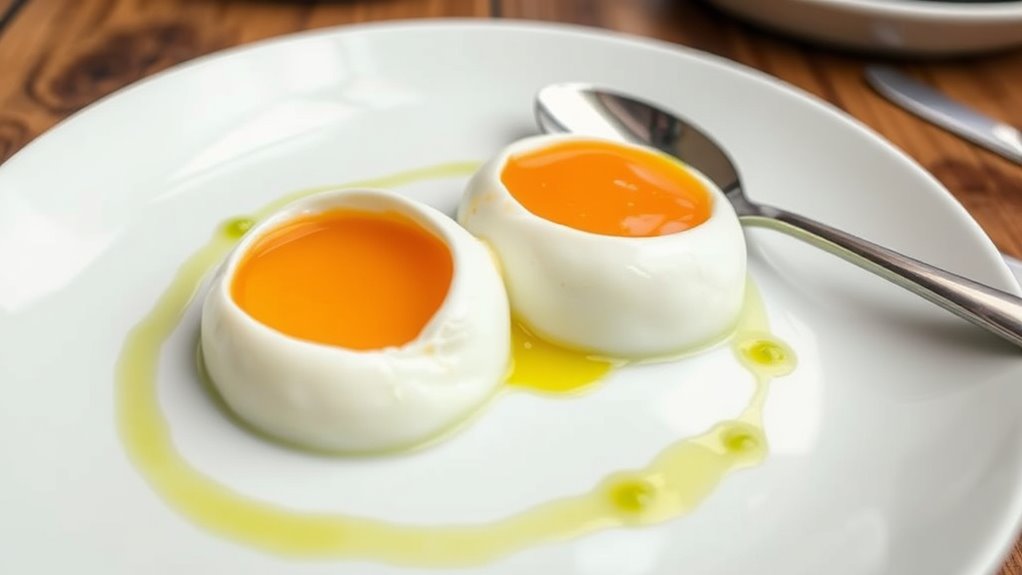
To achieve the best shape, swirl the water with a spoon before slipping in the egg; this creates a slight vortex that encourages the whites to wrap around the yolk neatly. Crack the egg into a small cup or ramekin first, then gently slide it into the center of the swirling water. This careful approach helps keep the egg compact, maintaining a pleasing round shape with tender whites hugging the yolk. Timing is also essential—cook the egg for about three to four minutes for a runny yolk and soft whites. Once done, lift the egg out with a slotted spoon, gently draining excess water. The result should be a beautifully shaped egg, with whites that are tender yet firm enough to hold the yolk securely. Additionally, understanding the importance of egg freshness can greatly enhance your poaching success, as fresher eggs tend to hold their shape better during cooking.
Frequently Asked Questions
Can I Reuse Poaching Water for Multiple Eggs?
Yes, you can reuse poaching water for multiple eggs, but keep in mind that egg freshness affects poaching success. If the water is kept at a gentle simmer and remains clear, it’s safe to reuse. However, as you poach more eggs, the water may become cloudy or develop a slight egg smell, which can affect flavor and appearance. To guarantee the best results, change the water if it becomes too murky or odorous.
What’s the Best Vinegar to Use for Poaching Eggs?
You should use a mild vinegar with a moderate acidity level, like white distilled vinegar or champagne vinegar, for poaching eggs. These vinegar types help coagulate the egg whites quickly without overpowering the delicate flavor. Avoid very strong or flavored vinegars, as their acidity levels can be too high or alter the taste. Stick to these options for the best, clean results every time.
How Do I Prevent Eggs From Sticking to the Pan?
To prevent eggs from sticking to the pan, start with a non-stick coating or use a well-seasoned pan. Make sure to add a small amount of oil or butter to provide lubrication, which helps the eggs slide off easily. Keep the heat at a gentle simmer, not high, to avoid sticking and burning. With proper coating and oil, your eggs will cook perfectly without sticking.
Can I Make Poached Eggs Ahead of Time?
Yes, you can make poached eggs ahead of time. To do so, make ahead preparations by gently cooling the eggs in ice water after poaching. Store them in an airtight container in the refrigerator, and use within 24 hours for best freshness. When ready to serve, reheat the eggs in hot water for about 30 seconds to warm through without overcooking. This way, you save time and still enjoy perfect poached eggs.
What’s the Ideal Fresh Egg Age for Poaching?
They say “a bird in the hand is worth two in the bush,” so choose fresh eggs for poaching. Ideally, use eggs that are no more than a week old, as their egg freshness guarantees better shell integrity and easier handling. Older eggs tend to have weaker shells and less firm whites, making the perfect poached egg harder to achieve. Fresh eggs give you more control and a cleaner, more professional appearance.
Conclusion
Now that you’ve mastered the art of poaching eggs, think of yourself as a culinary alchemist, transforming simple eggs into a delicate, golden treasure. With each perfect sphere you create, you’re weaving a morning masterpiece that’s both beautiful and satisfying. So, go ahead—embrace the gentle dance of the water and the tender swirl of the spoon. Your brunch table is now a stage, and you’re the star chef, serving up pure, sunny perfection.