
Sear your way to culinary excellence! Mastering the perfect sear is the key to unlocking mouthwatering textures and flavors. Start by thoroughly drying your protein, then heat your pan until it's ripping hot. Add a touch of high-smoke-point oil, and place your meat boldly in the pan. Let it sizzle undisturbed for 2-3 minutes to build that golden-brown crust. Resist the urge to poke and prod – patience is the secret. Once you've achieved that perfect sear, you'll be well on your way to creating restaurant-worthy dishes that'll have your guests raving. And there's so much more to discover about searing!
Key Takeaways
- Ensure the pan is preheated to high temperature to create a sizzling hot surface for optimal browning and crust formation.
- Pat the meat dry thoroughly with paper towels to remove excess moisture, enabling proper caramelization.
- Use high smoke point oils, such as canola or grapeseed, to withstand the intense heat required for searing.
- Avoid overcrowding the pan to maintain the high temperature and allow for even cooking and crust development.
- Let the meat sear undisturbed for 2-3 minutes to create a golden-brown crust before flipping for a perfectly seared exterior.

Instant Pot Duo 7-in-1 Electric Pressure Cooker, Slow Cooker, Rice, Steamer, Sauté, Yogurt Maker, Warmer & Sterilizer, Includes App With Over 800 Recipes, Stainless Steel, 6 Quart
- 7-in-1 Cooking Functions: Pressure, slow, sauté, steam, rice, yogurt, warm
- Smart One-Touch Programs: 13 customizable cooking options
- Safe Steam Release: Easy-Release switch for safety and convenience
As an affiliate, we earn on qualifying purchases.
History
The history of searing meat can be traced back to ancient culinary practices. Early humans discovered that cooking meat over an open flame created a delicious, crispy outer layer that sealed in the juices. This technique, known as searing, became a popular way to prepare meats in many traditional cuisines around the world.
In medieval Europe, searing was often used to prepare game meats, such as venison and boar. Cooks would use hot iron pans or griddles to quickly brown the exterior of the meat, locking in its natural flavors.
As cooking techniques evolved, searing became a critical step in many recipes, from roasted beef to pan-seared fish.
Today, searing remains an essential skill for home cooks and professional chefs alike. By mastering the art of the perfect sear, you can elevate the taste and texture of your favorite proteins, creating a mouthwatering crust that seals in juiciness and intensifies the natural flavors.
Recipe
Achieving the perfect sear is a crucial step in unlocking the full flavor potential of many dishes. Whether you're cooking a steak, chop, or piece of fish, mastering the sear is the key to a delicious, caramelized crust that seals in juices and imparts a depth of flavor.
The secret to a superior sear lies in the preparation and technique. By following a few simple guidelines, you can consistently produce a sear that will elevate your culinary creations to new heights.
- 2 pounds of your desired protein (steak, pork chops, salmon, etc.)
- 2 tablespoons of vegetable or canola oil
- Kosher salt and freshly ground black pepper
Pat the protein dry with paper towels to ensure the surface is completely dry. Season generously with salt and pepper, allowing the seasoning to adhere to the surface.
Heat a heavy-duty skillet or cast-iron pan over high heat until it's smoking hot. Add the oil and swirl to coat the pan. Carefully place the protein in the pan and let it sear undisturbed for 2-3 minutes, or until a deep, golden-brown crust forms. Flip and repeat on the other side.
Cooking Steps
First, you'll want to pat your meat dry with a paper towel. This helps the exterior brown nicely when it hits the hot pan.
Next, crank the heat up high – you want that pan ripping hot before adding your oil and meat!
Step 1. Pat Meat Dry
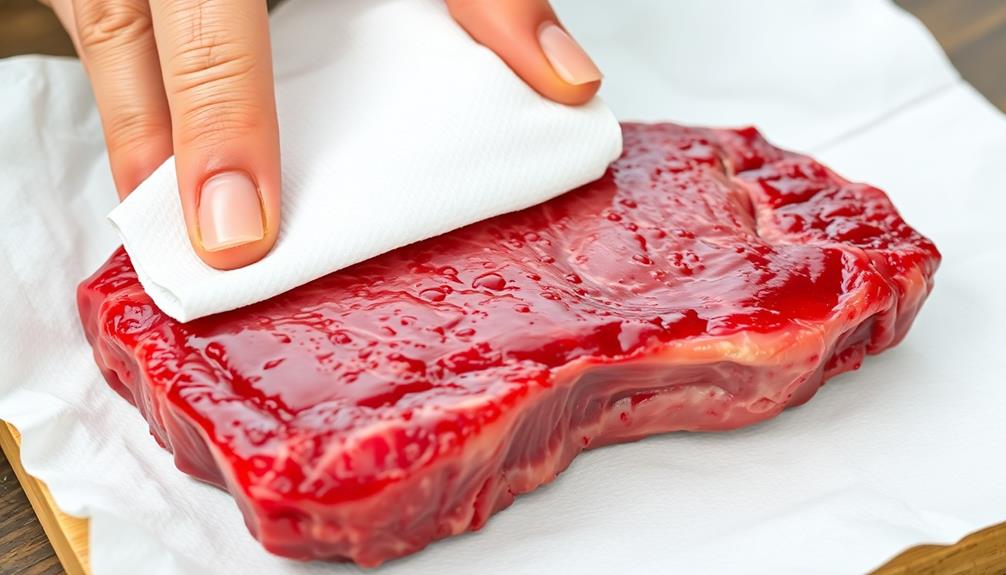
Before you can achieve a perfect sear, you'll need to ensure your meat is thoroughly dried. This step is crucial – any excess moisture will prevent your meat from browning properly.
Take a few paper towels and pat the surface of your meat until it's completely dry. You don't want any visible wetness left behind. This may take a bit of elbow grease, but it's a vital part of the process.
Once your meat is nice and dry, you're ready for the next step.
Now that your meat is prepped, you can start heating up your pan or grill. The key is to get the surface ripping hot before you add your meat. This will help create that beautiful sear you're after.
Remember, patience is key – don't be tempted to move the meat around too much while it's searing. Let it do its thing and develop that delicious crust.
With a little practice, you'll be searing like a pro in no time!
Step 2. Heat Pan Over High
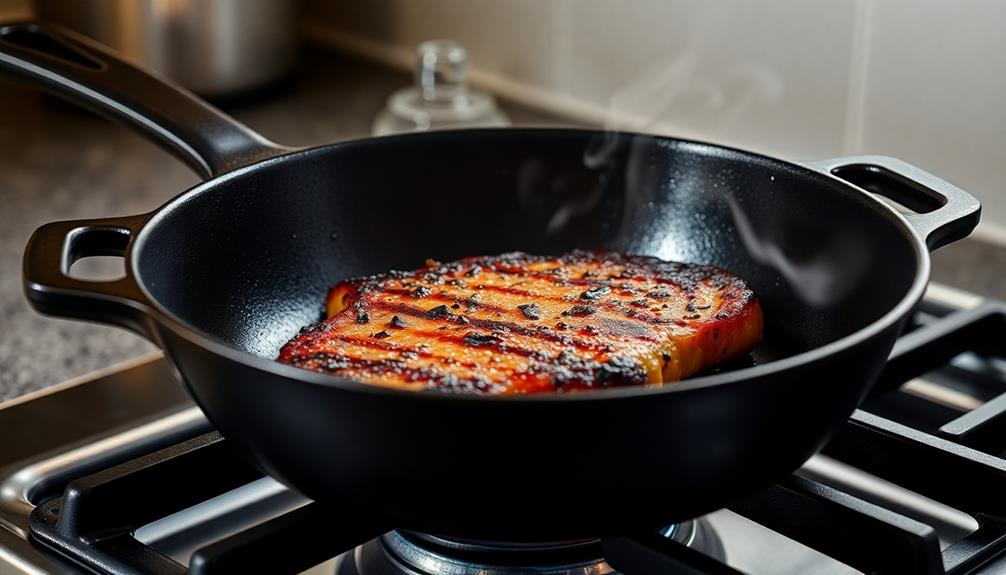
Your next step is to heat the pan over high heat. You want to get that pan ripping hot – like, almost too hot to touch! This is crucial for developing the perfect sear on your meat.
As the pan heats up, you'll start to see the surface shimmer and maybe even a bit of smoke. That's exactly what you want. The high heat is what's going to help create that beautiful, caramelized crust that everyone loves.
Now, be patient and let the pan fully preheat. Resist the urge to start cooking right away. Give it a minute or two to really get nice and toasty.
Once the pan is screaming hot, you can add your oil. Swirl it around to coat the surface. Then it's time to add your meat! The sizzle as it hits the pan is music to a cook's ears. Get ready for some serious flavor development.
Step 3. Add Oil to Pan
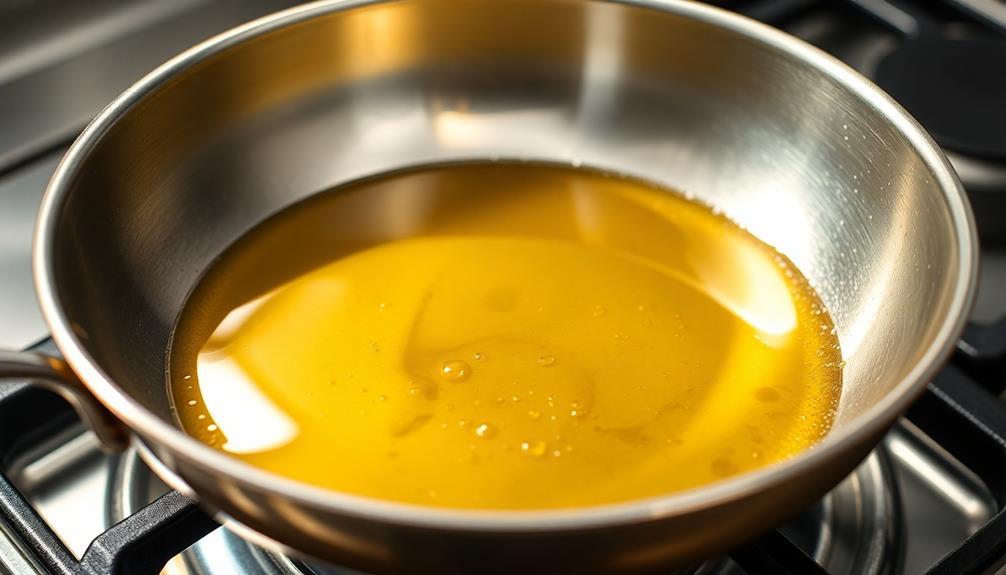
Next, add a small amount of oil to the hot pan. You'll want to use just enough oil to lightly coat the surface – about 1 to 2 tablespoons should do the trick. Be sure to tilt the pan to spread the oil evenly. This helps create that perfect sear you're after.
Using butter in combination with oil can elevate the flavor, as it enhances the richness of the dish while also providing that essential moisture, making it a great choice for achieving a delicious crust butter adds flavor and moisture.
When the oil starts to shimmer and sizzle, you know it's hot enough. The high heat is crucial for getting that beautiful, caramelized crust on your meat or vegetables.
Don't be afraid to let the oil get nice and hot before adding your ingredients. This will ensure the sear happens quickly, locking in all those delicious juices.
Remember to keep a close eye on the oil, as it can go from perfectly hot to burnt in the blink of an eye. Be ready to add your food as soon as the oil is ready.
With the right amount of oil and the perfect temperature, you're well on your way to perfecting that sear!
Step 4. Add Meat to Hot Pan
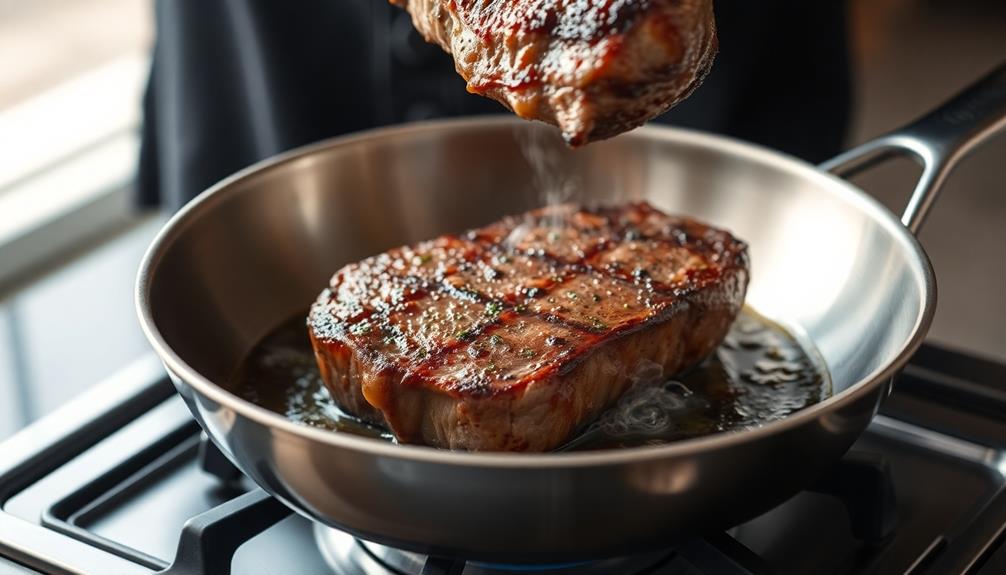
With the oil shimmering and ready, it's time to add your meat to the hot pan. Be bold and drop that steak or chop right in! You'll hear that satisfying sizzle as the meat hits the surface.
Don't be shy – really let it make contact with the pan. The key is to not overcrowd the meat. Leave a little space between each piece so they can all get that delicious caramelized crust.
As the meat cooks, you'll see the edges start to turn golden brown. Resist the urge to move it around too much. Let it sear and develop that perfect crust before flipping.
When it's ready, the meat will release easily from the pan. Flip it over and let the other side get the same treatment. Soon you'll have a gorgeously seared piece of meat, ready to be enjoyed.
The anticipation is building – get ready for an incredible flavor experience!
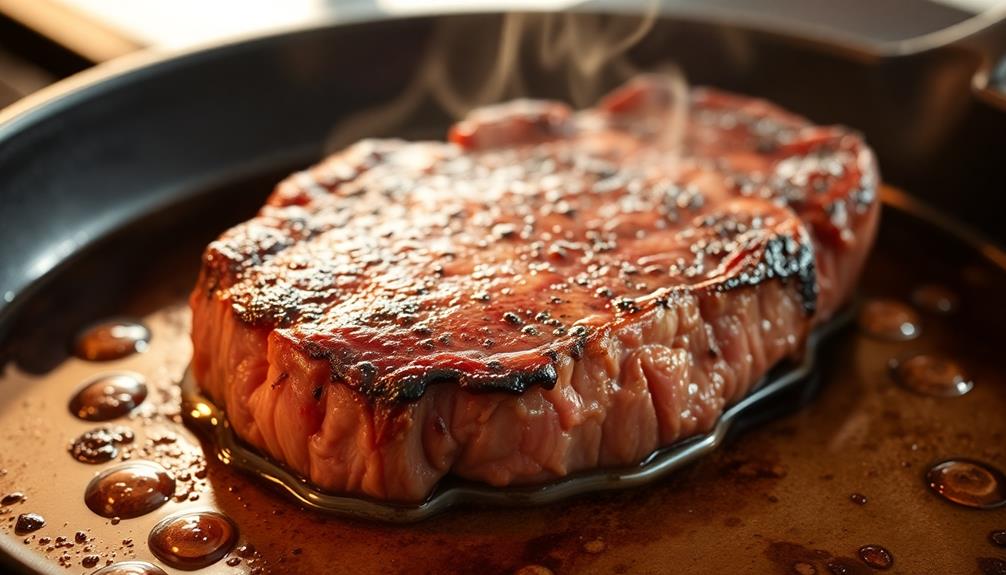
Step 5. Cook Until Browned
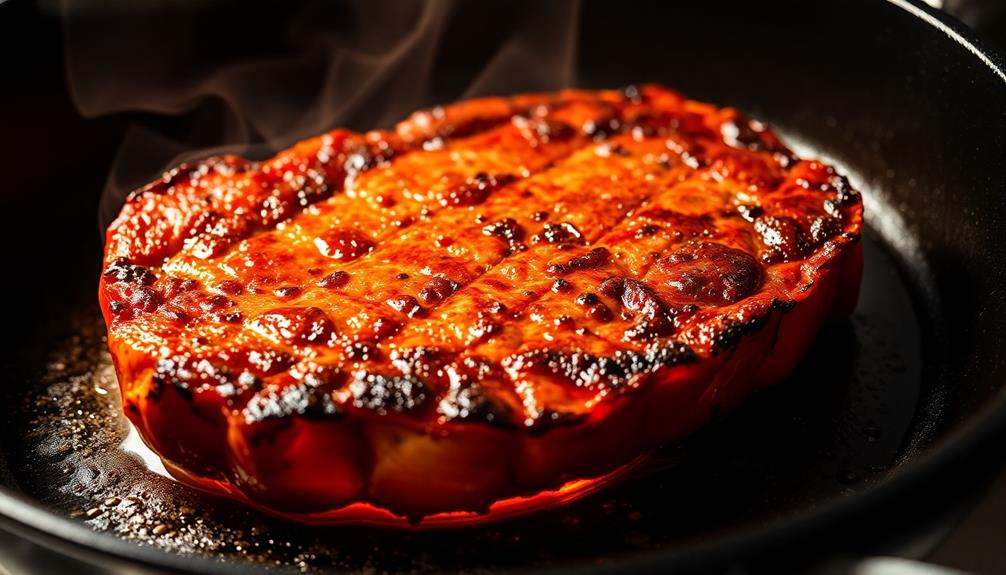
Once the meat hits the hot pan, it's time to let the searing process begin. This is where the magic happens!
You'll want to let the meat cook undisturbed for 2-3 minutes. Resist the urge to poke or flip it too soon. The meat needs time to develop that beautiful, caramelized crust.
As the meat sears, you'll notice it start to release some liquid. This is totally normal and actually helps create that perfect sear. Just make sure to let the pan stay nice and hot.
Once the first side is nicely browned, it's time to flip. Use tongs or a spatula to carefully turn the meat over. You want to make sure you get even browning all around.
Continue cooking the meat, flipping occasionally, until it reaches your desired doneness. The exact time will depend on the thickness of your cut.
Just keep a close eye and use a meat thermometer to check for doneness. With a little patience, you'll end up with a heavenly sear that's sure to impress.
Final Thoughts
While the journey of perfecting your sear may have reached its conclusion, the true mastery of this culinary technique lies in your unwavering commitment to continuous improvement.
Remember, the perfect sear isn't a destination, but a lifelong pursuit. Each time you fire up the pan, you have the chance to learn something new, to refine your skills, and to push the boundaries of what's possible.
Don't be afraid to experiment, to try new techniques, and to find what works best for you and your unique cooking style. The joy of searing lies in the process, in the satisfying sizzle, and in the endless possibilities that come with creating that golden-brown crust.
Embrace the challenge, celebrate your successes, and never stop striving to elevate your culinary artistry. The path to perfection is paved with passion, patience, and a relentless drive to be the best sear artist you can be. Each dish tells a story, and every recipe mastered is a step closer to showcasing your unique culinary voice. Even when tackling something new, like a Vietnamese macaroni soup recipe, approach it with curiosity and confidence, knowing that every attempt refines your skills. Remember, it’s not just about the final plate but the journey of growth and discovery in every simmer, stir, and taste.
Frequently Asked Questions
How Long Should I Let the Meat Rest Before Searing?
Let the meat rest for 5-10 minutes before searing. This allows the juices to redistribute throughout the meat, ensuring a juicier, more flavorful sear. Don't skip this important step – it'll make a big difference in the final result.
Can I Sear Frozen Meat Directly, or Does It Need to Be Thawed?
You can sear frozen meat directly, but it won't give you the same results as searing thawed meat. Thawing the meat first allows it to cook more evenly and develop a better crust when searing.
What Type of Pan Is Best for Achieving a Perfect Sear?
You'll get the best sear with a heavy, cast-iron or stainless steel pan. These materials retain heat well, creating an even, high-heat surface to develop that signature caramelized crust on your meat.
How Do I Prevent the Meat From Sticking to the Pan During Searing?
To prevent meat from sticking during searing, make sure your pan is hot enough, use a small amount of oil, and don't move the meat until it's ready to release naturally. This will help create a perfect sear.
Should I Oil the Meat or the Pan Before Searing?
You can oil either the meat or the pan before searing, but oiling the pan is generally better. This helps create a barrier between the meat and the surface, preventing sticking.