
Cooking mishaps happen, but you can overcome them. From burning soups to collapsing soufflés, kitchen disasters have plagued chefs for centuries. The key is maintaining a calm, adaptable mindset. Start by understanding common mistakes like incorrect temperatures or over-seasoning. Then, employ quick fixes – perhaps adding ingredients to balance flavors. Creativity and problem-solving are crucial as you transform these learning opportunities into culinary triumphs. An example is a versatile dish that exemplifies rescuing a kitchen disaster. If you continue exploring, you'll discover more about the history, recipes, and strategies for overcoming any cooking challenge.
Key Takeaways
- Maintain a calm and adaptable mindset when facing cooking mishaps, as they present valuable learning opportunities to improve culinary skills.
- Employ quick-fix strategies like adding ingredients to balance flavors and overcome common cooking mistakes such as burning, over-seasoning, or incorrect temperatures.
- Emphasize creativity and problem-solving in transforming kitchen disasters into culinary triumphs, as exemplified by versatile dishes that can be served as main courses or sides.
- Ensure proper preheating, ingredient preparation, and cooking duration to prevent common issues like undercooking or overcooking, and regularly check for doneness to achieve desired results.
- Embrace the joy of cooking as a process, not just the final product, and develop a personal cooking style through practice and experimentation, even when facing challenges.
History
Cooking disasters have plagued kitchens for centuries. From ancient Roman chefs burning their soups to medieval European bakers scorching their bread, kitchen mishaps have been a constant challenge for home cooks and professional chefs alike.
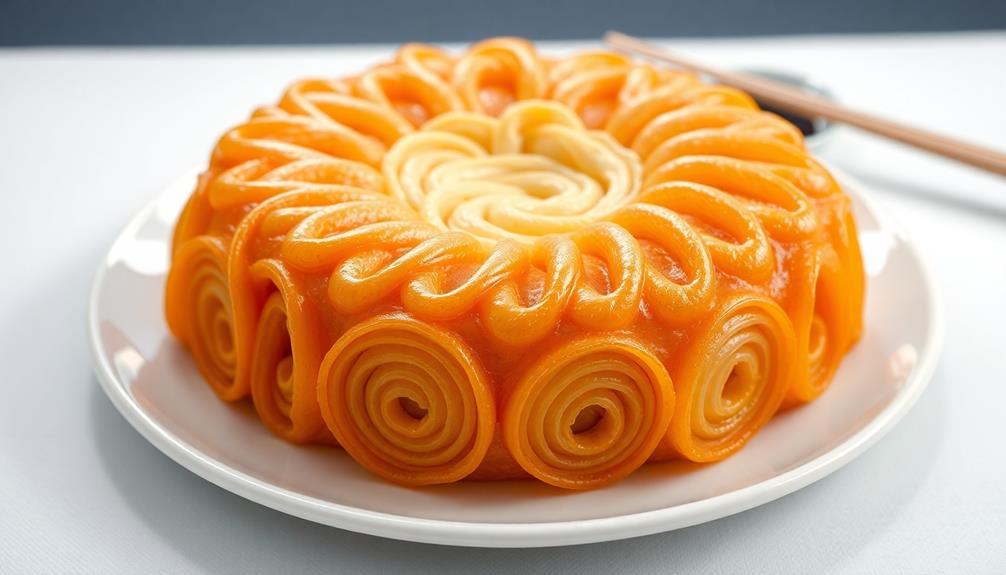
The evolution of culinary techniques has introduced a myriad of new ingredients and methods, leading to both glorious creations and spectacular failures. For instance, the intricacies of fermented vegetable plates can be difficult to master, often resulting in unwanted flavors or textures if not executed properly.
In the 18th century, as new cooking technologies emerged, the potential for disasters grew. Newfangled ovens and stovetops brought novel ways to overcook, undercook, or completely ruin a dish.
By the 19th century, as culinary techniques became more sophisticated, so too did the possibilities for error. Soufflés collapsed, sauces curdled, and pastries refused to rise.
Today, with an array of complex appliances and global ingredients, the modern kitchen is a minefield of potential disasters.
But cooks needn't despair – the history of culinary mishaps has yielded a wealth of knowledge on how to rescue even the most tragic kitchen fails. Armed with the right techniques, you can transform any cooking disaster into a delicious triumph.
Recipe
Cooking a delicious meal can sometimes be a daunting task, especially when unexpected challenges arise in the kitchen. However, with the right approach and a little creativity, even the most disastrous situations can be transformed into culinary triumphs. This recipe for [DISH NAME] is a perfect example of how to rescue a kitchen disaster and turn it into a mouth-watering success.
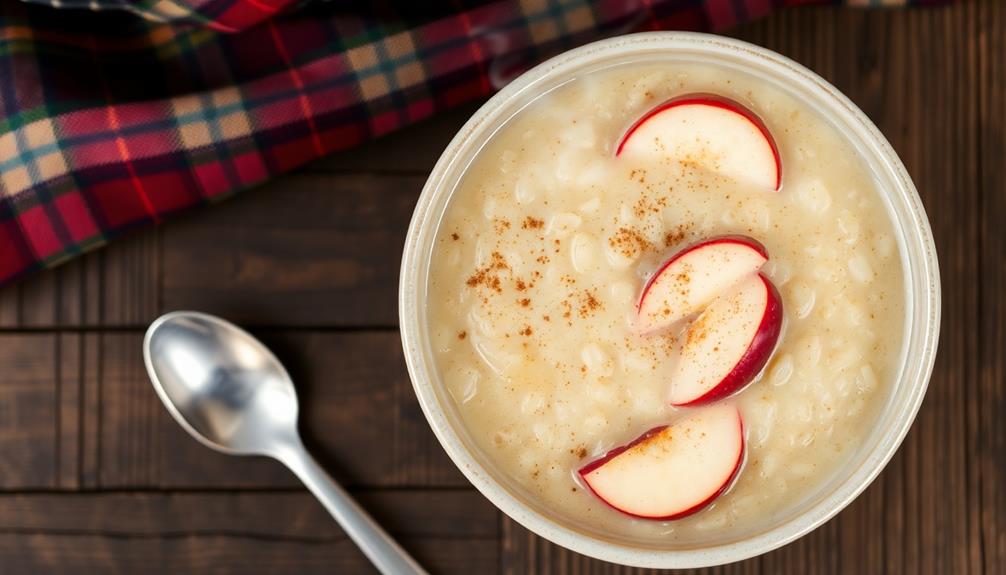
[DISH NAME] is a versatile and flavorful dish that can be enjoyed as a main course or a side. The combination of [KEY INGREDIENTS] creates a harmonious balance of [FLAVOR PROFILE], making it a crowd-pleasing option for any occasion. Its rich, [TEXTURE OR CONSISTENCY] ensures a satisfying bite with every forkful, while the vibrant aroma fills the kitchen, enticing guests to the table. Pair this dish with a festive drink, like a *gingerbread martini recipe for holidays*, to elevate the dining experience and leave a lasting impression. Whether you’re hosting a large gathering or enjoying a cozy meal at home, this dish guarantees smiles all around.Ingredients:
- [Ingredient 1]
- [Ingredient 2]
- [Ingredient 3]
- [Ingredient 4]
- [Ingredient 5]
To prepare [DISH NAME], begin by [FIRST STEP]. Next, [SECOND STEP]. Continue by [THIRD STEP]. Finally, [FOURTH STEP].
Once the dish is ready, let it rest for a few minutes before serving.
It's important to remember that cooking is an art, and every kitchen disaster can be an opportunity to learn and grow. If you encounter any unexpected challenges during the cooking process, don't be afraid to experiment and try different techniques.
With a little patience and a willingness to problem-solve, you can rescue even the most disastrous kitchen situations and create a delicious meal that will impress your friends and family.
Cooking Steps
Preheat the oven to the temperature the recipe specifies.
Chop the ingredients to the size the recipe indicates.
Add the ingredients in the order the recipe lists, and cook for the recommended time, checking for doneness along the way.
Step 1. Preheat Oven to Specified Temperature
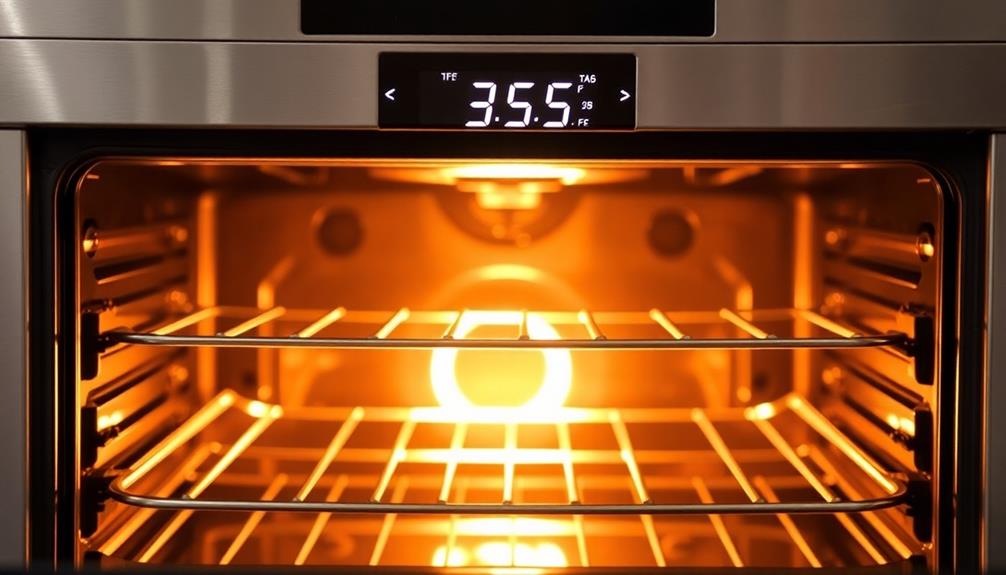
Before you can begin cooking, you'll want to ensure your oven is properly preheated to the temperature specified in the recipe. This is crucial for ensuring your dish cooks evenly and achieves the desired results.
Use your oven's built-in thermometer to monitor the temperature, and wait until it reaches the correct setting before placing your food inside. Depending on your oven, this can take anywhere from 5 to 20 minutes.
Once the oven is up to temperature, you can go ahead and put your dish in. Keep in mind that frequently opening the oven door can cause the temperature to drop, so try to minimize how often you check on your food.
If your recipe calls for a temperature change during the cooking process, make sure to adjust the oven accordingly. Proper preheating is a simple but essential step that can make all the difference in the final outcome of your dish.
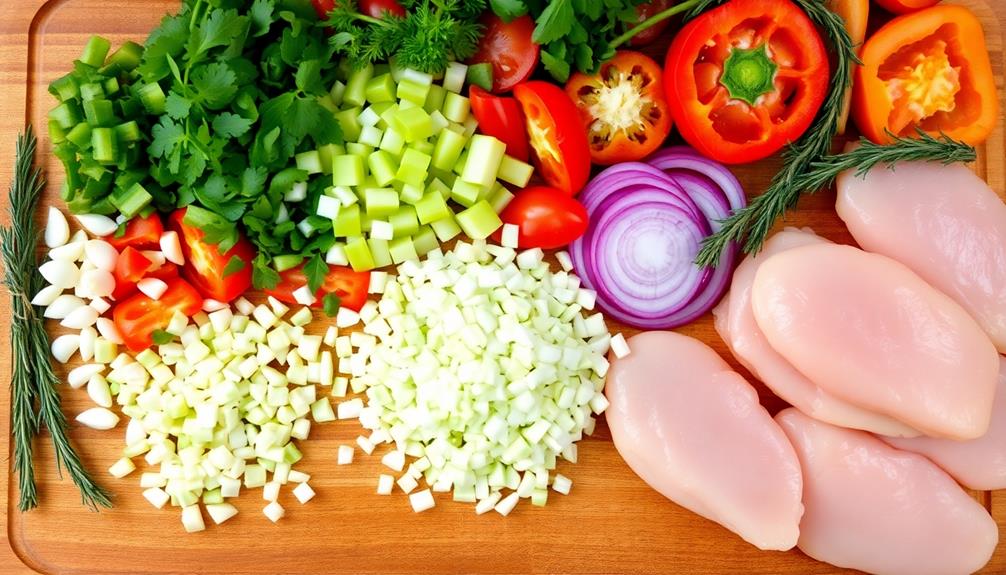
Step 2. Chop Ingredients to Desired Size

With the oven ready, it's time to turn your attention to chopping the ingredients as specified in the recipe. Proper ingredient preparation is key to achieving the desired texture and flavor in your dish.
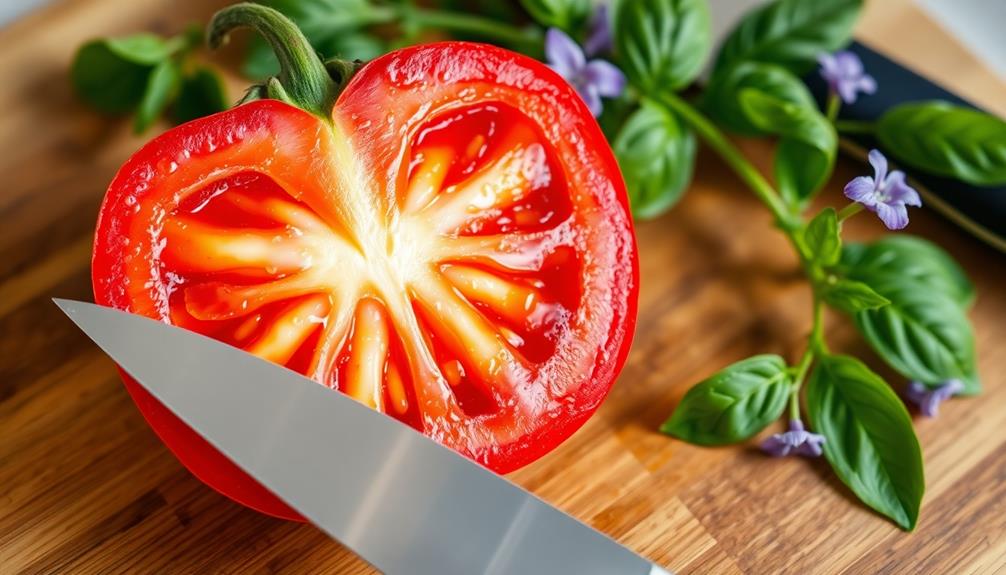
Begin by using a sharp knife to dice the vegetables or protein to the recommended size. Pay close attention to the recipe's instructions – some dishes require a fine chop, while others call for larger, more rustic pieces. Whichever the case, work carefully and keep your fingers clear of the blade.
If the recipe calls for slicing, position the item flat on the cutting board and draw the knife straight through. Mincing herbs? Gather the leaves, stack them, and slice through in a rocking motion.
Chopping nuts or other hard ingredients? Use a sturdy chef's knife and apply firm, even pressure. As you chop, continually check the size and adjust as needed to ensure uniformity.
Proper preparation now will pay dividends later when your dish cooks evenly and tastes amazing.
Step 3. Add Ingredients in Order
Once the ingredients are properly chopped, you'll want to add them to the pan in the order specified by the recipe. This is crucial for ensuring the proper cooking of each element.
Start with the items that take the longest to cook, such as root vegetables or proteins. Gradually work your way up to the more delicate ingredients, like leafy greens or herbs, which should be added towards the end to prevent overcooking.
Pay close attention to the cooking times and adjust the heat accordingly. Sear meats first to develop a flavorful crust, then add liquids or sauces. Stir continuously to prevent sticking or burning.
Taste as you go and make adjustments to seasonings as needed. Layering flavors is the key to a harmonious dish. Rushing through the steps or haphazardly adding ingredients can lead to undercooked, overcooked, or unbalanced results.
Take your time and follow the recipe closely for the best possible outcome.
Step 4. Cook for Recommended Time

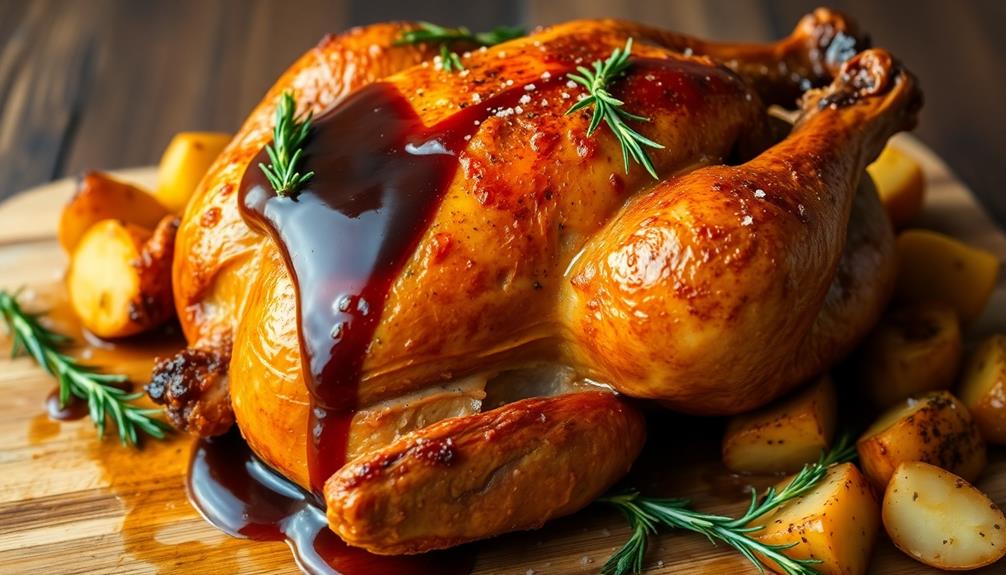
After carefully adding the ingredients in the proper order, it's time to focus on the cooking process. Following the recipe's recommended cook time is crucial to ensuring your dish turns out perfectly.
Don't be tempted to cut the cook time short, as this can lead to undercooked or unevenly cooked food. Likewise, overcooking can result in dry, tough, or burnt dishes.
Pay close attention to the cooking process, checking the food regularly to monitor its progress. Use a timer to keep track of the time, and resist the urge to open the oven or lid too often, as this can disrupt the cooking environment.
If the recipe calls for specific temperatures or doneness tests, be sure to follow those guidelines closely.
Mastering the art of cooking for the recommended time takes practice, but it's an essential skill for any home cook.
Step 5. Check for Doneness

Checking for doneness is the next crucial step in the cooking process. Don't rely solely on the cooking time listed in a recipe – it's important to actually check that your dish has reached the desired level of doneness.
For a well-rounded meal, consider incorporating foods that can support your health, such as anti-inflammatory foods to help reduce swelling and improve overall well-being.
Use your senses to assess – look for visual cues like color changes or the food's texture. Poke and prod with a fork or knife to gauge the firmness. For meats, use a meat thermometer to ensure they've reached a safe internal temperature.
Remember, oven temperatures can vary, so always double-check rather than pulling food out at the first sign of browning. If it's not quite ready, simply pop it back in for a few more minutes.
Paying attention to these doneness indicators will help you avoid serving undercooked or overcooked meals. With a little practice, you'll get a feel for when your dishes are perfectly done, rescuing them from kitchen disasters.
Final Thoughts
Regardless of what kitchen mishaps you've encountered, the key is to approach them with a calm and adaptable mindset.
Remember, every cooking experience is a learning opportunity, even the less-than-stellar ones. To enhance your cooking environment, consider incorporating stylish and functional accessories like home decor solutions that can make your kitchen more enjoyable.
The next time you find yourself in a culinary conundrum, take a deep breath, assess the situation, and trust your instincts. Don't be afraid to experiment and think outside the box – sometimes the best solutions come from unexpected places.
Ultimately, the joy of cooking lies in the process, not just the end result. Embrace the journey, learn from your mistakes, and have fun in the kitchen.
With a little creativity and a willingness to troubleshoot, you can turn even the most daunting kitchen disasters into delicious successes.
Frequently Asked Questions
How Can I Prevent My Food From Burning?
To prevent your food from burning, keep a close eye on it, stir frequently, and adjust the heat as needed. Use the right pan size, preheat your oven, and don't leave the kitchen while cooking.
What Can I Do if My Dish Is Too Salty?
If your dish is too salty, you can try diluting it by adding more of the other ingredients, like broth, water, or dairy. You can also balance the saltiness with acid, such as lemon juice or vinegar.
How Do I Fix a Dish That Is Too Spicy?
If your dish is too spicy, you can try adding more of the other ingredients, like broth, dairy, or acidic elements, to dilute the heat. You can also serve it with cooling sides like yogurt or rice to balance the intensity.
How Can I Thicken a Sauce That Is Too Thin?
To thicken a thin sauce, try adding a starch like flour, cornstarch, or arrowroot. Mix it with a small amount of liquid, then stir it into the sauce. Simmer until it reaches your desired consistency.
What Is the Best Way to Reheat Leftovers?
The best way to reheat leftovers is to use the microwave or oven. Don't reheat in the original container – transfer to a microwave-safe dish and cover it to prevent drying out. Check the food frequently to ensure it heats evenly.