
You're in for a real treat – Vietnamese yogurt! This unique dairy delight has evolved from humble beginnings in rural farming communities to become a beloved national treasure. The secret lies in the special strains of bacteria that give it a wonderfully tangy flavor. Crafted with care, traditional techniques involve nurturing live cultures and adjusting fermentation to perfection. Smooth, creamy, and oh-so-satisfying, this yogurt reflects the resilience and rich food heritage of Vietnam. Pair it with fresh fruit for a heavenly flavor combination, and get ready to embark on a delicious culinary journey. For an even more authentic experience, enjoy it alongside popular local treats like Vietnamese coffee or even better, try it with a Vietnamese banh cam recipe. The contrast between the tangy yogurt and the sweet, chewy banh cam creates a delightful balance that brings out the best of both flavors. Whether you’re a food adventurer or simply seeking comfort, this pairing promises an unforgettable taste of Vietnam.
Key Takeaways
- Vietnamese yogurt has a distinctive tangy flavor due to the unique strains of bacteria cultivated through traditional fermentation techniques.
- The yogurt originated in rural farming communities and has evolved into a national treasure reflecting Vietnam's culinary heritage.
- Proper preparation involves carefully heating the milk, adding the yogurt starter, and incubating the mixture at a warm temperature for optimal bacterial growth.
- The final steps of refrigeration and straining help achieve the desired thick and velvety texture of Vietnamese yogurt.
- Pairing the yogurt with fresh seasonal fruits enhances the overall flavor experience and showcases the versatility of this cherished Vietnamese delicacy.
History
Over the centuries, Vietnamese yogurt has evolved from a humble dairy product to a beloved national treasure. Its origins can be traced back to the rural farming communities of Vietnam, where generations of dairy farmers carefully cultivated the unique strains of bacteria that give this yogurt its distinctive tangy flavor.
As the popularity of Vietnamese yogurt grew, so too did the methods used to create it. Traditional techniques, passed down through the years, involved carefully nurturing the live cultures and adjusting the fermentation process to achieve the perfect balance of tartness and creaminess.
Today, while modern technology has streamlined production, the heart and soul of Vietnamese yogurt remain unchanged, with artisanal producers still adhering to time-honored recipes and practices.
From its humble beginnings to its current status as a cultural icon, the history of Vietnamese yogurt is a testament to the enduring power of traditional food ways and the resilience of the Vietnamese people.
Cooking Steps
To begin the cooking process, gather all the necessary ingredients and equipment. You'll need a large pot, a whisk, a thermometer, and a strainer.
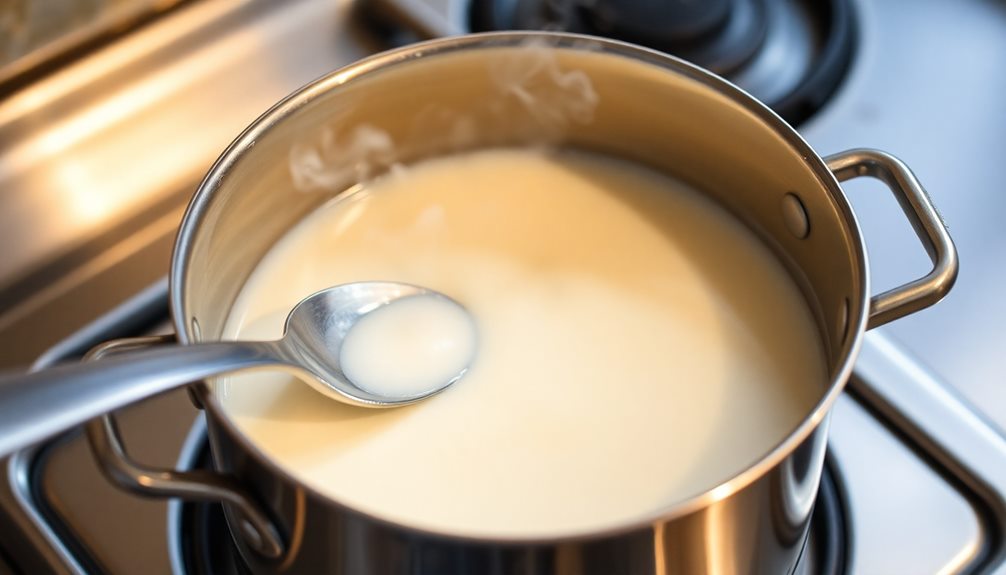
Start by pouring the milk into the pot and heating it over medium heat. Keep a close eye on it, stirring occasionally, until the milk reaches 180°F. This high temperature is crucial for the yogurt-making process.
Next, remove the pot from the heat and let the milk cool down to 110°F. Once it's at the right temperature, whisk in the yogurt starter culture. Be sure to mix it in thoroughly.
Then, cover the pot and let the mixture sit for 8-12 hours, or until the yogurt has thickened to your desired consistency.
Step 1. Combine Milk and Yogurt Starter
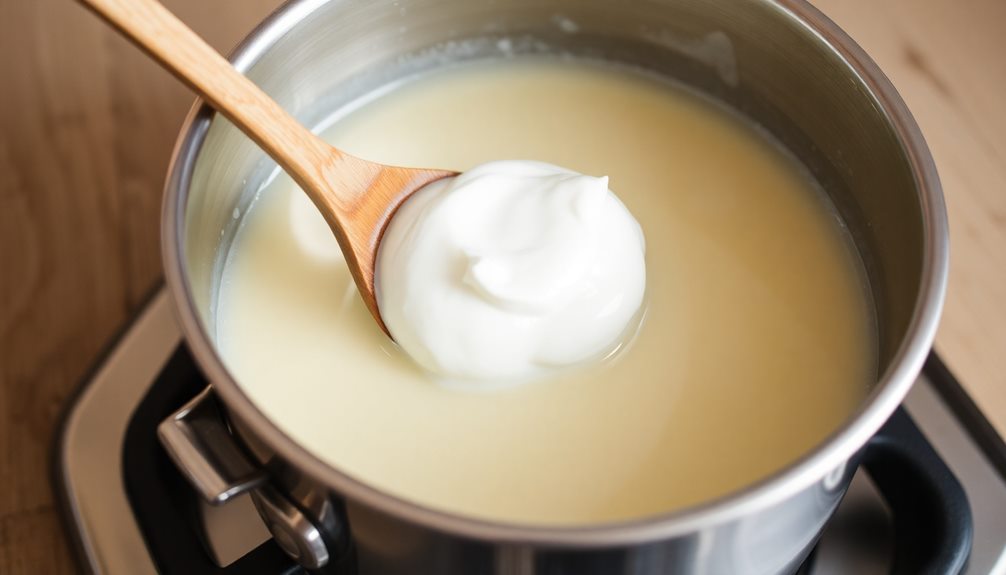
Having gathered the necessary milk and yogurt starter, it's time to combine them. In a clean pot, pour in the fresh milk you've selected. This could be cow's milk, goat's milk, or even a plant-based milk like soy or almond.
Slowly stir in the yogurt starter, making sure it's evenly distributed throughout the milk. The starter acts as a catalyst, introducing the live cultures that will transform the milk into tangy, creamy Vietnamese yogurt.
Gently heat the mixture over medium-low heat, being careful not to let it boil. The ideal temperature range is between 110-115°F. This warm environment encourages the yogurt cultures to thrive and multiply, creating that signature thick and velvety texture.
As the yogurt forms, you may notice it start to pull away from the sides of the pot. This is a good sign that the culturing process is underway. Once it reaches the desired consistency, remove the pot from the heat and let the yogurt cool before transferring it to individual serving containers.
Step 2. Incubate at Warm Temperature

With the milk and yogurt starter now combined, it's time to create the ideal environment for the yogurt to thrive.
Grab your insulated cooler or a large pot with a lid. Gently place the sealed jar containing the milk-yogurt mixture inside. Now, fill the cooler or pot with warm water, making sure the water level reaches just below the lid of the jar. The water should be around 110°F (43°C) – warm enough to incubate the yogurt, but not too hot, which could kill the precious bacteria.
Close the lid and let the magic happen.
Over the next 6 to 12 hours, the beneficial bacteria in the yogurt starter will convert the lactose in the milk into lactic acid, thickening the mixture and developing that delightful tangy flavor.
Resist the urge to peek – opening the lid could disrupt the temperature and slow down the process. When the yogurt has reached your desired consistency, it's ready to chill and enjoy!
Step 3. Refrigerate the Incubated Mixture
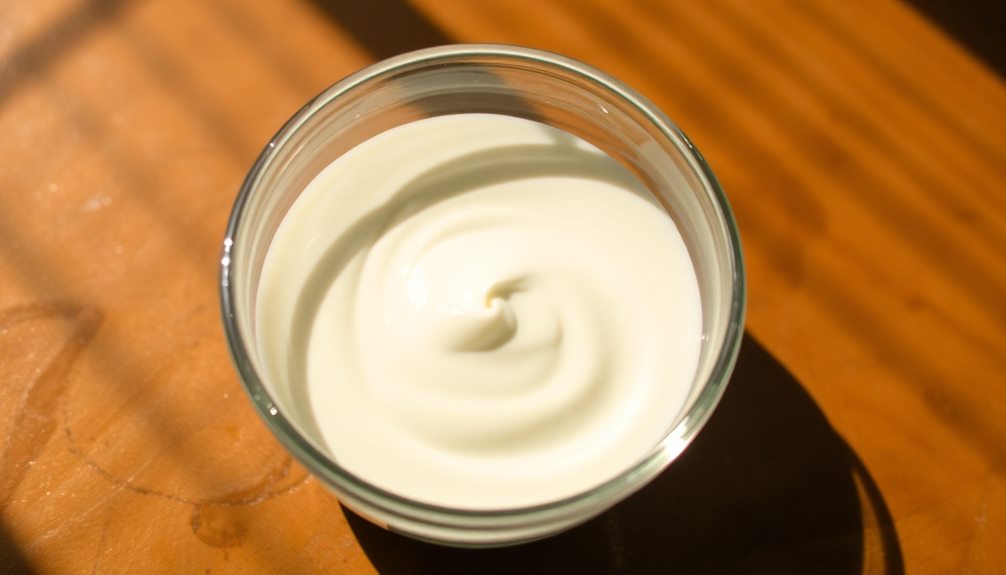
Once the yogurt has reached your desired consistency, it's time to chill the incubated mixture. Refrigeration is the key to preserving the tangy, creamy goodness you've just created. Gently transfer the yogurt to an airtight container and pop it in the fridge.
As it chills, the flavors will continue to develop and meld together, creating a rich, satisfying treat. Be sure to keep the yogurt at a cool temperature, around 40°F (4°C) or below. This will help prevent the growth of any unwanted bacteria and ensure your yogurt stays fresh and delicious.
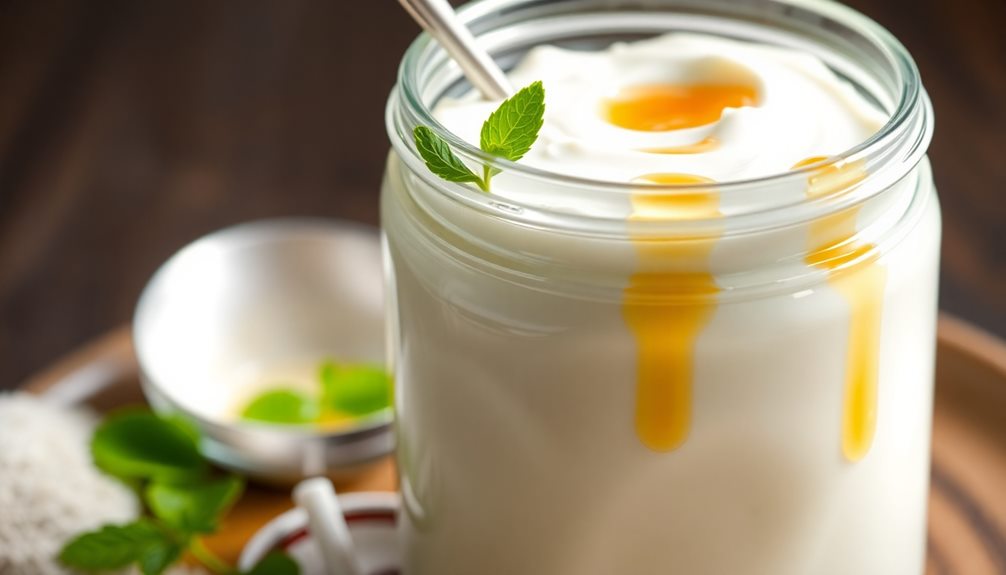
You can enjoy the yogurt straight from the fridge or get creative with fun toppings like fresh fruit, crunchy granola, or a drizzle of honey.
Refrigerating your Vietnamese yogurt is the final step in the process, but it's an important one. With a little patience, you'll have a batch of homemade dạ ua that's bursting with that signature tangy flavor you love.
Dive in and savor every creamy, satisfying spoonful!
Step 4. Strain the Incubated Mixture
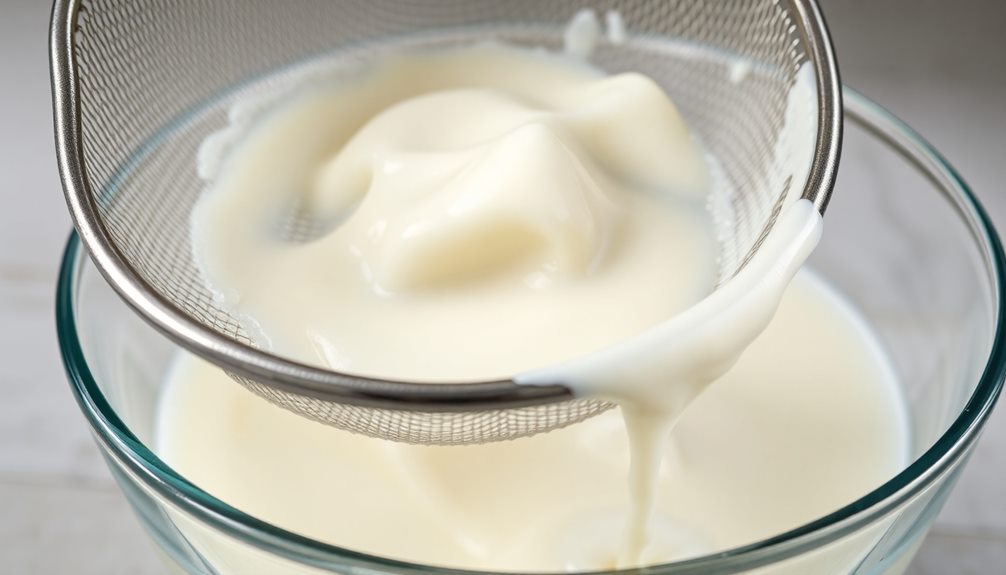
After the yogurt has finished incubating, you'll need to strain the mixture. This step is crucial for achieving the signature creamy texture of Vietnamese yogurt.
Grab a fine-mesh strainer and position it over a large bowl. Carefully pour the incubated yogurt into the strainer, allowing the liquid whey to drain away.
Don't be tempted to press down on the yogurt – that can make it too dense. Instead, let the whey naturally separate and drip into the bowl below.
Once the straining is complete, you'll be left with a thick, velvety yogurt in the strainer. Transfer this strained yogurt to your serving containers.
You can save the drained whey for other uses, like baking or smoothies. Now, your Vietnamese yogurt is ready to chill and thicken even further in the refrigerator.
Get ready to savor the delightfully tangy and creamy results of your hard work!
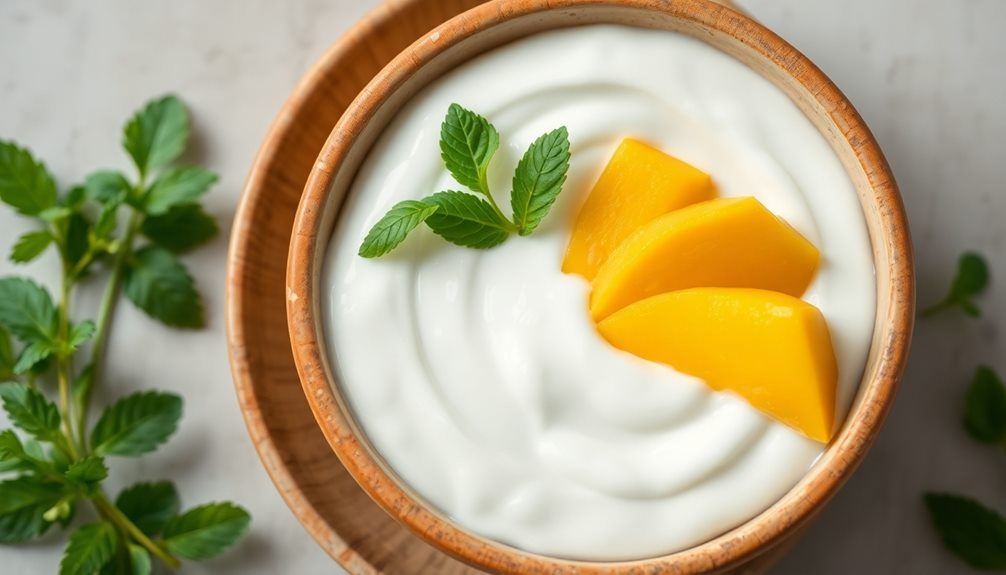
Step 5. Serve With Fresh Fruit
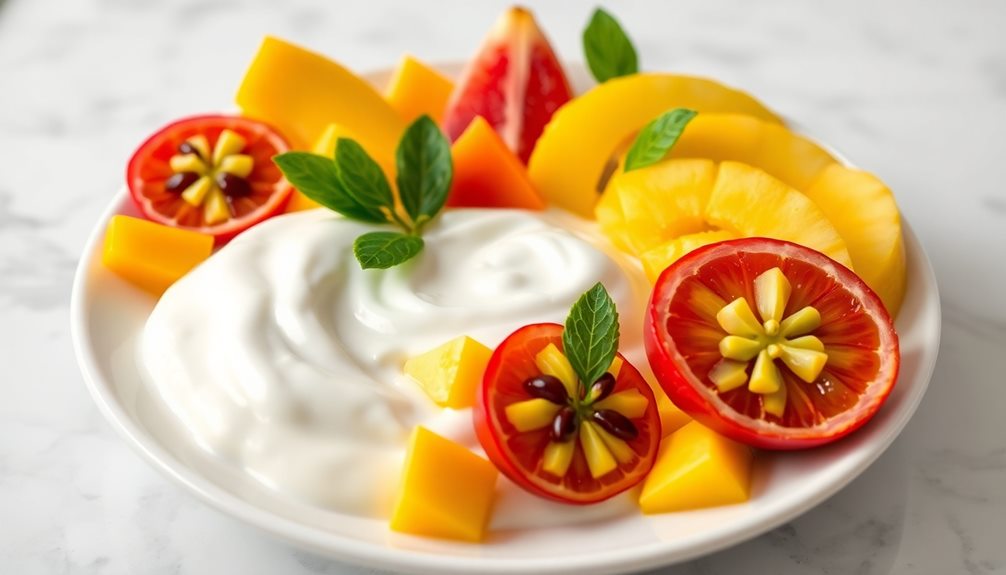
Vietnamese yogurt is best enjoyed with a selection of fresh, seasonal fruit. The tangy, creamy texture of the yogurt pairs perfectly with the sweetness and juiciness of ripe, colorful fruits.
Try serving it with sliced mangoes, juicy pineapple chunks, or a mix of berries like strawberries, blueberries, and raspberries.
The contrasting flavors and textures create a delightful harmony in your mouth. The cool, refreshing yogurt balances the natural sugars of the fruit, making for a delicious and satisfying snack or dessert.
You can even experiment with different fruit combinations to find your favorite pairing.
Don't be afraid to get creative! Try drizzling a touch of honey or sprinkling a few toasted nuts on top for an extra touch of sweetness and crunch.
The possibilities are endless when it comes to dressing up your Vietnamese yogurt with fresh, seasonal produce. Enjoy this unique and tangy treat with the vibrant flavors of nature.
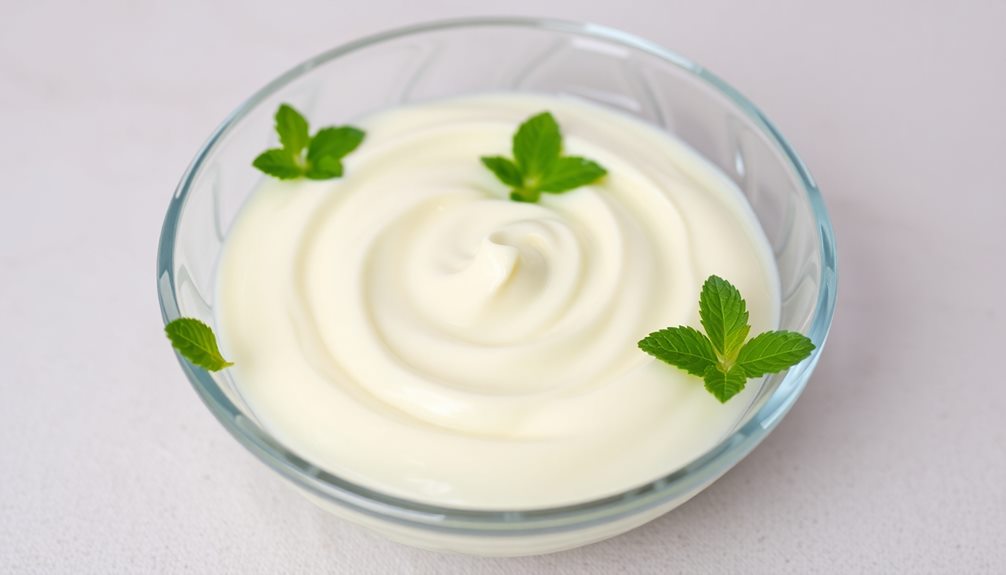
Final Thoughts
As you've journeyed through the world of Vietnamese yogurt, you've likely gained a deeper appreciation for its unique flavors and cultural significance. The tangy, slightly sweet taste is a true delight, and the smooth, creamy texture is simply irresistible.
But the beauty of d'ua lies not just in its flavor profile; it's also a testament to the rich culinary traditions of Vietnam.
Whether you've savored it on its own or paired it with fresh, seasonal fruit, you've experienced a taste of the country's vibrant food culture. The care and attention that go into crafting this beloved treat are truly remarkable.
As you continue to explore the diverse world of Vietnamese cuisine, d'ua will surely remain a cherished part of your culinary journey. So savor every spoonful, and let the flavors transport you to the lush landscapes and bustling markets of this captivating country.
Frequently Asked Questions
How Long Does Homemade Dạ Ua Last in the Refrigerator?
Homemade dạ ua can last up to 7 days in the refrigerator when stored properly in an airtight container. The tangy flavor and texture will remain fresh, so you can enjoy it for over a week.
What Are Some Common Ways to Serve Dạ Ua?
You can serve dà ua in a variety of ways. Enjoy it as a snack, use it as a topping for desserts, or incorporate it into smoothies and shakes for a tangy twist. It's a versatile ingredient that can liven up any meal.
Can Dạ Ua Be Used in Other Recipes Besides a Standalone Dish?
You can definitely use đa ua in other recipes beyond just serving it on its own. It's a versatile ingredient that can add a tangy twist to everything from smoothies to baked goods.
Is Dạ Ua Suitable for Those Who Are Lactose Intolerant?
As someone who is lactose intolerant, you'll be glad to know that đa ua can be a great option for you. The fermentation process reduces the lactose content, making it more digestible for those with lactose sensitivities.
Where Can I Purchase Dạ Ua if I Don't Want to Make It at Home?
You can find da ua at Asian grocery stores or online specialty shops. Many Vietnamese markets and shops that sell Vietnamese products will carry this tangy, fermented yogurt drink if you don't want to make it yourself.