Apple pie is a beloved dessert with a rich history dating back to 14th-century England. You'll need a flaky crust made from flour, butter, and ice water, along with a filling of tart apples, sugar, and spices. To make this classic treat, start by preparing your crust and chilling it. Next, mix your apple filling and assemble the pie, crimping the edges for a beautiful finish. Bake at 425°F for 45-50 minutes until golden brown and bubbly. Let it cool before serving with a scoop of vanilla ice cream. There's more to discover about this all-American favorite.
Key Takeaways
- Apple pie originated in England but became an iconic American dessert by the 18th century.
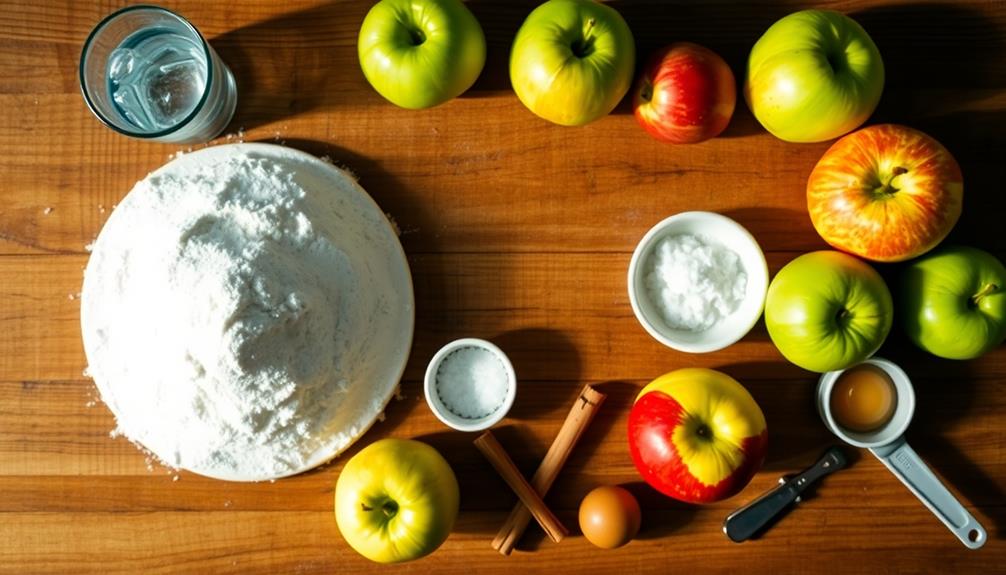
- Key ingredients include all-purpose flour, cold butter, sugar, and tart apples like Granny Smith or Honeycrisp.
- The pie is typically baked at 425°F (218°C) for 45-50 minutes until golden brown and bubbly.
- A flaky crust is achieved by using cold ingredients and chilling the dough before baking.
- Proper assembly includes layering the filling, sealing edges, and cutting slits for steam to escape during baking.
History
Apple pie's origins can be traced back to England in the 14th century. You might be surprised to learn that the earliest recipes didn't include sugar, as it was a luxury item at the time. Instead, they relied on the natural sweetness of the apples and other fruits.
As settlers arrived in America, they brought their love for apple pie with them. You'll find that apples weren't native to North America, but European colonists planted orchards, and the fruit quickly became a staple crop. By the 18th century, apple pie had become a beloved dessert in the United States.
During the 19th and 20th centuries, apple pie's popularity soared. You've probably heard the phrase "as American as apple pie," which emerged during World War II. Soldiers would often say they were fighting for "mom and apple pie," cementing the dessert's place in American culture.
Today, you'll find countless variations of apple pie, from classic double-crust to Dutch-style with a crumb topping. It's a dessert that's stood the test of time, evolving while maintaining its core appeal.
Recipe
Apple pie is a beloved dessert that has been enjoyed for generations. With its flaky crust, sweet and tart filling, and warm spices, it's no wonder this classic treat remains a favorite for many. This recipe will guide you through creating a delicious homemade apple pie that's sure to impress your family and friends.
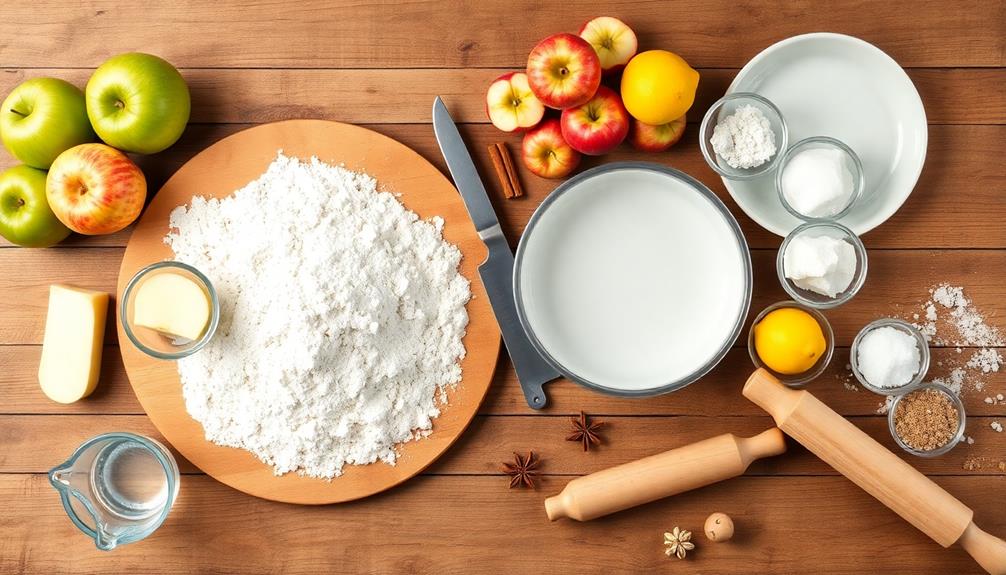
Before you begin, it's important to choose the right apples for your pie. A mix of tart and sweet apples, such as Granny Smith and Honeycrisp, provides the perfect balance of flavors. You'll also want to ensure your ingredients are cold, especially the butter and water used in the crust, as this helps create a flakier texture.
- 2 1/2 cups all-purpose flour
- 1 cup unsalted butter, cold and cubed
- 1/4 cup ice water
- 1 tablespoon sugar
- 1 teaspoon salt
- 6 cups sliced apples (about 6-8 medium apples)
- 3/4 cup granulated sugar
- 2 tablespoons lemon juice
- 1 teaspoon ground cinnamon
- 1/4 teaspoon ground nutmeg
- 1/4 cup all-purpose flour
- 2 tablespoons unsalted butter, cut into small pieces
- 1 egg (for egg wash)
To make the pie, start by preparing the crust. Mix the flour, sugar, and salt, then cut in the cold butter until the mixture resembles coarse crumbs. Gradually add ice water until the dough comes together.
Divide the dough in half, wrap in plastic, and refrigerate for at least an hour. While the dough chills, prepare the filling by mixing the sliced apples with sugar, lemon juice, spices, and flour.
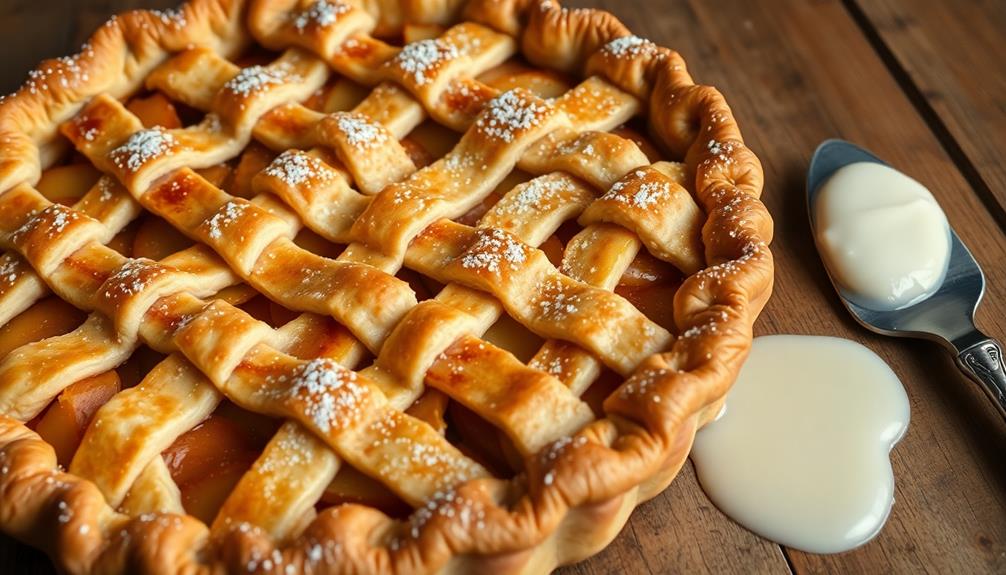
Roll out one half of the dough and line a 9-inch pie dish. Fill with the apple mixture, dot with butter, and cover with the second rolled-out crust. Crimp the edges, cut slits for venting, brush with egg wash, and bake at 425°F for 45-50 minutes until golden brown and bubbly.
For best results, let the pie cool for at least an hour before serving to allow the filling to set. If you find the edges of your crust browning too quickly during baking, cover them with aluminum foil.
To add extra flavor and texture, consider sprinkling the top crust with coarse sugar before baking or serving the pie with a scoop of vanilla ice cream or a dollop of whipped cream.
Cooking Steps
To create the perfect apple pie, you'll need to follow a series of essential cooking steps.
You'll start by preheating your oven to 425°F and preparing your pie crust, then move on to mixing your apple filling.
Once you've assembled the pie and crimped the edges, you'll bake it for about 45 minutes until it's golden brown and bubbling with deliciousness.
Step 1. Preheat Oven to 425°F
Ready to start baking your apple pie? The first step is crucial: preheating your oven to 425°F (218°C). This temperature is ideal for creating a perfectly golden, flaky crust while ensuring the apple filling cooks through.
Why 425°F? It's the sweet spot for pie baking:
- High enough to quickly set the crust's structure
- Creates steam that helps develop layers in the pastry
- Allows for proper caramelization of the sugars in the filling
While your oven's heating up, here's what you should know:
- Use an oven thermometer to verify the temperature, as some ovens can be off by 25°F or more.
- Place the rack in the lower third of the oven. This position helps the bottom crust cook properly.
- If your oven heats unevenly, rotate the pie halfway through baking.
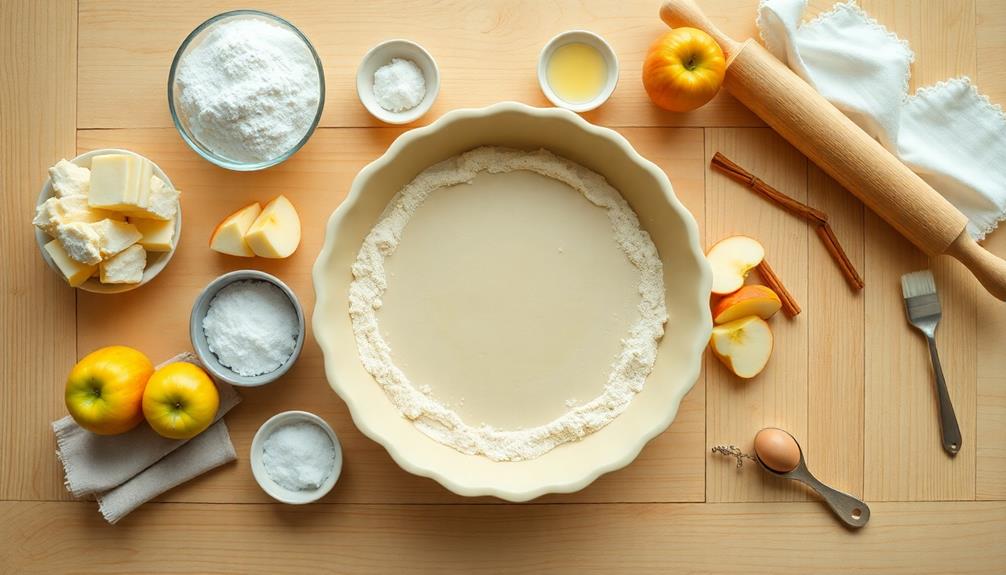
Step 2. Prepare the Pie Crust
With your oven preheating, it's time to focus on the foundation of your apple pie: the crust. You'll need flour, salt, sugar, cold butter, and ice water to create a flaky, delicious pastry.
Begin by whisking together 2 1/2 cups of all-purpose flour, 1 teaspoon of salt, and 1 tablespoon of sugar in a large bowl. Next, cut 1 cup of cold, unsalted butter into small cubes and add them to the flour mixture.
Using a pastry cutter or your fingertips, work the butter into the flour until it resembles coarse crumbs. Gradually add 1/4 to 1/2 cup of ice water, mixing with a fork until the dough comes together. Be careful not to overwork the dough, as this can make your crust tough.
Once the dough forms a ball, divide it in half and shape each into a disk. Wrap the disks in plastic wrap and refrigerate for at least an hour.
This chilling time is crucial, as it allows the gluten to relax and the butter to firm up, ensuring a flaky texture when baked.
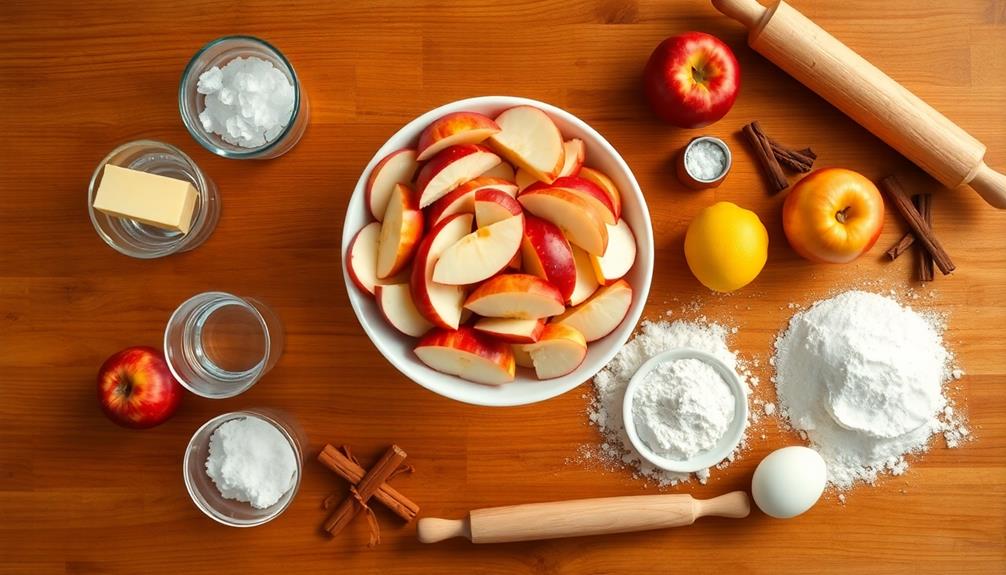
Step 3. Prepare Apple Filling Mixture
The heart of any apple pie lies in its filling. To prepare the perfect apple mixture, you'll need to start with the right apples. Choose firm, tart varieties like Granny Smith or Honeycrisp for the best results.
Begin by peeling, coring, and slicing your apples into thin, uniform pieces. You'll want about 6-8 cups of sliced apples for a standard 9-inch pie.
In a large bowl, toss the apple slices with:
- 3/4 cup of granulated sugar
- 1/4 cup of all-purpose flour
- 1 teaspoon of ground cinnamon
- 1/4 teaspoon of ground nutmeg
- 1/4 teaspoon of salt
- 2 tablespoons of lemon juice
The sugar will sweeten the filling, while the flour helps thicken it. Cinnamon and nutmeg provide that classic apple pie flavor, and the lemon juice prevents browning and adds a bright note.
Mix the ingredients gently but thoroughly, ensuring each apple slice is coated.
Let the mixture sit for about 15 minutes to allow the flavors to meld and the apples to release some of their juices. This resting period will help prevent a soggy bottom crust.
Step 4. Assemble Pie and Crimp Edges
After preparing your apple filling, it's time to assemble the pie. Start by rolling out your pre-made pie dough on a lightly floured surface until it's about 1/8 inch thick. Carefully transfer the dough to your pie dish, gently pressing it into the bottom and sides. Trim any excess dough hanging over the edges, leaving about a 1/2 inch overhang.
Now, it's time to add your apple filling. Pour the prepared mixture into the pie crust, making sure it's evenly distributed. Don't overfill the pie; leave a small space at the top to prevent spillage during baking.
Next, you'll need to create the top crust. Roll out another piece of dough and place it over the filling. Trim the edges, leaving a slight overhang. To seal the pie, fold the top crust under the bottom crust and pinch them together.
To create a beautiful crimped edge:
- Use your thumb and forefinger to pinch the dough at regular intervals
- Press the dough between your fingers to create a wave-like pattern
- Continue around the entire pie for a uniform look
Step 5. Bake for 45 Minutes

Once you've assembled and crimped your pie, it's time to bake. Preheat your oven to 425°F (220°C) and place a rack in the lower third of the oven. This positioning ensures that the bottom crust cooks thoroughly without burning the top.
Before sliding your pie into the oven, there are a few final touches to consider:
- Brush the top crust with an egg wash for a golden shine
- Sprinkle coarse sugar on top for extra crunch and sparkle
- Cut a few slits in the top crust to allow steam to escape
Now, carefully place your pie in the preheated oven and set a timer for 45 minutes. During this time, the magic happens:
- The crust will turn a beautiful golden brown
- The filling will bubble and thicken
- Delicious aromas will fill your kitchen
Keep an eye on your pie as it bakes. If the edges start to brown too quickly, you can cover them with aluminum foil to prevent burning. Once the pie is baked, let it cool completely before serving. This will allow the filling to set and make cutting into the pie a much cleaner process. If you’re looking for a delicious recipe for pumpkin pie, try searching online for a variety of options. There are endless variations and methods to make the perfect pumpkin pie, so find one that suits your tastes and give it a try!
After 45 minutes, check for doneness by looking for a golden-brown crust and bubbling filling. If needed, you can bake for an additional 5-10 minutes.
Final Thoughts
With its flaky crust and sweet, spiced filling, apple pie remains a timeless dessert that's sure to please. As you've followed this recipe, you've crafted a delicious homemade treat that's perfect for any occasion.
Remember, practice makes perfect, so don't be discouraged if your first attempt isn't picture-perfect. Each time you bake, you'll improve your skills and develop your own unique touch.
Here are some final tips to enhance your apple pie experience:
- Let the pie cool for at least 30 minutes before serving to allow the filling to set.
- Serve with a scoop of vanilla ice cream or a dollop of whipped cream for added indulgence.
- Store leftover pie in the refrigerator for up to 3 days, covered with plastic wrap or aluminum foil.
- Reheat individual slices in the microwave for 30 seconds or in a 350°F oven for 10 minutes.
As you enjoy your homemade apple pie, take pride in your culinary achievement.
You've created a classic dessert that's not only delicious but also filled with the warmth and comfort of home-baking.
Bon appétit!
Frequently Asked Questions
Can Apple Pie Be Frozen and Reheated Later?
Yes, you can freeze and reheat apple pie! Here's how:
- Freeze: Wrap the cooled pie tightly in plastic wrap, then aluminum foil. It'll keep for up to 4 months.
- Reheat: Thaw in the fridge overnight. Then, bake at 350°F for about 30 minutes until warmed through.
You'll love having a homemade dessert ready to go!
Just remember, the texture might change slightly, but it'll still be delicious. It's a great way to save time and enjoy your favorite treat whenever you want.
What Are the Best Apple Varieties for Making Apple Pie?
When you're making an apple pie, choosing the right varieties can make all the difference.
You'll want to use firm, tart apples that hold their shape during baking. Some excellent choices include:
- Granny Smith: Tart and crisp
- Honeycrisp: Sweet-tart with a firm texture
- Braeburn: Sweet-tart and aromatic
- Golden Delicious: Sweet and holds shape well
- Northern Spy: Tart and juicy
For the best flavor, try combining two or three varieties in your pie.
This will give you a perfect balance of sweetness, tartness, and texture.
How Long Does Homemade Apple Pie Last in the Refrigerator?
You'll want to enjoy your homemade apple pie within 3-4 days for the best taste and texture.
When stored properly in the refrigerator, it can last up to 5 days. Make sure you cover it tightly with plastic wrap or aluminum foil to prevent it from drying out or absorbing other flavors.
For longer storage, you can freeze your pie for up to 3-4 months. Just remember to thaw it in the refrigerator before serving.
Is It Possible to Make a Sugar-Free or Low-Sugar Apple Pie?
Yes, you can definitely make a sugar-free or low-sugar apple pie! Here are some options:
- Use sugar substitutes like stevia or monk fruit sweetener
- Rely on the natural sweetness of ripe apples
- Add spices like cinnamon to enhance flavor without sugar
- Use unsweetened applesauce as a filling base
- Incorporate other naturally sweet fruits like pears
Remember, you'll need to adjust your recipe slightly.
Don't be afraid to experiment until you find the perfect balance of sweetness and flavor that works for you!
Can Apple Pie Be Made With a Crumb Topping Instead of Pastry?
Yes, you can definitely make apple pie with a crumb topping! This variation, often called "Dutch apple pie," is a delicious alternative to the traditional double-crust version.
You'll prepare the apple filling as usual, but instead of covering it with pastry, you'll sprinkle a mixture of flour, sugar, and butter over the top. When baked, this creates a sweet, crunchy layer that perfectly complements the soft apples beneath.
It's a great option if you're looking for a different texture or want to simplify your pie-making process.