
You'll love baking witch's fingers cookies, a spooky Halloween tradition dating back to 16th-century Europe! These buttery, crisp cookies resemble gnarled, crooked fingers with almond "nails" for an eerie yet appetizing look. Perfect for festive gatherings, the simple recipe uses just a few ingredients like butter, sugar, and flour. Start by shaping the dough into finger-like shapes, then bake until golden brown. Top each "finger" with a toasted almond slice for the finishing touch. These cookies are sure to cast a delightful spell on all who try them – and you'll want to learn more about their captivating history and creative decorating ideas.
Key Takeaways
- Witch's Fingers Cookies are traditional Halloween treats that trace back to the 16th century in Europe, inspired by beliefs in witches and their powers.
- The cookies are designed to resemble witches' fingers, with a gnarled, crooked appearance and almond "nails" for a gruesome touch.
- The recipe requires simple ingredients like butter, sugar, egg, flour, and salt, with optional red food coloring to create a "bloody" effect.
- The baking process involves shaping the dough into finger-like shapes, baking until golden brown, and decorating with toasted almond slices.
- Witch's Fingers Cookies are a popular choice for Halloween parties and gatherings, known for their delicious buttery taste and eerie visual appeal.
Top picks for "witch finger cooky"
Open Amazon search results for this keyword.
As an affiliate, we earn on qualifying purchases.
History
The origins of Witch's Fingers cookies can be traced back to the 16th century, when European bakers first began crafting these spooky treats. During this time, the belief in witches and their powers was widespread, and people sought ways to celebrate and commemorate these mysterious figures.
Bakers, inspired by the eerie stories and legends, started creating cookie recipes that resembled the long, bony fingers of witches. These early versions of Witch's Fingers were often made with simple ingredients like flour, sugar, and butter, shaped into crooked, gnarled shapes to evoke the unsettling appearance of a witch's hand. To enhance the spookiness of these cookies, some bakers even added a drop of green food coloring to the dough to give them an otherworldly hue. These cookies became a popular treat during Halloween parties and were often served alongside other eerie delights like a witch’s brew punch recipe. The combination of these creepy treats and drinks added to the festive and haunting atmosphere of Halloween gatherings.
As the recipe spread across Europe, bakers began to experiment with different flavors and decorations, adding ingredients like almonds, cinnamon, and even food coloring to create an even more haunting appearance.
Over the centuries, Witch's Fingers cookies have become a beloved Halloween tradition, a delightful way to celebrate the spooky season and connect with the rich folklore of the past.
Recipe
Witch's Fingers Cookies are a fun and spooky treat perfect for Halloween. These creepy cookies are made to look like witches' fingers, complete with almond "nails." They're a delightful addition to any Halloween party or festive gathering.
The key to making these cookies is to create the perfect finger shape and achieve a realistic appearance. With just a few simple ingredients and some patience, you can craft these whimsical cookies that are sure to delight both children and adults alike.
Ingredients:
- 1 cup unsalted butter, softened
- 1 cup granulated sugar
- 1 egg
- 2 teaspoons vanilla extract
- 2 1/4 cups all-purpose flour
- 1/2 teaspoon salt
- Whole almonds, for the "nails"
- Red food coloring (optional)
Instructions:
Preheat the oven to 350°F (175°C). Line two baking sheets with parchment paper.
In a large bowl, cream the butter and sugar together until light and fluffy. Beat in the egg and vanilla extract.
In a separate bowl, whisk together the flour and salt. Gradually add the dry ingredients to the wet ingredients and mix until a dough forms.
Pinch off a small amount of dough and roll it between your palms to form a finger shape. Place the shaped cookies on the prepared baking sheets, spacing them about 2 inches apart.
Gently press an almond "nail" onto the tip of each cookie. Bake for 12-15 minutes, or until the cookies are lightly golden.
Allow the cookies to cool on the baking sheets for 5 minutes before transferring them to a wire rack to cool completely.
For an extra spooky touch, you can add a small amount of red food coloring to the dough to create a more realistic "bloody" appearance.
Additionally, feel free to experiment with different nut varieties for the "nails" to find your preferred look and texture. Enjoy these Witch's Fingers Cookies as part of your Halloween celebration!
Cooking Steps
Preheat your oven to 350°F to get started.
Next, shape the dough into long, thin fingers to capture that spooky witch's hand look.
Once the cookies are golden brown, let them cool completely before decorating with almond "nail tips" for the final eerie touch.
Step 1. Preheat Oven to 350°F
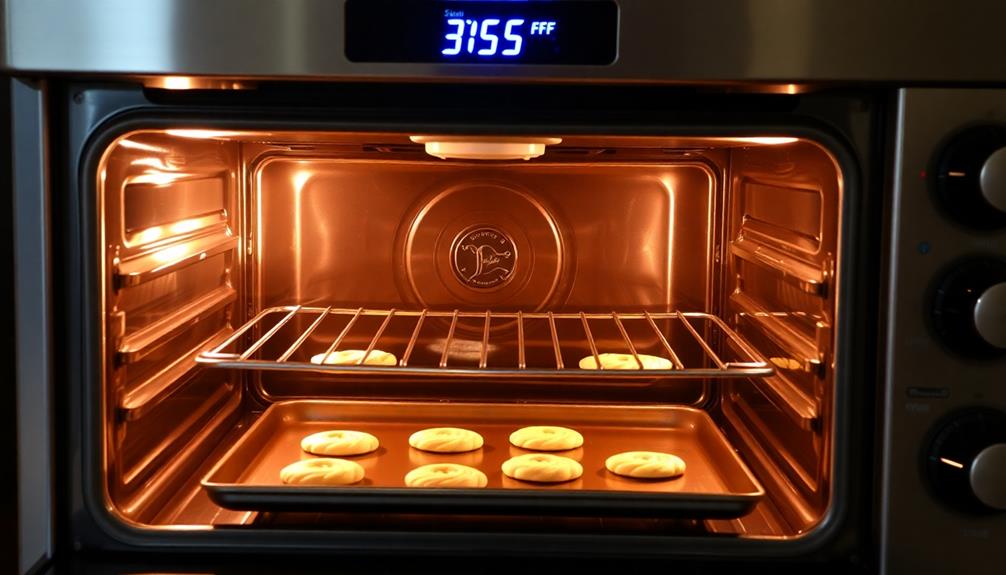
First, preheat your oven to 350°F. This crucial step ensures your oven is the perfect temperature for baking your delicious Witch's Fingers Cookies.
It's important to wait until the oven has fully preheated before you begin preparing your dough. This helps your cookies bake evenly and prevents any soggy or undercooked spots.
Once your oven reaches 350°F, it's time to start mixing up the dough. Be sure to keep a close eye on the temperature, as maintaining the right heat is key for achieving those perfectly crisp, golden-brown edges.
The preheat step may seem simple, but it's a vital part of the baking process that shouldn't be overlooked. With your oven set to the ideal temperature, you're well on your way to creating a batch of spooky, yet scrumptious, Witch's Fingers Cookies that will delight friends and family alike.
Step 2. Make Dough Into Finger Shapes
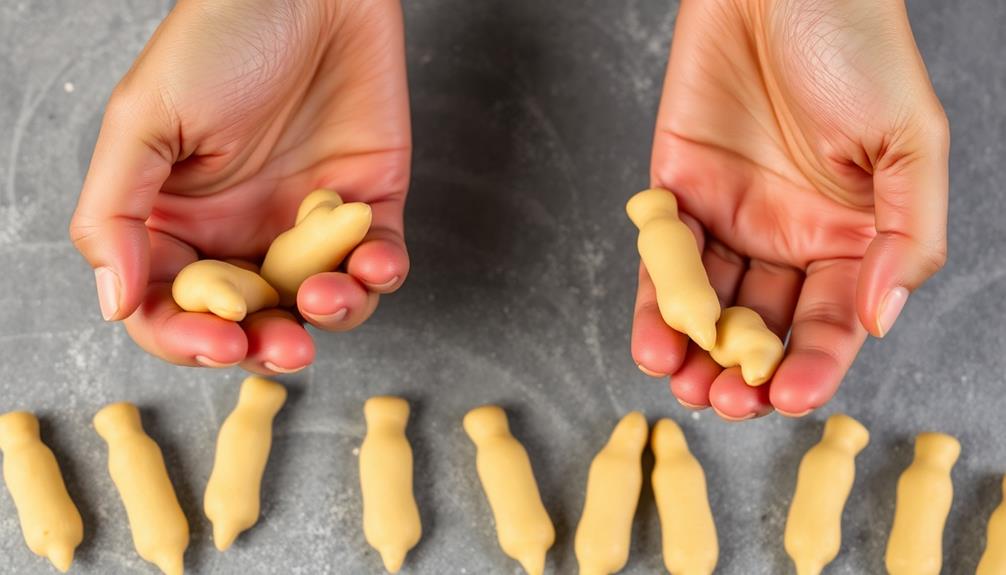
With your oven preheated, it's time to transform the dough into spooky finger-like shapes.
Grab a small handful of dough and roll it between your palms to create a long, cylindrical shape. Gently taper one end to form the "fingertip." Use your fingers to lightly pinch and bend the dough, creating knuckle-like segments.
Place the shaped dough fingers on the prepared baking sheet, spacing them a few inches apart. Repeat this process with the remaining dough, creating approximately 12-15 cookies.
Be sure to keep the dough covered when not actively shaping it, to prevent it from drying out.
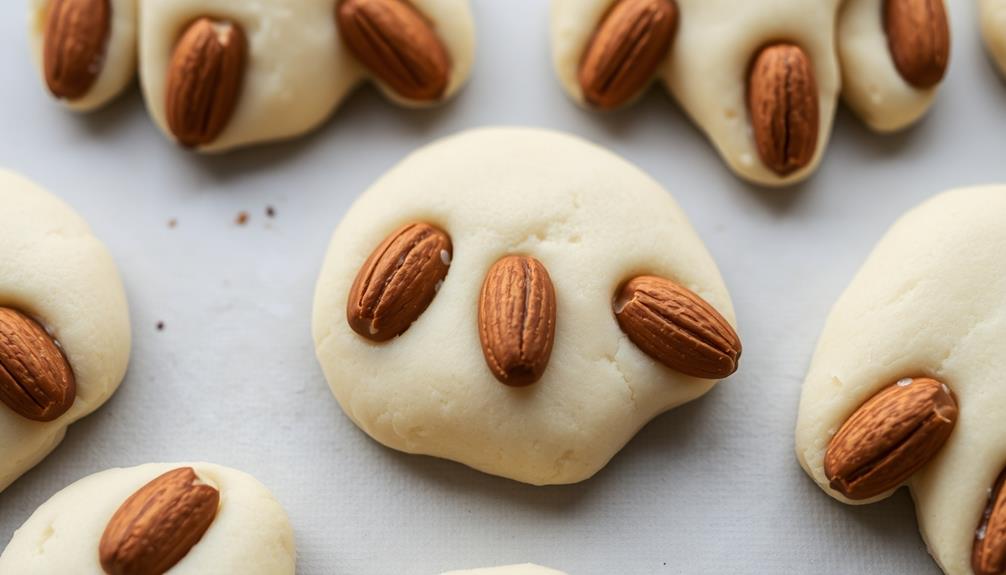
Once all the fingers are formed, use a toothpick or the tip of a knife to create small indentations for the "nails." This step adds a spookier, more realistic touch to your witch's fingers.
With the dough transformed, your creepy cookie masterpieces are ready to bake.
Step 3. Bake Until Fingers Are Golden Brown
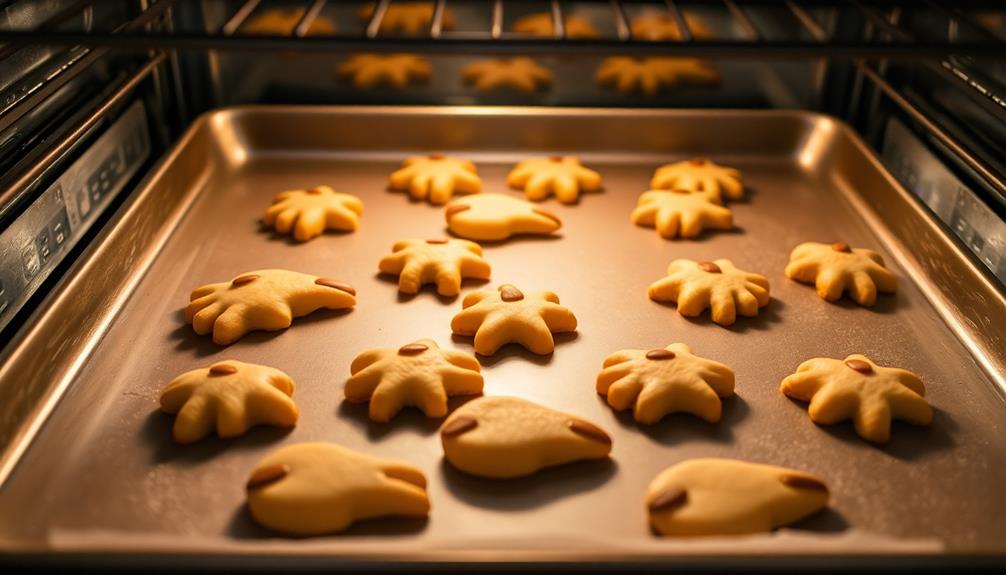
With the dough transformed into ghoulish finger shapes, it's time to bake them until they're a golden brown. Preheat your oven to 375°F (190°C) and line a baking sheet with parchment paper.
Carefully transfer the shaped dough pieces to the prepared baking sheet, making sure to space them out evenly.
Bake the witch's fingers for 12 to 15 minutes, keeping a close eye on them. The cookies should start to turn a beautiful golden-brown color as they bake. If you notice any of the fingers starting to brown too quickly, you can gently rotate the baking sheet to ensure even cooking.
Once the time is up, remove the baking sheet from the oven. The cookies should be firm to the touch and have a delightful crunch.
Allow them to cool on the baking sheet for a few minutes before transferring them to a wire rack to cool completely. These spooky treats are now ready to be enjoyed by all your ghostly guests!
Step 4. Let Fingers Cool Completely
Once the witch's fingers have been baked to a golden-brown, you'll want to let them cool completely on the baking sheet. This is an important step that allows the cookies to firm up and the flavors to meld together.
Don't be tempted to rush this process – take your time and let the witch's fingers cool at their own pace. As the cookies sit on the sheet, you'll notice the tops start to set and the edges crisp up. This is exactly what you want to happen.
Be patient and let gravity do its work. Once the witch's fingers have fully cooled, you can carefully transfer them to a wire rack or clean surface. This extra cooling time ensures the cookies will have the perfect texture when you bite into them.
When the witch's fingers are completely cool, you're ready to serve them or store them for later enjoyment. Letting them cool is the key to achieving the perfect Halloween treat.
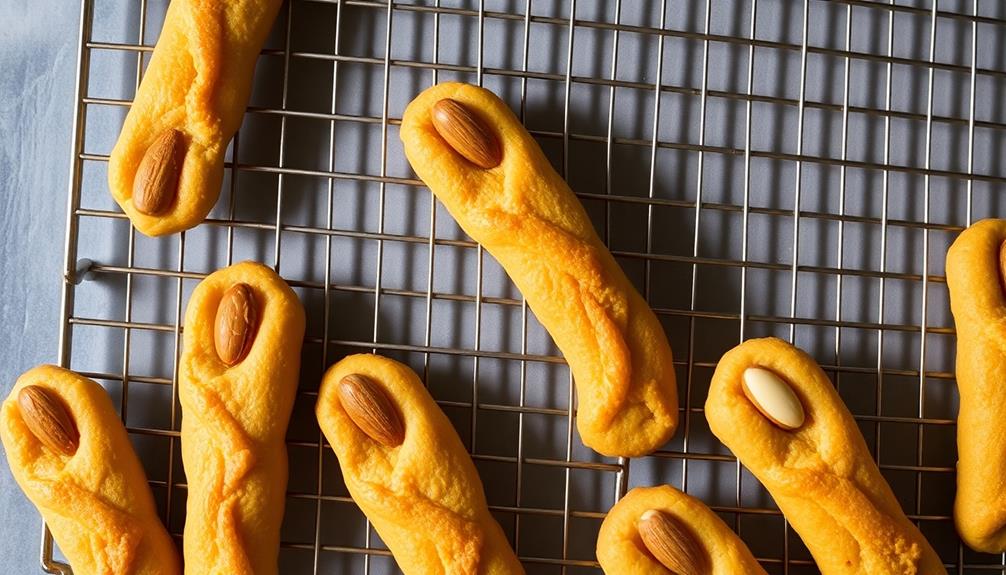
Step 5. Decorate With Almond Nail Tips
To decorate the witch's fingers, you'll want to affix almond slices to the tips, creating the illusion of long, gnarled nails. Start by selecting a handful of toasted, sliced almonds. Gently press one almond slice onto the tip of each cooled cookie, pressing firmly to ensure it adheres. The pointed shape of the almond will instantly transform your cookies into creepy, claw-like appendages.
Once all the "nails" are in place, you can add a final touch by using a small paintbrush to lightly dust the almond tips with a bit of cocoa powder or ground cinnamon. This will give the nails a weathered, aged appearance, adding to the spooky effect.
The contrast between the pale cookie "flesh" and the dark, gnarly nails will make these witch's fingers truly unsettling – in the most delightful way! With a little attention to detail, your homemade witch's fingers will be ready to impress guests at your Halloween party or delight trick-or-treaters.
Final Thoughts
These cookies are the perfect Halloween treat, capturing the eerie essence of the season with their twisted, gnarled appearance. They're sure to delight trick-or-treaters and party guests alike. The almond "nails" add a delightfully gruesome touch, while the cookies themselves are deliciously buttery and crisp.
For an even more festive touch, consider pairing these spooky delights with a wide variety of breakfast options that cater to diverse tastes, perfect for a Halloween brunch gathering.
Once baked, you can get creative with decorating. Let your artistic side shine as you carefully paint on "veins" using food coloring or decorating gel. You can even experiment with adding spooky details like warts or moles to give your witch's fingers an extra creepy twist.
These cookies are sure to be the talk of any Halloween gathering. Serve them up on a platter, or package them in cellophane bags tied with orange and black ribbons for a charming party favor.
No matter how you present them, they're bound to cast a spell on all who try them.
Frequently Asked Questions
Are Witch's Fingers Cookies Only Made Around Halloween?
While witch's fingers cookies may be popular around Halloween, you don't have to limit your enjoyment of these spooky treats to just one time of the year. Feel free to indulge in them whenever the mood strikes!
How Long Do Witch's Fingers Cookies Last?
Typically, homemade cookies like witch's fingers last 3-5 days when stored properly in an airtight container at room temperature. Their freshness depends on the ingredients and how you preserve them, so enjoy them soon after baking for best flavor.
Can I Freeze Witch's Fingers Cookies?
You can definitely freeze the cookies. Just place them in an airtight container or freezer bag, and they'll stay fresh for several months. When you're ready to enjoy them, simply thaw at room temperature before serving.
Are Witch's Fingers Cookies Suitable for Vegans?
Are witch's fingers cookies suitable for vegans? While the traditional recipe may contain animal-derived ingredients, you can find vegan-friendly versions that substitute plant-based alternatives, making them a delightful option for those following a vegan lifestyle.
What's the Origin of the Name "Witch's Fingers"?
The name "witch's fingers" likely originates from the cookie's appearance, which resembles the long, gnarled fingers of an old witch. This eerie resemblance is why bakers often use this spooky moniker for these Halloween-themed treats.
Conclusion
These spooky witch's fingers cookies are a ghoulishly good treat! You'll love the creepy, knobbly appearance and the delightful almond flavor. Bake up a batch for your next Halloween party or just for fun. They're sure to delight both kids and adults alike. So what are you waiting for? Get in the kitchen and start whipping up these hauntingly delicious cookies!