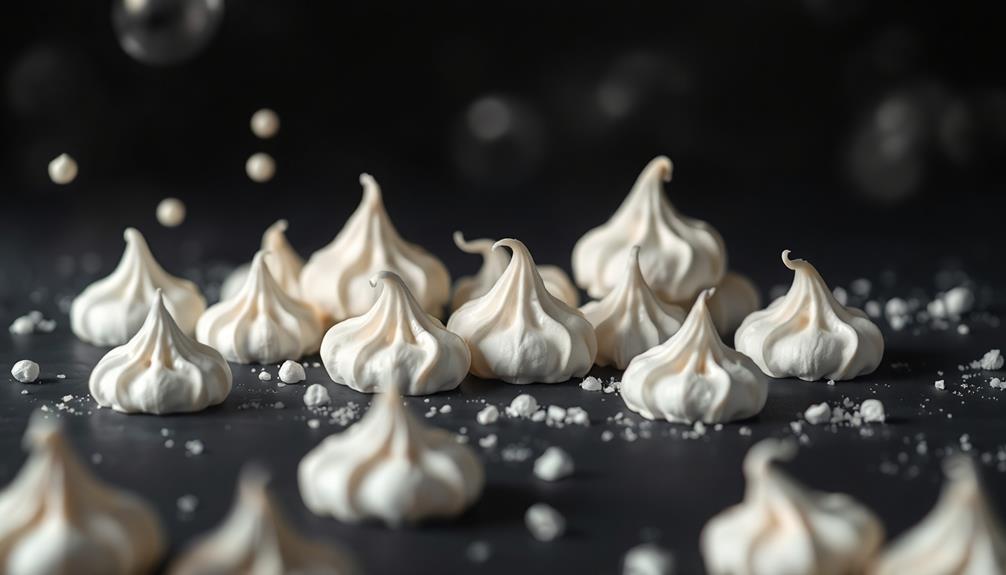

Ghostly meringues are a delightfully spooky treat that'll enchant you this Halloween! These light, airy delights trace their roots to 18th century Europe, when bakers first whipped up egg whites and sugar into a whimsical shape. By the 1800s, families were creating ghostly silhouettes using piping bags, decorating them with chocolate chips or sprinkles for an extra spooky twist. The key to success lies in carefully whipping the egg whites and baking them just right. These visually stunning meringues are sure to impress your guests – and if you keep reading, you'll discover the full recipe and cooking steps. If you’re looking to add more spooky delights to your Halloween spread, consider trying out a pumpkin deviled eggs recipe. These ghoulishly good treats are a unique twist on a classic appetizer, sure to delight your guests with their festive flair. Keep reading for the full recipe and instructions on how to create these hauntingly delicious snacks.
Key Takeaways
- Ghostly meringues originated in the late 18th century as European bakers experimented with whipped egg whites and sugar.
- They gained popularity in the 19th century as families created whimsical desserts, shaping meringue into ghostly silhouettes.
- The recipe for ghostly meringues involves carefully whipping egg whites, gradually adding sugar, and baking at a precise temperature.
- Ghostly meringues are known for their light, airy texture and can be decorated with chocolate chips or sprinkles for a spooky Halloween theme.
- Mastering the technique of making ghostly meringues can expand one's baking skills and provide a sense of accomplishment.
History
The origins of ghostly meringues can be traced back to the late 18th century, when European bakers began experimenting with whipped egg whites and sugar.
These light, airy treats were first known as "kisses" or "forgotten cookies" due to their delicate texture and tendency to disappear in the oven. As the recipes spread, bakers started adding spooky shapes and decorations, transforming the meringues into ghostly figures perfect for Halloween celebrations.
Throughout the 19th century, the popularity of ghostly meringues grew, with families gathering in the kitchen to create these whimsical desserts.
Bakers would use piping bags to pipe the meringue mixture into ghostly silhouettes, then bake them until they were crisp on the outside but still soft and chewy inside. The meringues were often decorated with chocolate chips or sprinkles, giving them a playful and spooky appearance.
Recipe
Ghostly Meringues
Recipe
Meringues are a delightful, airy treat that can be transformed into a ghostly delight for Halloween. These ethereal confections are surprisingly simple to make, and the result is a visually stunning dessert that's sure to impress your guests.
The key to creating the perfect ghostly meringues lies in the careful whipping of the egg whites and the precise baking process. With a few basic ingredients and a bit of culinary magic, you can conjure up a tray of spooky, yet delectable, meringues that will have your guests enchanted.
Ingredients:
- 4 large egg whites, at room temperature
- 1 cup granulated sugar
- 1/2 teaspoon vanilla extract
- 1/4 teaspoon cream of tartar
- Food coloring (optional)
Cooking Instructions:
Preheat your oven to 225°F (110°C). Line a baking sheet with parchment paper.
In a large, clean, and dry bowl, beat the egg whites with an electric mixer on medium speed until they're foamy. Gradually add the sugar, one tablespoon at a time, while continuing to beat the mixture until it forms stiff, glossy peaks.
Fold in the vanilla extract and cream of tartar. If desired, add a few drops of food coloring to create ghostly hues.
Spoon the meringue mixture onto the prepared baking sheet, shaping them into tall, pointed mounds to resemble ghosts. Bake the meringues for 1 hour and 15 minutes, or until they're crisp on the outside and easily lift off the parchment paper.
Turn off the oven and leave the meringues inside for an additional hour to cool completely.
These ghostly meringues are best enjoyed on the day they're made, as they tend to soften over time. For a more dramatic presentation, consider serving them on a platter with a few dried ice cubes or glow sticks to create a spooky, ethereal atmosphere.
Cooking Steps
Preheat your oven to a toasty 225°F.
Separate the egg whites from the yolks, then beat the whites until they're stiff.
Gradually add the granulated sugar, and spoon the meringue onto a baking sheet.
Step 1. Preheat Oven to 225°F

Preheating the oven to 225°F is a crucial first step in the ghostly meringue-making process. This temperature is perfect for creating the light and airy texture that makes these treats so delightful.
Simply turn the dial on your oven and wait patiently as it warms up. The oven needs to be fully preheated before you can start baking, so don't be tempted to rush ahead.
Once it's reached the target temperature, you're ready to move on to the next step. Proper preheating ensures your meringues will bake evenly and develop that signature crisp exterior.
It's an important foundation for the recipe, so take the time to get it right. With the oven ready, you can now focus on whipping up the meringue mixture and shaping it into ghostly peaks.
Get excited – the spooky fun is about to begin!
Step 2. Separate Egg Whites From Yolks
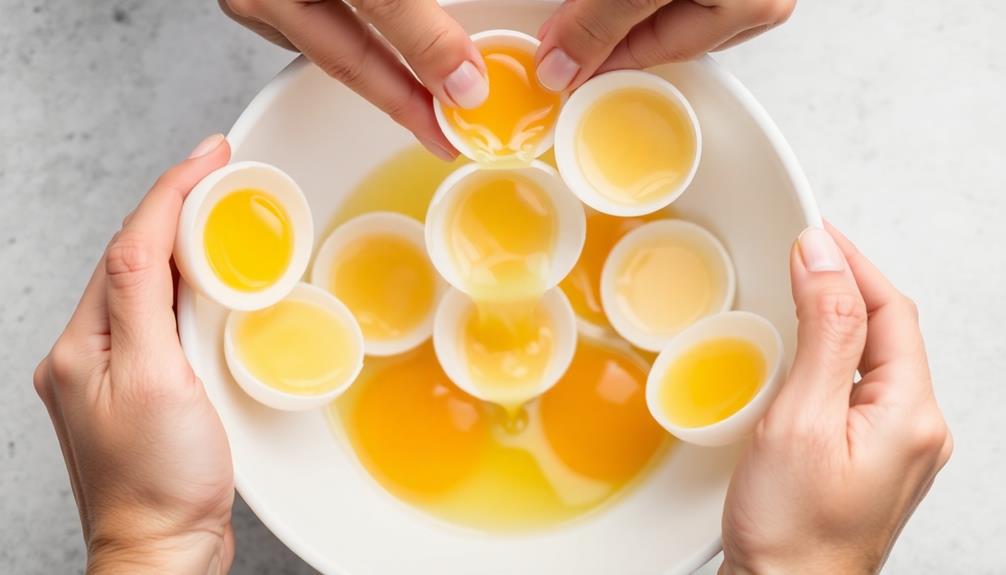
With the oven ready, it's now time to separate the egg whites from the yolks.
You'll need to be extra careful with this step, as the whites and yolks need to be kept completely separate. Gently crack the egg against a clean, flat surface, like the edge of a bowl.
Slowly pull the shell apart, letting the white slide into one bowl while the yolk stays in the other half of the shell. Transfer the yolk back and forth a few times until the white has completely drained away.
Be sure not to let any yolk mix in with the whites, or your meringue won't turn out right. Once you've separated all the eggs, you can start whipping the whites into fluffy, stiff peaks.
This is an essential step for creating those ghostly, cloud-like meringues. With the whites ready, you'll be one step closer to baking up a batch of spooky treats!
Step 3. Beat Egg Whites Until Stiff

Once you've carefully separated the egg whites, it's time to beat them until they form stiff, glossy peaks.
Using a clean, dry bowl and a whisk or a hand mixer, start whipping the egg whites on medium speed. As the whites begin to foam, gradually increase the speed until they're whipping into a thick, fluffy meringue.
Keep a close eye on the mixture, stopping to check the consistency frequently. When the egg whites have reached the perfect stiff peak stage, you'll know – they'll stand up tall and proud, with no drooping or sagging.
The key is to whip them just until they reach this point, not a moment longer. Overbeaten whites can become dry and crumbly, so be patient and watch closely.
With your glossy, stiff egg whites ready, you can now fold them into your ghostly meringue mixture.
Get ready to bake up some spooky, cloud-like treats!
Step 4. Gradually Add Granulated Sugar
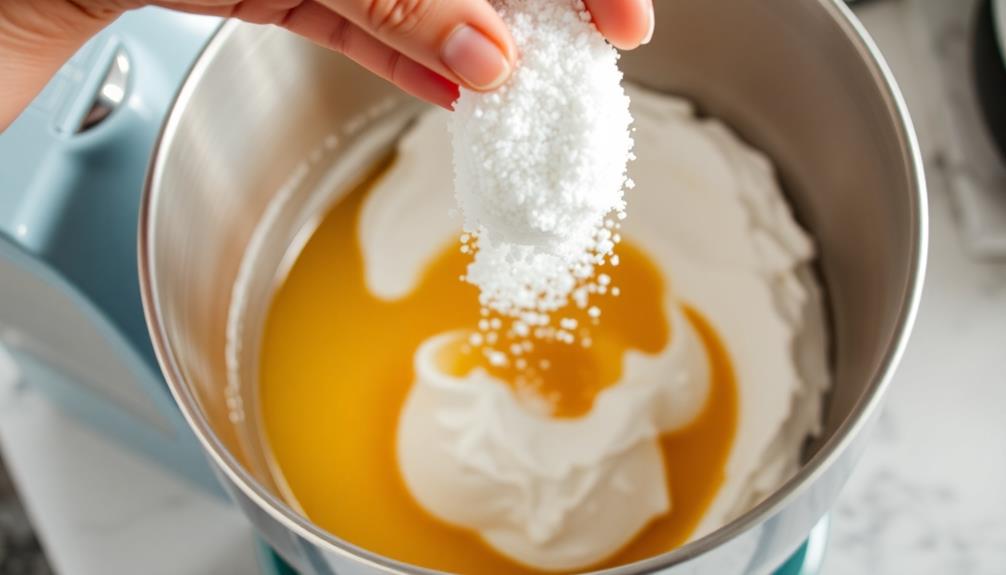
The next step is to gradually add granulated sugar to the stiff egg whites. This is a key part of making the perfect meringue. Slowly sprinkle in the sugar, about a tablespoon at a time, while continuing to beat the egg whites. This helps the sugar dissolve and incorporate smoothly into the mixture.
Don't dump it all in at once – that could deflate the egg whites and ruin the texture. Take your time, adding just a little sugar here and there. The egg whites should become thicker and glossier as you go.
Keep beating until the meringue holds stiff, shiny peaks. This might take a few minutes, but it's important to get it just right.
Once all the sugar is incorporated and the meringue is thick and glossy, you're ready for the next step. Carefully scoop or pipe the meringue onto your baking sheet, shaping it into ghosts or other spooky designs.
With the sugar dissolved, you'll have a sweet, crisp meringue perfect for your Halloween treats.
Step 5. Spoon Meringue Onto Baking Sheet
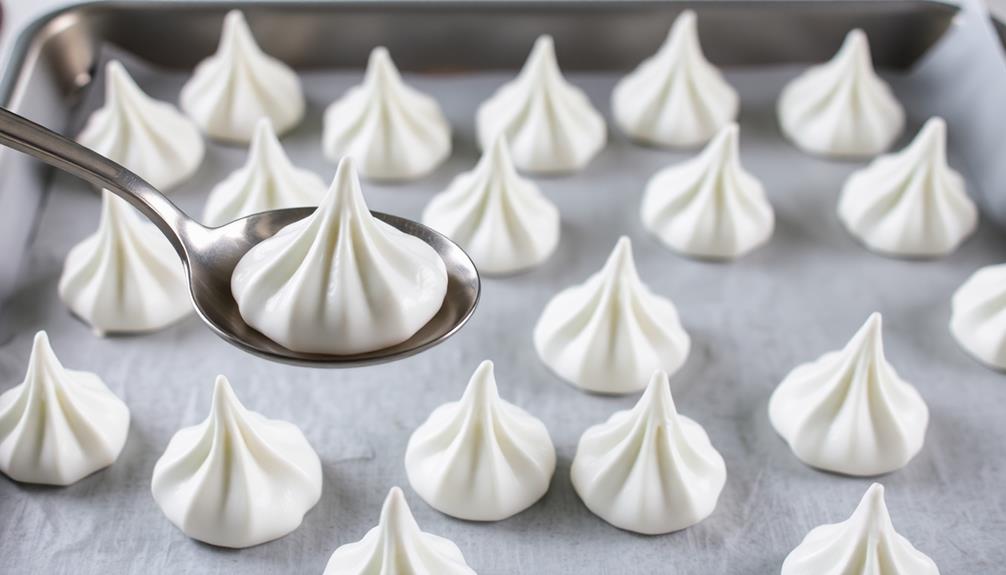
Carefully spoon the meringue onto your prepared baking sheet, shaping it into ghostly designs. Use a large spoon to scoop up generous amounts of the fluffy, cloud-like mixture. Gently place the meringue onto the sheet, forming wispy peaks and swirls. You want to create an ethereal, floating appearance, as if the meringues are drifting through the oven.
Take your time and experiment with different shapes and textures. Some meringues can be tall and pointed, while others may be wide and billowing. Swirl the spoon to make curvy, graceful forms. Don't worry if they don't look perfect – the imperfections will add to the ghostly, haunting look you're going for.
Once you've filled the baking sheet, place it in the preheated oven. Bake the meringues until they're crisp on the outside but still soft and marshmallow-y on the inside. Keep a close eye on them, as they can quickly go from deliciously ghostly to burned.
When they're ready, remove the sheet and let the meringues cool completely before serving.
Final Thoughts
While the process of creating these ghostly meringues may seem daunting, don't be intimidated. You've mastered the techniques, and now it's time to savor your delightful creations.
These ethereal, spooky treats are sure to delight family and friends. Imagine the joy on their faces as they take that first bite, the crunch of the meringue giving way to the soft, airy interior. For a fun dessert idea that will also impress, consider adding Dirt Cups as a playful option to your Halloween spread.
But the true reward goes beyond the taste. The sense of accomplishment you'll feel, having crafted something so unique and beautiful, is priceless.
These meringues are a testament to your culinary skills and your willingness to try something new. Embrace the process, relish in the final result, and be proud of what you've achieved.
As you savor the last bite, remember that the journey is just as important as the destination. The memories you've made will linger long after the meringues are gone.
Frequently Asked Questions
How Long Do Ghostly Meringues Last?
Ghostly meringues can last for up to a week when stored properly. They'll stay crisp on the outside and chewy on the inside if you keep them in an airtight container at room temperature. Enjoy their spooky deliciousness!
Can Ghostly Meringues Be Made in Advance?
Can ghostly meringues be made in advance? Absolutely! You can prepare them ahead of time and store them properly to maintain their delicate texture and spooky appearance for several days. Just be sure to keep them in an airtight container.
What Is the Best Way to Store Ghostly Meringues?
The best way to store ghostly meringues is to keep them in an airtight container at room temperature. Avoid refrigerating them, as this can cause them to become soggy. Enjoy your meringues within a few days for the best texture and flavor.
Can Ghostly Meringues Be Frozen?
Yes, you can freeze ghostly meringues. Store them in an airtight container or freezer bag, and they'll maintain their light and airy texture for several months. Just be sure to thaw them at room temperature before serving.
Are Ghostly Meringues Gluten-Free?
Yes, ghostly meringues are naturally gluten-free since they're made with egg whites, sugar, and sometimes other ingredients like vanilla or food coloring, but not any wheat-based flour. You don't need to worry about gluten when making or eating these airy, spooky treats.
Conclusion
You've whipped up a ghostly delight! These meringues are light as air, with a delicate crunch that'll have you coming back for more. Don't be spooked – they're a cinch to make. Impress your friends and family with your baking skills. Serve these up at your next spooky gathering, and watch them disappear faster than a ghost!