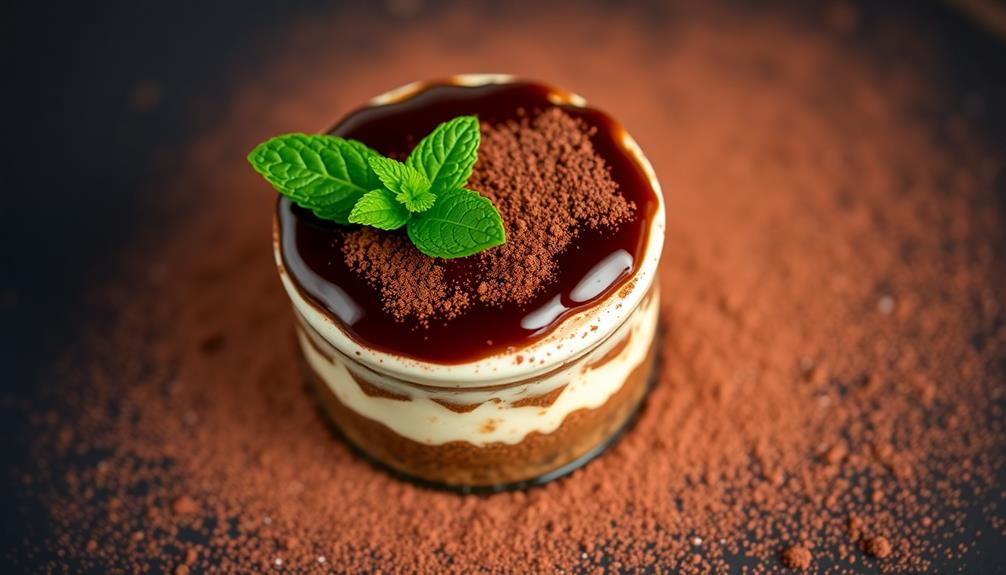
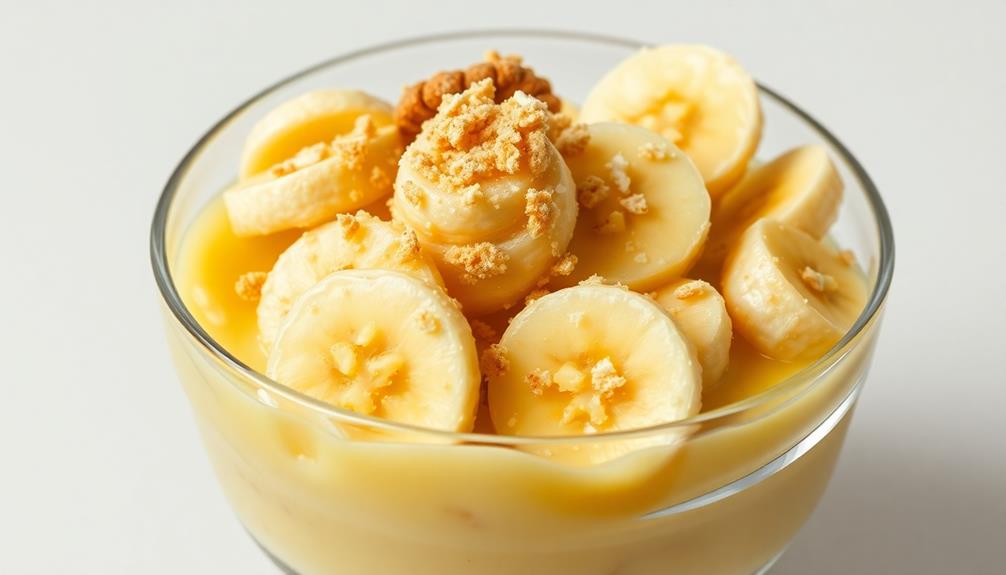
Tiramisu Cups are the delightful individual-sized servings of the beloved classic Italian dessert. These combine the rich, creamy flavors of mascarpone with the bold, invigorating notes of espresso-soaked ladyfingers. Each visually appealing cup offers a convenient way to indulge in this dessert. You'll love how the simple preparation allows for easy advance assembly, making it ideal for entertaining. Plus, the flexibility to customize means you can create the perfect treat for any occasion. Keep reading to discover the step-by-step instructions for whipping up your own tempting Tiramisu Cups.
Key Takeaways
- Tiramisu Cups are individual-sized desserts that combine coffee-infused ladyfingers with a creamy mascarpone filling, offering a sophisticated yet comforting dessert experience.
- The recipe involves soaking ladyfingers in espresso, layering them in cups, and folding whipped cream into the mascarpone mixture to create a light and airy texture.
- Tiramisu Cups can be prepared in advance, making them an ideal make-ahead dessert for hosting or entertaining, as they can be refrigerated until serving.
- These cups offer a balance of rich chocolate and coffee flavors, evoking the ambiance of a cozy Italian café and delivering a satisfying taste in each bite.
- Tiramisu Cups are versatile, suitable for various occasions from casual to formal, and can be customized to accommodate different dietary preferences.
History
Tiramisu, the beloved Italian dessert, has a rich history dating back to the 17th century.
It's believed that tiramisu was first created in the Northern Italian region of Veneto, where it gained popularity as a pick-me-up treat. The name "tiramisu" translates to "pick me up" or "lift me up," reflecting the dessert's energizing qualities.
The traditional recipe calls for ladyfingers soaked in strong coffee, layered with a creamy mixture of egg yolks, sugar, and mascarpone cheese, and dusted with cocoa powder.
This decadent combination of flavors and textures quickly made tiramisu a beloved classic among Italians and eventually, the world over.
Over the years, the traditional tiramisu recipe has evolved, with chefs and home cooks experimenting with different variations.
From individual tiramisu cups to tiramisu-inspired ice cream and cakes, this versatile dessert continues to delight and inspire dessert enthusiasts everywhere.
Recipe
Tiramisu is a classic Italian dessert that combines espresso-soaked ladyfingers with a rich and creamy mascarpone filling. This individual-sized version takes the classic flavors and presents them in a delightful and portable way. Tiramisu cups are perfect for entertaining or satisfying your sweet tooth without overindulging.
These tiramisu cups are a simple and straightforward recipe that comes together quickly. The components can even be prepared in advance, making this dessert an ideal make-ahead option for busy hosts or those looking to minimize last-minute effort.
- Espresso or strong coffee
- Marsala wine or coffee liqueur
- Ladyfingers
- Mascarpone cheese
- Granulated sugar
- Egg yolks
- Heavy cream
- Cocoa powder
In a shallow dish, combine the espresso and Marsala wine. Quickly dip the ladyfingers into the mixture, turning to coat both sides. Arrange the soaked ladyfingers in the bottom of 6 individual serving cups or ramekins.
In a large bowl, beat the mascarpone and sugar until smooth. In a separate bowl, whip the heavy cream until stiff peaks form. Gently fold the whipped cream into the mascarpone mixture. Spoon or pipe the mascarpone mixture over the ladyfingers in the cups. Refrigerate for at least 2 hours before serving.
To serve, dust the tops of the tiramisu cups generously with cocoa powder. The tiramisu can be made up to 1 day in advance, stored covered in the refrigerator. Let the cups sit at room temperature for 15-20 minutes before serving for the best texture and flavor.
Cooking Steps
Brew up some strong espresso, then dunk those ladyfingers right in.
Layer them in your cups, then gently fold in the luscious whipped cream.
Pop it all in the fridge for about 2 hours, and you'll have perfect tiramisu cups to enjoy!
Step 1. Brew the Espresso
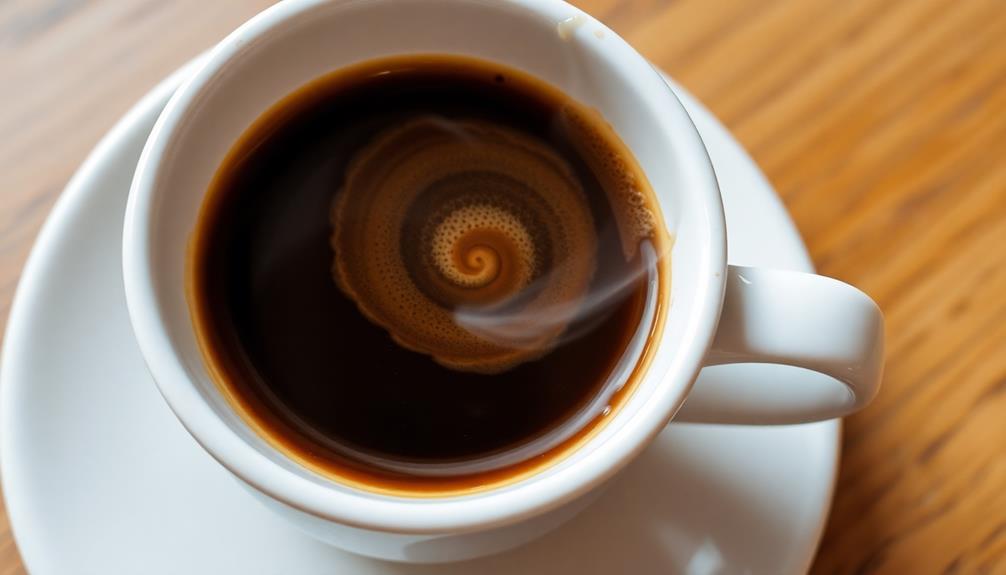
Brewing the espresso is a crucial step in crafting the perfect tiramisu cups.
You'll want to start by bringing some water to a boil in a small saucepan. Once it's boiling, remove it from the heat and let it cool for about 30 seconds. This helps ensure the water is the perfect temperature for brewing the espresso.
Next, add the espresso grounds to your espresso maker or moka pot. Gently tamp down the grounds to create an even surface. Slowly pour the hot water over the grounds, letting the espresso brew for 2-3 minutes.
Be careful not to let it brew for too long, or the flavor will become bitter.
When the espresso is ready, carefully pour it into a small bowl or cup. This flavorful brew will be the base for your tiramisu cups, soaking into the ladyfingers and adding a rich, coffee taste.
With the espresso prepared, you're one step closer to creating those delectable tiramisu treats!
Step 2. Dip Ladyfingers in Espresso Mixture
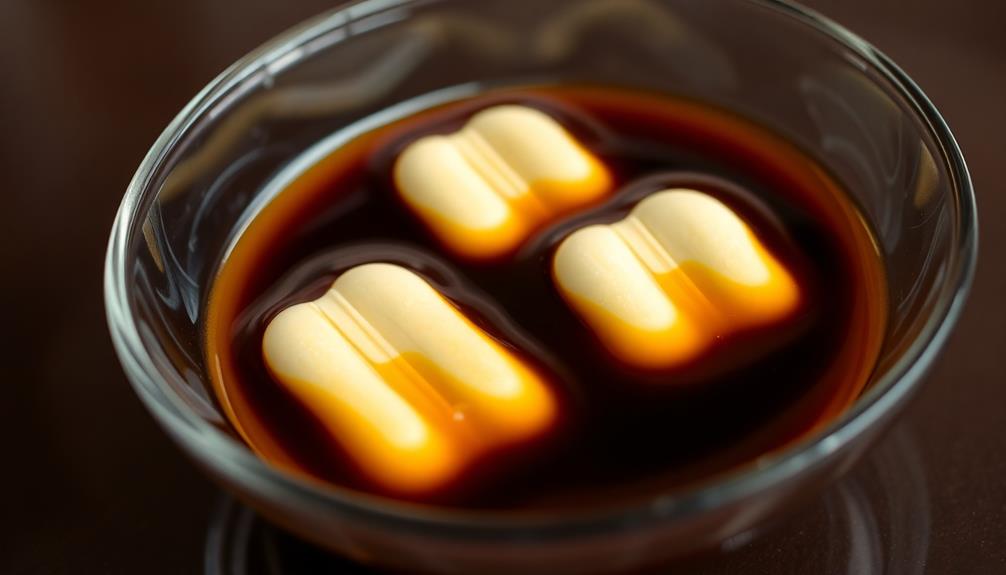
With the espresso ready, you can now soak the ladyfingers in the rich, aromatic brew. Dip each delicate cookie into the liquid, letting it absorb the bold coffee flavor.
Be sure to gently turn the ladyfingers, ensuring they're evenly coated. You'll want the cookies to be moist but not falling apart. Once they're fully soaked, arrange the ladyfingers in a single layer at the bottom of your tiramisu cups.
The espresso-dipped ladyfingers create the foundation for your tiramisu. Their soft, spongy texture will soak up the creamy filling to come.
Take your time with this step, savoring the aroma of the coffee as you work. With the base layer complete, you're one step closer to enjoying the decadent dessert. Up next, you'll whip up the luscious mascarpone mixture that will make these tiramisu cups simply irresistible.
Step 3. Layer the Ladyfingers

The prepared ladyfingers now await their place in the tiramisu cups. Grab a small spoon and arrange the espresso-soaked cookies in the bottom of each cup. Make sure to cover the entire surface, creating an even layer.
Don't be afraid to press the ladyfingers down gently to compact them. This will help the tiramisu hold its shape nicely.
Next, it's time to add the creamy filling. Use a clean spoon to dollop the sweetened mascarpone mixture evenly over the ladyfingers. Smooth the top with the back of the spoon, ensuring a level surface.
Remember, you'll be adding more layers, so keep them tidy.
Repeat the process, creating another layer of soaked ladyfingers followed by the creamy filling. Finish with a final layer of the mascarpone topping.
Your tiramisu cups are starting to take shape! Refrigerate them for at least a few hours, or overnight, to allow the flavors to meld and the texture to set.
Step 4. Fold in Whipped Cream

To complete the tiramisu cups, you'll need to fold in the whipped cream. This step is crucial for achieving the signature light and airy texture of tiramisu.
Start by whipping the heavy cream until it forms stiff peaks. Be careful not to overwhip, or the cream will become too thick and dense.
Gently scoop the whipped cream into the bowl with the sweetened mascarpone mixture. Use a spatula to fold the cream into the mascarpone, being careful not to deflate the mixture. Fold slowly and gently, incorporating the cream throughout the mascarpone until you have a smooth, uniform consistency.
Once the whipped cream is fully incorporated, you can spoon the tiramisu mixture into the prepared ladyfinger cups. Use a light touch to ensure the cream stays light and airy.
Refrigerate the filled cups for at least 2 hours, or until ready to serve. This final step completes the tiramisu, creating the perfect balance of flavors and textures.
Step 5. Refrigerate Until Set, About 2 Hours

Refrigerating the filled cups for at least 2 hours is the final step in completing the tiramisu. This chilling time allows the flavors to meld and the filling to set up nicely.
You'll want to place the cups in the refrigerator, being careful not to jostle or bump them. The cold temperature helps the sweet cream mixture firm up, so the tiramisu holds its shape when you scoop into it.
After 2 hours, the tiramisu cups will be ready to serve. The filling should have a delightfully smooth, creamy texture.
You can top each one with a light dusting of cocoa powder or finely grated chocolate for an elegant finishing touch. Chilled tiramisu is the perfect make-ahead dessert – you can prep the cups in advance and keep them refrigerated until you're ready to bring them out and impress your guests.
Enjoy the rich flavors and velvety texture in every bite!
Final Thoughts
With a delightful blend of coffee-infused sponge, rich mascarpone, and a dusting of cocoa, these Tiramisu Cups offer a delectable escape from the ordinary.
You'll love the way the flavors meld together, creating a sophisticated yet comforting treat that's perfect for any occasion. The individual servings make them easy to share, and their impressive presentation is sure to delight your guests.
These Tiramisu Cups are a wonderful make-ahead dessert, allowing you to enjoy the process of assembling them ahead of time. If you’re looking for a lighter option, you can also substitute the traditional mascarpone cheese with healthy greek yogurt for a guilt-free indulgence. These healthy greek yogurt parfaits are a refreshing alternative for those looking to satisfy their sweet tooth without the heavy cream. Regardless of your choice, both options are sure to be a crowd-pleaser.
Simply refrigerate until you're ready to serve, and you'll have a decadent dessert that's quick and effortless to enjoy. The rich and creamy texture, coupled with the bold coffee notes, will leave you craving more.
Savor each bite and let the flavors transport you to a cozy Italian café. With their irresistible charm, these Tiramisu Cups are sure to become a new favorite in your dessert repertoire.
Frequently Asked Questions
Can I Use Store-Bought Ladyfingers for Tiramisu Cups?
Yes, you can use store-bought ladyfingers for your tiramisu cups. They'll provide the perfect spongy texture and soaked-up coffee flavor to create an authentic tiramisu experience without the extra effort of homemade ladyfingers.
How Long Can I Store the Assembled Tiramisu Cups?
You can store the assembled tiramisu cups in the refrigerator for up to 3-4 days. Make sure to keep them covered and chilled to maintain their freshness and prevent drying out.
Can I Make the Tiramisu Cups Ahead of Time?
Sure, you can make the tiramisu cups ahead of time. Just assemble them and store them in the fridge for up to 3 days. This'll save you time when you're ready to serve them.
Do I Need to Use Espresso for the Coffee Layer?
You don't necessarily need to use espresso for the coffee layer. Strong brewed coffee or even instant coffee can work just as well. The key is to get a bold, flavorful coffee that'll complement the other tiramisu ingredients.
Can I Substitute the Liqueur With Something Non-Alcoholic?
You can definitely substitute the liqueur with something non-alcoholic. Try using a strong coffee or espresso instead, or even a fruit juice or non-alcoholic syrup that complements the flavors of the dessert.
Conclusion
You've gotta try these delightful tiramisu cups! They're easy to make and so tasty. The creamy layers of coffee-flavored mascarpone and light, airy ladyfingers are a match made in heaven. Plus, you can make them ahead of time – perfect for entertaining. Indulge in the rich, decadent flavors and impress your friends and family. Trust us, these tiramisu cups won't disappoint!