Soda float bars have a cherished history, tracing back to the late 1800s when pharmacists first started mixing carbonated beverages with delightful ice cream. These classic American treats quickly gained popularity, becoming a staple in small-town drugstores and big-city diners. Featuring flavors like root beer, cola, and orange, soda floats offer a refreshing delight by combining the effervescence of soda with the richness of ice cream. To create your own, simply scoop ice cream into a tall glass and slowly pour soda over it, then top with whipped cream and toppings. It's a nostalgic experience that continues to delight generations – and there's more to discover about this beloved treat.
Key Takeaways
- Soda Float Bars originated in the late 19th century as pharmacists mixed carbonated beverages and ice cream, becoming a staple in small-town drugstores and big-city diners.
- Soda Floats combine the effervescence of soda with the richness of ice cream, creating a classic American treat with endless flavor possibilities.
- The key ingredients for a Soda Float are soda, vanilla ice cream, whipped cream (optional), and toppings (optional), with the importance of using cold components for optimal texture and fizz.
- The preparation of a Soda Float involves scooping ice cream into a glass and slowly pouring soda over it, gently stirring to combine without excessive foam or fizz.
- Soda Float Bars are recognized as a delightful addition to local culinary scenes, offering a nostalgic experience that evokes memories of carefree summer days and community gatherings.
Top picks for "soda float"
Open Amazon search results for this keyword.
As an affiliate, we earn on qualifying purchases.
History
The soda float bar's origins can be traced back to the late 19th century when pharmacists started experimenting with carbonated beverages and ice cream. They'd mix the two, creating a delightful fizzy treat that quickly became a hit with customers. People loved the combination of the creamy, cold ice cream and the bubbly, effervescent soda.
Soon, soda float bars popped up all over, becoming a staple of small-town drugstores and big-city diners. Folks would belly up to the counter, eager to try the latest flavors. Root beer, cola, and orange were some of the most popular choices, but you could get all sorts of fun and creative mixes.
The soda float bar became a gathering place where friends could relax, enjoy a tasty treat, and catch up on the latest news.
Today, the soda float bar remains a beloved classic, evoking nostalgia for simpler times. Whether you're a longtime fan or trying it for the first time, there's nothing quite like the refreshing delight of a perfectly crafted soda float.
Recipe
A soda float is a classic American treat that combines the effervescence of soda with the creamy richness of ice cream. This simple yet delightful dessert is a perfect way to cool off on a hot day or indulge in a sweet moment.
To create the perfect soda float, it's important to strike the right balance between the carbonated soda and the smooth, velvety ice cream. The key is to use high-quality ingredients and to assemble the float with care, ensuring that each sip or spoonful is a harmonious blend of flavors and textures.
- Soda (such as root beer, cola, or your favorite flavor)
- Vanilla ice cream
- Whipped cream (optional)
- Cherries or other toppings (optional)
To prepare the soda float, scoop a few scoops of ice cream into a tall glass. Slowly pour the soda over the ice cream, allowing it to fizz and foam. If desired, top with whipped cream and a cherry or other toppings. Serve immediately and enjoy the refreshing and indulgent combination.
When making soda floats, it's important to use cold soda and ice cream straight from the freezer. This will help maintain the effervescence of the soda and the creamy texture of the ice cream.
Additionally, you can experiment with different soda and ice cream flavors to create unique and personalized variations on this classic treat.
Cooking Steps
Add a scoop of your favorite ice cream to the soda mixture and gently stir.
Top it off with a dollop of whipped cream and sprinkle some crushed cookies or candies on top.
Serve your creation immediately, complete with a cherry on top!
Step 1. Add Ice Cream Scoop
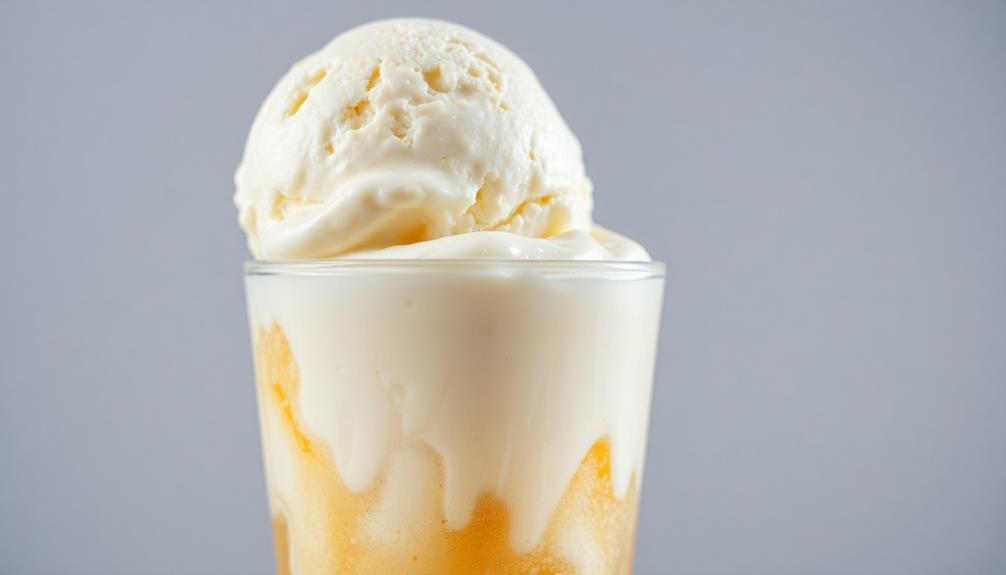
With a large ice cream scoop, carefully place a generous portion of your desired ice cream flavor into each glass.
Whether you prefer classic vanilla, rich chocolate, or a fruity sorbet, the choice is yours! Scoop the cold, creamy treat into the waiting glasses, aiming to fill them about halfway. Gently tap the scoop against the side of the glass to release any excess ice cream.
Next, it's time to add the fizzy soda. Slowly pour the bubbly liquid over the ice cream, watching as it creates a delightful foamy topping.
Be careful not to overfill the glasses, leaving just a bit of room at the top. The combination of the cold ice cream and the effervescent soda will produce a delightful soda float that's perfect for a hot day.
Step 2. Stir Mixture Gently
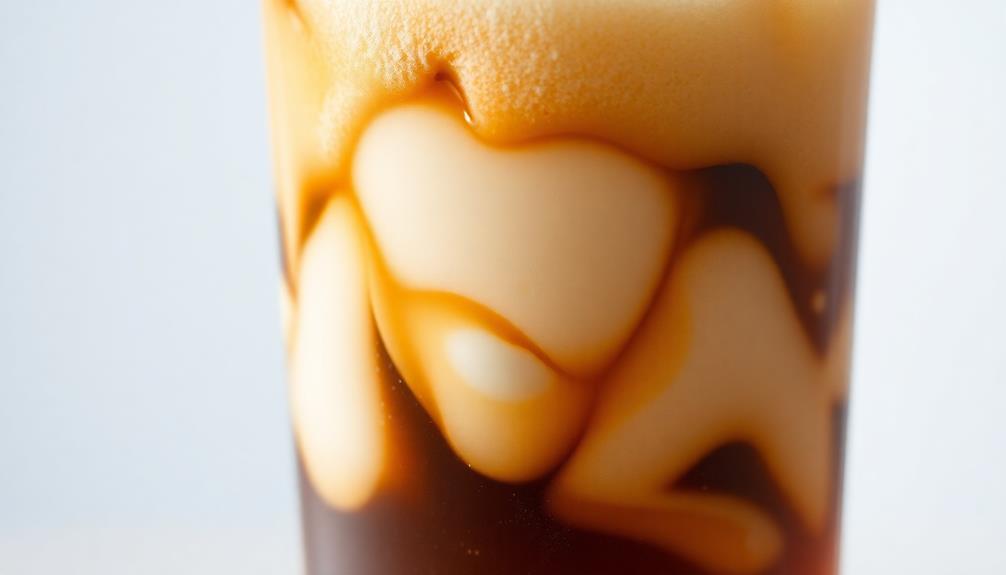
Once the ice cream and soda have been added, gently stir the mixture with a long-handled spoon or straw.
You'll want to move the spoon or straw in a slow, circular motion, taking care not to splash the soda float. The key is to incorporate the ice cream into the soda without creating too much foam or fizz.
Stir just until the mixture is combined and the ice cream has started to melt, creating a creamy, frothy texture. Don't overstir, or you'll end up with a watery, flat soda float.
Gently stir for about 10-15 seconds, then stop. The goal is to maintain the fizz and thickness of the soda float.
Once it's stirred, your soda float is ready to enjoy! Grab a long spoon or straw and dive in, savoring the sweet, creamy goodness.
Step 3. Add Whipped Cream Topping

Now that you've gently stirred your soda float, it's time to take it to the next level with a cloud-like whipped cream topping.
Grab that can of freshly whipped cream and give it a good shake. Gently press the nozzle, allowing the thick, creamy whip to cascade over the top of your soda.
Watch as it swirls and twirls, creating a dreamy, fluffy peak. Don't be afraid to be generous – you can never have too much whipped cream on a soda float!
Lightly drag a spoon through the whipped cream, creating delicate swirls and peaks. This not only makes it look extra special, but it also allows the cool, crisp soda to peek through.
The contrast of the creamy whipped topping and the fizzy soda is pure magic.
Now take a big spoonful, making sure to get a bit of everything. Prepare to be delighted by the perfect combination of sweet, creamy, and refreshing flavors in every bite.
Step 4. Sprinkle Crushed Cookies or Candies

Next, grab a handful of your favorite crushed cookies or candies. Sprinkle them generously over the top of your soda float creation. The crunchy bits will add a delightful texture and a burst of extra flavor.
You can use crushed Oreos, graham crackers, or even crushed peppermint candies. Get creative and experiment with different combinations! The cookies or candies will sink down into the creamy ice cream, creating a delightful surprise in every bite. And don’t forget to incorporate other toppings like hot fudge, caramel sauce, or fruit. The possibilities are endless when it comes to building your own sundae. With an array of different ice cream flavors and toppings to choose from, everyone can create a sundae that perfectly suits their taste. So let your imagination run wild and have fun experimenting with all the delicious options available to build your own sundae!
Don't be afraid to go a little overboard – the more toppings, the merrier! Just make sure to leave room for a final swirl of whipped cream on top. This extra dollop will tie the whole dessert together, balancing the sweet and crunchy elements.
Get ready for an explosion of taste and texture in every spoonful. Your soda float is about to reach new, delicious heights!
Step 5. Serve Immediately With a Cherry
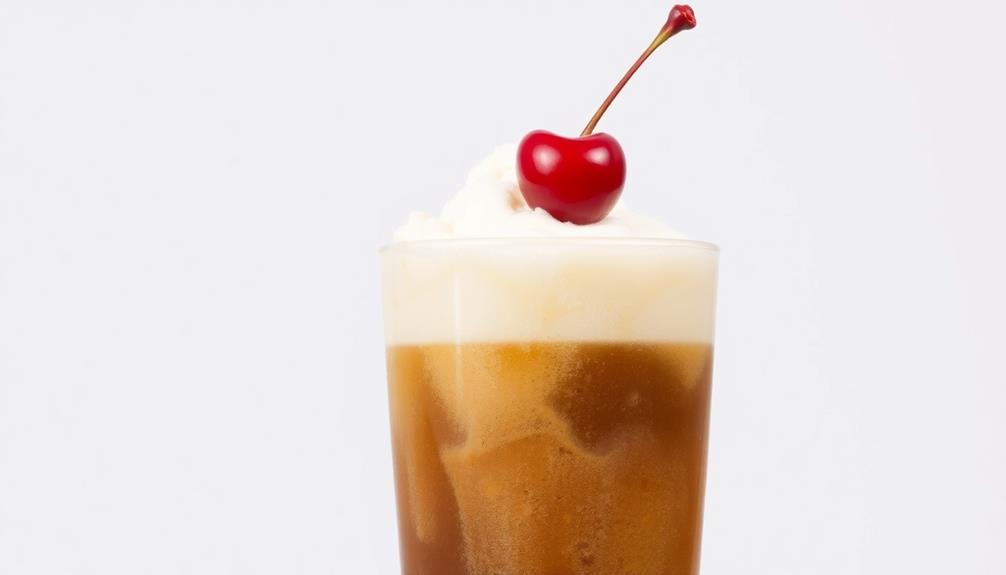
To complete your soda float masterpiece, grab a maraschino cherry and gently place it atop the whipped cream. The vibrant red cherry adds a delightful pop of color and a burst of sweetness to your refreshing soda float.
Don't be shy – you can add as many cherries as you'd like!
Once the cherry is nestled in, your soda float is ready to serve. Grab a long spoon and dive in, scooping up the creamy goodness along with the fizzy soda.
The combination of the cold, bubbly soda and the rich, velvety ice cream is a party in your mouth. Take your time savoring each spoonful, letting the flavors mingle and delight your taste buds.
Final Thoughts
The resounding success of the Soda Float Bar affirms its position as a delightful addition to the local culinary landscape. You can't help but feel a sense of excitement when you step up to the counter, eager to create your own unique flavor combination.
Whether you opt for a classic root beer float or venture into more adventurous territory with a cherry limeade soda float, the possibilities are endless.
As you savor each sip, the combination of sweet, creamy, and effervescent notes dances across your taste buds, transporting you to a bygone era of carefree summer days.
The Soda Float Bar has become a hub of community, where friends gather to catch up, families celebrate special occasions, and kids delight in the pure joy of indulging in a nostalgic treat.
Frequently Asked Questions
Can I Use Any Type of Ice Cream for the Soda Float?
You can use any type of ice cream for a soda float. The options are endless – from classic vanilla to exotic flavors like green tea or salted caramel. The ice cream will blend deliciously with the fizzy soda.
How Long Can the Soda Float Be Stored Before It Loses Its Fizz?
You can generally store a soda float for up to an hour before it starts losing its fizz. The carbonation will gradually dissipate, so it's best to enjoy your float as soon as possible for maximum effervescence.
Do I Need to Use a Specific Type of Soda for the Best Results?
For the best results, you'll want to use a soda with a higher carbonation level. Choosing a soda with a stronger fizz will help maintain the float's effervescence longer. Experiment to find your preferred soda.
Can I Make the Soda Float in Advance and Serve It Later?
You can make the soda float in advance, but it's best to serve it right away. The ice cream will start melting, and the carbonation will dissipate if you let it sit too long. For the best results, assemble the float just before serving.
Is There a Way to Make the Soda Float More Visually Appealing?
You can make the soda float more visually appealing by adding a dollop of whipped cream, a cherry on top, or a sprinkle of crushed nuts or chocolate shavings. These toppings will create a more attractive and inviting presentation.
Conclusion
Whoa, you'll love sipping on a cool, refreshing soda float! It's the perfect way to beat the heat and satisfy your sweet tooth. Just mix up your favorite soda and ice cream, and you've got a delightful treat that'll have your taste buds dancing. Go on, give it a try – you won't regret it! This classic combo is sure to bring a smile to your face with every sip.