A classic treat beloved by outdoor enthusiasts for generations, the s'mores bar allows you to craft your own delightful desserts featuring the iconic combination of graham crackers, chocolate, and toasted marshmallows. You'll enjoy the customizable experience as you experiment with different flavor combinations, from milk chocolate to white chocolate, and even add fun toppings like peanut butter or fruit. With its nostalgic appeal and opportunity for creativity, the s'mores bar is sure to delight all who partake. And you'll discover there's more to explore about this timeless treat.
Key Takeaways
- A customizable setup for various gatherings, including backyard, holiday, and casual events, featuring essential components like graham crackers, chocolate, and marshmallows.
- Opportunity for guests to create unique s'mores combinations, encouraging creativity and personalization in dessert choices.
- Simple recipe that combines graham crackers, chocolate, and toasted marshmallows, creating a delightful dessert suitable for year-round enjoyment.
- Variety of ingredient options, including different graham crackers, chocolates, and marshmallows, catering to various dietary needs and preferences.
- Engaging guest experience, with opportunities for mini-competitions, photo-taking, and sharing stories, contributing to a memorable and nostalgic gathering.
History
According to historical accounts, the s'mores bar originated in the early 20th century as a beloved treat among outdoor enthusiasts. Campers and hikers would gather around the campfire, roasting marshmallows and sandwiching them between graham crackers and pieces of chocolate. This delightful combination of gooey, crunchy, and rich flavors quickly became a classic.
The name "s'mores" is believed to be a shortened version of "some more," as people couldn't get enough of this irresistible snack.
Over the decades, the s'mores bar has remained a quintessential part of the camping experience, with families and friends coming together to create sweet memories.
Today, the s'mores bar has evolved, with variations that include different types of chocolate, graham crackers, and even fruit.
But no matter the recipe, the joy and nostalgia of this timeless treat endure, making it a beloved part of outdoor adventures for generations. Whether it’s a classic cheese quesadilla or unique quesadilla recipes incorporating unexpected ingredients, the simple yet satisfying nature of this dish never fails to bring people together. From camping trips to picnics in the park, the humble quesadilla has a way of bringing comfort and joy to any outdoor gathering. Its versatility and deliciousness make it a go-to option for anyone looking to add a dash of nostalgia to their outdoor dining experience.
Recipe
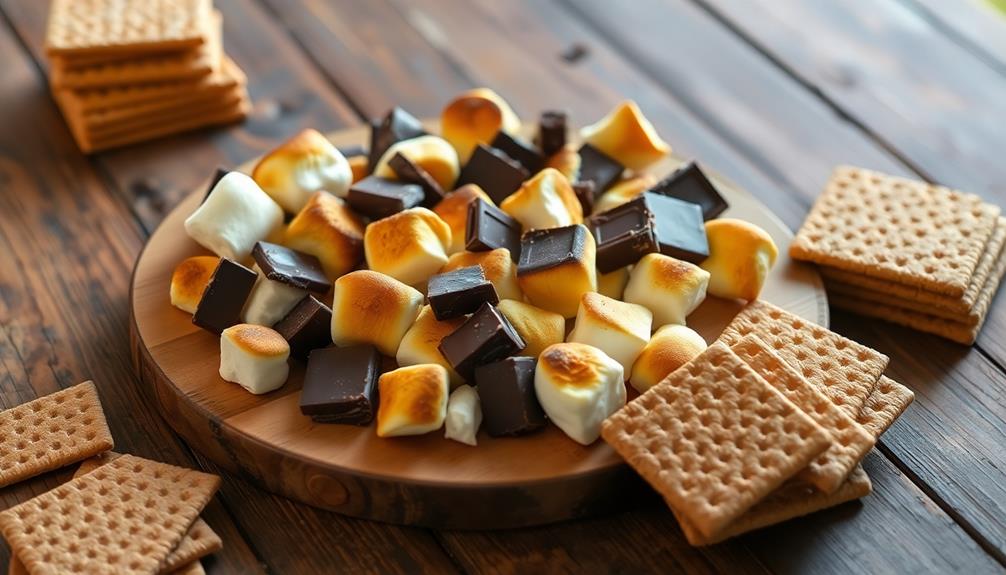
S'mores are a classic summertime treat that evoke memories of campfires and childhood adventures. This s'mores bar recipe takes the beloved flavors of graham crackers, chocolate, and toasted marshmallows and transforms them into a delightful dessert that can be enjoyed year-round.
The combination of the crunchy graham cracker crust, the smooth chocolate filling, and the gooey, toasted marshmallow topping creates a delightful balance of textures and flavors. Whether served at a backyard gathering or as a sweet ending to a formal dinner, this s'mores bar is sure to delight and satisfy.
Ingredients:
- 1 1/2 cups graham cracker crumbs
- 6 tablespoons unsalted butter, melted
- 1 (14-ounce) can sweetened condensed milk
- 2 cups semi-sweet chocolate chips
- 2 cups miniature marshmallows
Instructions:
Preheat the oven to 350°F. Grease an 8×8-inch baking pan. In a medium bowl, mix the graham cracker crumbs and melted butter until well combined. Press the mixture evenly into the bottom of the prepared pan. Bake for 8 minutes. Remove from the oven and let cool for 10 minutes.
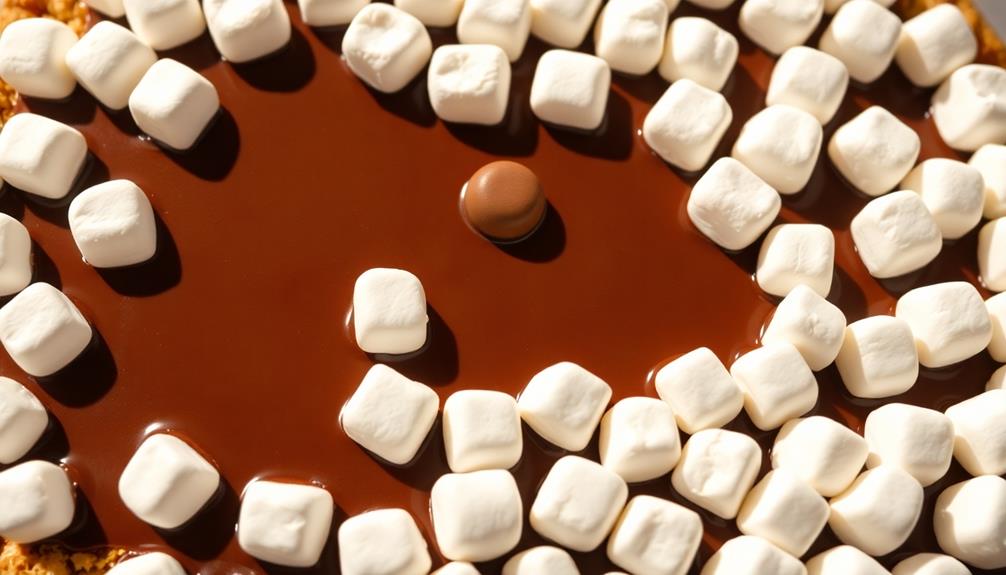
In a medium saucepan, heat the sweetened condensed milk over medium heat, stirring constantly, until it begins to thicken, about 5 minutes. Remove from heat and stir in the chocolate chips until the chocolate is melted and the mixture is smooth. Spread the chocolate mixture evenly over the graham cracker crust. Top with the miniature marshmallows, covering the entire surface.
Tips:
For an extra-toasted marshmallow flavor, place the pan under the broiler for 1-2 minutes, watching closely, until the marshmallows are lightly golden. Allow the s'mores bars to cool completely before cutting into squares for serving. For a touch of elegance, consider drizzling the top with melted dark chocolate or sprinkling with a dusting of powdered sugar.
Cooking Steps
Preheat your oven to 375°F.
Spread the graham cracker crumbs evenly across the baking pan.
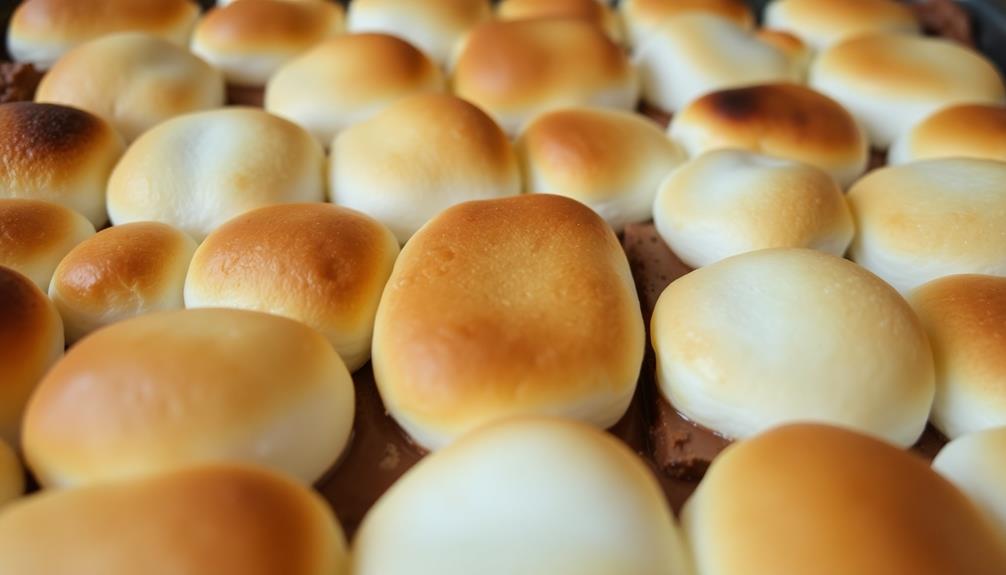
Sprinkle the chocolate chips over the crumbs, then top with a layer of marshmallows before baking until the marshmallows are golden brown.
Step 1. Preheat Oven to 375°F
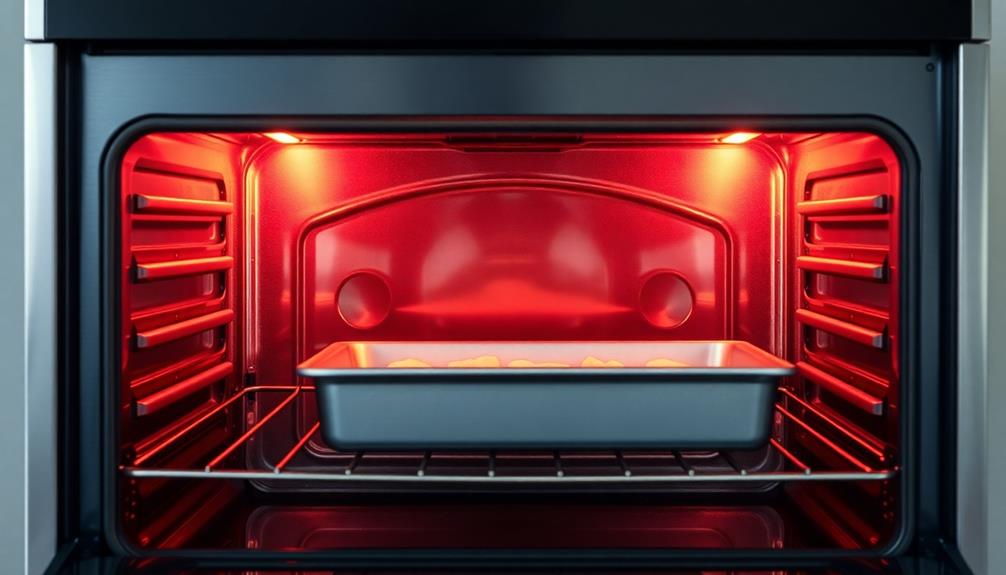
To prepare your oven for the s'mores magic, preheat it to a toasty 375°F. This temperature is perfect for melting the chocolate and toasting the marshmallows to gooey perfection.
Once your oven has reached the desired heat, you're ready to start assembling your delightful s'mores creations.
The key is to keep a close eye on the oven, as the s'mores can quickly go from perfectly golden to a charred mess. Set a timer to remind yourself to check on them every few minutes. You'll know they're ready when the marshmallows are lightly browned and the chocolate has started to melt.
Don't be afraid to experiment with different toppings or even try making your own homemade graham crackers. The possibilities are endless when it comes to customizing your s'mores.
Step 2. Spread Graham Cracker Crumbs Evenly
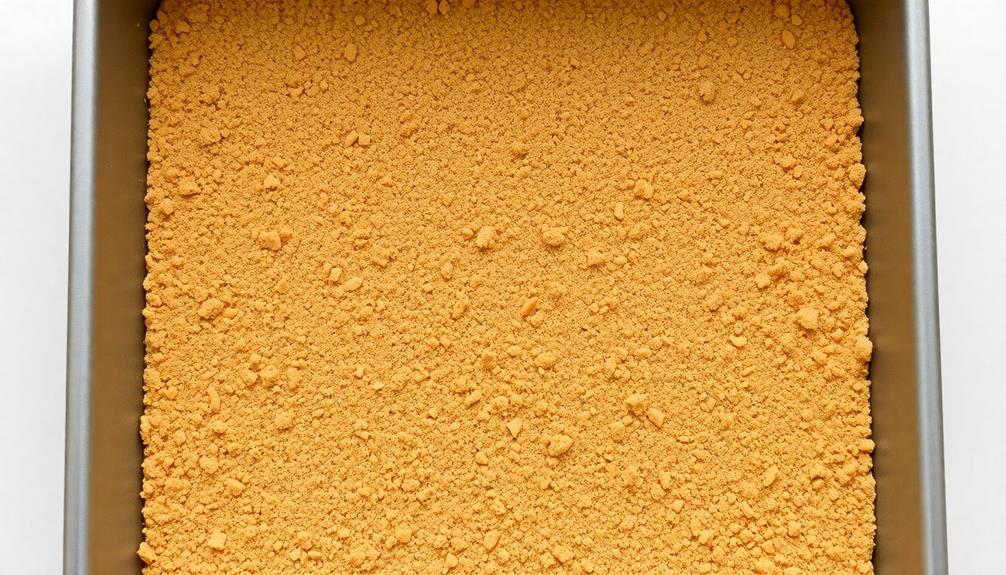
With the oven preheated, it's time to start assembling the s'mores. Grab a baking sheet and sprinkle the graham cracker crumbs evenly across the surface. You want to create a nice, even layer that will serve as the base for your s'mores.
Don't worry if there are a few gaps here and there – it'll all come together once you start adding the other ingredients.
Next, you'll want to place the chocolate squares on top of the graham cracker crumbs. Arrange them in a single layer, making sure they're spaced apart so they melt separately.
Finally, top the chocolate with the marshmallows. Gently press them down to help them stick to the chocolate.
Now your s'mores bar is ready for the oven! Slide the baking sheet in and let the magic happen.
Keep an eye on it, as the marshmallows will start to brown and puff up. Once they're perfectly toasted, it's time to remove the s'mores bar and let it cool slightly before slicing and serving.
Step 3. Sprinkle Chocolate Chips Evenly

After spreading the graham cracker crumbs, it's time to add the chocolate. Grab a handful of chocolate chips and start sprinkling them evenly across the surface.
You want each bite to have the perfect amount of chocolate, so don't be shy! Gently sprinkle the chips, making sure they're distributed evenly from edge to edge. If you notice any bare spots, simply add a few more chips to fill them in.
Once you've covered the entire area, take a step back and admire your work. The chocolate chips should be nestled snugly between the graham cracker crumbs, ready to melt into a gooey, chocolatey delight.
This step is crucial for creating the ultimate s'mores experience, so take your time and get it just right. With the chocolate in place, you're one step closer to indulging in the perfect, homemade s'mores bar.
Step 4. Marshmallows Layer Evenly
Next, you'll want to evenly layer the marshmallows across the chocolate chips. This step is crucial to achieving the perfect s'mores bar.
Take a handful of marshmallows and gently press them down, making sure they're distributed evenly across the surface. You don't want any gaps or bare spots – the marshmallows should cover the entire chocolate layer.
Once you've laid out the marshmallows, take a moment to admire your work. The soft, fluffy white mounds contrasting with the dark chocolate chips looks absolutely delightful.
Now, it's time to move on to the next step. Preheat your oven and get ready to bake these s'mores to gooey, golden-brown perfection. The aroma of toasted marshmallows and melted chocolate will fill your kitchen, making your mouth water in anticipation.
With just a few more steps, you'll have a decadent treat that's sure to satisfy your sweet tooth.
Step 5. Bake Until Marshmallows Are Golden Brown
Preheat your oven to 400°F. Once it's nice and toasty, it's time to get those marshmallows in the oven! Spread the marshmallows evenly across the prepared graham cracker crust. This step is crucial – you want each bite to have the perfect ratio of graham, chocolate, and gooey marshmallow.
Now, keep a close eye on the oven. The marshmallows should start to puff up and turn a beautiful golden brown in about 5-7 minutes. Don't walk away, though! Marshmallows can go from perfectly toasted to a charred mess in the blink of an eye.
Once they're just right, remove the pan from the oven and let it cool for a few minutes. This gives the marshmallows time to set up a bit before you dig in.
The waiting is the hardest part, but trust us, it's worth it. Soon you'll be enjoying a slice of s'mores heaven, complete with that classic campfire taste.
Final Thoughts
The s'mores bar is a delightful and versatile dessert that offers a fun and interactive experience for guests. It's a great way to bring people together, whether you're hosting a backyard gathering, a holiday party, or a casual get-together.
The best part? You can customize it to suit your preferences, from the type of graham crackers and chocolate to the variety of marshmallows.
Once you've baked the marshmallows to a golden-brown perfection, the fun really begins. Guests can assemble their own s'mores, creating their own unique combinations.
It's a chance to get creative and indulge in a classic treat with a personal twist. The s'mores bar is sure to be a hit, leaving your guests with smiles and fond memories.
Frequently Asked Questions
Can I Make S'mores Without a Campfire?
Yes, you can make s'mores without a campfire. You can use a gas stove, oven, or even a microwave to toast the marshmallows and melt the chocolate. Get creative and enjoy the classic s'mores flavor anytime!
How Long Do Homemade S'mores Last?
Homemade s'mores won't last long, as they're best enjoyed fresh. The marshmallows and chocolate may start to harden and lose their gooey texture within a day or two. It's ideal to assemble and eat your s'mores right away for the ultimate experience.
Can I Use Graham Crackers From the Store?
You can definitely use store-bought graham crackers to make homemade s'mores. They'll work just as well as the homemade version and save you the extra effort of making the crackers from scratch.
Is It Possible to Make S'mores Vegan?
Yes, you can make vegan s'mores! Use plant-based chocolate and vegan marshmallows instead of the traditional ingredients. You'll still get the same gooey, chocolatey, and toasted goodness without the animal products.
How Can I Customize My S'mores Bar?
To customize your s'mores bar, you can offer a variety of marshmallows, chocolate, and graham crackers. You can also include different toppings like crushed nuts, coconut flakes, or fruit spreads to let your guests create their own unique s'mores.
Conclusion
You've gotta try this s'mores bar! It's the perfect sweet treat that'll have your whole family excited. Just layer up the graham crackers, chocolate, and marshmallows, then pop it in the oven. In no time, you'll have a warm, gooey, and delicious dessert that's sure to satisfy everyone's cravings. Trust me, this s'mores bar is a real crowd-pleaser that you won't want to miss out on. So what are you waiting for? Give it a go and enjoy!