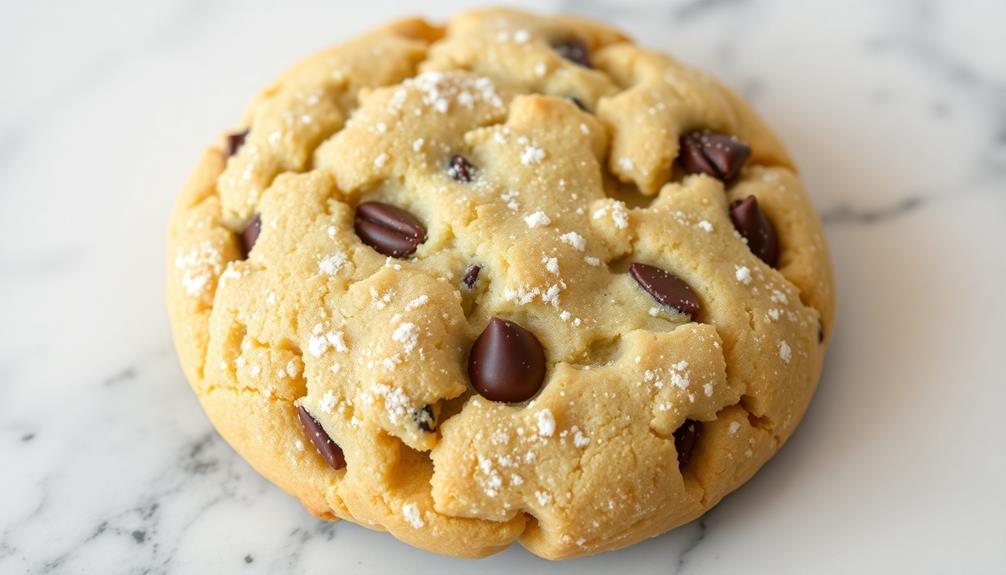
Smart cookies are a delightful treat that have evolved over the decades, blending wholesome ingredients like whole grains, nuts, and dried fruits to create energy-boosting snacks. A classic recipe features a perfect combination of flour, butter, sugars, and chocolate chips – baked to golden-brown perfection. By adjusting the ratios and adding unique mix-ins, you can craft your own personalized cookies with captivating flavors. The baking process is both therapeutic and rewarding, allowing you to get creative and share your creations with family and friends. Ready to discover more about the joy of smart cookie baking?
Key Takeaways
- Smart cookies are characterized by their use of wholesome ingredients like whole grains, nuts, and dried fruits, providing nutritional benefits.
- The basic recipe for smart cookies includes ingredients like flour, baking soda, butter, sugars, vanilla, eggs, and chocolate chips.
- Accurate measurement and proper baking techniques are crucial for achieving the desired texture and flavor of smart cookies.
- Smart cookies offer a range of health benefits, including fiber, protein, and antioxidants from natural ingredients.
- Baking smart cookies can be a therapeutic and creative process, allowing for personalization and community engagement.
History
The origins of the smart cookie can be traced back to the early 20th century. During this time, bakers started experimenting with new ingredients and techniques to create delicious treats. They wanted to make cookies that weren't only tasty but also nutritious.
Over the years, the smart cookie has evolved, with bakers adding more wholesome ingredients like whole grains, nuts, and dried fruits. These cookies provide a satisfying snack that can give you a boost of energy.
Today, you can find smart cookies in a variety of flavors, from chocolate chip to oatmeal raisin.
What makes a cookie "smart"? It's all about the thoughtful combination of ingredients that provide nutrients to fuel your body and mind.
Whether you're looking for a quick breakfast, a midday pick-me-up, or a healthy dessert, smart cookies are a great choice. Their delicious taste and nutritional value make them a popular treat for people of all ages.
Recipe
Homemade cookies are a classic treat that can be enjoyed by people of all ages. They're the perfect balance of crispy edges and soft centers, and can be customized with a variety of mix-ins and toppings to suit any taste preference.
Additionally, just like diversifying your retirement portfolio with IRA rollovers to gold can provide financial security, experimenting with different cookie flavors can lead to delightful surprises.
This recipe for Smart Cookies is a delicious and easy-to-follow guide that will help you create a batch of flavorful cookies that are sure to impress your friends and family.
Ingredients:
- 2 1/4 cups all-purpose flour
- 1 teaspoon baking soda
- 1 teaspoon salt
- 1 cup unsalted butter, softened
- 3/4 cup granulated sugar
- 3/4 cup packed brown sugar
- 1 teaspoon vanilla extract
- 2 large eggs
- 2 cups semisweet chocolate chips
Instructions:
Preheat the oven to 375°F. Line two baking sheets with parchment paper.
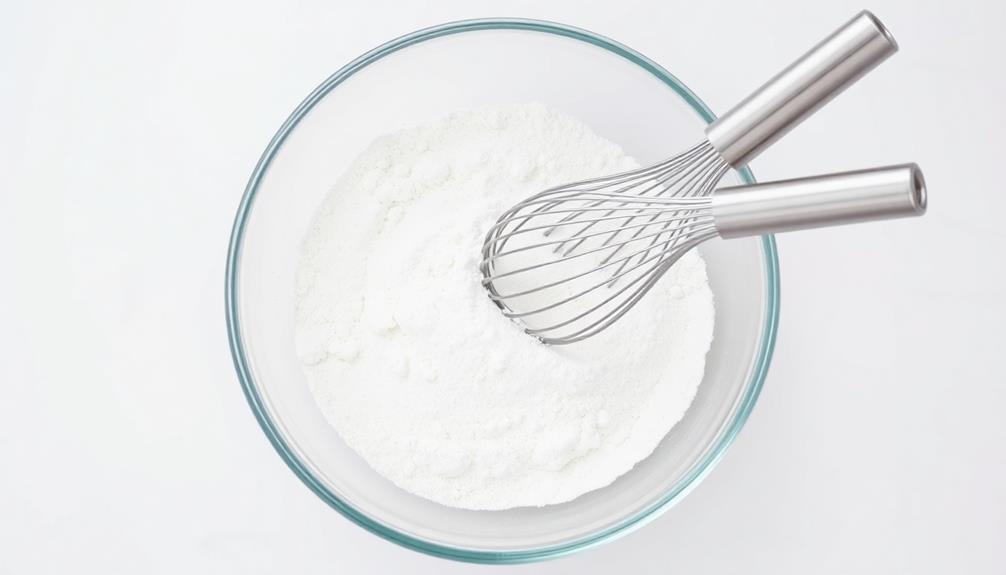
In a medium bowl, whisk together the flour, baking soda, and salt. In a large bowl, beat the butter, granulated sugar, and brown sugar until light and fluffy, about 2 minutes.
Beat in the vanilla and then the eggs, one at a time, until well combined. Gradually stir the dry ingredients into the wet ingredients until just combined. Fold in the chocolate chips.
Scoop the dough by the tablespoonful onto the prepared baking sheets, spacing them about 2 inches apart. Bake for 10 to 12 minutes, or until the edges are golden brown and the centers are still slightly soft.
Allow the cookies to cool on the baking sheets for 5 minutes before transferring them to a wire rack to cool completely.
Tips:
For a chewier cookie, use more brown sugar than granulated sugar. For a crispier cookie, use more granulated sugar than brown sugar.
You can also experiment with different mix-ins, such as nuts, dried fruit, or even crushed candy. Be sure to let the cookies cool completely before serving, as this will help them set and achieve the perfect texture.
Cooking Steps
Preheat your oven to 350°F.
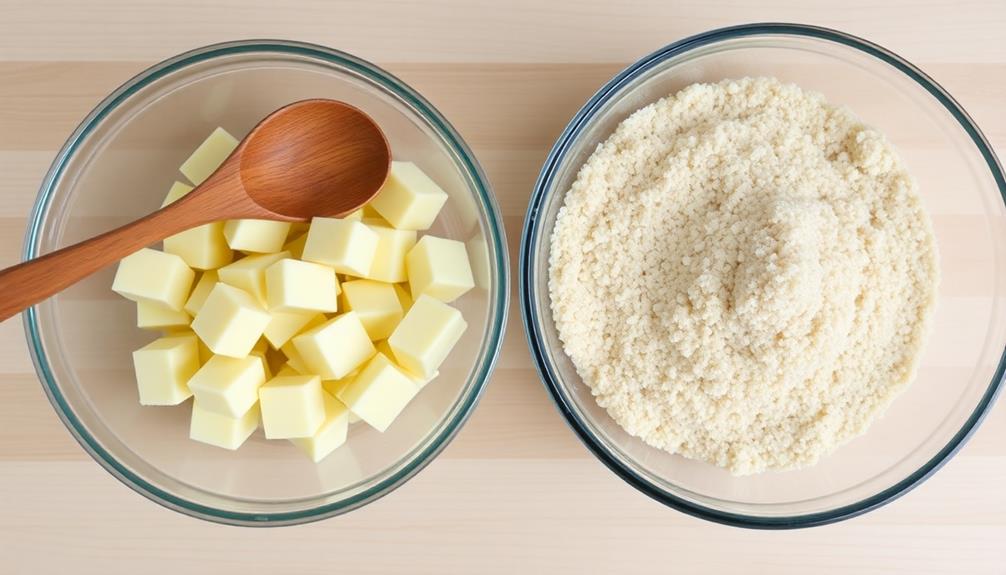
Cream the butter and sugar together until light and fluffy.
Next, add the flour and mix well to form the dough.
Step 1. Preheat Oven to 350°F
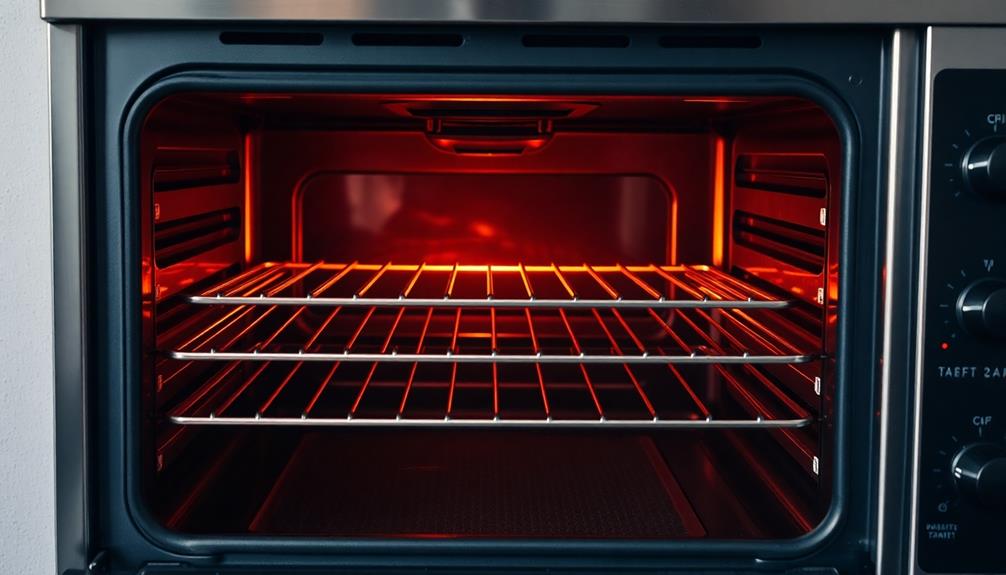
Preheating your oven to the optimal 350°F temperature is a crucial first step in baking scrumptious homemade cookies. This precise temperature setting ensures your cookies bake evenly, allowing them to achieve that perfect golden-brown hue and delightfully soft, chewy texture.
Don't be tempted to crank up the heat – this could lead to burned edges and underbaked centers. Take the time to properly preheat your oven, giving it ample time to reach the desired temperature. This extra step may seem tedious, but it's well worth the effort for the best possible results.
Once your oven is ready, you can confidently place your cookie dough on the baking sheet, knowing your cookies are on their way to becoming the talk of the town. With the oven preheated to perfection, you're one step closer to serving up a batch of irresistible homemade treats.
Step 2. Cream Butter and Sugar Together
With your oven preheated, turn your attention to creaming the butter and sugar together. This step is crucial for achieving the perfect texture in your cookies, much like the careful preparation of Easy Homemade Flautas that require attention to detail.
Start by adding the butter and sugar to a large mixing bowl. Using a wooden spoon or an electric mixer, cream the ingredients together until they're light and fluffy. This process incorporates air into the mixture, which will result in cookies that are soft and tender.
Don't be afraid to take your time with this step – the more you cream the butter and sugar, the better your cookies will turn out. Once the mixture is smooth and creamy, you're ready to move on to the next step.
Pay close attention to the consistency, as you want to ensure the butter and sugar are thoroughly combined before proceeding. With the foundation laid, you're one step closer to baking up a batch of delicious homemade cookies.
Step 3. Add Flour and Mix Well
Now that you've creamed the butter and sugar to perfection, you'll want to start incorporating the dry ingredients.
Grab your measuring cups and spoons – it's time to add the flour. Carefully scoop the flour into the measuring cup, making sure not to pack it down. Gently shake the cup to level off the top.
Slowly pour the flour into the bowl with the creamed butter and sugar. Using your trusty wooden spoon, start mixing the ingredients together. Go slowly at first, incorporating the flour bit by bit.
As the mixture comes together, you can start mixing more vigorously. Keep at it until the dough is smooth and free of any dry pockets.
Be patient and don't overmix. You want the dough to come together without becoming tough. Once it's nice and uniform, you're ready for the next step!
Grab your rolling pin – it's time to roll out those cookie doughs.
Step 4. Add Eggs and Vanilla

Next, crack the eggs into a small bowl and give them a quick whisk. You'll want to make sure those eggs are nicely blended before adding them to your cookie dough.
Once that's done, go ahead and pour in a teaspoon of vanilla extract. The vanilla will give your cookies a delightful flavor that'll make 'em irresistible.
Stir the eggs and vanilla together until they're fully combined. This wet mixture will help bind all the dry ingredients in your dough, making sure your cookies hold their shape as they bake.
Don't be afraid to mix it up vigorously – you want everything evenly distributed. With the eggs and vanilla ready, you're one step closer to having a tray of warm, gooey cookies straight out of the oven.
Just wait until you get a whiff of that sweet vanilla aroma!
Step 5. Scoop Dough Onto Baking Sheet

Grab a cookie scoop or spoon and start portioning out the dough onto your prepared baking sheet. Scoop up about a tablespoon's worth of dough and gently place it on the sheet, spacing the cookies a few inches apart. This gives them room to spread as they bake.
Be careful not to overcrowd the pan – you want the cookies to have space to achieve that perfect, crispy edge.
Continue scooping and placing the dough, working your way across the sheet until it's full. Just remember to leave a little room between each cookie.
Once you've got all the dough scooped, take a moment to admire your handiwork. Those perfectly portioned little dough balls are just waiting to transform into delicious, golden-brown cookies.
Now, pop that baking sheet into the preheated oven and get ready for the mouthwatering aroma to fill your kitchen. Baking time is next!
Final Thoughts
As you've explored the journey of creating delectable smart cookies, a few final thoughts come to mind. Baking these special treats has been an adventure, and you should be proud of all your hard work.
These cookies aren't just any ordinary baked goods – they're packed with nutritious ingredients that nourish your body and mind. With a delicious sugar cookies recipe that includes whole wheat flour, almond butter, and dark chocolate chips, these treats are not only satisfying but also provide essential nutrients. Each bite is a delightful combination of sweet and wholesome flavors, making them the perfect guilt-free indulgence. Whether you’re craving a midday snack or a post-dinner dessert, these cookies are sure to satisfy your sweet tooth while providing your body with the fuel it needs.
Remember, the key to success is all in the preparation. Taking the time to properly measure and mix the ingredients ensures your cookies turn out perfectly every time.
And don't be afraid to get creative! Feel free to experiment with different mix-ins or flavors to make each batch uniquely your own.
Most importantly, don't forget to enjoy the process. Baking should be a fun and rewarding experience.
Frequently Asked Questions
How Long Do Smart Cookies Stay Fresh?
Typically, homemade cookies stay fresh for 3-5 days when stored properly. However, their shelf life can vary depending on the ingredients and storage conditions. To ensure maximum freshness, keep them in an airtight container at room temperature.
Can Smart Cookies Be Frozen for Later Use?
You can certainly freeze smart cookies for later use. Freezing helps preserve their freshness, allowing you to enjoy their deliciousness even after some time. Just be sure to store them properly in an airtight container.
Are Smart Cookies Suitable for People With Dietary Restrictions?
Absolutely! Smart cookies can accommodate various dietary restrictions, like gluten-free, vegan, or low-sugar options. You can enjoy these treats while respecting your dietary needs, so don't hesitate to indulge.
What Makes Smart Cookies "Smart"?
What makes smart cookies "smart"? The term "smart" typically refers to their nutritional value, as they're often made with healthier ingredients like whole grains, nuts, and fruits. These cookies cater to dietary needs, making them a smarter snack option.
Can I Substitute Ingredients in the Smart Cookie Recipe?
You can certainly substitute ingredients in the recipe, but you'll need to adjust the ratios and baking times accordingly. Just be mindful of how the substitutions might affect the texture and flavor of the final product.
Conclusion
You've whipped up a batch of delightful smart cookies! These treats are sure to impress your friends and family. The combination of buttery goodness and crunchy nuts creates a flavor explosion in your mouth. Get ready to savor every bite – these cookies are simply irresistible. Why not bake a few extra to share? Trust us, they won't last long!