
Roasted chickpeas are a must-try snack that'll have your taste buds dancing! Did you know these delightful little legumes have been around for over 7,000 years? Originating in the Middle East, they're a staple in cuisines worldwide. Packed with protein and fiber, they make a nutritious alternative to typical salty snacks. Simply toss chickpeas in olive oil and your favorite spices, then roast until perfectly crispy. The possibilities are endless – try sweet and spicy variations or use them to add crunch to salads and soups. Once you try homemade roasted chickpeas, you'll be hooked! And there's more to discover about this versatile ingredient…
Key Takeaways
- Roasted chickpeas are a high-protein, low-calorie snack that can be prepared by tossing chickpeas in oil and seasonings, then baking until crisp.
- Chickpeas are a nutrient-dense ingredient, providing fiber, protein, and essential vitamins and minerals, making them a healthy snacking option.
- The roasting process enhances the natural nutty flavor of chickpeas and creates a satisfying crunchy texture, making them a versatile ingredient.
- Roasted chickpeas can be customized with various spice blends and flavor profiles, from savory to sweet, to suit personal taste preferences.
- Roasted chickpeas can be enjoyed as a standalone snack, or incorporated into salads, soups, and grain bowls for added texture and nutrition.

Cosori 9-in-1 TurboBlaze Air Fryer 6 Qt, Smart Control, 90°–450°F, Shake Reminders, Precise Heating for Even Results, Air Fry, Roast, Bake, Broil, Dry, Frozen, Proof, Reheat, Keep Warm, 120V, Cream
𝘼𝙞𝙧 𝙁𝙧𝙮𝙚𝙧 𝙐𝙥𝙜𝙧𝙖𝙙𝙚: Innovative TurboBlaze Technology delivers a powerful 3600 rpm fan speed and temperatures up to 450℉,...
As an affiliate, we earn on qualifying purchases.
History
Chickpeas, also known as garbanzo beans, have been a staple in Middle Eastern and Mediterranean cuisines for over 7,000 years. These nutritious legumes were first cultivated in the Middle East, with evidence of their use found in ancient Egyptian and Mesopotamian settlements.
Over time, they spread throughout the region, becoming a beloved ingredient in traditional dishes like hummus, falafel, and curries.
Roasting chickpeas is a simple and delicious way to enjoy their nutty flavor and crunchy texture. This preparation method has been practiced for centuries, with variations emerging across different cultures.
In the Middle East, roasted chickpeas are often seasoned with spices like cumin, paprika, or coriander, while in the Mediterranean, they may be flavored with herbs like rosemary or thyme.
The popularity of roasted chickpeas has continued to grow, as people around the world discover the joy of this versatile and healthy snack.
Whether enjoyed on their own or incorporated into salads, soups, or other dishes, roasted chickpeas offer a satisfying and nutritious culinary experience.

Ninja Crispi Pro 6-in-1 Glass Air Fryer | With Nontoxic, 6qt & 2.5qt Containers & Lids | Microwave, Freezer, Dishwasher Safe | 450°F Max Temp | 1800 Watt | Ash Grey | AS101DG
FEEDS UP TO 10 -- FAMILY-SIZED GLASS COOKING SYSTEM: Includes a 6-qt CleanCrisp Borosilicate Glass Container for large...
As an affiliate, we earn on qualifying purchases.
Recipe
Roasted chickpeas make for a delightful and nutritious snack or addition to salads and bowls. With a simple preparation, you can enjoy the satisfying crunch and bold flavors of this versatile legume. The process of roasting chickpeas brings out their natural nuttiness and unlocks a range of culinary possibilities. Incorporating chickpeas into your diet can also provide a great source of protein and fiber, making them an excellent choice for a low carb high protein breakfast option.
Roasting chickpeas is an easy and straightforward task that can be tailored to suit your taste preferences. Whether you prefer a touch of spice, a hint of herbs, or a classic seasoning blend, the following recipe provides a solid foundation to explore the world of roasted chickpeas.
- 1 (15-ounce) can chickpeas, drained and rinsed
- 1 tablespoon olive oil
- 1 teaspoon ground cumin
- 1/2 teaspoon paprika
- 1/4 teaspoon garlic powder
- 1/4 teaspoon salt
- 1/8 teaspoon black pepper
Preheat your oven to 400°F (200°C). Drain and rinse the chickpeas, then pat them dry with a paper towel or clean kitchen towel. In a mixing bowl, toss the chickpeas with the olive oil, cumin, paprika, garlic powder, salt, and black pepper until evenly coated.
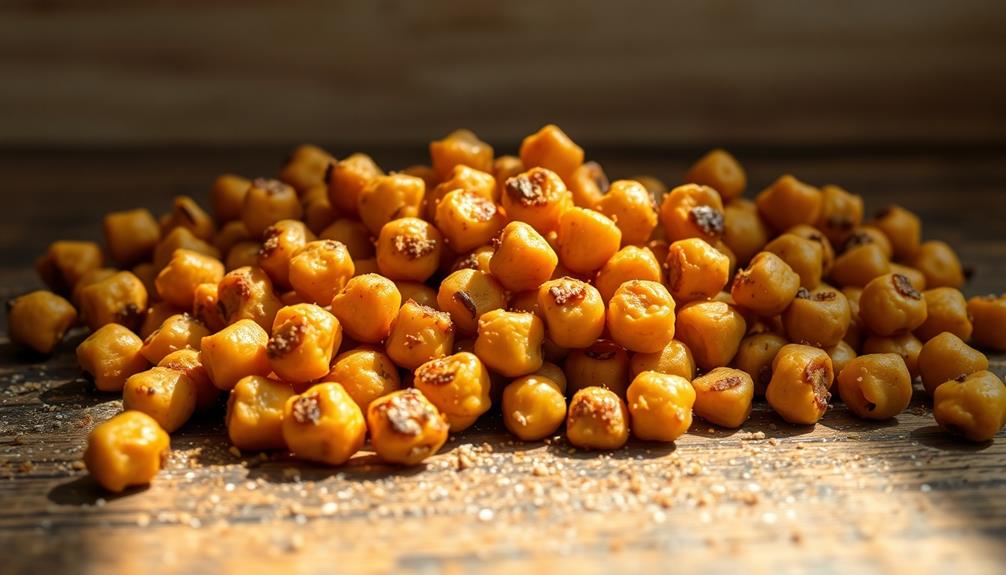
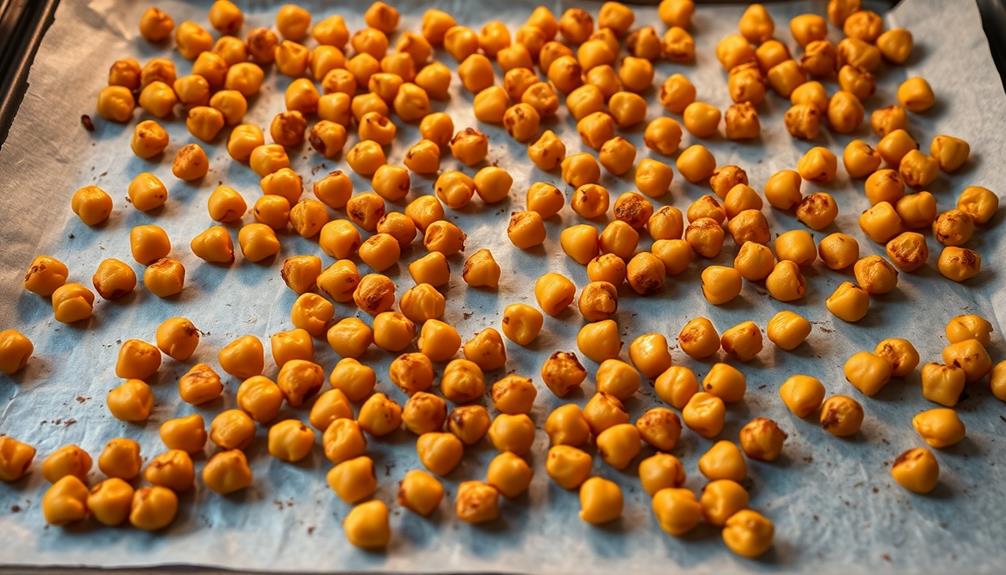
Spread the seasoned chickpeas in a single layer on a baking sheet lined with parchment paper. Roast for 20-25 minutes, stirring halfway, until the chickpeas are golden brown and crispy.
Once the roasted chickpeas have cooled slightly, you can enjoy them as a snack or incorporate them into your favorite dishes. The crunchy texture and bold flavors make them a versatile ingredient that can elevate a simple salad, add a satisfying crunch to grain bowls, or even be enjoyed on their own as a guilt-free treat.
Experiment with different spice blends and seasonings to find your perfect roasted chickpea flavor profile.

Ninja DZ550 Foodi 10 Quart 6-in-1 DualZone Smart XL Air Fryer with 2 Independent Baskets, Smart Cook Thermometer for Perfect Doneness, Match Cook and Smart Finish to Roast, Dehydrate and More, Black
SMART COOK SYSTEM: Achieve the perfect doneness, from rare to well-done, at the touch of a button with...
As an affiliate, we earn on qualifying purchases.
Cooking Steps
First, you'll need to drain the chickpeas and pat them dry with a paper towel.
Next, toss the chickpeas with a bit of oil and your favorite seasonings.
Then, spread the seasoned chickpeas out evenly on a baking sheet.
Bake them at 400°F for 20 minutes, flip them, and bake for an additional 10 minutes.
Get ready for deliciously crispy roasted chickpeas!
Step 1. Drain and Pat Chickpeas Dry
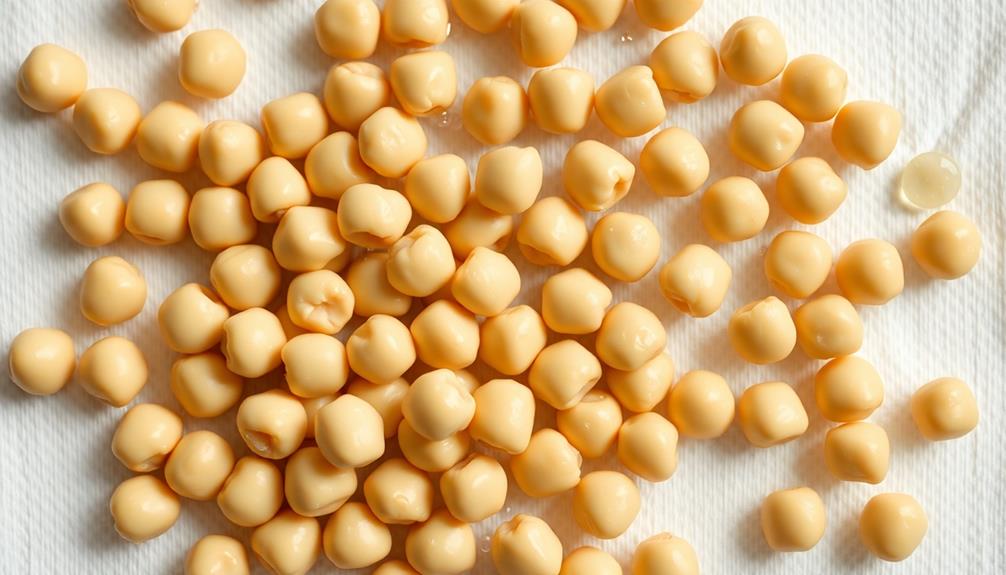
After opening the can, drain the chickpeas in a colander. Make sure to let any excess liquid drip off.
Next, grab a clean paper towel or cloth and gently pat the chickpeas dry. You want to remove as much moisture as possible. This step is crucial for ensuring your chickpeas get nice and crispy when you roast them.
Once the chickpeas are dry, transfer them to a baking sheet. Spread them out in a single layer so they've plenty of room to roast evenly. Resist the urge to overcrowd the pan – you want hot air to circulate around each chickpea.
Now they're ready for the next step: tossing them in oil and seasonings! This will bring out their delicious nutty flavor.
Get excited, because roasted chickpeas make a fantastic crunchy snack or tasty topping for salads and soups. With just a little prep work, you're on your way to enjoying these crispy, flavorful bites. Once you’ve mastered the art of making roasted chickpeas, you can also try your hand at making tasty roasted vegetables to go alongside them. The combination of these crispy chickpeas with savory, flavorful vegetables makes for a satisfying and healthy meal option. Whether you’re looking for a quick snack or a satisfying side dish, roasted chickpeas and vegetables are sure to hit the spot.
Step 2. Toss With Oil and Seasonings
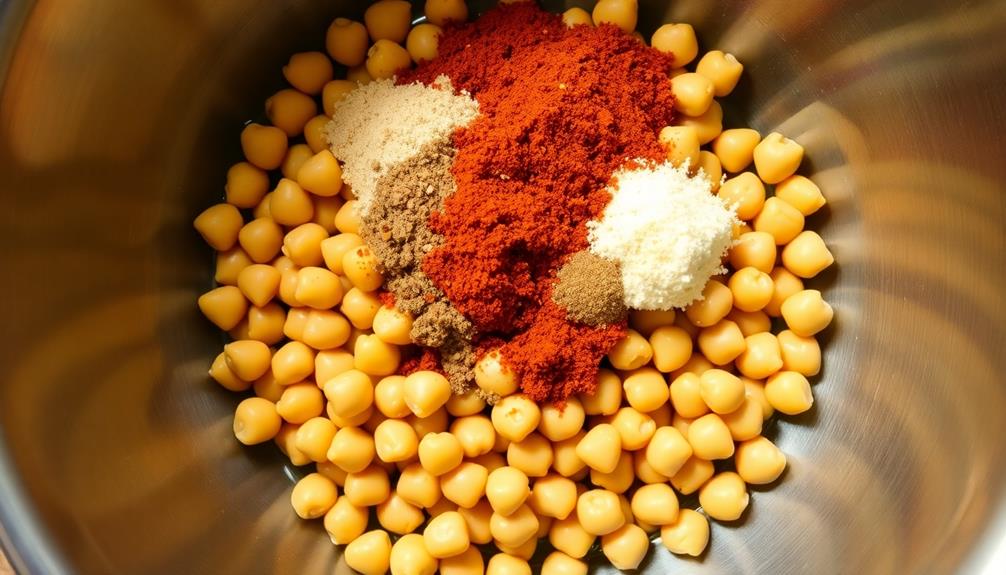
With the chickpeas now dried, it's time to toss them with oil and seasonings. You'll want to add just enough oil to lightly coat the chickpeas, usually around 1-2 tablespoons.
Then, sprinkle on your favorite spices and herbs. Try a mix of garlic powder, paprika, cumin, and a pinch of salt and pepper. The key is to use spices you love to create a flavor profile you enjoy.
Once the oil and seasonings are added, use your hands or a spoon to toss the chickpeas until they're evenly coated. Make sure each chickpea gets a little bit of the delicious seasoning mixture.
This step is important because it's what'll give your roasted chickpeas that amazing flavor. Take your time and thoroughly mix everything together.
With the chickpeas now seasoned and ready, it's time to pop them in the oven and let the roasting begin!
Step 3. Spread Evenly on Baking Sheet
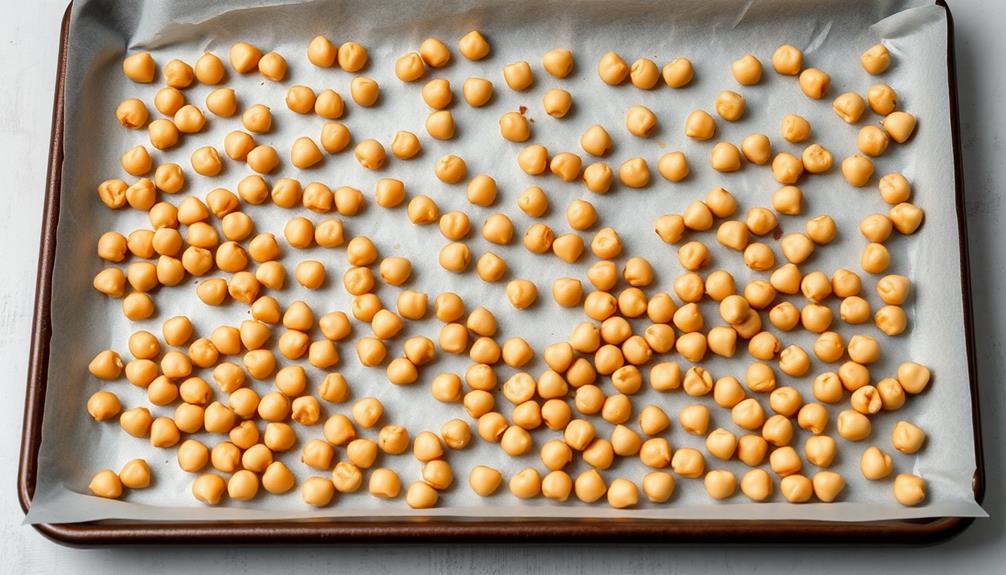
To begin the cooking steps, spread the seasoned chickpeas out in a single layer on a large baking sheet.
You'll want to make sure the chickpeas are spaced apart, not piled on top of each other. This will help them roast evenly and get nice and crispy.
Next, pop the baking sheet into your preheated oven. Roast the chickpeas for 15-20 minutes, giving the pan a gentle shake halfway through.
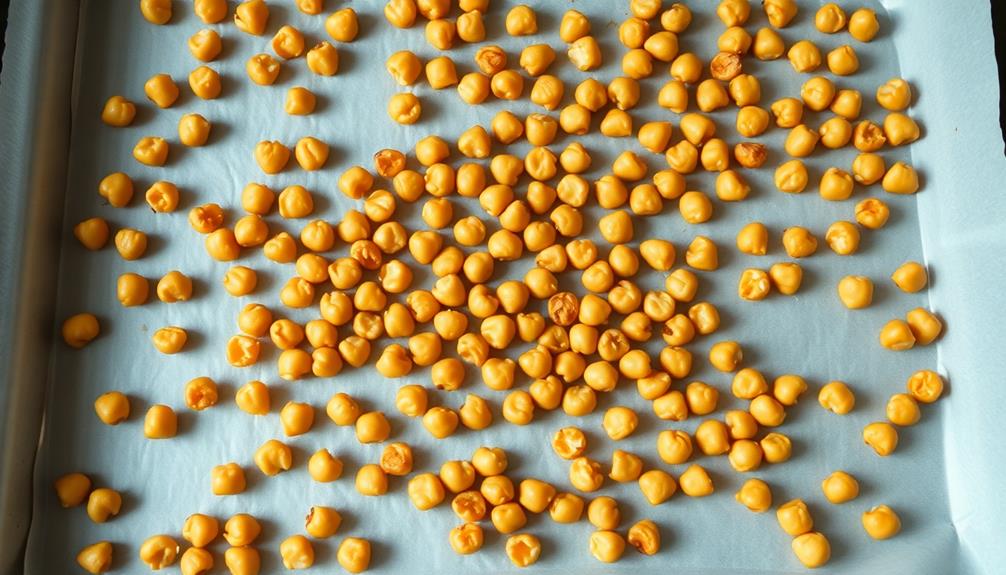
Keep an eye on them, as you don't want the chickpeas to burn. They're ready when they're golden brown and slightly shrunken in size.
Once they're perfectly roasted, carefully remove the baking sheet from the oven.
Allow the chickpeas to cool for a few minutes before giving them a taste. You'll be amazed at how flavorful and crunchy they are!
Now, you can enjoy your homemade roasted chickpeas as a tasty, healthy snack. They're great on their own or tossed into salads and other dishes.
Step 4. Bake at 400°F for 20 Minutes
Next, preheat your oven to 400°F. Once your oven is ready, it's time to bake those delicious chickpeas! Carefully spread the chickpeas out in a single layer on the prepared baking sheet. This will ensure they cook evenly.
Now, pop the sheet into the preheated oven. Set a timer for 20 minutes and let the chickpeas work their magic. The high heat will transform the chickpeas, making them crispy and golden brown.
As they bake, the aroma will fill your kitchen, teasing your senses. Keep an eye on the chickpeas towards the end of the baking time. You want them to be crispy, but not burnt.
Once the timer goes off, use oven mitts to remove the baking sheet from the oven. Allow the chickpeas to cool slightly before enjoying their delightful crunch.
These roasted chickpeas make a fantastic snack or addition to salads and other dishes. Get ready for a tasty treat!
Step 5. Flip Chickpeas and Bake Additional 10 Minutes
After the first 20 minutes, carefully remove the baking sheet from the oven. The chickpeas should be starting to turn golden brown.
Now, it's time to flip them over to ensure they cook evenly. Using a spatula, gently turn each chickpea so the uncooked side is facing up. Take care not to let any chickpeas fall off the baking sheet.
Once all the chickpeas are flipped, slide the baking sheet back into the oven. Set the timer for an additional 10 minutes. During this time, the chickpeas will continue to roast and develop a delicious, crispy texture.
Keep a close eye on them to prevent burning. The chickpeas are ready when they're golden brown all over and slightly shrunken in size.
Remove the baking sheet from the oven and let the chickpeas cool for a few minutes before serving.
Now, you have a tasty, crunchy snack to enjoy! The flipping and additional baking time ensures your roasted chickpeas are perfectly cooked.

Cosori 9-in-1 TurboBlaze Air Fryer 6 Qt, PFAS-Free Ceramic Coating, 90°–450°F, Precise Heating for Even Results, Air Fry, Roast, Bake, Broil, Dry, Frozen, Proof, Reheat, Keep Warm, 120V, Dark Gray
𝘼𝙞𝙧 𝙁𝙧𝙮𝙚𝙧 𝙐𝙥𝙜𝙧𝙖𝙙𝙚: Innovative TurboBlaze Technology delivers a powerful 3600 rpm fan speed and temperatures up to 450℉,...
As an affiliate, we earn on qualifying purchases.
Final Thoughts
Roasted chickpeas make for a fantastic snack or addition to meals. They're crunchy, flavorful, and oh-so-satisfying!
Now that you've mastered the art of roasting these little legumes to perfection, you can experiment with all sorts of seasonings and spices. Try a sprinkle of smoked paprika for a savory kick, or a dash of cinnamon and a pinch of sugar for a sweet and spicy twist. You can even mix things up by tossing the roasted chickpeas into salads, soups, or grain bowls for added texture and nutrition. The possibilities are endless!
The best part is that roasted chickpeas are super easy to make and incredibly versatile. Whether you're looking for a healthy snack to fuel your day or a tasty topping to elevate your meals, these little gems are sure to become a staple in your kitchen.
Frequently Asked Questions
How Long Do Roasted Chickpeas Last?
You can enjoy the roasted chickpeas for up to a week when stored properly in an airtight container at room temperature. Their shelf-life may vary depending on the ingredients and storage conditions, so it's best to keep an eye on their freshness.
Can I Use Canned Chickpeas for This Recipe?
Yes, you can use canned chickpeas for this recipe. Canned chickpeas are already cooked, so you don't need to soak or boil them before roasting. Just drain and pat them dry before tossing with oil and seasonings.
Are Roasted Chickpeas Good for Weight Loss?
Roasted chickpeas can be a great snack for weight loss. They're high in protein and fiber, which can help keep you feeling full. Just be mindful of portion sizes, as they're still a source of calories.
Can I Make Roasted Chickpeas in an Air Fryer?
You can definitely make roasted chickpeas in an air fryer. The air fryer's high heat and circulating air will give the chickpeas a crispy texture without the need for excess oil. It's a healthy and convenient way to enjoy this snack.
How Can I Make Roasted Chickpeas More Flavorful?
To make your roasted chickpeas more flavorful, try adding spices like cumin, garlic powder, or paprika. You can also toss them in a bit of olive oil and seasonings before air frying for extra flavor.
Conclusion
Roasted chickpeas are a delightful, crunchy snack that'll have you coming back for more! They're a cinch to make, and you can customize the flavors to your taste. Pop 'em in your mouth, and let the satisfying crunch and savory spices transport you to snack heaven. Trust us, once you start, you won't be able to stop. So, what are you waiting for? Get roasting and enjoy the deliciousness!